

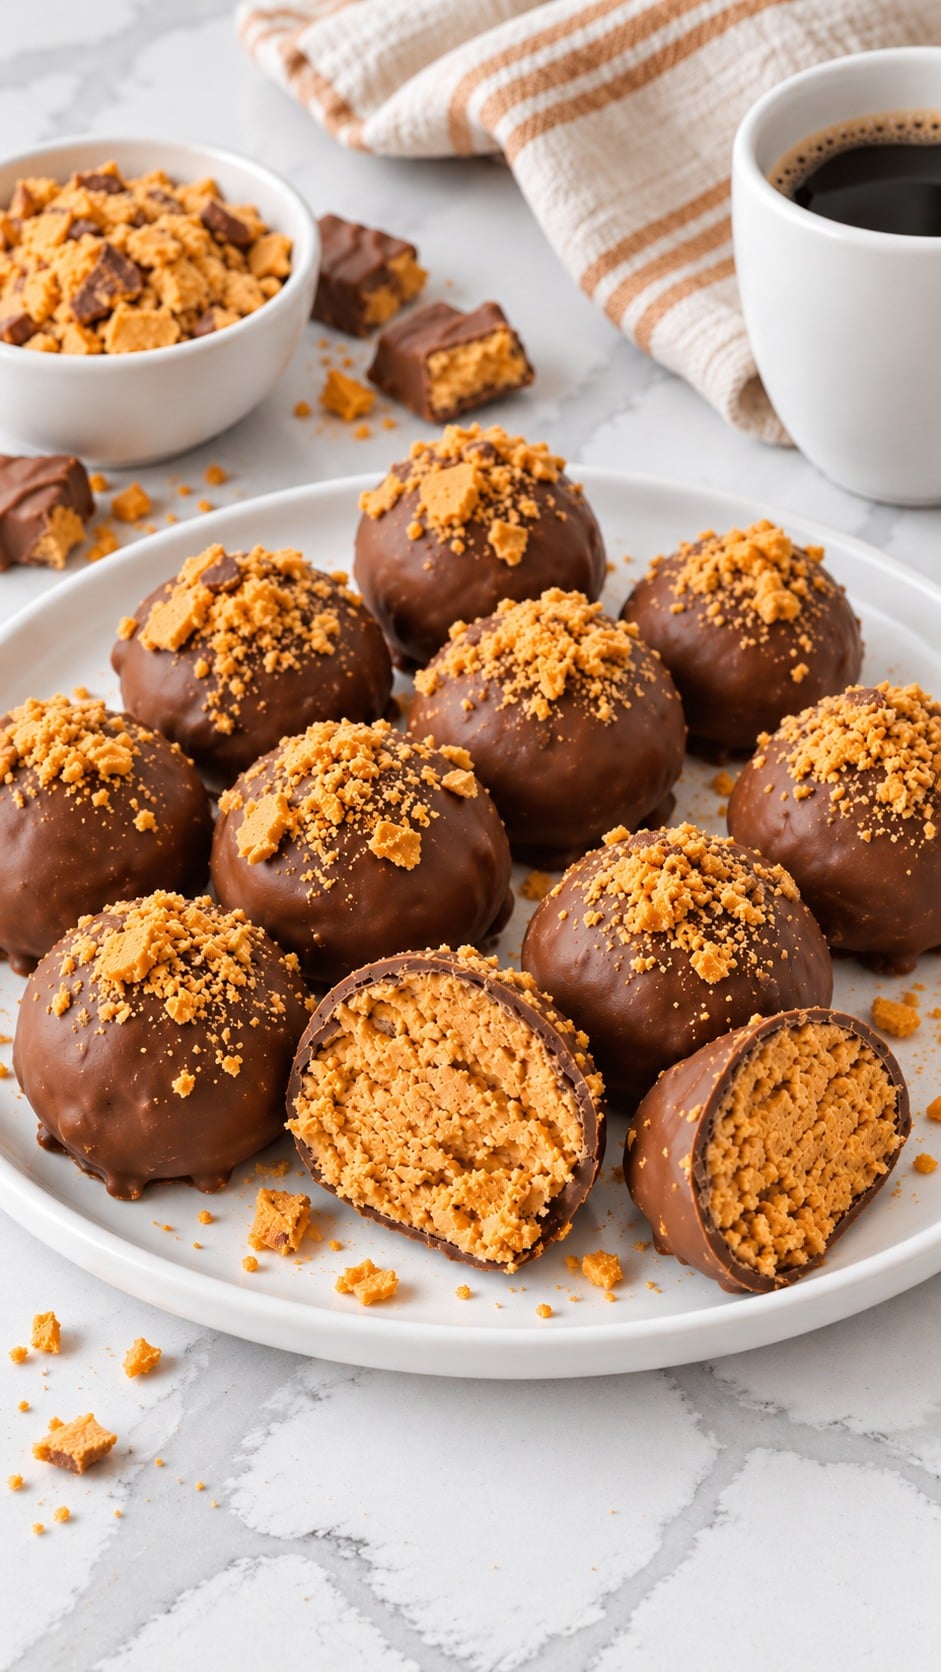
Butterfinger balls are no-bake peanut butter candies with graham cracker crumbs and crushed Butterfinger bars tucked inside a milk chocolate shell. This version uses crunchy peanut butter for extra texture and makes about 100 balls-a generous batch for sharing, freezing or filling a holiday candy tray.
You can mix the filling by hand or use a stand mixer with the paddle attachment. Plan on 45 minutes of prep, 5 minutes of cook time for the coating, and 50-60 minutes of chilling; no oven is needed. The centers should hold together when pressed, then firm up in the refrigerator before dipping.
If you enjoy Peanut Butter Balls, these take the chocolate-and-peanut-butter idea in a crunchier direction with actual crushed candy bars and graham cracker crumbs. They're a different filling, with plenty of little candy pieces in every bite.
This post may contain affiliate links. I may receive a commission for purchases made through links in this post.
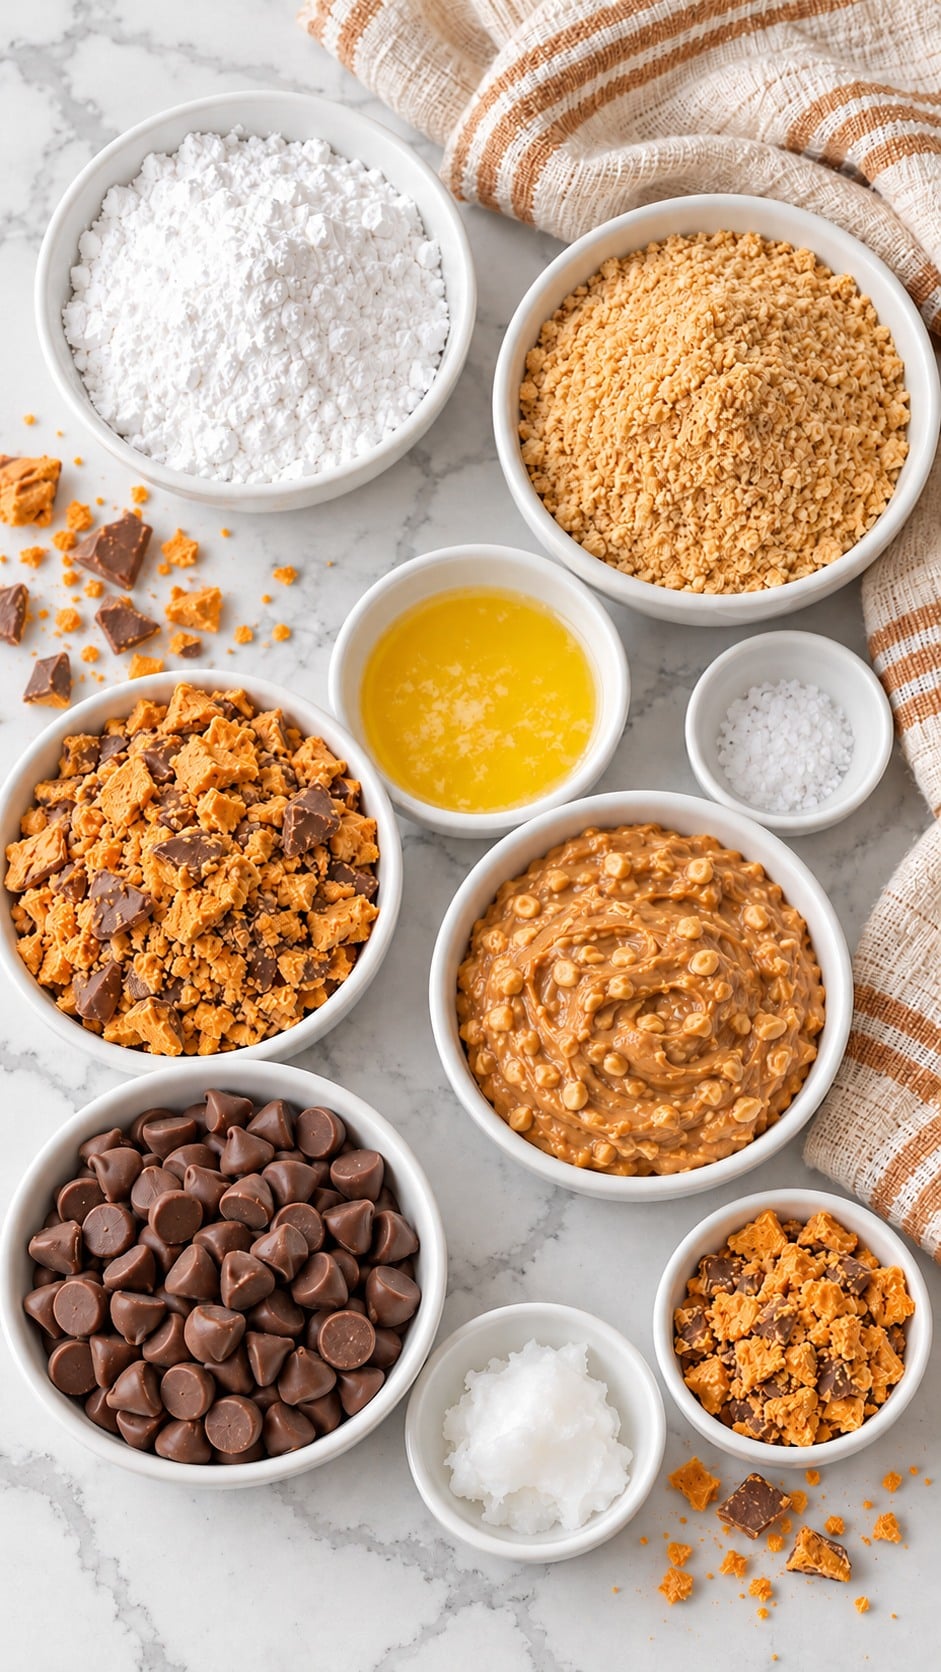
Ingredients You'll Need
- Powdered sugar
- Graham cracker crumbs
- Butterfinger candy bars, finely crushed for the filling; keep the optional crushed topping separate
- Salted butter, melted
- Kosher salt, in addition to the salted butter
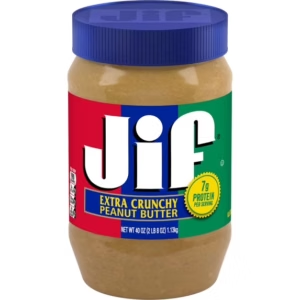
- Crunchy peanut butter
- Milk chocolate chips
- Coconut oil
 Buy Now →
 Buy Now →
 Buy Now →
 Buy Now →
 Buy Now →
 Buy Now →
 Buy Now →
 Buy Now →

A Few Ingredient Notes
Use the salted butter and the additional kosher salt as written. That small amount of added salt balances a filling that includes both powdered sugar and candy bars.
Conventional peanut butter works best here. A natural peanut butter that separates can change the consistency; smooth peanut butter is the supplied alternative if you prefer fewer peanut pieces.
Milk chocolate gives the coating its sweeter candy-bar finish. Semisweet or dark chocolate chips can replace it for a less sweet shell. Keep the optional topping candy separate from the five bars that go into the filling.
Tools That Make It Easier
- Two large baking sheets
- Parchment paper
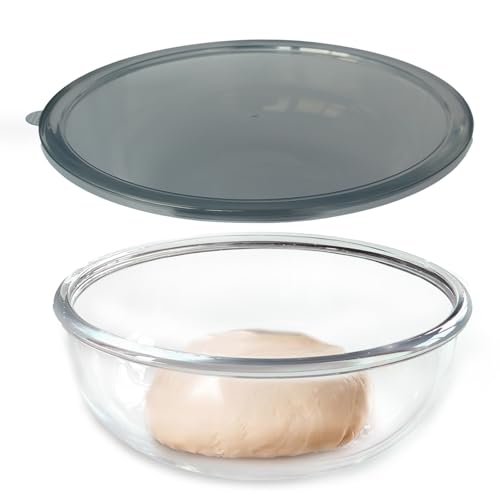
- Large mixing bowl, for hand mixing
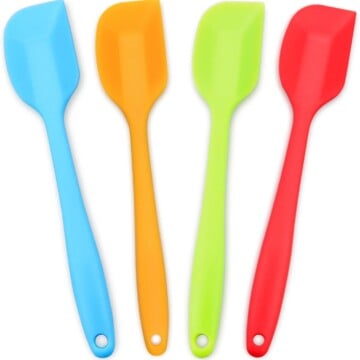
- Sturdy mixing spoon or rubber spatula
- Measuring cups and spoons
- Kitchen scale, for the pound of powdered sugar
- Resealable bag, for crushing candy bars
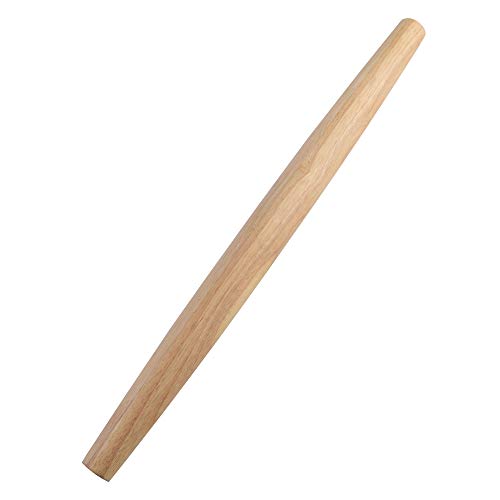
- Rolling pin, for crushing candy bars
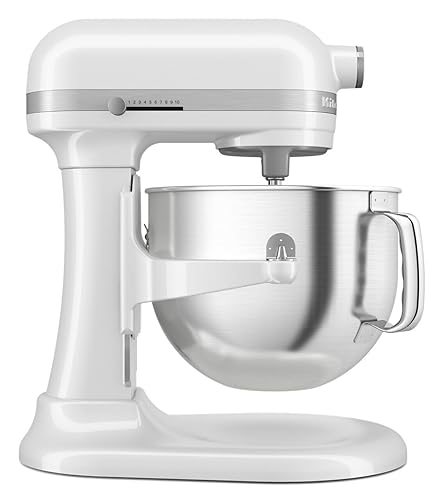
- Stand mixer with paddle attachment, optional alternative to hand mixing
- Tablespoon or small cookie scoop
- Microwave-safe bowl
- Microwave
- Fork, for dipping
- Refrigerator
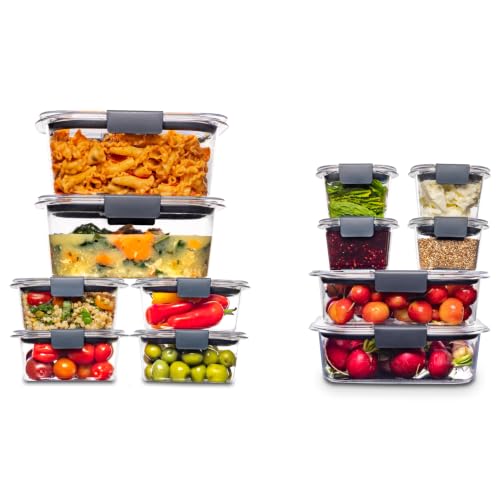
- Airtight storage container
- Freezer-safe container, for optional freezing
- Freezer, for optional freezing
 Buy Now →
 Buy Now →
 Buy Now →
 Buy Now →
 Buy Now →
 Buy Now →
 Buy Now →
 Buy Now →
 Buy Now →
 Buy Now →
 Buy Now →
How to Make Butterfinger Balls
1. Prep your trays
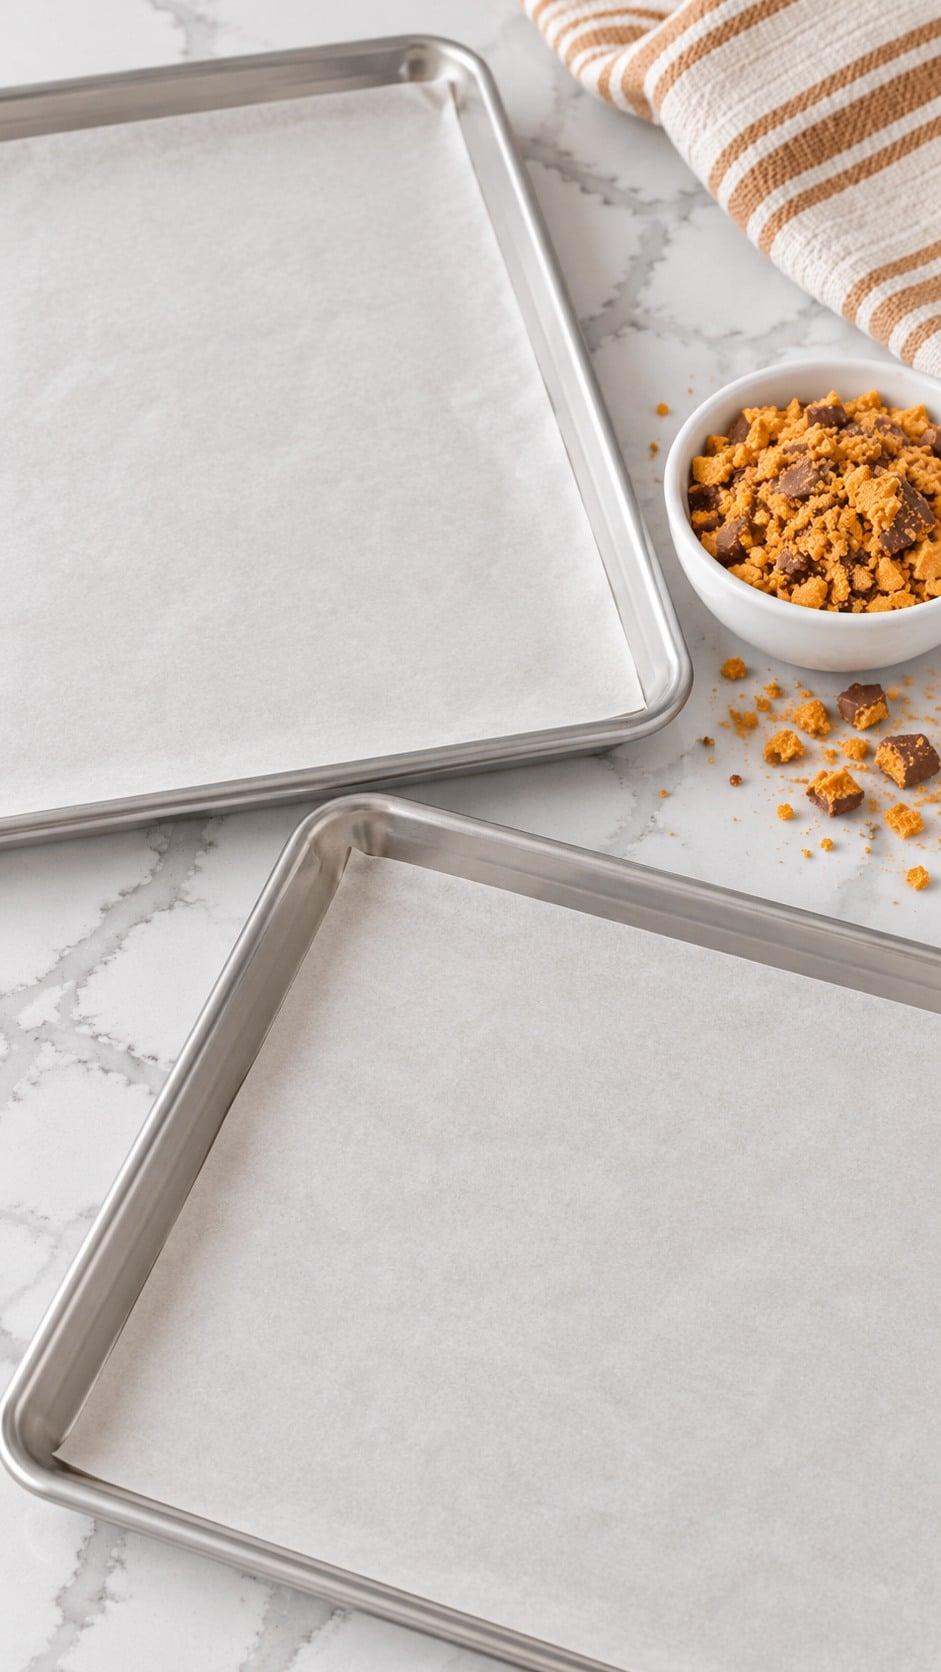
Line two large baking sheets with parchment paper and keep the optional topping candy in a separate bowl. Having the topping ready matters because it goes on while the chocolate is still wet.
2. Mix the filling
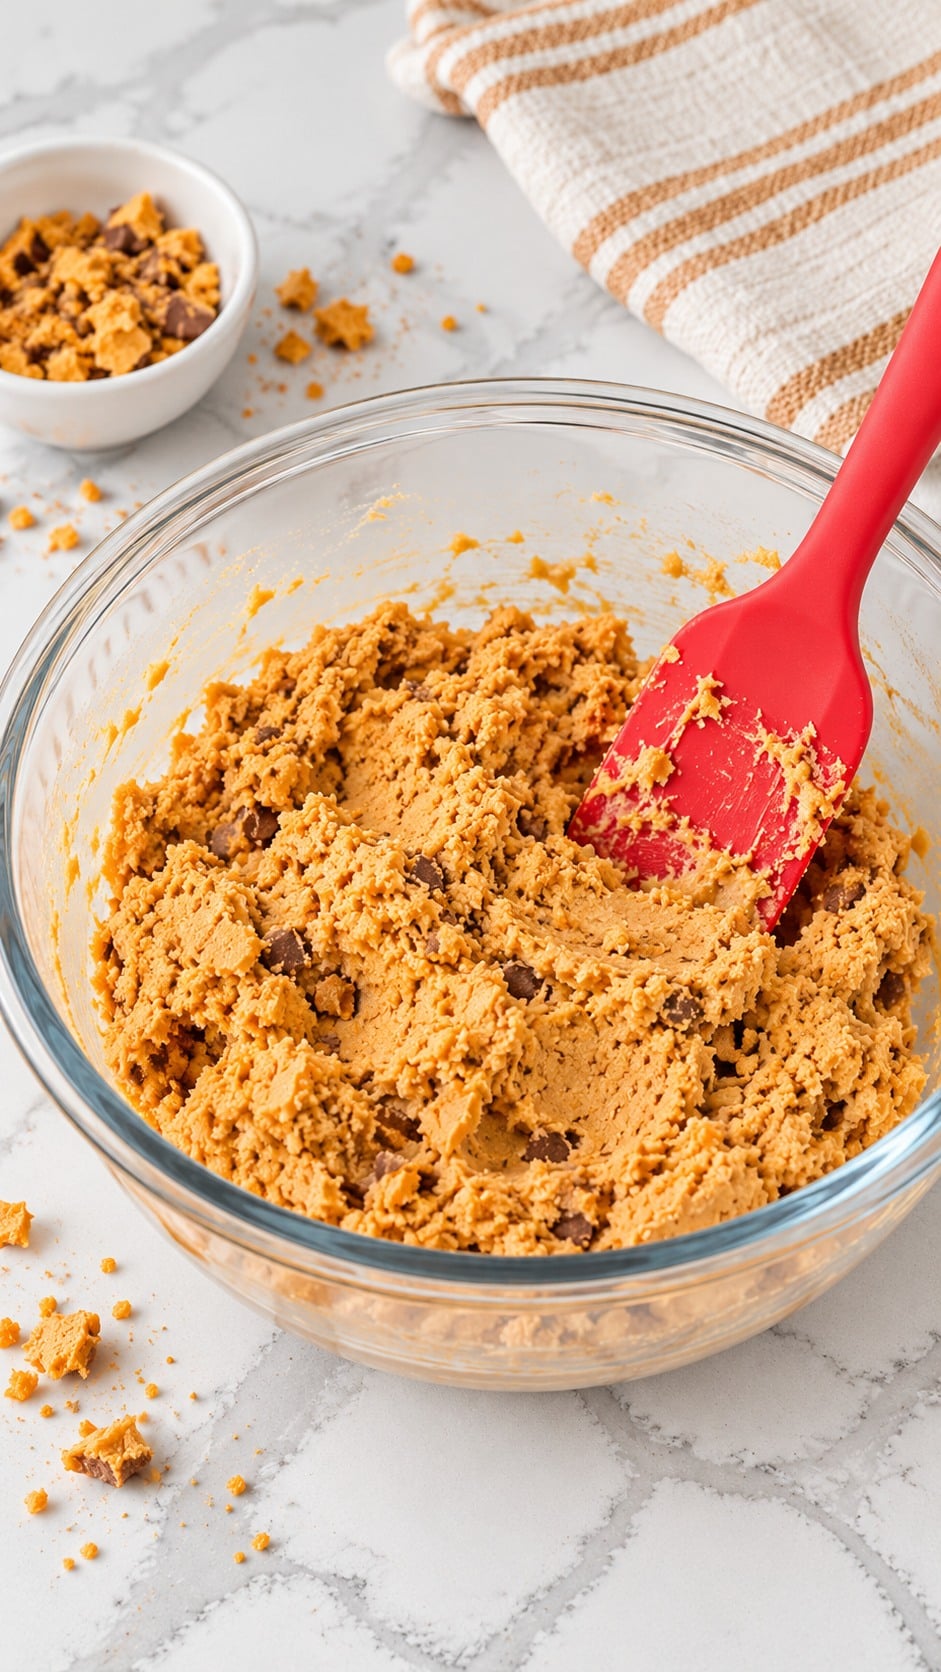
For hand mixing, combine melted salted butter, crunchy peanut butter and kosher salt, then stir in powdered sugar and graham cracker crumbs and fold in the finely crushed Butterfinger bars. The mixture should hold together when pressed.
For the stand mixer option, use the paddle on low to combine the butter, peanut butter and salt. Stop the mixer before adding half the powdered sugar, mix on the lowest speed, repeat with the remaining sugar, then add the crumbs and scrape as needed; mix in the candy briefly on low.
3. Shape and chill
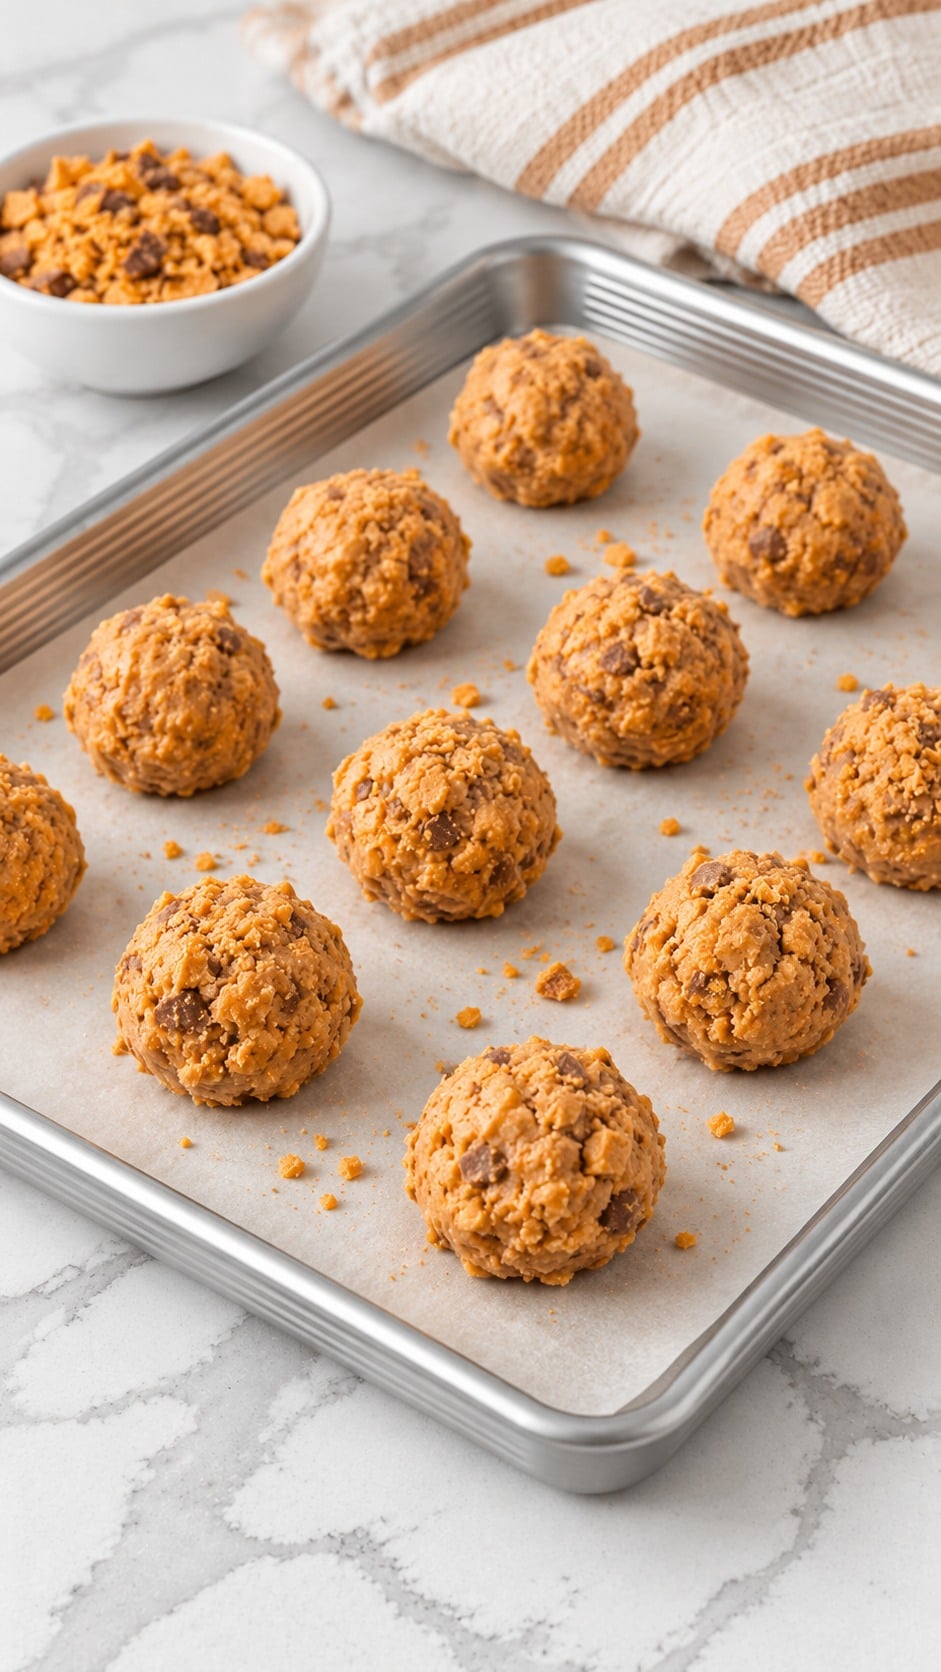
Scoop approximately 1 tablespoon per ball, roll between your palms, and arrange on the lined sheets. Refrigerate for at least 30 minutes, until the centers are firm enough to dip without losing their shape.
4. Melt the coating
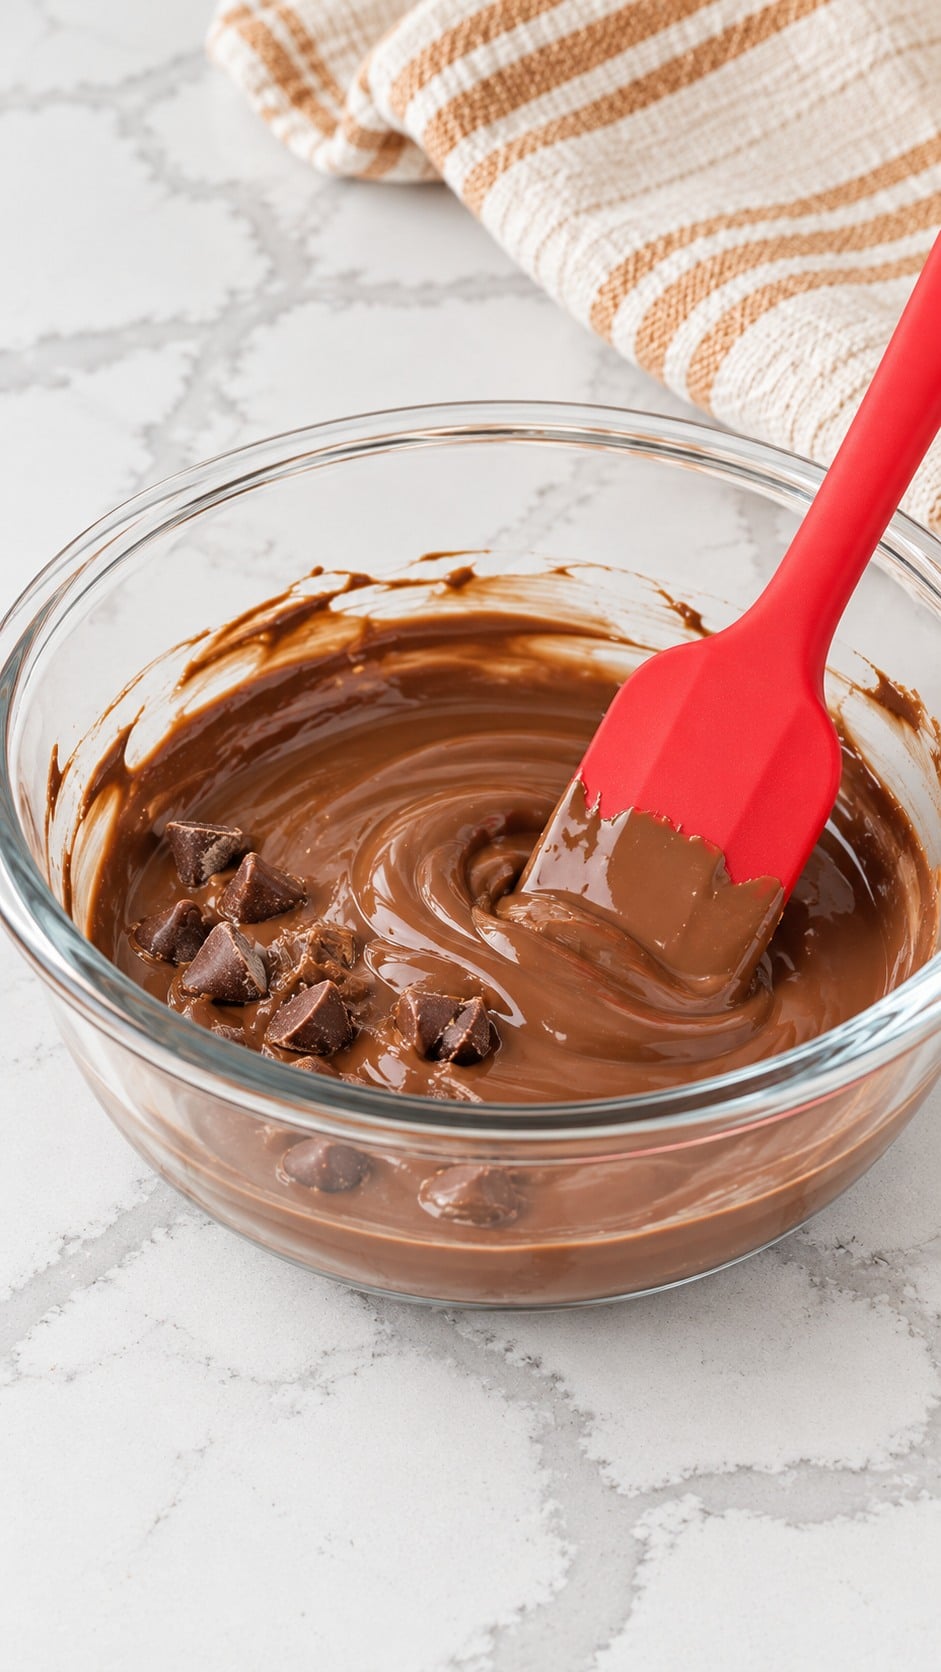
Microwave the milk chocolate chips and coconut oil in 30-second increments, stirring thoroughly after each one. When just a few small pieces remain, stir until the coating is completely smooth.
5. Dip, top and set
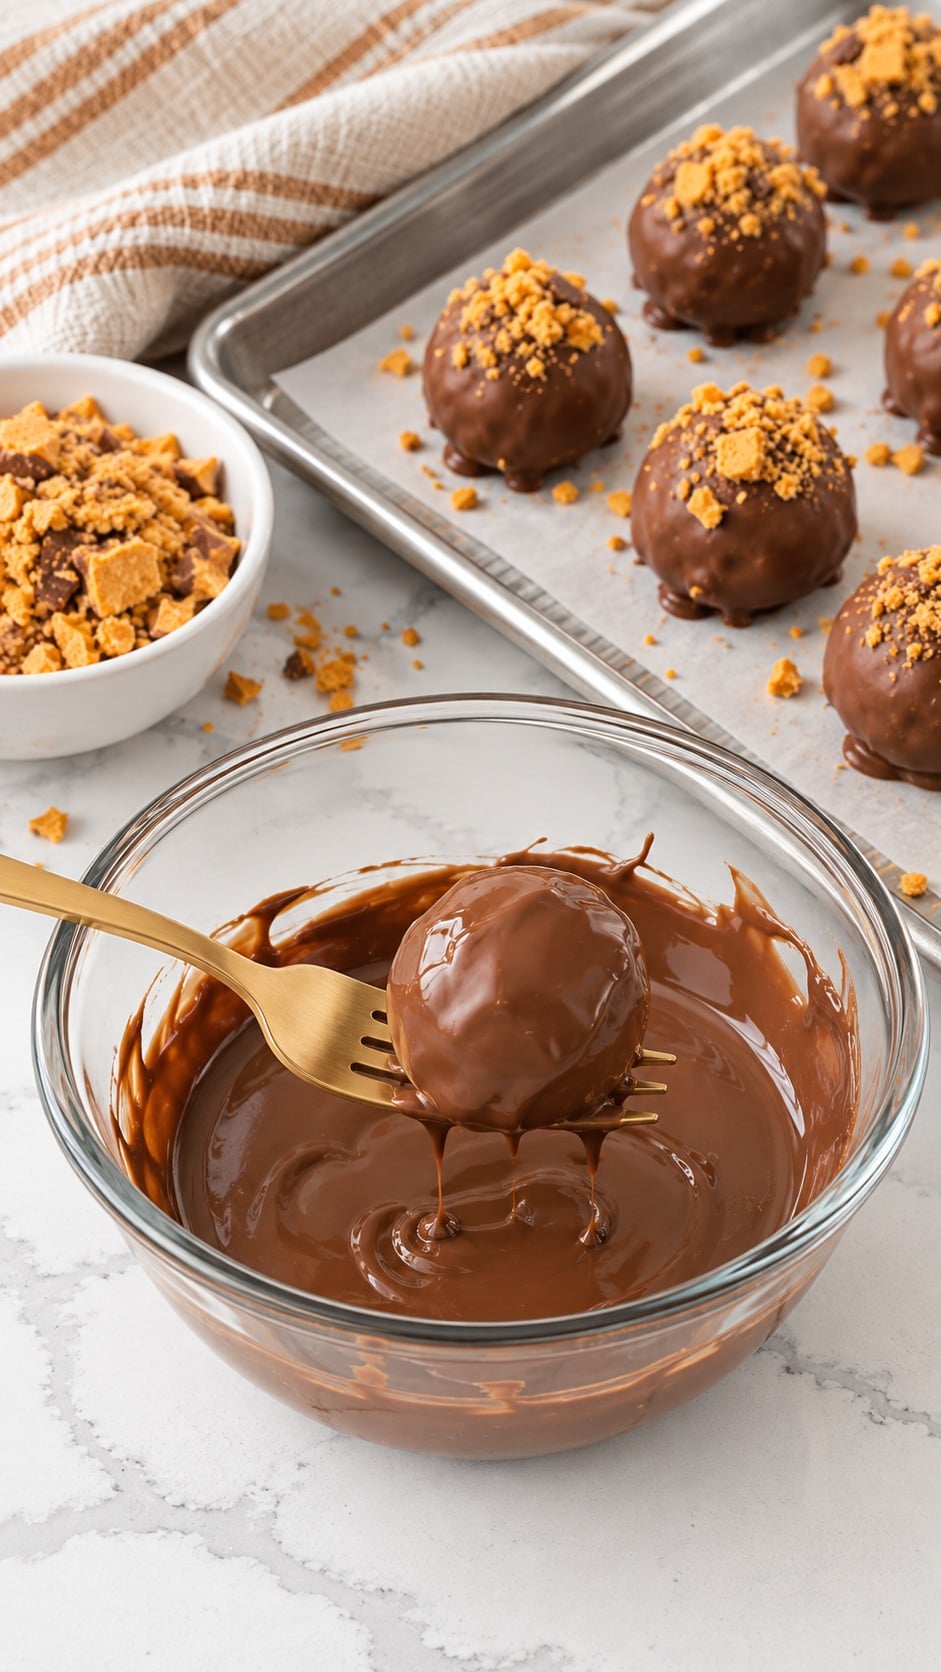
Work with one chilled tray at a time. Lower each ball into the chocolate with a fork, turn to coat, lift and tap gently against the bowl to drain the excess; slide onto parchment and add the optional candy topping before the coating sets.
Refrigerate for 20-30 minutes, or until the chocolate is firm.
A Few Tips for Easier Rolling and Dipping
If the filling is too soft to roll, refrigerate it for 10-15 minutes before shaping. Give it time to firm up rather than changing the ingredient quantities; the mixture should hold together when pressed.
Keep one tray in the refrigerator while you dip the other. Cold, firm centers are easier to turn in the coating, and tapping the fork helps keep excess chocolate from collecting around the base.
With a stand mixer, stop as soon as the crushed candy is evenly distributed. Extended mixing can break down the pieces that give this filling its texture.
The Best Way to Store Them
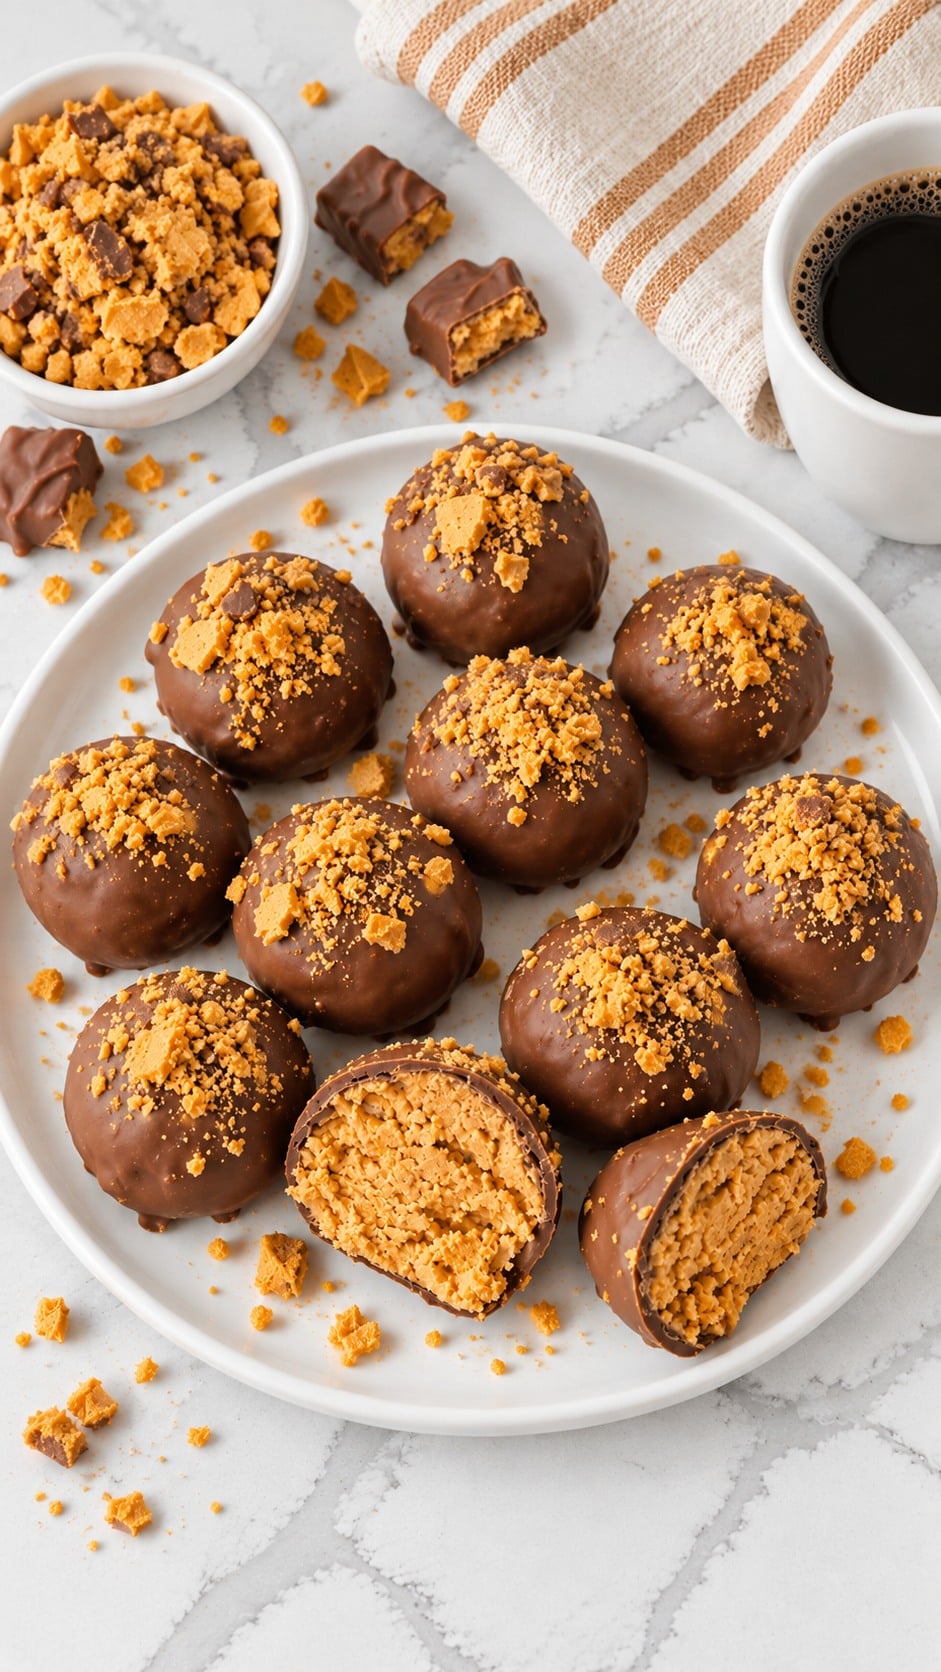
Refrigerate Butterfinger balls in an airtight container for up to 2 weeks, with parchment paper between layers. Serve them chilled or let them stand at room temperature for 10 minutes before serving.
For longer storage, freeze the finished balls in a single layer, then transfer them to an airtight freezer container with parchment between layers. Freeze for up to 3 months. Thaw overnight in the refrigerator with the container closed to help limit condensation; the candy topping may soften after thawing.
What to Serve with Butterfinger Balls
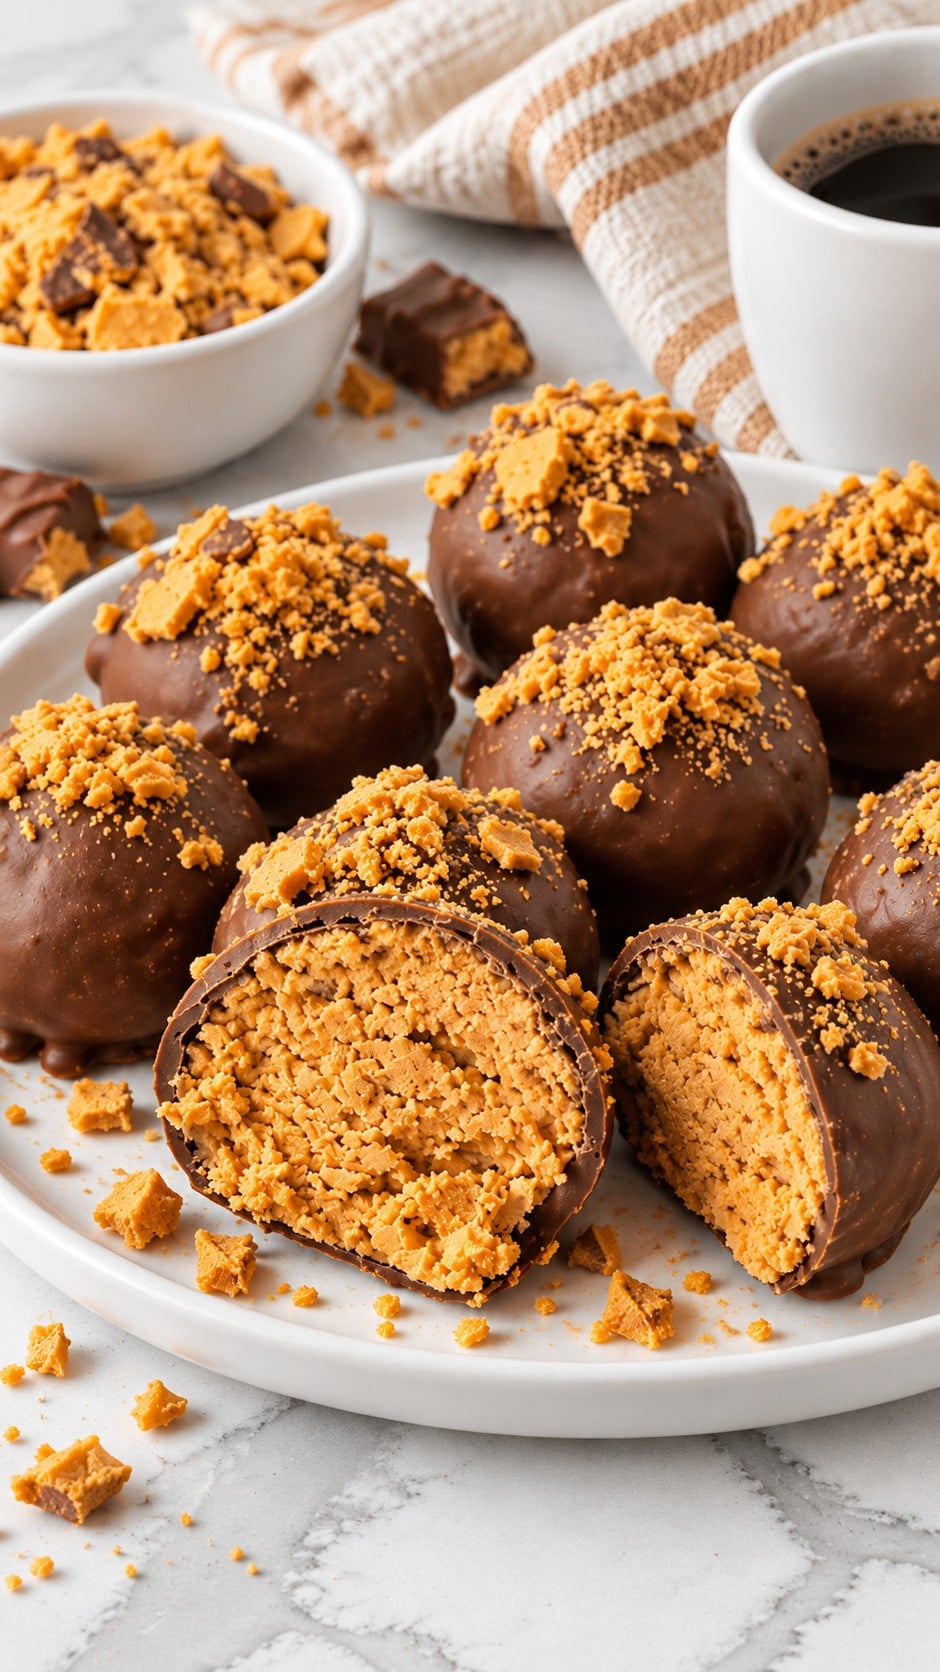
Coffee, hot chocolate and cold milk all fit the chocolate-and-peanut-butter flavors. For a crowd, Coffee Punch gives you a creamy coffee pairing; Peppermint Hot Cocoa Mix is a warm option for a winter candy tray. Round out a mixed platter with Peanut Butter Blossoms for a baked cookie alongside the chilled candy.
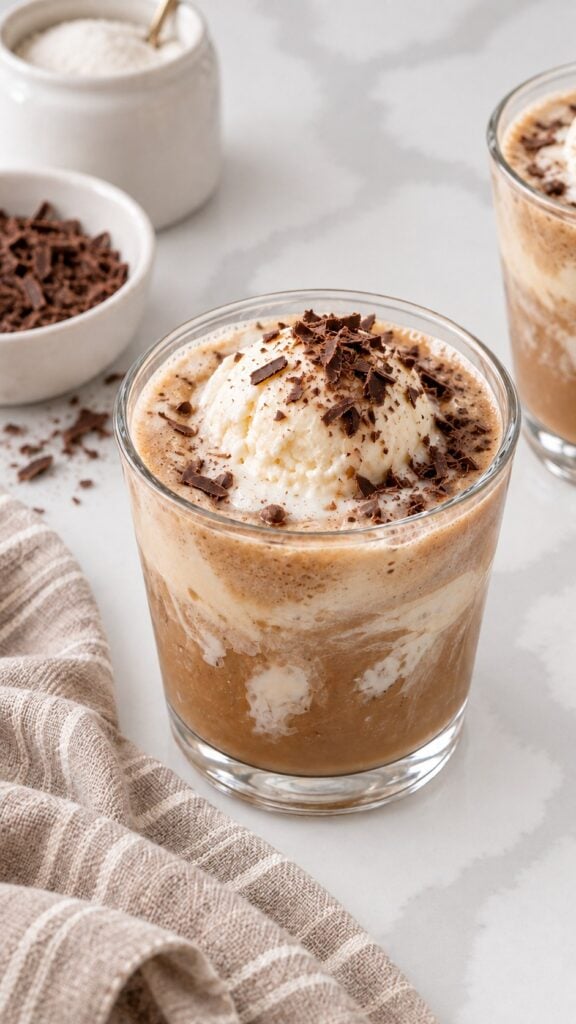
Coffee Punch

Peppermint Hot Cocoa Mix

Peanut Butter Blossoms
Questions Before You Start
Are Butterfinger balls baked?
No. The filling is mixed, rolled and chilled, and the microwave melts the chocolate coating. The listed 5-minute cook time does not mean the centers go in the oven.
How many Butterfinger bars do I need?
Use five 1.9-ounce bars in the filling. If you want the candy topping too, reserve two additional 1.9-ounce bars for that purpose, for seven bars total.
Are these the same as candy-corn Butterfinger recipes?
No. This recipe uses real crushed Butterfinger candy bars with peanut butter, graham cracker crumbs, powdered sugar and butter. Candy corn is not part of this filling.
Get More Recipes Like This
If you loved this recipe, make sure you join my email list. I send out my best weeknight dinners, holiday favorites, and reader-requested recipes straight to your inbox.
I'll also send you My 5 Chef Secrets that instantly elevate your cooking-the exact techniques I use in my own kitchen.
Tell Me How It Turned Out
Leave a comment below and tell me how your Butterfinger balls turned out, who you shared them with, or which chocolate you chose. If you made the recipe, please leave an honest rating and review to help other readers.
More Recipes You Might Like
For another homemade candy filling, try Chocolate Coconut Balls. Browse the Candy recipe collection when planning a mixed tray.
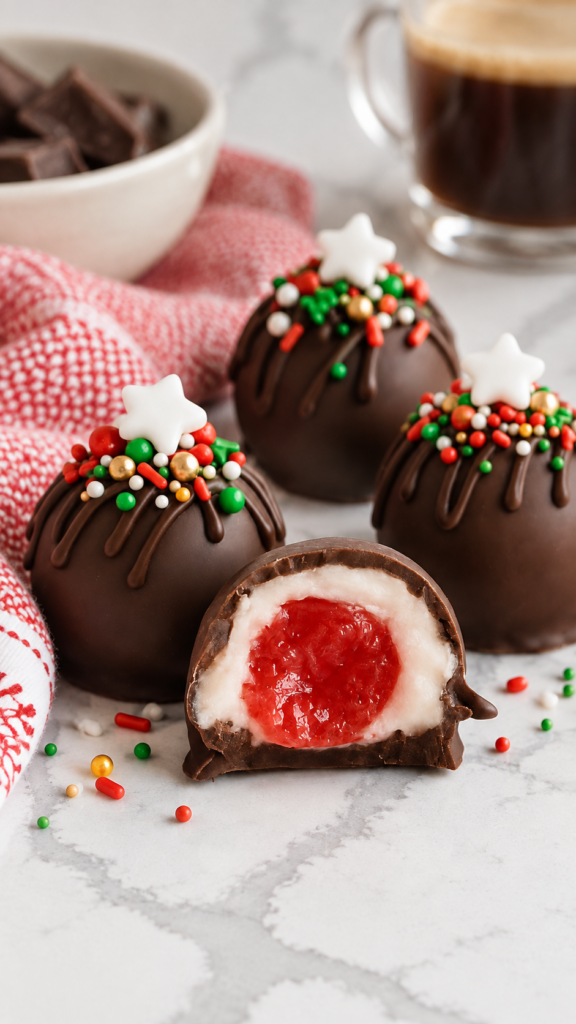
Homemade Chocolate Covered Cherry Cordials
Whole maraschino cherries wrapped in soft vanilla-almond fondant and dipped in semi-sweet chocolate make a sweet homemade gift. This recipe makes about 25 cordials, with two short chilling periods before dipping.

Peanut Butter Balls
Every year, without fail, somebody in the family will ask if I'm making Aunt Sallie's peanut butter balls. They're always on my list, partly out of tradition and partly because I know what kind of uproar I'd cause if they weren't. And every time I start mixing that thick peanut butter filling, I'm right back...
Read More

Chocolate Coconut Balls
The first time I made this chocolate coconut balls recipe, the whole kitchen filled with the smell of dark chocolate and sweet coconut -exactly like opening a fresh Mounds bar. My husband and I have always loved Mounds candy, so when I mixed the filling and realized it tasted just like them, I knew I'd...
Read More

Saltine Cracker Toffee
Sweet, salty, and impossible to resist, this easy saltine toffee crack candy is a holiday favorite. Made on one pan with pantry staples, it's perfect for gifting, sharing, or sneaking a piece straight from the fridge.

Peppermint Christmas Trees
Peppermint chocolate Christmas trees made with pretzel sticks, crushed peppermint, and easy melted chocolate-festive, crunchy, and perfect for cookie trays, gifts, and holiday parties.
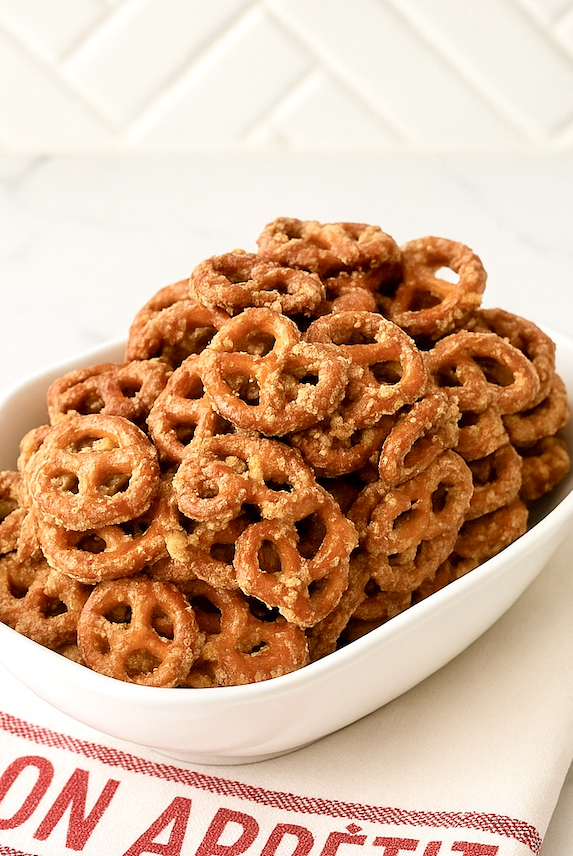
Butter Toffee Pretzels
Crunchy, sweet, and perfectly salty, these butter toffee pretzels come together fast and make an easy anytime snack for parties, gift bags, or late-night cravings. They're simple, festive, and always disappear first.
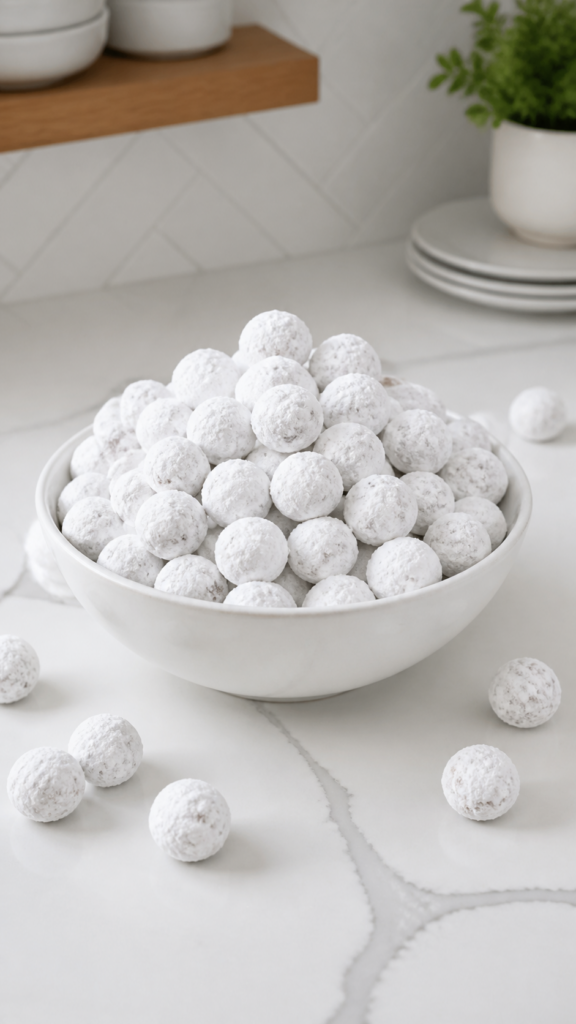
Powdered Sugar Cranberries (Cranberry Snowballs)
Powdered sugar cranberries soak in lemon-lime soda and orange juice, then dry into sweet-tart cranberry snowballs for holiday snacking and garnishes.
Peanut Butter Blossoms
The smell of creamy peanut butter cookie dough hitting a warm oven still takes me straight back to my childhood kitchen, where holiday baking felt like its own magical season. My mom kept a stack of cookie sheets ready to go, and I always managed to sneak a warm cookie before they made it to...
Read More
Recipe
PrintButterfinger Balls

These Butterfinger balls tuck crunchy peanut butter, graham cracker crumbs and crushed candy bars inside a milk chocolate shell. A big batch made for sharing.
- Prep Time: 45 minutes
- Chill Time: 60 minutes
- Cook Time: 5 minutes
- Total Time: 110 minutes
- Yield: About 100 balls 1x
- Category: Candy
- Method: Microwave
- Cuisine: American
Ingredients
Peanut Butter Filling
- 1 pound powdered sugar
- 2 ½ cups graham cracker crumbs
- 5 (1.9-ounce) Butterfinger candy bars, finely crushed
- 1 ¼ cups salted butter, melted
- ¼ teaspoon kosher salt
- 1 ½ cups crunchy peanut butter
Chocolate Coating
- 27 ounces milk chocolate chips
- 1 tablespoon coconut oil
- 2 (1.9-ounce) Butterfinger candy bars, crushed, for topping (optional)
Instructions
- Prep: Line two large baking sheets with parchment paper. Reserve the optional topping candy separately. Choose either the hand-mixing or stand mixer method below to prepare the filling.
- Mix by Hand (choose this method OR the stand mixer method): Combine the melted butter, peanut butter, and kosher salt in a large mixing bowl. Stir in the powdered sugar and graham cracker crumbs until evenly incorporated. Fold in the crushed Butterfinger bars. The filling should hold together when pressed.
- Stand Mixer Method (alternative to hand mixing): Fit a stand mixer with the paddle attachment. Add the melted butter, peanut butter, and kosher salt to the mixer bowl. Mix on low speed until combined. With the mixer stopped, add about half the powdered sugar. Mix on the lowest speed until incorporated, then repeat with the remaining powdered sugar. Add the graham cracker crumbs and mix on low, stopping to scrape the bowl and paddle as needed. Add the crushed Butterfinger bars and mix briefly on low, just until evenly distributed. Avoid extended mixing, which can break down the candy pieces.
- Shape and Chill: Scoop approximately 1 tablespoon of filling per portion and roll between your palms to form balls. Arrange on the prepared baking sheets. Refrigerate for at least 30 minutes, until firm enough to dip without losing their shape.
- Melt and Coat: Combine the chocolate chips and coconut oil in a microwave-safe bowl. Microwave in 30-second increments, stirring thoroughly after each interval. When only a few small pieces remain, stir until completely smooth. Work with one tray of chilled filling at a time. Lower each ball into the chocolate with a fork, turn to coat, and lift it out. Tap the fork gently against the bowl to remove excess chocolate. Slide the coated balls onto the parchment. Sprinkle with the optional crushed candy before the coating begins to set. Refrigerate for 20-30 minutes, or until the chocolate is firm.
Equipment
Buy Now →
Buy Now →
Buy Now →
Buy Now →
Buy Now →
Buy Now →
Buy Now →
Buy Now →
Buy Now →
Buy Now →
Buy Now → Notes
Kosher salt: The added ¼ teaspoon balances the sweetness of the filling. Use it in addition to the salted butter.
Substitutions: Smooth peanut butter can replace crunchy peanut butter. Semisweet or dark chocolate chips can replace milk chocolate for a less sweet coating. Conventional peanut butter works best; natural peanut butter that separates can affect the filling's consistency.
Adjusting the filling: If the mixture is too soft to roll, refrigerate for 10-15 minutes before shaping.
Serving: Serve chilled or let stand at room temperature for 10 minutes before serving. Add to holiday candy trays or pair with coffee, hot chocolate, or cold milk.
Storage: Refrigerate in an airtight container for up to 2 weeks, with parchment paper between layers.
Freezing: Freeze the finished balls in a single layer, then transfer to an airtight freezer container with parchment between layers. Freeze for up to 3 months. Thaw overnight in the refrigerator with the container closed to help limit condensation. The candy topping may soften after thawing.
Timing: Prep 45 minutes; cook 5 minutes; chill 50-60 minutes. Total 1 hour 40 minutes to 1 hour 50 minutes; the card uses the upper bound of 1 hour 50 minutes. Allow extra time if the optional 10-15-minute chill before shaping is needed.




0