 Buy Now →
Butterfinger Balls

These Butterfinger balls tuck crunchy peanut butter, graham cracker crumbs and crushed candy bars inside a milk chocolate shell. A big batch made for sharing.
- Prep Time: 45 minutes
- Chill Time: 60 minutes
- Cook Time: 5 minutes
- Total Time: 110 minutes
- Yield: About 100 balls 1x
- Category: Candy
- Method: Microwave
- Cuisine: American
Ingredients
Units
Scale
Peanut Butter Filling
- 1 pound powdered sugar
- 2 1/2 cups graham cracker crumbs
- 5 (1.9-ounce) Butterfinger candy bars, finely crushed
- 1 1/4 cups salted butter, melted
- 1/4 teaspoon kosher salt
- 1 1/2 cups crunchy peanut butter
Chocolate Coating
- 27 ounces milk chocolate chips
- 1 tablespoon coconut oil
- 2 (1.9-ounce) Butterfinger candy bars, crushed, for topping (optional)
Instructions
- Prep: Line two large baking sheets with parchment paper. Reserve the optional topping candy separately. Choose either the hand-mixing or stand mixer method below to prepare the filling.
- Mix by Hand (choose this method OR the stand mixer method): Combine the melted butter, peanut butter, and kosher salt in a large mixing bowl. Stir in the powdered sugar and graham cracker crumbs until evenly incorporated. Fold in the crushed Butterfinger bars. The filling should hold together when pressed.
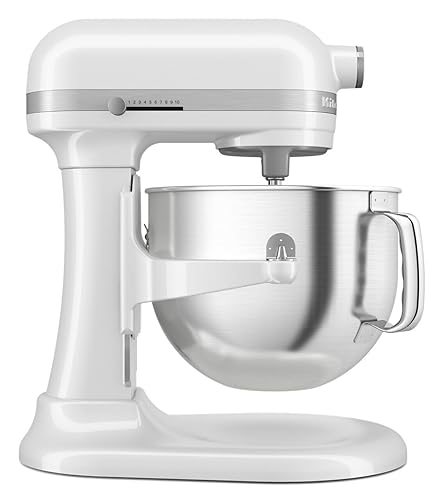
- Stand Mixer Method (alternative to hand mixing): Fit a stand mixer with the paddle attachment. Add the melted butter, peanut butter, and kosher salt to the mixer bowl. Mix on low speed until combined. With the mixer stopped, add about half the powdered sugar. Mix on the lowest speed until incorporated, then repeat with the remaining powdered sugar. Add the graham cracker crumbs and mix on low, stopping to scrape the bowl and paddle as needed. Add the crushed Butterfinger bars and mix briefly on low, just until evenly distributed. Avoid extended mixing, which can break down the candy pieces.
- Shape and Chill: Scoop approximately 1 tablespoon of filling per portion and roll between your palms to form balls. Arrange on the prepared baking sheets. Refrigerate for at least 30 minutes, until firm enough to dip without losing their shape.
- Melt and Coat: Combine the chocolate chips and coconut oil in a microwave-safe bowl. Microwave in 30-second increments, stirring thoroughly after each interval. When only a few small pieces remain, stir until completely smooth. Work with one tray of chilled filling at a time. Lower each ball into the chocolate with a fork, turn to coat, and lift it out. Tap the fork gently against the bowl to remove excess chocolate. Slide the coated balls onto the parchment. Sprinkle with the optional crushed candy before the coating begins to set. Refrigerate for 20–30 minutes, or until the chocolate is firm.
Equipment
Buy Now →  Buy Now →
 Buy Now →
 Buy Now →
 Buy Now →
 Buy Now →
 Buy Now →
 Buy Now →
 Buy Now →
 Buy Now →
 Buy Now →
Notes
Kosher salt: The added ¼ teaspoon balances the sweetness of the filling. Use it in addition to the salted butter.
Substitutions: Smooth peanut butter can replace crunchy peanut butter. Semisweet or dark chocolate chips can replace milk chocolate for a less sweet coating. Conventional peanut butter works best; natural peanut butter that separates can affect the filling’s consistency.
Adjusting the filling: If the mixture is too soft to roll, refrigerate for 10–15 minutes before shaping.
Serving: Serve chilled or let stand at room temperature for 10 minutes before serving. Add to holiday candy trays or pair with coffee, hot chocolate, or cold milk.
Storage: Refrigerate in an airtight container for up to 2 weeks, with parchment paper between layers.
Freezing: Freeze the finished balls in a single layer, then transfer to an airtight freezer container with parchment between layers. Freeze for up to 3 months. Thaw overnight in the refrigerator with the container closed to help limit condensation. The candy topping may soften after thawing.
Timing: Prep 45 minutes; cook 5 minutes; chill 50–60 minutes. Total 1 hour 40 minutes to 1 hour 50 minutes; the card uses the upper bound of 1 hour 50 minutes. Allow extra time if the optional 10–15-minute chill before shaping is needed.
Find it online: https://jennifercooks.com/butterfinger-balls/