

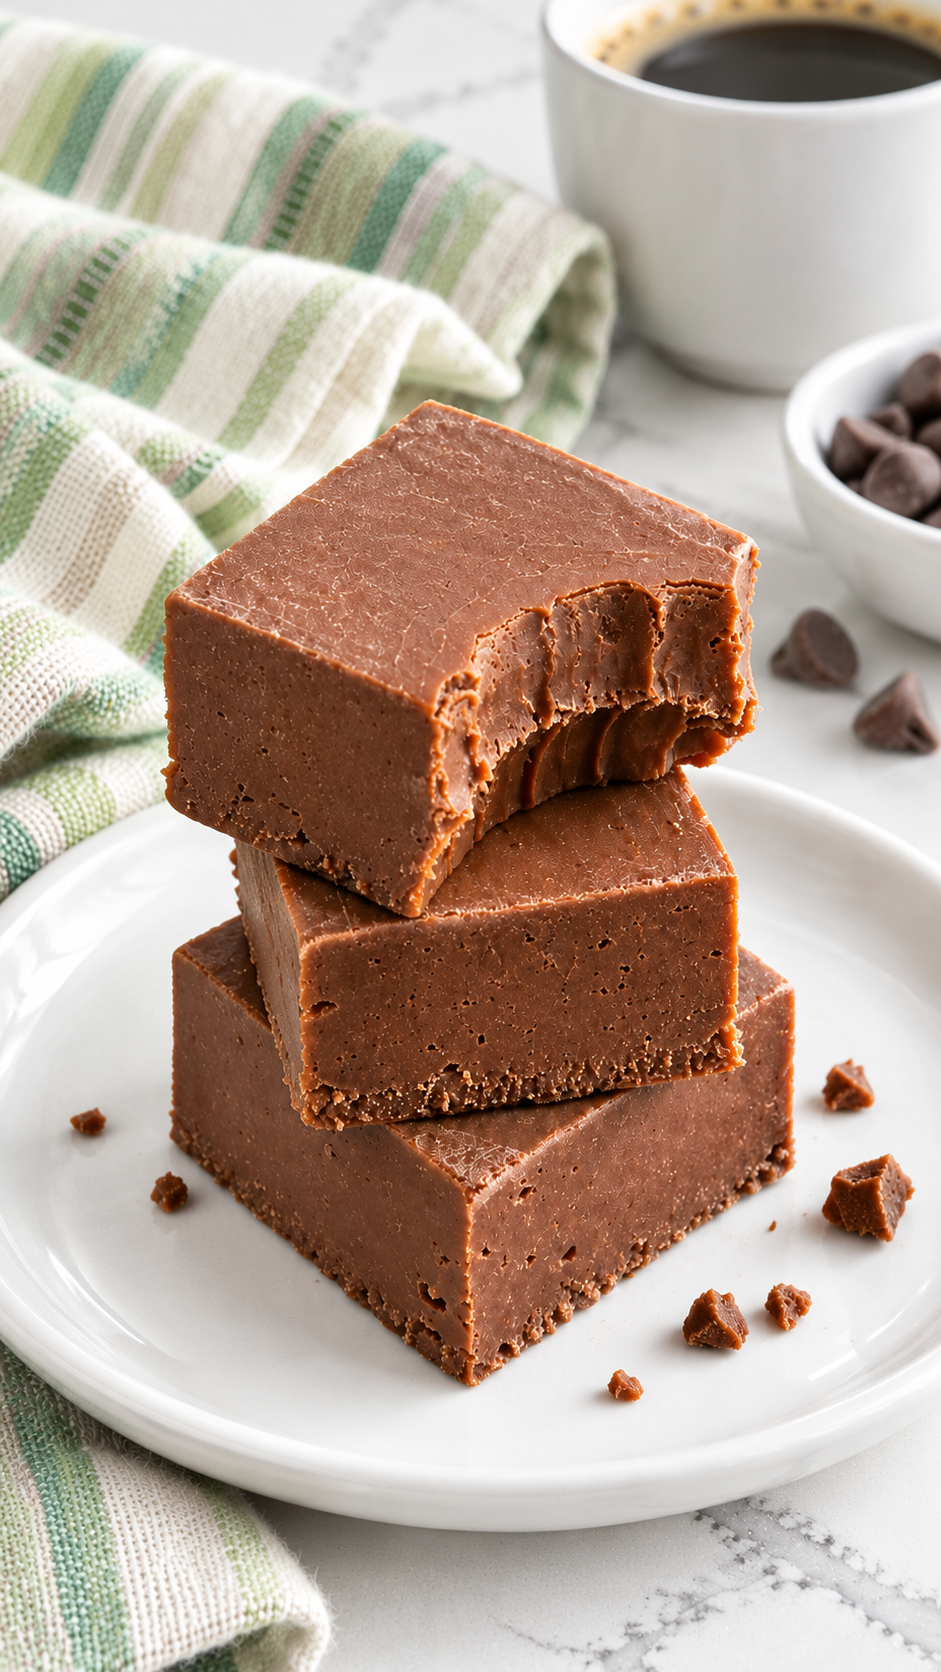
This chocolate fudge with sweetened condensed milk makes rich, creamy squares from semisweet and milk chocolate chips, a little salt, and vanilla. It's a simple stovetop candy for sharing, cookie trays, or a small sweet bite with coffee, with no boiling or candy thermometer required.
The hands-on part takes about 15 minutes; the fudge then needs about 4 hours to set. That waiting time matters. Have the lined pan ready before you melt the chocolate, and let the slab firm all the way through before reaching for the knife.
This post contains affiliate links. I may earn a commission from qualifying purchases at no extra cost to you.
A Familiar Favorite, with a Simple Method
This is the condensed-milk version of old-fashioned chocolate fudge: melt, spread, and let it set. There's no sugar syrup to cook to the soft-ball stage and no beating a cooling pot of candy. The two chocolates bring a balance of deeper cocoa flavor and milk-chocolate sweetness.
Ingredients You'll Need
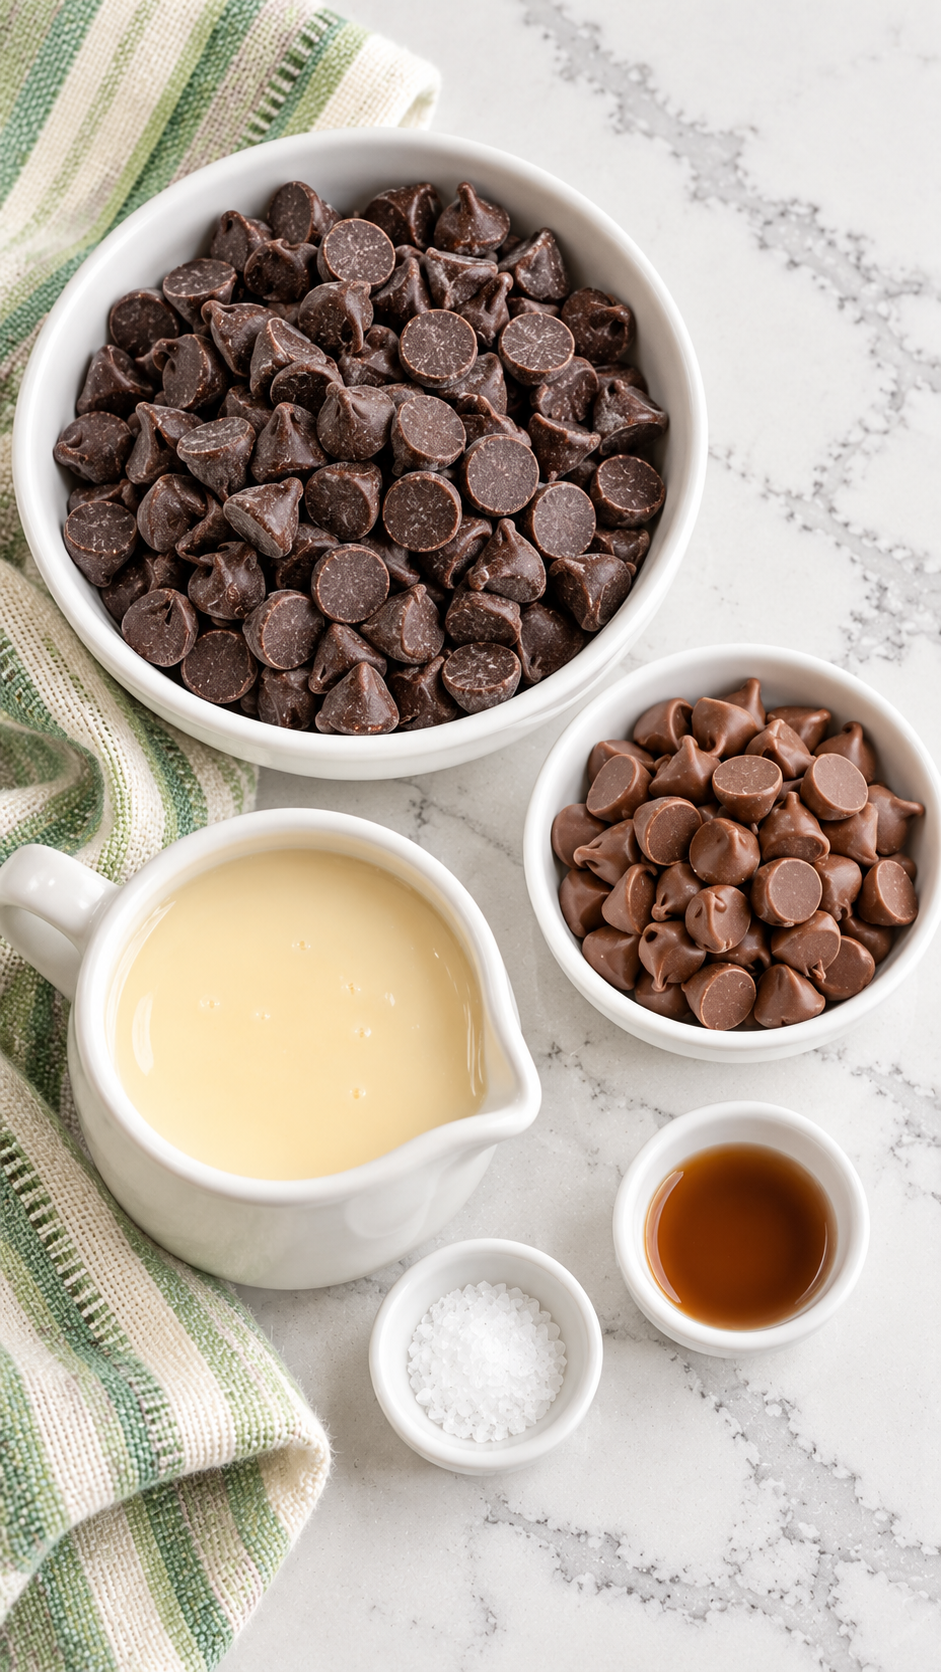
- Semisweet chocolate chips: The larger share of the chocolate, for a deeper chocolate flavor.
- Milk chocolate chips: A sweeter, milder complement to the semisweet chips.
- Sweetened condensed milk: Use the 14-ounce can specified in the recipe.
- Kosher salt: A small amount balances the sweetness.
- Vanilla extract: Stir it in after taking the pan off the heat.
- Chopped toasted pecans (optional): One of the tested nut additions.
- Chopped toasted walnuts (optional): An alternative to the pecans; use one nut choice.
 Buy Now →
 Buy Now →
 Buy Now →
 Buy Now →
 Buy Now →
 Buy Now →
 Buy Now →

Ingredient Notes and Substitutions
Sweetened condensed milk and evaporated milk aren't interchangeable here. Evaporated milk will not give this recipe the same consistency, so check the can before you begin.
For a less sweet flavor, use 3 cups of semisweet chocolate chips, or replace the milk chocolate chips with dark chocolate chips. For a nut version, fold in ½ cup chopped toasted pecans or walnuts after the vanilla. Keep the plain version plain; nuts are entirely optional.
Tools That Make It Easier
- 8-inch square baking pan: Gives the tested slab size and 36-piece yield.
- Parchment paper: Leave a lifting overhang on two opposite sides.
- Medium saucepan: Holds the chocolate mixture for gentle melting.
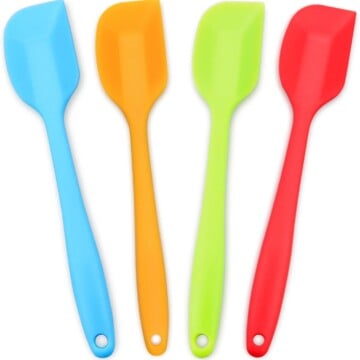
- Silicone spatula: Scrapes the saucepan and presses fudge into the corners.
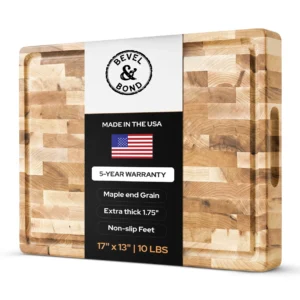
- Cutting board: Supports the firm slab for slicing.
- Sharp chef knife: Makes six rows in each direction.
- Measuring cups and spoons: For the chips, salt, and vanilla.
- Can opener: For the sweetened condensed milk, as needed.
- Airtight container: For storing the cut fudge.
 Buy Now →
 Buy Now →
 Buy Now →
 Buy Now →
 Buy Now →
 Buy Now →
 Buy Now →
 Buy Now →
 Buy Now →
How to Make Chocolate Fudge
Line the pan, melt gently, spread the mixture, and let it firm before cutting. Full quantities and printable instructions are in the recipe card below.
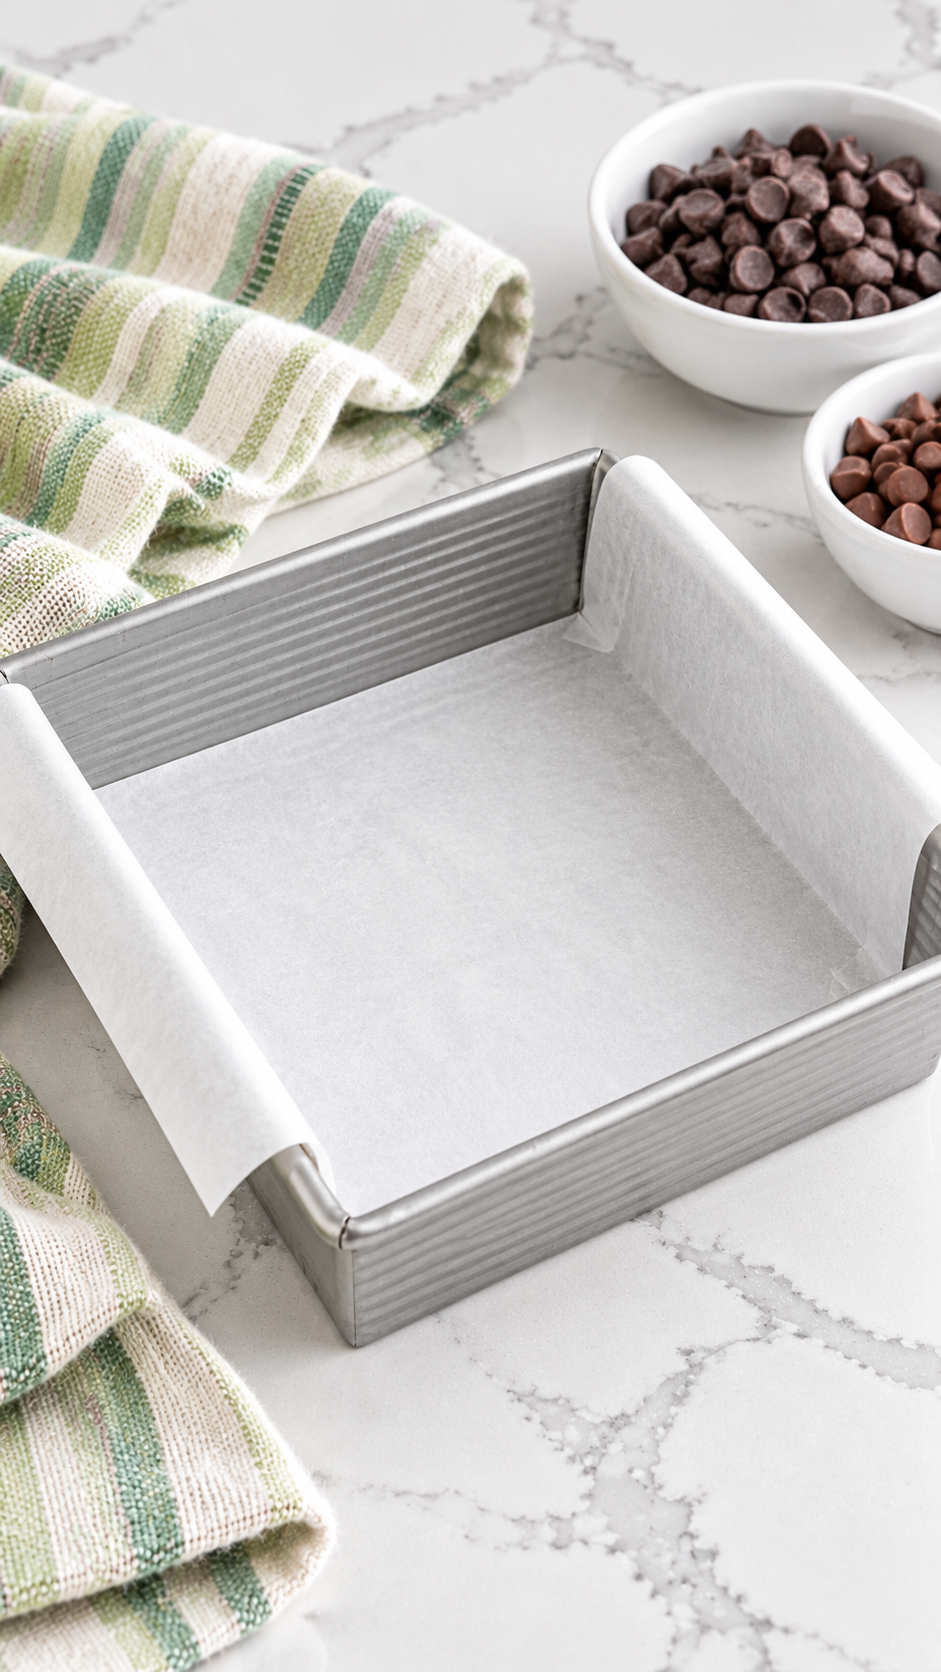
1. Line the Pan
Fit parchment into an 8-inch square baking pan, leaving enough overhang on two opposite sides to lift the fudge out later. Have it ready before heating the chocolate; the finished mixture is thick and needs to go straight into the pan.
2. Melt Gently and Add the Vanilla
Combine both chocolates, sweetened condensed milk, and salt in a medium saucepan; warm over low heat, stirring frequently and scraping the bottom and sides, until uniformly smooth, about 5 minutes. Do not let it boil; remove the pan from the heat and stir in the vanilla.
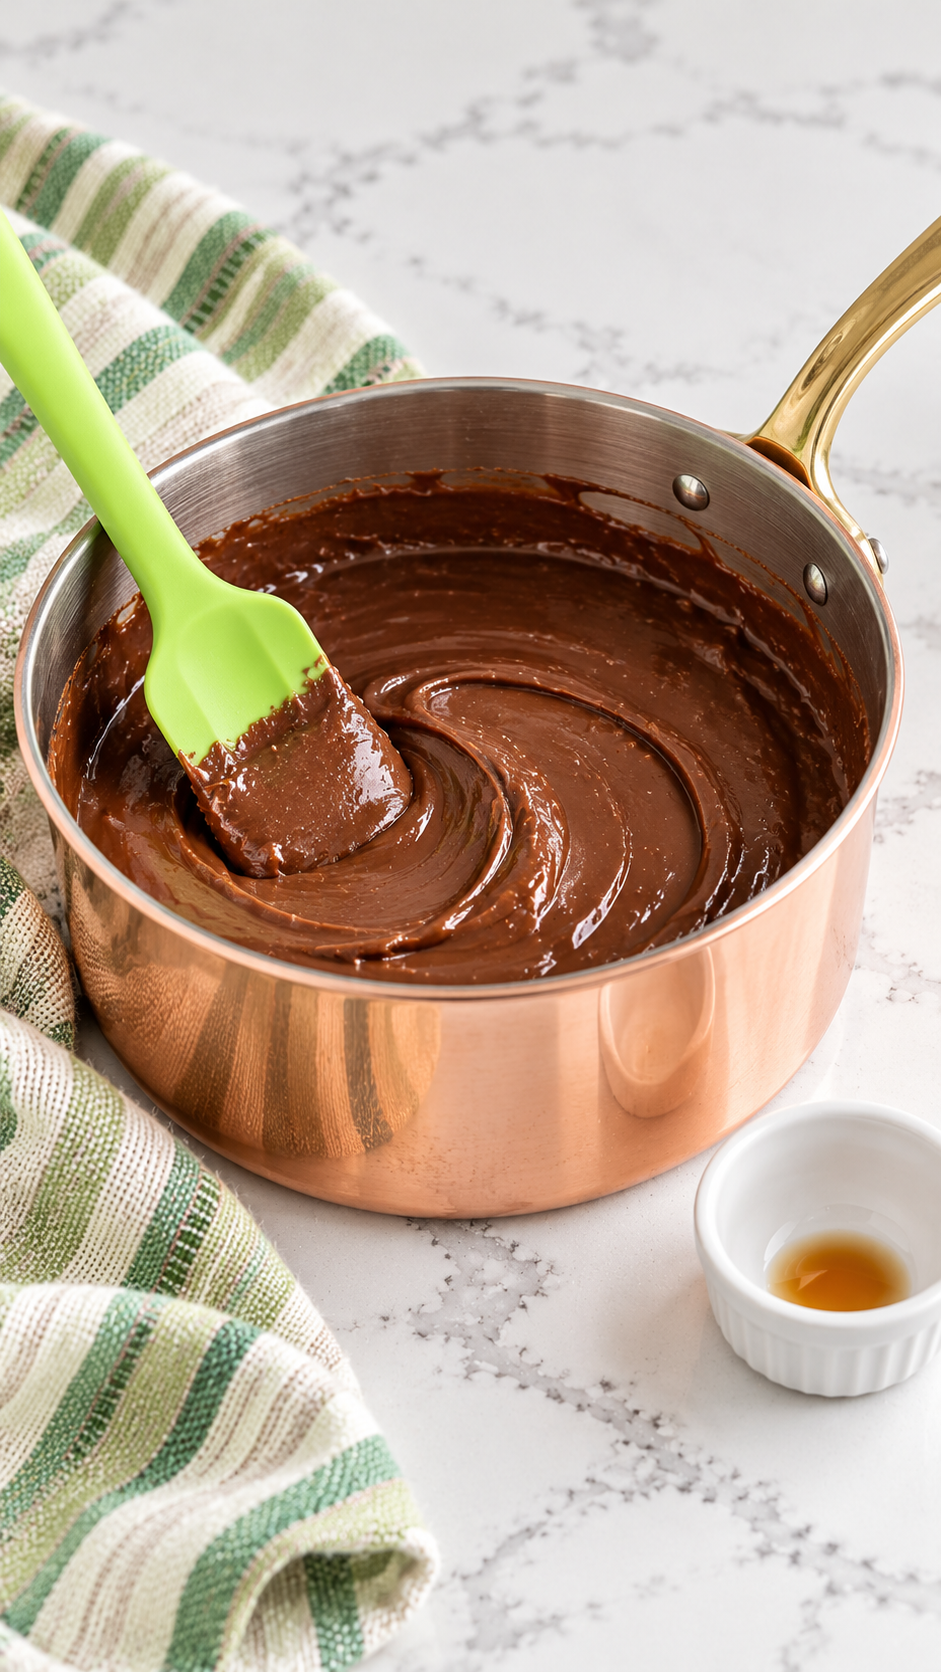
3. Fill the Pan and Let It Set
Immediately scrape the thick mixture into the lined pan, pressing it into the corners and smoothing the top with a silicone spatula. Leave it level at cool room temperature until firm throughout, about 4 hours; in a warm kitchen, refrigerate until firm enough to cut.
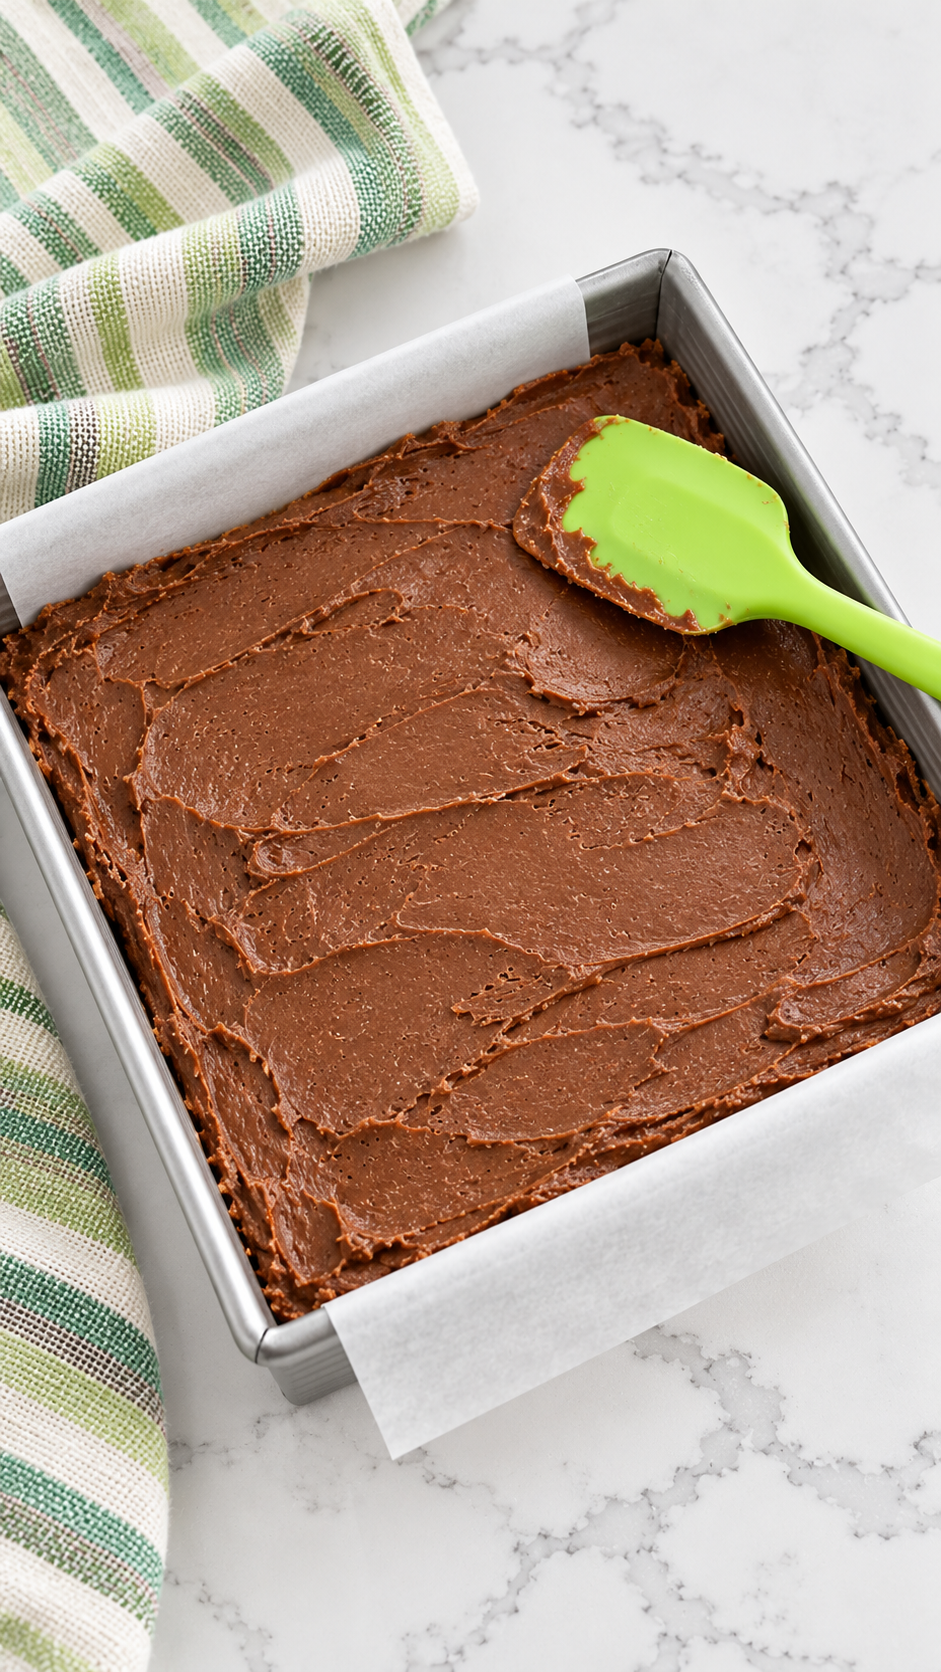
4. Cut into Small Squares
Lift out the firm slab, peel away the parchment, and set the fudge on a cutting board. Cut six rows in each direction for 36 pieces, wiping the knife between cuts for cleaner edges.
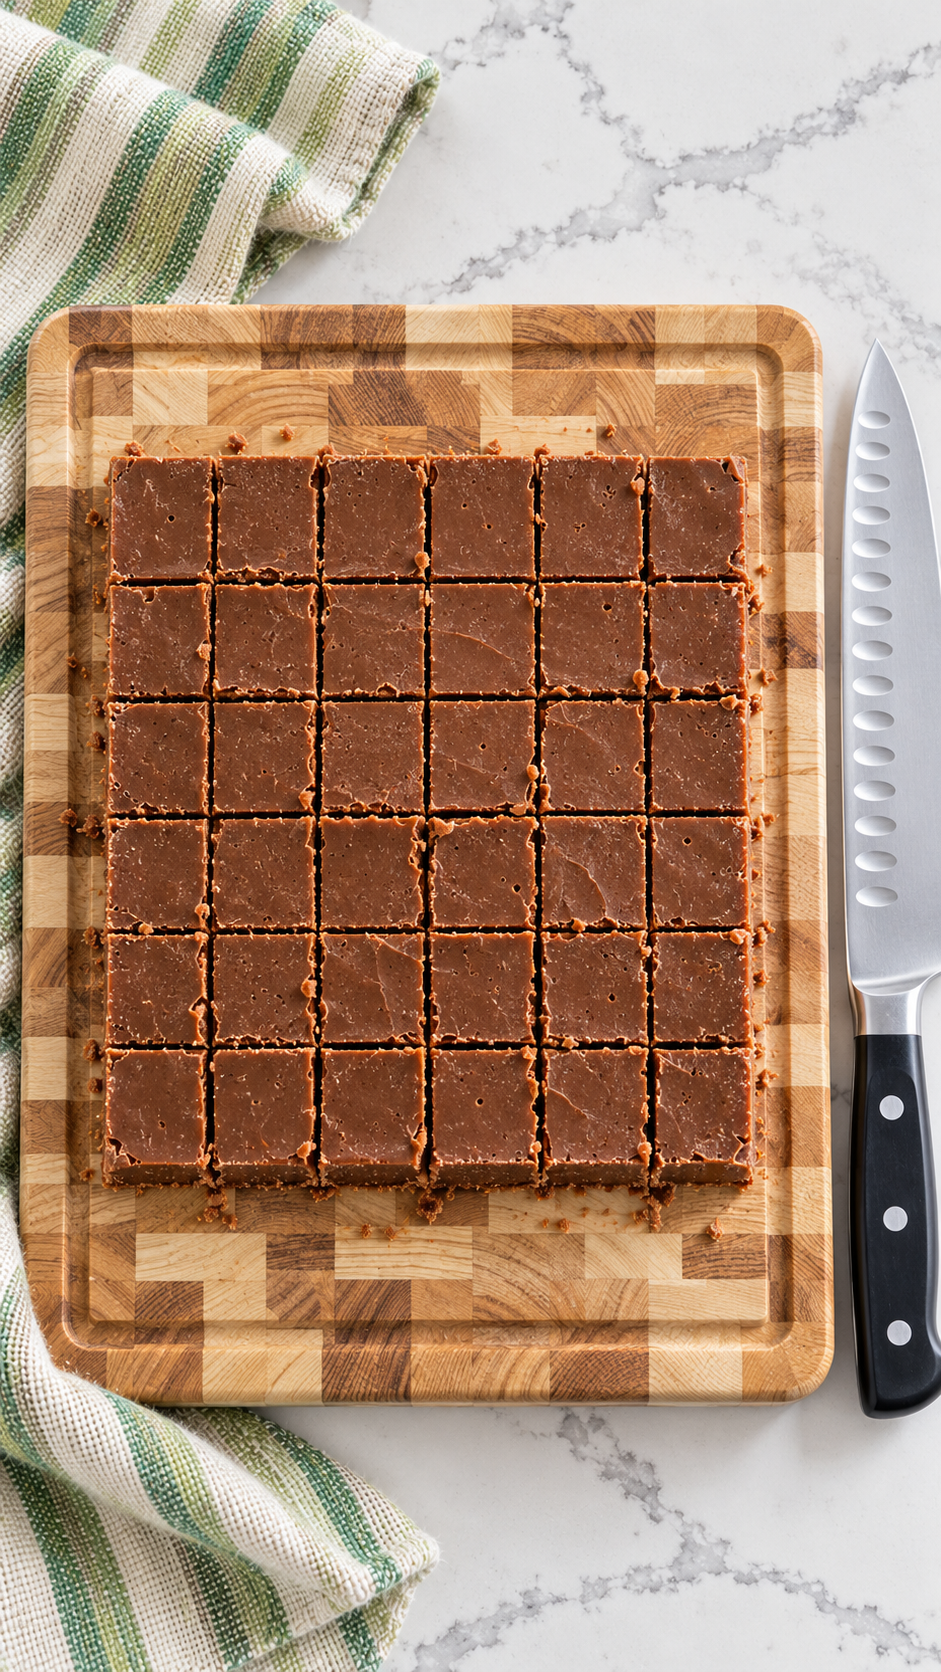
A Few Mistakes to Avoid
- Turning up the heat: Keep it low and scrape the pan as you stir. The goal is melted, smooth chocolate, not a boiling mixture.
- Leaving the pan unprepared: Line it first so you can transfer the thick mixture immediately.
- Cutting a soft center: Wait until the whole slab is firm. Refrigeration is the tested option when the kitchen is warm.
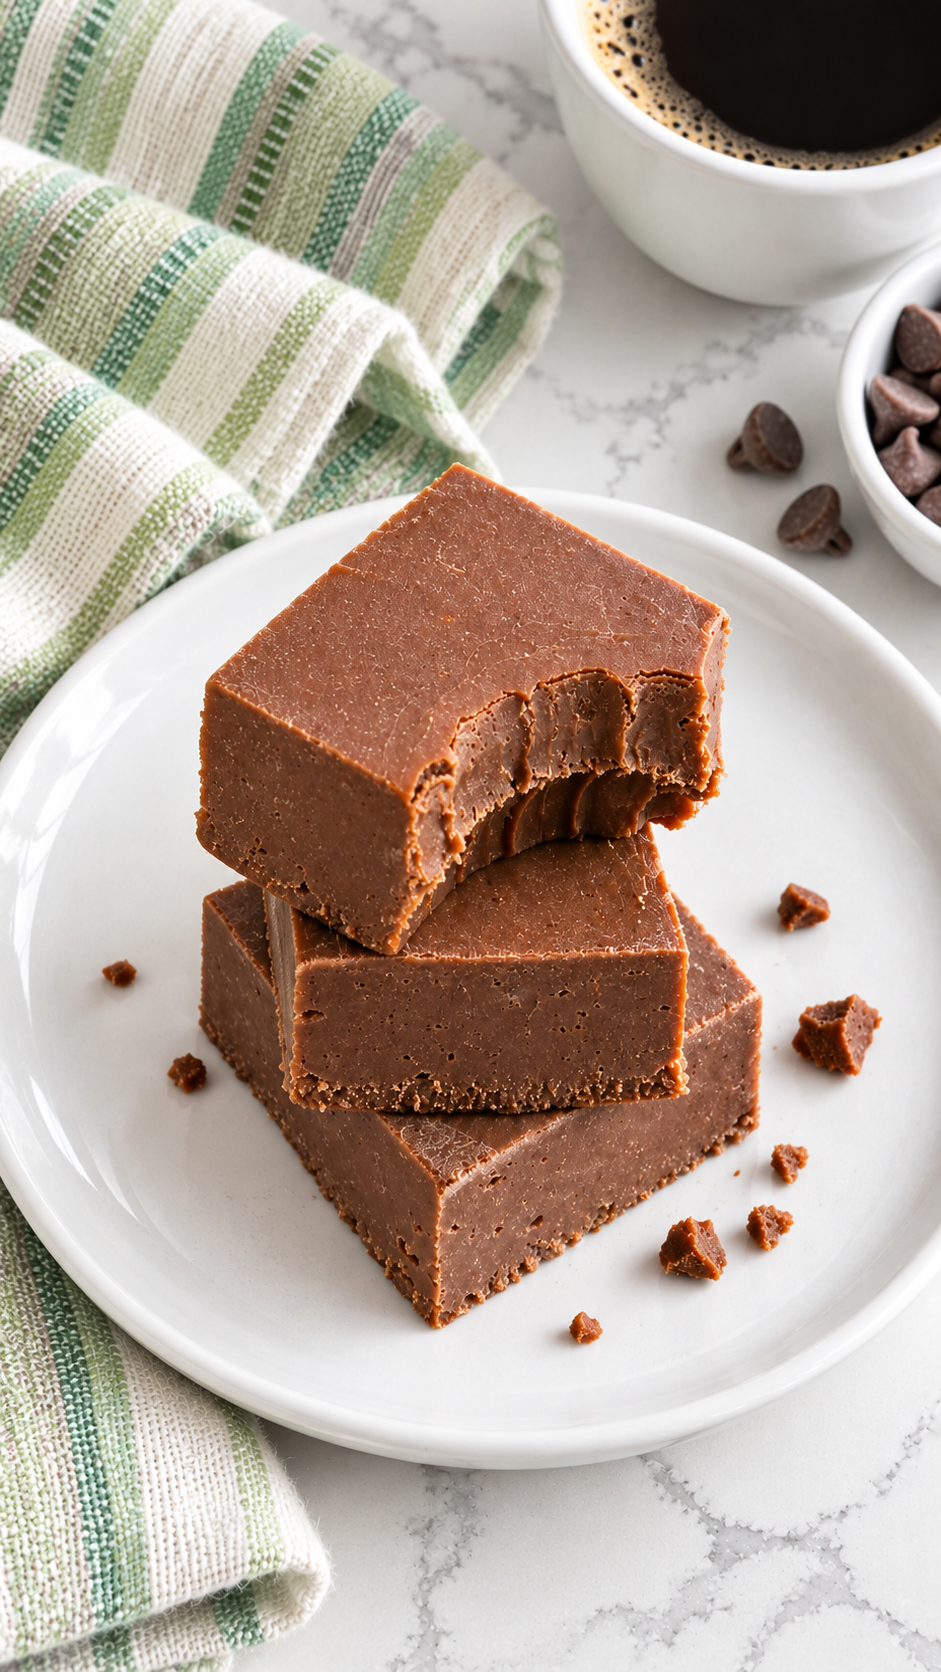
Keeping Leftovers Fresh
Store fudge in an airtight container with parchment between layers. It keeps at cool room temperature for up to 1 week, or in the refrigerator for up to 2 weeks.
Can You Make It Ahead or Freeze It?
Yes. Make the fudge ahead using the storage windows above, allowing about 4 hours for setting before cutting. To freeze, wrap it tightly and place it in a freezer-safe airtight container for up to 3 months. Thaw overnight in the refrigerator while still wrapped to help keep condensation off the surface.
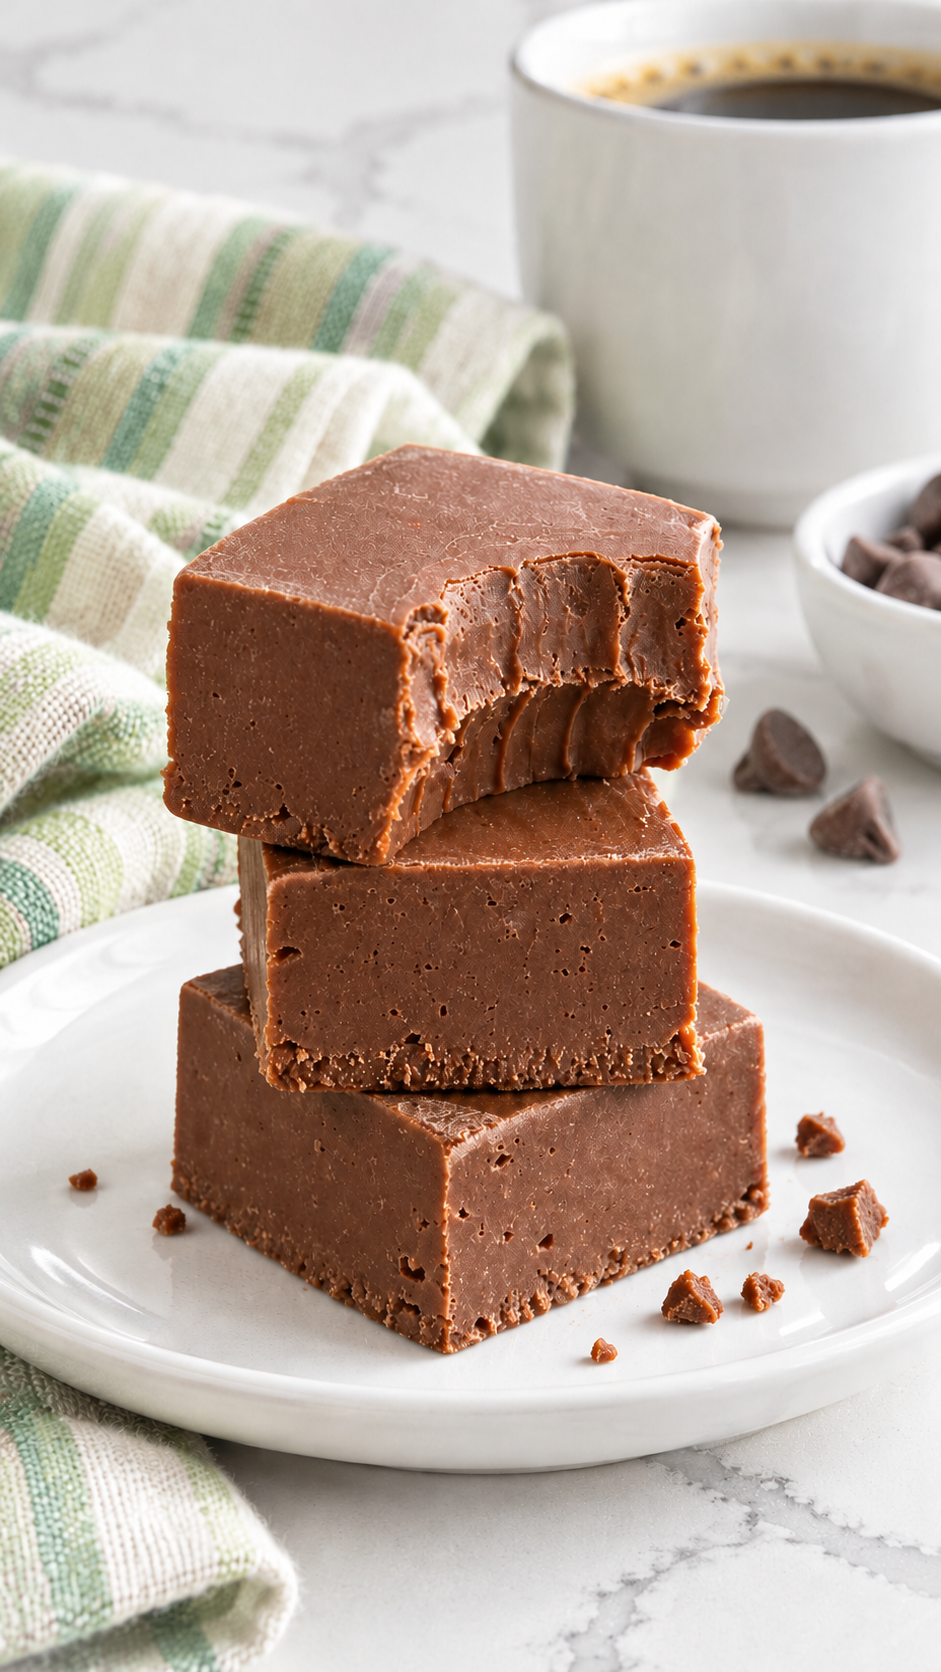
What to Serve with Chocolate Fudge
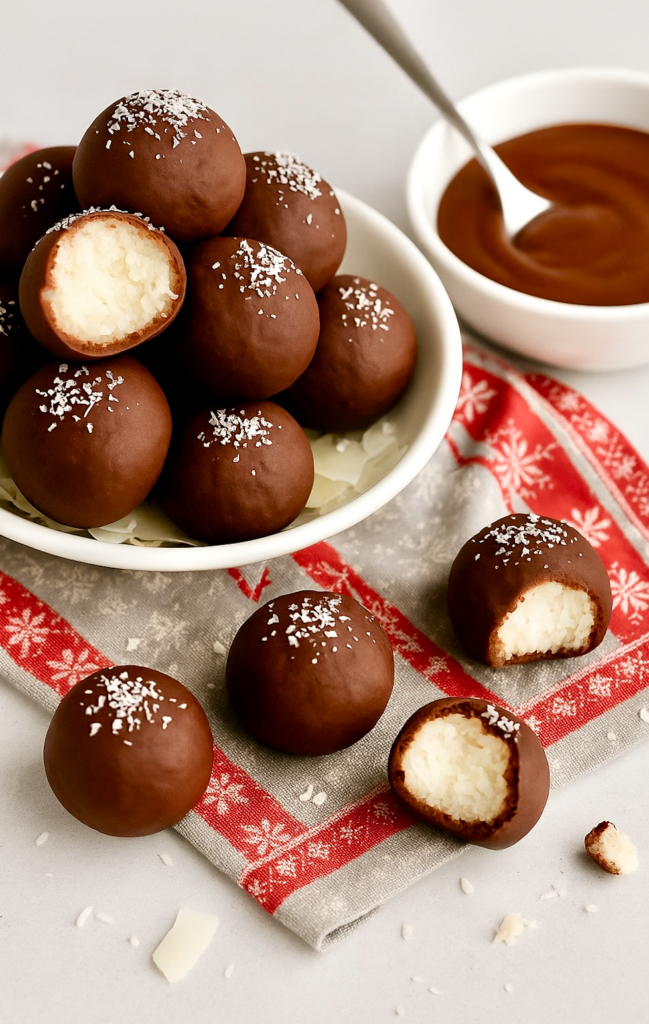
Serve small squares with coffee, hot tea, or milk. For a homemade gift, pair the fudge with Spiced Tea Mix; for a candy tray, add the creamy centers of Peanut Butter Balls and the chewy texture of Chocolate Coconut Balls. Paper candy cups are an optional gifting choice from the recipe notes.

Spiced Tea Mix

Peanut Butter Balls
Chocolate Coconut Balls
Questions Before You Start
Does this fudge need a candy thermometer?
No. This recipe melts chocolate chips with sweetened condensed milk over low heat. It does not use a boiled sugar syrup or a candy-temperature endpoint.
Does five minutes mean the fudge is ready to eat?
No. Five minutes is the approximate cooking time. Allow 10 minutes for prep and about 4 hours for setting, for a total of about 4 hours 15 minutes.
Get More Recipes Like This
If you loved this recipe, make sure you join my email list. I send out my best weeknight dinners, holiday favorites, and reader-requested recipes straight to your inbox.
I'll also send you My 5 Chef Secrets that instantly elevate your cooking-the exact techniques I use in my own kitchen.
Tell Me How It Turned Out
Did you keep the fudge plain or add toasted nuts? Leave a comment below and tell me how you served it. If you made the recipe, please leave an honest rating and review to help other readers.
More Recipes You Might Like
Build out a homemade candy assortment with chewy caramels, chocolate-covered cherries, and coconut centers.

Peppermint Christmas Trees
Peppermint chocolate Christmas trees made with pretzel sticks, crushed peppermint, and easy melted chocolate-festive, crunchy, and perfect for cookie trays, gifts, and holiday parties.

Mexican Vanilla Caramels
Chewy vanilla caramels for another homemade candy to share.

Saltine Cracker Toffee
Sweet, salty, and impossible to resist, this easy saltine toffee crack candy is a holiday favorite. Made on one pan with pantry staples, it's perfect for gifting, sharing, or sneaking a piece straight from the fridge.
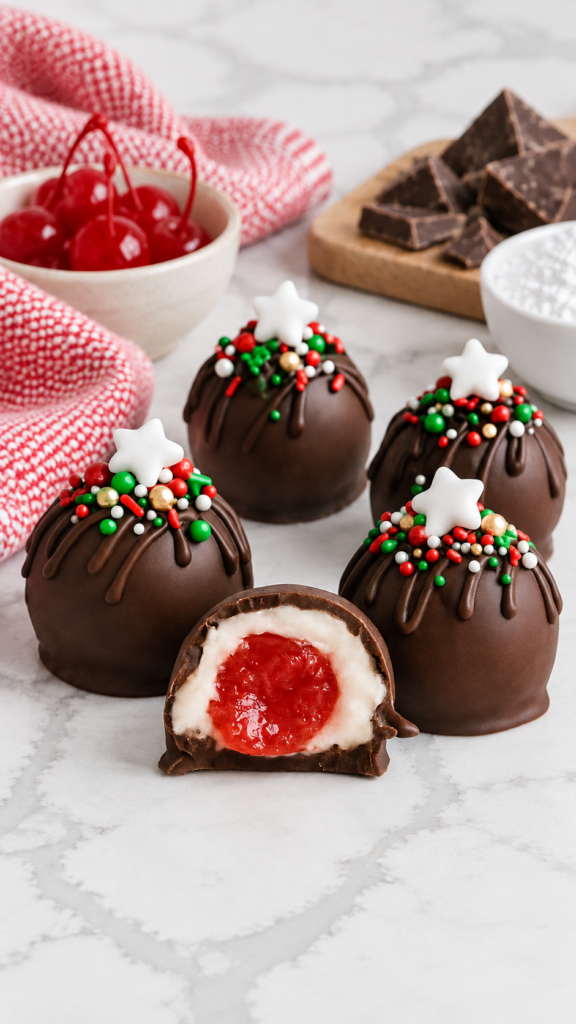
Homemade Chocolate Covered Cherry Cordials
Chocolate-covered cherries with a soft fondant filling.
Chocolate Coconut Balls
Chewy coconut centers beneath a chocolate coating.
Recipe
PrintOld-Fashioned Chocolate Fudge with Condensed Milk
This chocolate fudge with sweetened condensed milk blends semisweet and milk chocolate into rich, creamy squares. A gentle stovetop melt makes 36 pieces for sharing.
- Prep Time: 10 minutes
- Cook Time: 5 minutes
- Total Time: 4 hours 15 minutes
- Yield: 36 pieces 1x
- Category: Candy
- Method: Stovetop
- Cuisine: American
Ingredients
- 2 cups semisweet chocolate chips
- 1 cup milk chocolate chips
- 1 can (14 ounces) sweetened condensed milk
- ¼ teaspoon kosher salt
- 1 teaspoon vanilla extract
Instructions
- Fit parchment paper into an 8-inch square baking pan, leaving enough hanging over two opposite sides to lift out the finished fudge.
- Add both types of chocolate chips, sweetened condensed milk, and kosher salt to a medium saucepan. Warm over low heat, stirring frequently and scraping the bottom and sides, until the chips melt and the mixture becomes uniformly smooth, about 5 minutes. Keep the heat gentle; do not let the mixture boil.
- Remove the saucepan from the heat and stir in the vanilla.
- Immediately scrape the thick chocolate mixture into the lined pan. Use a silicone spatula to press it into the corners and smooth the surface.
- Leave the pan on a level surface at cool room temperature until the fudge is firm throughout, about 4 hours. If the kitchen is warm, refrigerate until firm enough to cut.
- Lift the fudge from the pan using the parchment overhang. Peel away the paper and place the slab on a cutting board.
- With a sharp knife, cut into six rows in each direction to make 36 pieces. Wipe the blade between cuts for cleaner edges.
Notes
Substitutions: Use 3 cups semisweet chocolate chips for a less sweet flavor, or replace the milk chocolate chips with dark chocolate chips. Use sweetened condensed milk; evaporated milk will not produce the same consistency.
Optional additions: Fold in ½ cup chopped toasted pecans or walnuts after adding the vanilla.
Serving: Serve small squares with coffee, hot tea, or milk. Add to cookie trays or place individual pieces in paper candy cups for gifting.
Storage: Store in an airtight container with parchment between layers. Keep at cool room temperature for up to 1 week or refrigerate for up to 2 weeks.
Freezing: Wrap the fudge tightly, then place in a freezer-safe airtight container. Freeze for up to 3 months. Thaw overnight in the refrigerator while still wrapped to help prevent condensation from collecting on the surface.
Setting time: About 4 hours. Total time includes setting.





0