

Every year, without fail, somebody in the family will ask if I'm making Aunt Sallie's peanut butter balls. They're always on my list, partly out of tradition and partly because I know what kind of uproar I'd cause if they weren't. And every time I start mixing that thick peanut butter filling, I'm right back in my grandmother's kitchen in December-warm for days, parchment paper stretched across every surface, and trays of gingersnaps, kolaches, and apple strudel cooling wherever they could find a spot.
I can still see Aunt Sallie coming through Grandma's front door with a platter stacked so high we all wondered how she managed to carry it. We waited for her like she was Santa's opening act-mostly for the treats, but the presents didn't hurt.
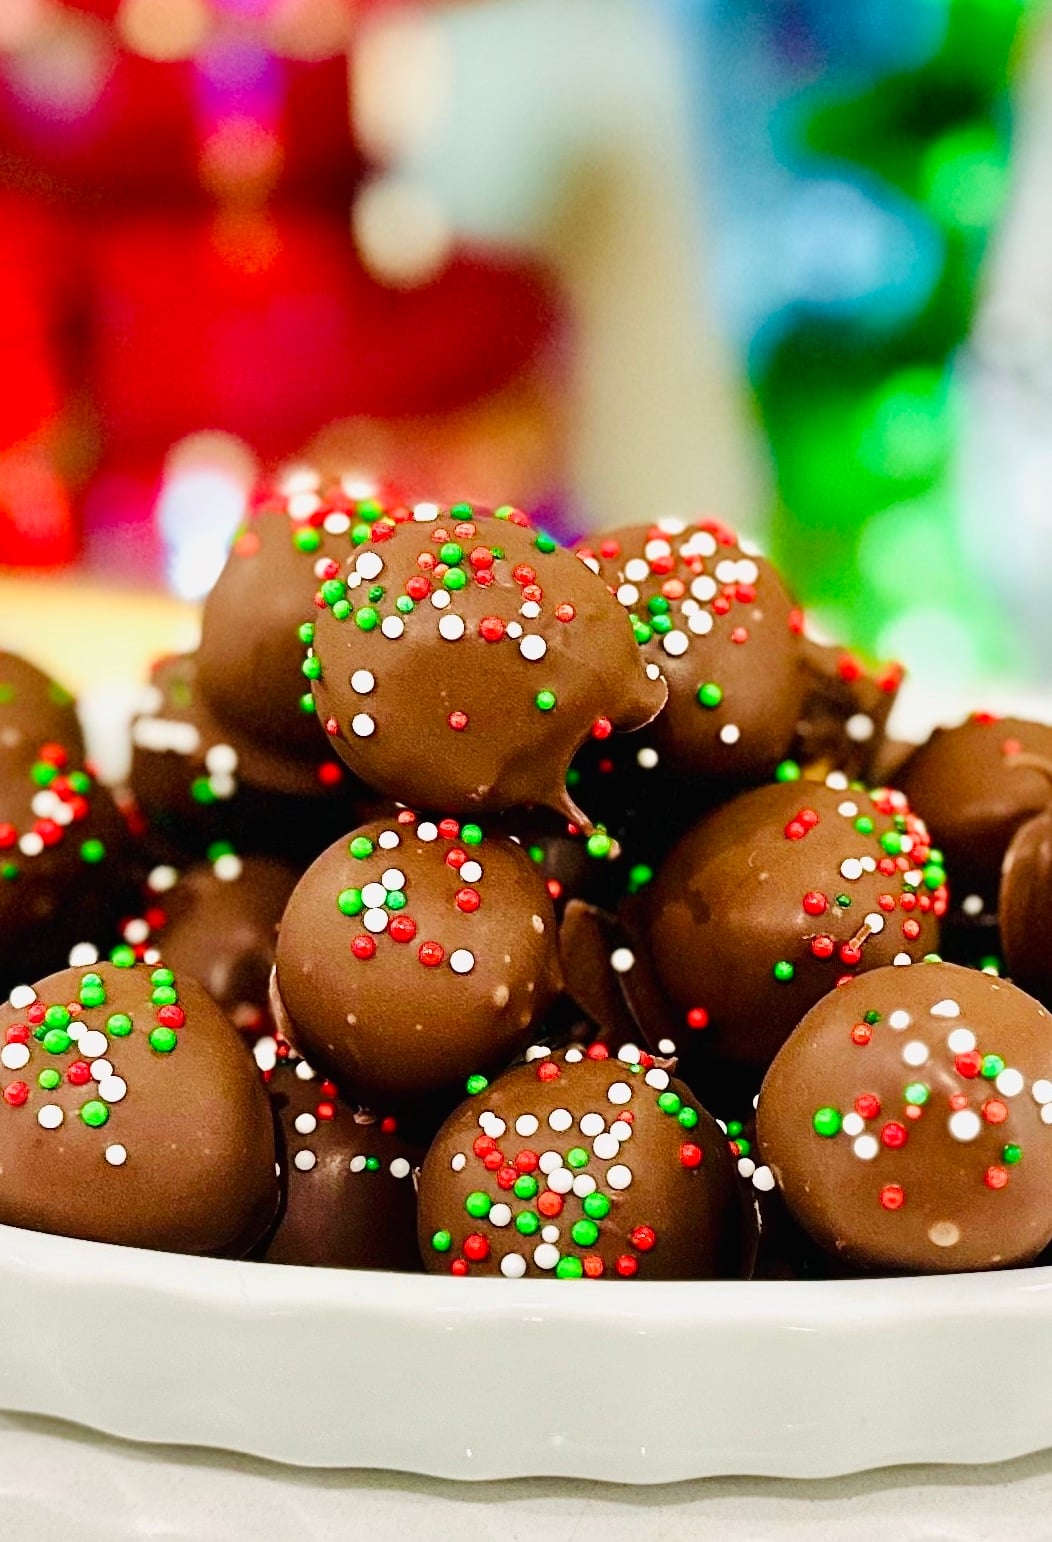
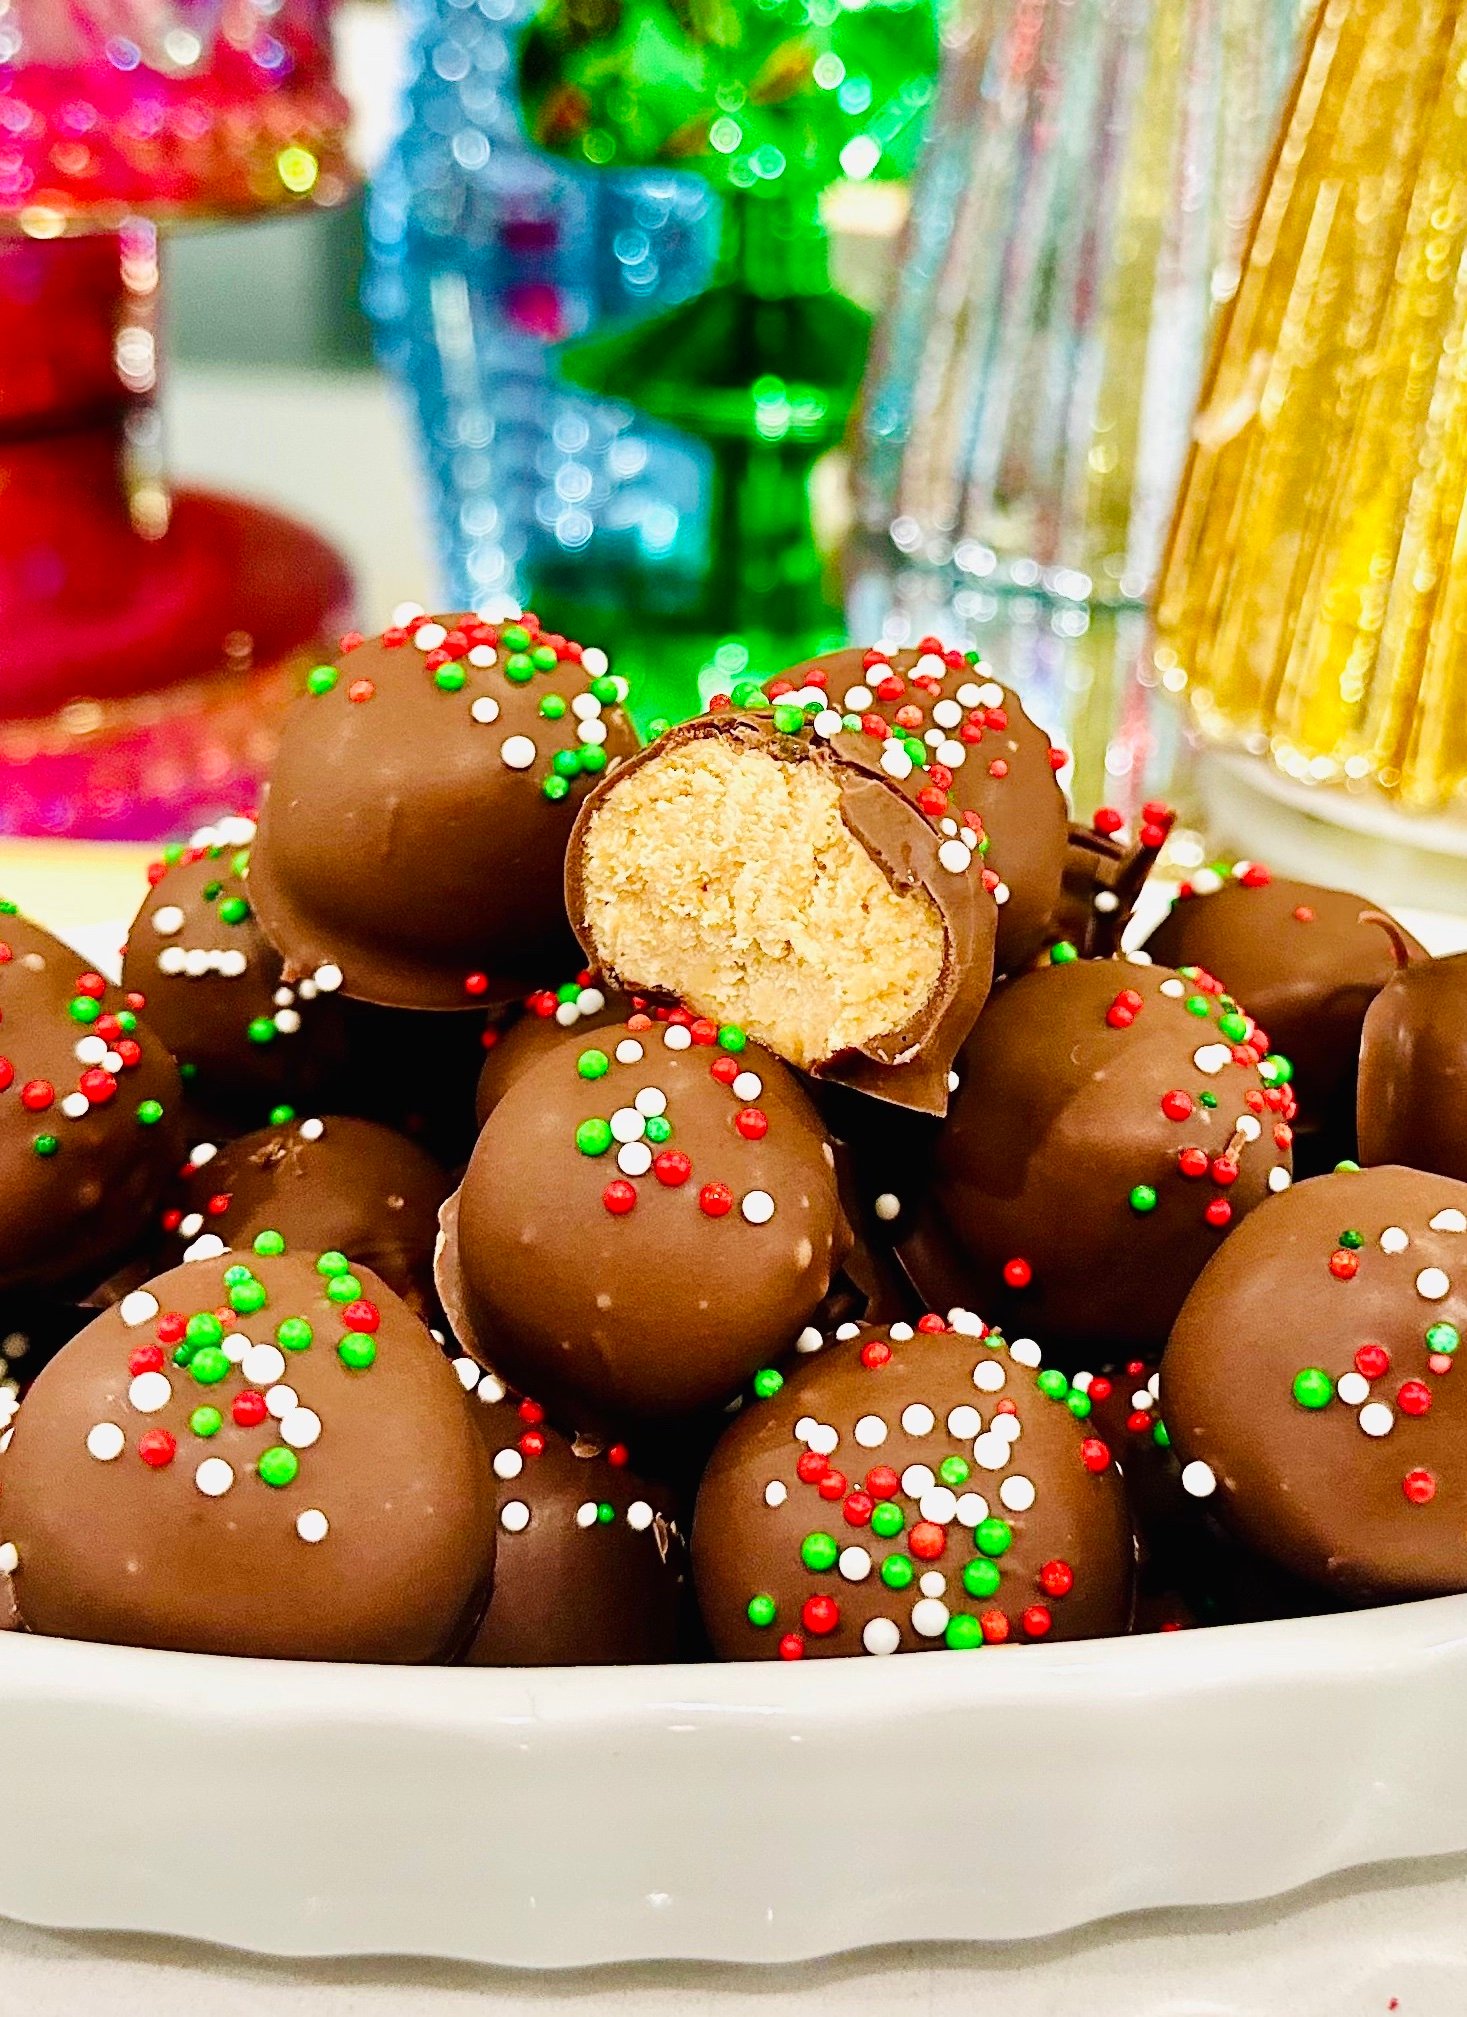
Her legendary decorated sugar cookies always made an appearance, but the peanut butter balls were the ones we kept an eye on. The cousins would quietly count them, pretending we weren't doing math at the holiday table, just making sure nobody got shorted. That smooth, dense peanut butter filling had just enough sweetness to make you reach for another without thinking twice.
Over the years, those chocolate-covered peanut butter balls settled in as a non-negotiable part of Christmas. Now my kids ask for them before the tree is even up, which tells me Aunt Sallie's tradition is alive and well.
The Gist
Cook Time: About 5 minutes (melting chocolate)
Total Time: About 35 minutes
Yield: About 88 small 1-inch balls
Skill Level: Easy
Dietary Notes: No-bake
Why You'll Love It
- The peanut butter mixture comes together fast and rolls into sturdy 1-inch balls without sticking.
- The chocolate coating sets beautifully, giving each bite a little crunch on top of the peanut butter part.
- This easy recipe uses simple pantry staples, which makes it perfect for last-minute Christmas time gatherings.
- They keep well, freeze well, and travel well-ideal for gifting or adding to a cookie sheet for holiday parties.
- Peanut butter lovers and peanut butter junkies alike will appreciate that balance of smooth peanut butter and rich melted chocolate.
Where This Dish Comes From
Peanut butter balls have been a staple on Southern and Midwestern holiday tables for generations, often passed around with fudge, divinity, and buckeyes. Versions of this chocolate peanut butter balls recipe appeared in church cookbooks and community fundraisers long before social media made them famous. They've stuck around because they're simple, reliable, and loved by just about anyone who enjoys chocolate desserts or their favorite candy during the holidays.
Kitchen Equipment
 Buy Now →
  Buy Now →
  Buy Now →
  Buy Now →
  Buy Now →
  Buy Now →
Gather Your Ingredients
 Buy Now →
  Buy Now →
  Buy Now →
  Buy Now →
  Buy Now →
  Buy Now →
  Buy Now →
 Let's Get to Cookin'
Make the Peanut Butter Mixture
Add peanut butter, butter, kosher salt, powdered sugar, and vanilla extract to a large bowl or stand mixer. Mix until the peanut butter filling is smooth and thick.


Roll the Peanut Butter Balls
Scoop and roll the mixture into even 1-inch balls. Set each one on a lined baking sheet. Chill until firm.


Melt the Chocolate
Use a double boiler to gently melt the chocolate chips and coconut oil, stirring until smooth. Avoid overheating so the chocolate coating stays glossy.
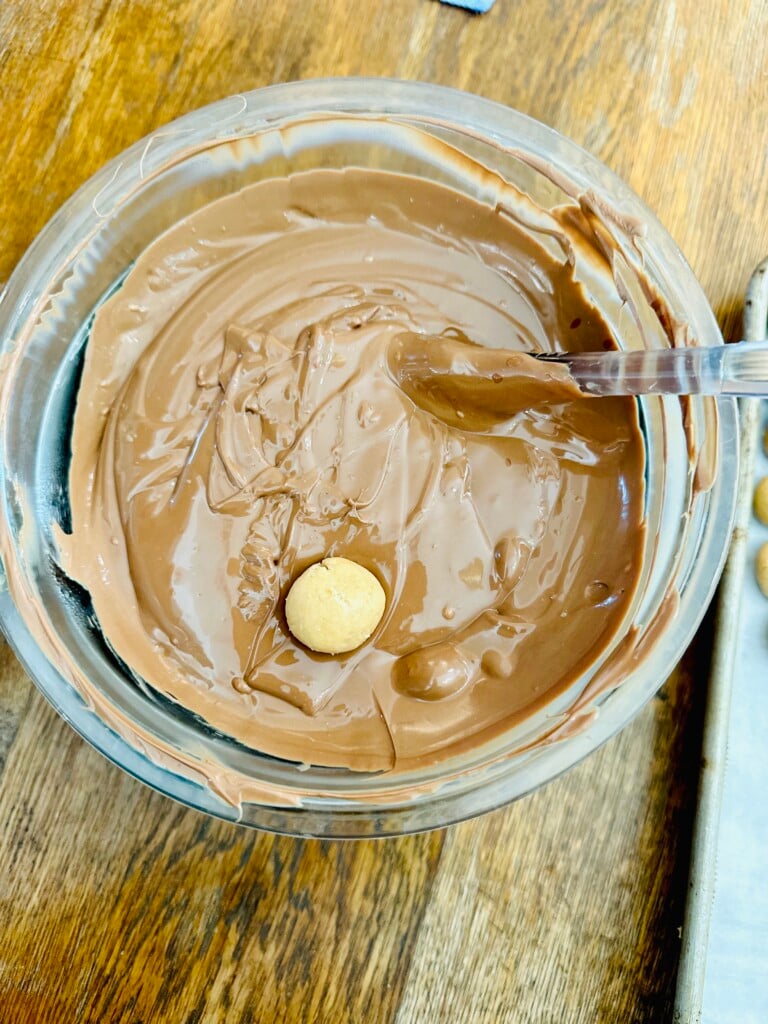
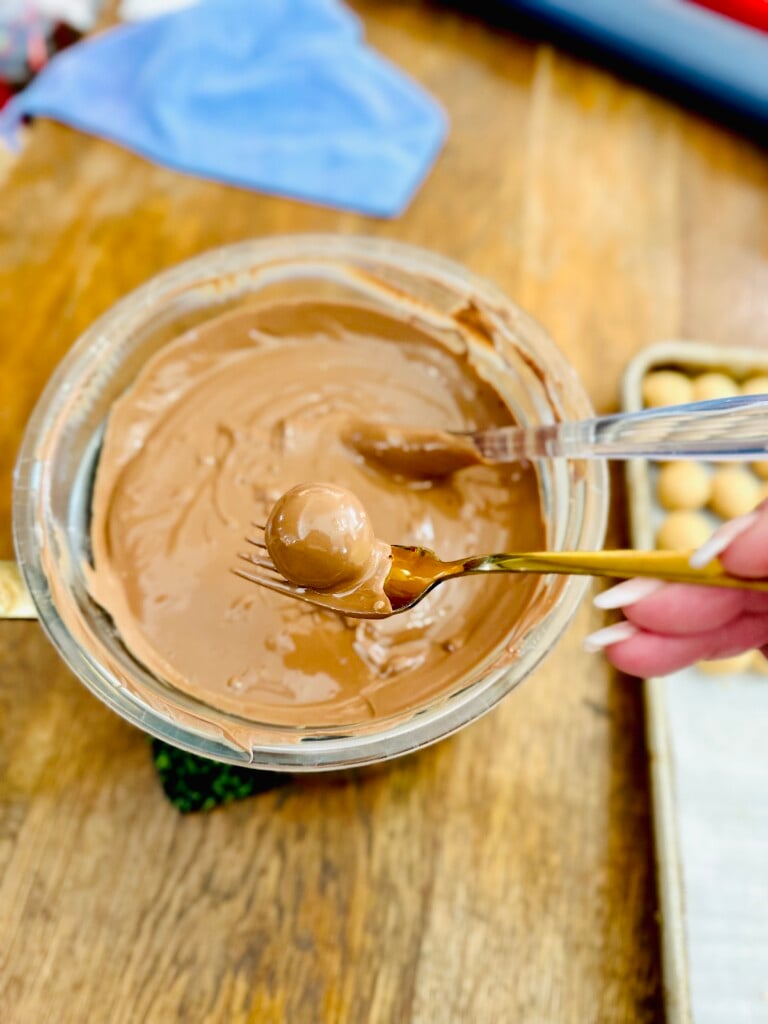
Dip the Peanut Butter Balls
Use a fork or dipping tool to coat each ball in melting chocolate. Let excess drip off so the top of the peanut butter balls stays neat. Place them back on parchment paper until the chocolate sets.


Chill and Store
Refrigerate until firm. Store in an airtight container.
✨ Scroll to the bottom for the full recipe ✨
This post may contain affiliate links. I may receive commissions for purchases made through links in this post.
Visit my Amazon Store for everything you need to cook up a storm, bake delicious treats, and whip up your favorite beverages!
Chef's Tips for Chocolate Peanut Butter Balls
- Use smooth peanut butter: It blends more evenly and gives the filling a consistent texture.
- Chill before dipping: Firm balls dip cleaner and hold their shape.
- Keep chocolate warm: Gently reheating the bowl keeps the coating smooth. I like to melt my chocolate in tall mason jars and after it is melted, I fill a slow cooker ¼ full with hot water, set it on "keep warm", and set the jars of melted chocolate inside while I'm working - this keeps that chocolate silky smooth throughout the whole process, without having to stop and re-melt all the time.
- Let excess drip: Helps prevent pooling at the bottom.
- Use parchment paper: Ensures the chocolate-covered peanut butter balls release cleanly.
FAQs
Can I use semi-sweet chocolate?
Yes-semi-sweet chocolate works well and gives a deeper flavor than milk chocolate.
Can these be made ahead?
Absolutely. They keep well in the fridge for up to two weeks.
Why is my chocolate too thick?
Add a small amount of coconut oil to thin it until it coats smoothly.
Can I make the filling less sweet?
Reduce the powdered sugar slightly, but note the texture may be softer and may not hold it's shape.
Leftovers & Storage
Store in an airtight container in the refrigerator for up to 2 weeks.
Freeze for up to 3 months; thaw in the fridge before serving.
My Favorite Storage Containers

Rubbermaid Brilliance Storage Containers
Buy Now →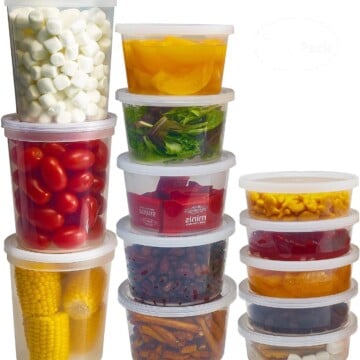 Buy Now →
  Buy Now →
  Buy Now →
 Stick Around for Seconds
If easy holiday treats are your thing, subscribe to my newsletter and take a look at the snacks and sweets waiting in my recipe archives-you might find your next favorite holiday treat.
Tried It?
If you make this recipe, tag me on Instagram with #jennifercooks-I'd love to see your version!
More Treats to Keep the Holidays Rolling
If your dessert table is already crowded, don't worry-there's always room for one more sweet thing (or six). These treats all lean festive, shareable, and make-ahead friendly, so you can keep the holiday snacking going from the first cookie swap to the last family drop-in.

Peanut Butter Blossoms
Soft, chewy peanut butter cookies topped with melty chocolate kisses-perfect for cookie exchanges, gifting, or anyone who loves that chocolate-peanut butter combo.

Classic Spritz Butter Cookies
Buttery, delicate cookies pressed into pretty shapes, ideal for tins, trays, and anyone who still loves an old-school cookie press moment.
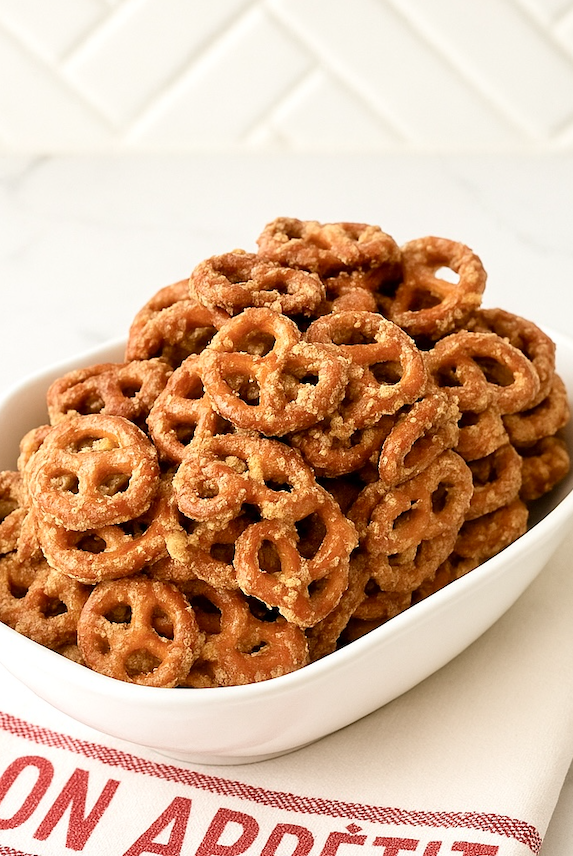
Butter Toffee Pretzels
Crunchy pretzels coated in a sweet, buttery toffee glaze for that sweet-salty holiday snack you can't stop grabbing by the handful.

Chocolate Hershey Kiss Cookies
A rich chocolate spin on the classic blossom, with soft chocolate cookies and a candy kiss in the center for the chocolate-first crowd.
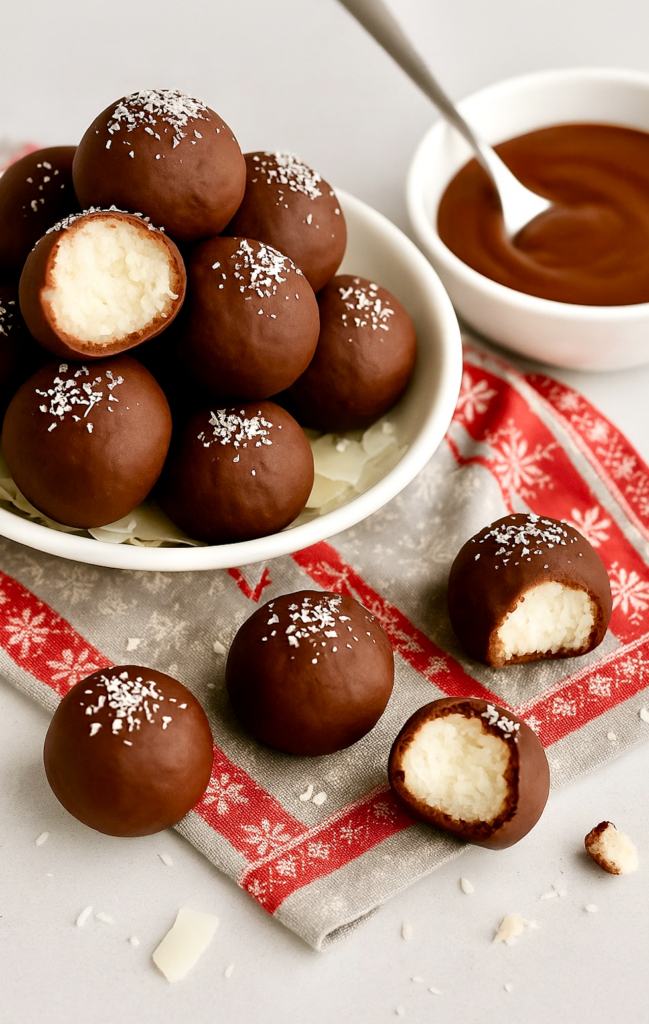
Chocolate Covered Coconut Balls
Sweet coconut filling rolled into soft bites and dipped in smooth chocolate-a nostalgic candy-shop treat that belongs on every holiday plate.

Easy Soft Vanilla Almond Sugar Cookie Cutouts
Tender, lightly flavored cutout cookies that hold their shape beautifully-ideal for decorating, gifting, or setting out for Santa.
*****
Before You Get Started! If you whip up this recipe, I'd love to hear what you think! Leave a review and rating to let me know how it turned out. Your feedback helps keep the kitchen running and allows me to keep sharing free recipes with y'all!
Peanut Butter Balls
Equipment
- Double Boiler optional
Ingredients
- 1 (40-ounce) jar Jif Creamy Peanut Butter
- 2 sticks salted butter softened
- 1 ½ teaspoon kosher salt
- 8 ½ cups powdered sugar (1 (2-pound bag) + 1 cup)
- 1 ½ Tablespoons vanilla extract
- 3 (11.5-ounce) packages Guittard milk Chocolate chips
- 2 tablespoons coconut oil
Instructions
Prepare the Peanut Butter Mixture
- Combine peanut butter, softened butter, kosher salt, powdered sugar, and vanilla extract in the bowl of a stand mixer.1 (40-ounce) jar Jif Creamy Peanut Butter, 2 sticks salted butter, 1 ½ teaspoon kosher salt, 8 ½ cups powdered sugar, 1 ½ Tablespoons vanilla extract
- Mix on medium speed until smooth and fully combined.
Shape the Peanut Butter Balls
- Scoop and roll the mixture into small, even balls using a cookie scoop.
- Place the formed balls on a baking sheet lined with parchment paper.
- Chill until firm.
Melt the Chocolate
- Place the chocolate chips and coconut oil in a microwave-safe bowl.3 (11.5-ounce) packages Guittard milk Chocolate chips, 2 tablespoons coconut oil
- Heat in short intervals, stirring between each, until fully melted and smooth.
Dip the Peanut Butter Balls
- Dip each chilled peanut butter ball into the melted chocolate, allowing excess chocolate to drip off.
- Transfer to a parchment-lined baking sheet to set.
- Refrigerate until firm.
- Store in an airtight container in the refrigerator.
Notes
- Use semi-sweet or dark chocolate chips in place of milk chocolate chips.
- Smooth natural peanut butter can be used but may produce a softer texture, so you will probably need to increase the powdered sugar so that it will hold the ball shape.
- Serve as part of a holiday candy tray.
- Package in small gift boxes for homemade gifts.
- Refrigerate in an airtight container for up to 2 weeks.
- Freeze for up to 3 months. Thaw in the refrigerator before serving.
Nutrition
*Nutrition information is automatically calculated based on ingredient data and should be considered an estimate. When multiple ingredient options are provided, the first listed is used for calculation. Optional ingredients and garnishes are not included in the nutrition analysis.
Did you make this recipe? Tag @jennifercooks123 on Instagram and hashtag it #jennifercooks so we can see all the deliciousness!
alls
Comments
No Comments