

This old-fashioned buttermilk pie recipe bakes into a sweet, creamy custard with a gentle tang, a golden top, and rich vanilla flavor. It makes one 9-inch pie with eight servings-a simple dessert for Sunday supper or a holiday table. Give the pie time to cool and chill so the filling can firm before slicing.
Buttermilk Pie is my husband, Quinton's all-time favorite pie and he asks for it every Thanksgiving and Christmas.
If you've never had this pie, you're in for a treat! This is a sweet custard-like pie that tastes slightly tangy, but also has a delicious vanilla flavor!
This pie belongs to the Southern tradition of simple custard desserts made with everyday ingredients. This version lets buttermilk and vanilla carry the flavor, with no cornmeal in the filling.
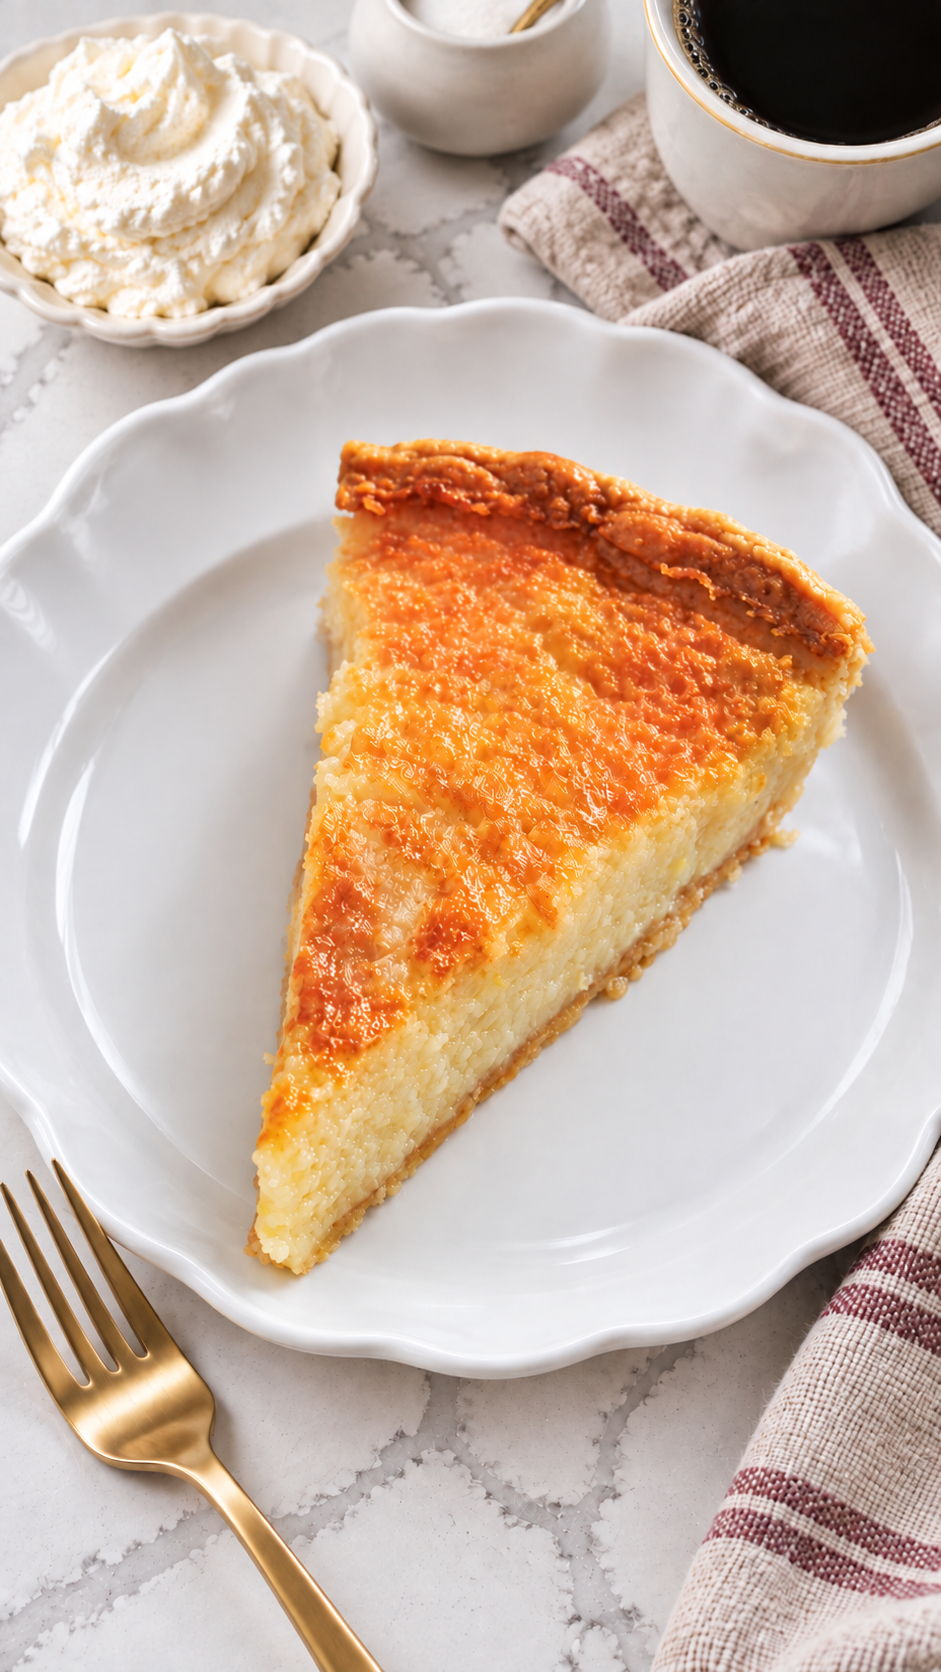
Some people confuse Buttermilk Pie with Chess Pie, but they are different. Chess Pie contains cornmeal and usually, fresh milk, whereas Buttermilk Pie has no cornmeal and uses buttermilk.
There are many variations in Buttermilk Pie recipes that use add-ins like, vanilla, lemon juice, nutmeg, and even coconut! My Aunt Janice makes hers with shredded coconut and it's delicious!
For the best results, use my Buttery Flaky Pie Crust recipe!
Why You'll Love This Recipe
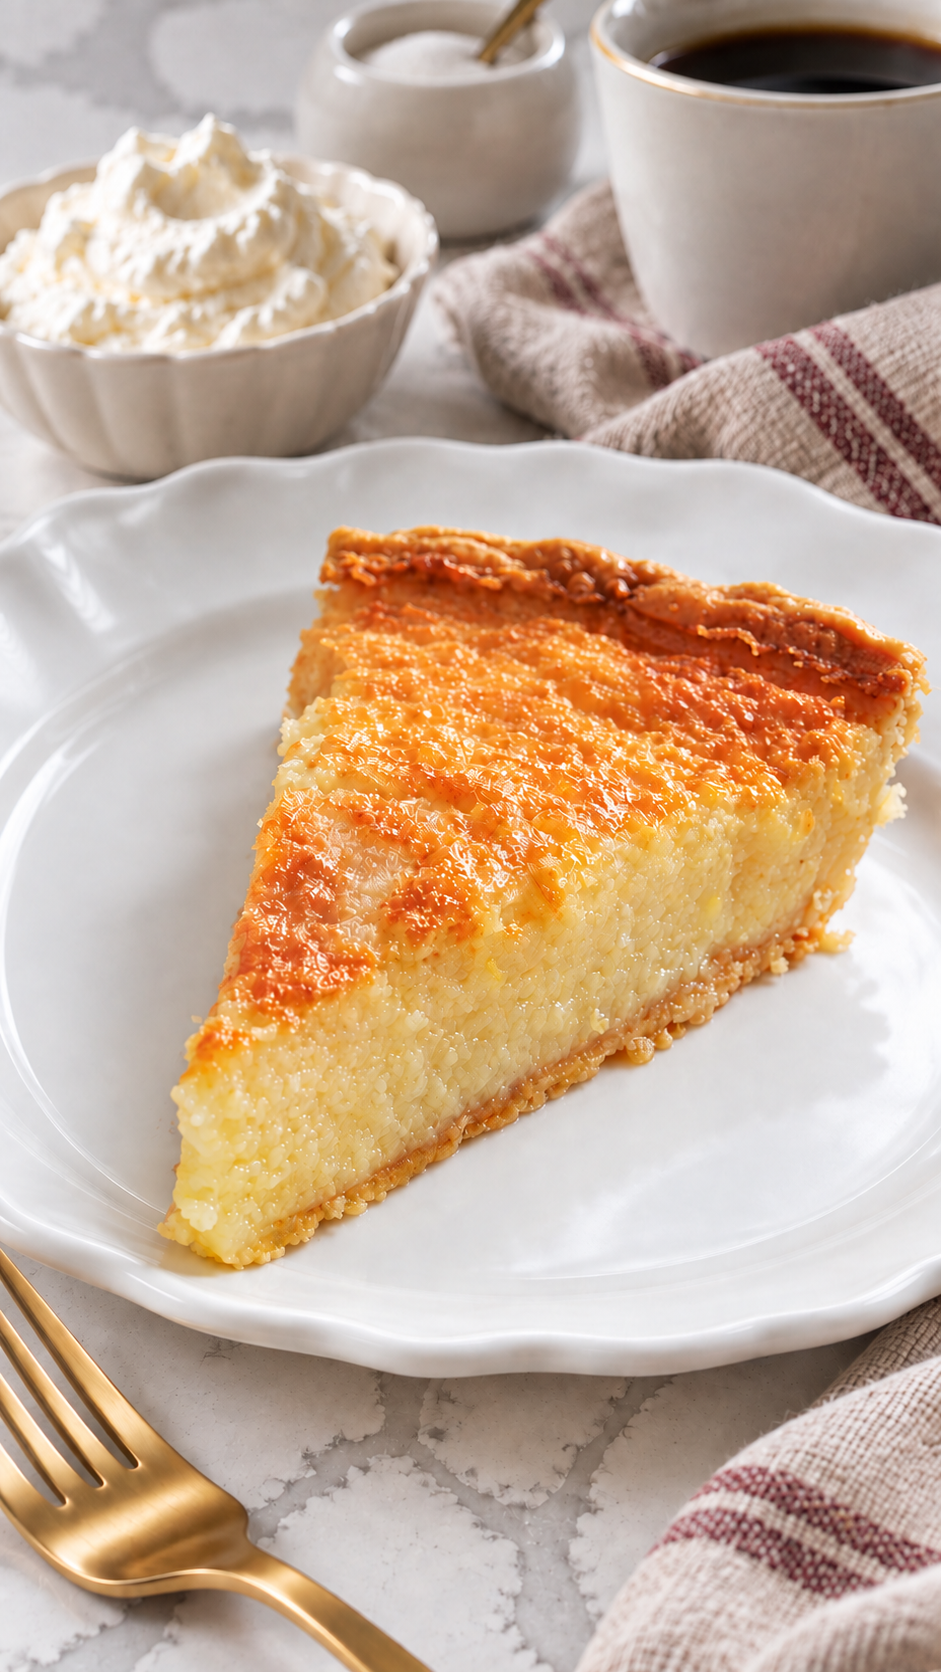
The filling is rich and sweet, with just enough buttermilk tang to balance the vanilla. A homemade or refrigerated crust both work, and the pie is easy to prepare ahead because it is served chilled.
Recipe at a Glance
Yield: one 9-inch pie, 8 servings. Prep: 15 minutes. Cook: 55-65 minutes. Cooling: about 2 hours, followed by refrigeration until serving. Flavor: sweet vanilla with a gentle tang. Texture: firm but creamy custard beneath a lightly browned top.
What You'll Need
The filling uses butter, sugar, flour, eggs, buttermilk, and vanilla, all baked in a single pie crust. Here is what each one brings to the pie.
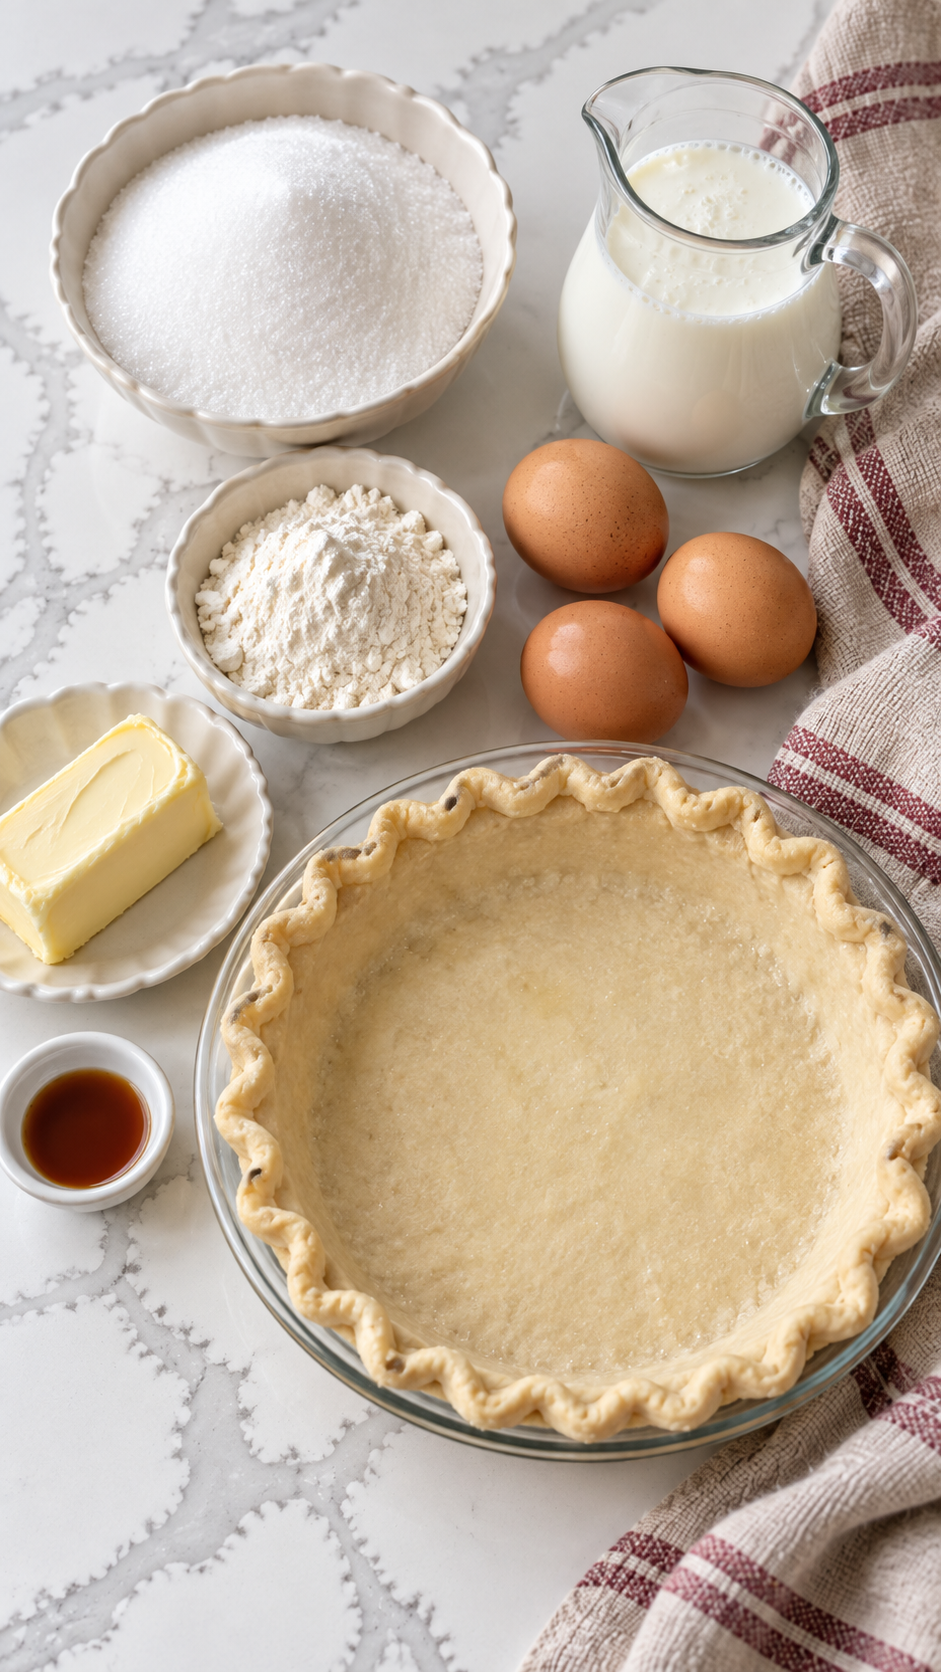
½ cup softened butter: richness and a smooth start when mixed with the sugar. Use softened butter as directed, rather than changing the recipe to melted butter.
1½ cups granulated sugar: sweetness and the familiar golden surface. Keep the tested amount for this version.
3 tablespoons all-purpose flour: helps the custard hold together once baked and cooled.
3 large eggs, at room temperature: set the filling. Add them one at a time so each is incorporated.
1 cup buttermilk, at room temperature: provides the characteristic tang. Cultured buttermilk has fuller flavor and a thicker consistency than the milk-and-acid substitute.
1 teaspoon vanilla extract: rounds out the sweet custard flavor.
1 unbaked 9-inch pie crust: homemade or refrigerated. The crust gets a short weighted bake before filling.
 Buy Now →
  Buy Now →
  Buy Now →
  Buy Now →
  Buy Now →
  Buy Now →
  Buy Now →
Tools to Have Ready
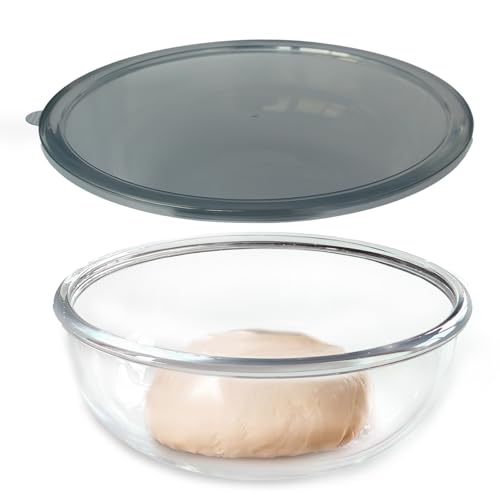
Use a 9-inch pie plate, parchment, pie weights or dried beans, a large mixing bowl, an electric mixer, a spatula, and a rimmed baking sheet. A wire rack is useful for cooling, and foil can protect the crust edges if needed.
 Buy Now →
  Buy Now →
  Buy Now →
  Buy Now →
  Buy Now →
  Buy Now →
  Buy Now →
  Buy Now →
  Buy Now →
 How to Make Buttermilk Pie
Partially bake the shell first, mix the filling, then bake until the edges are set and the middle has a slight wobble.
1. Partially bake the crust
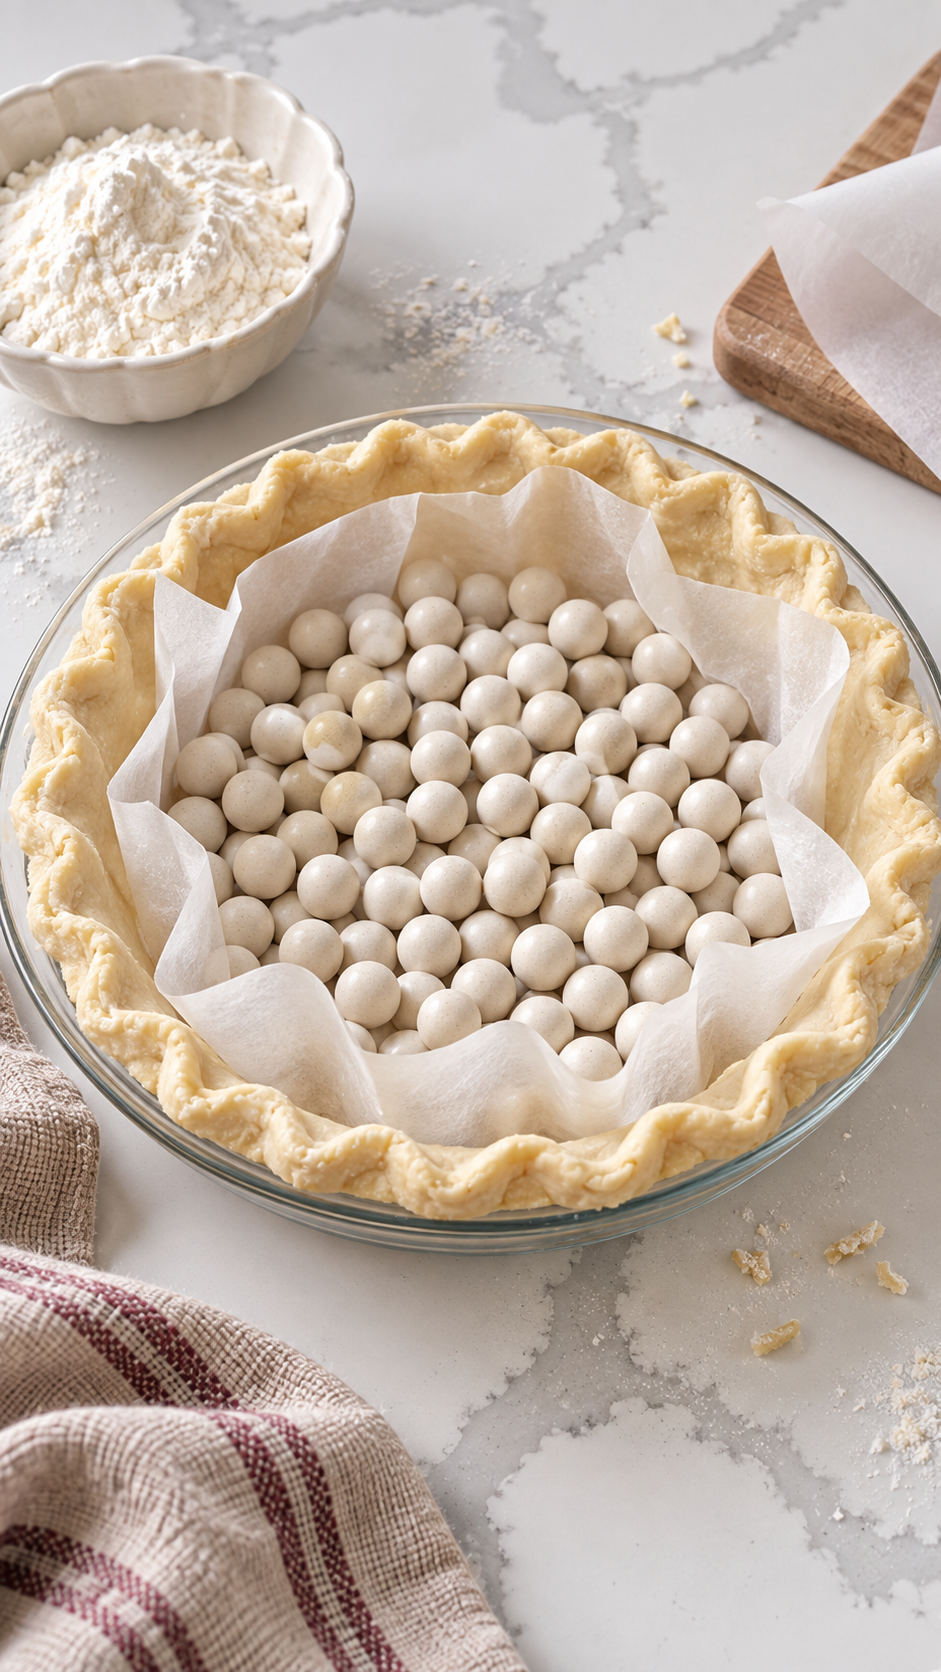
Heat the oven to 400°F. Fit one unbaked 9-inch crust into a pie plate, fold and crimp the edge, then line the pastry with parchment and fill with pie weights or dried beans. Bake for 8 minutes. Carefully lift out the parchment and weights, then let the shell cool slightly while you make the filling. This is a partial bake; the crust will finish baking with the filling. For more technique help, see my guide to blind-baking pie crusts, while following the timing here for this pie.
2. Mix the filling
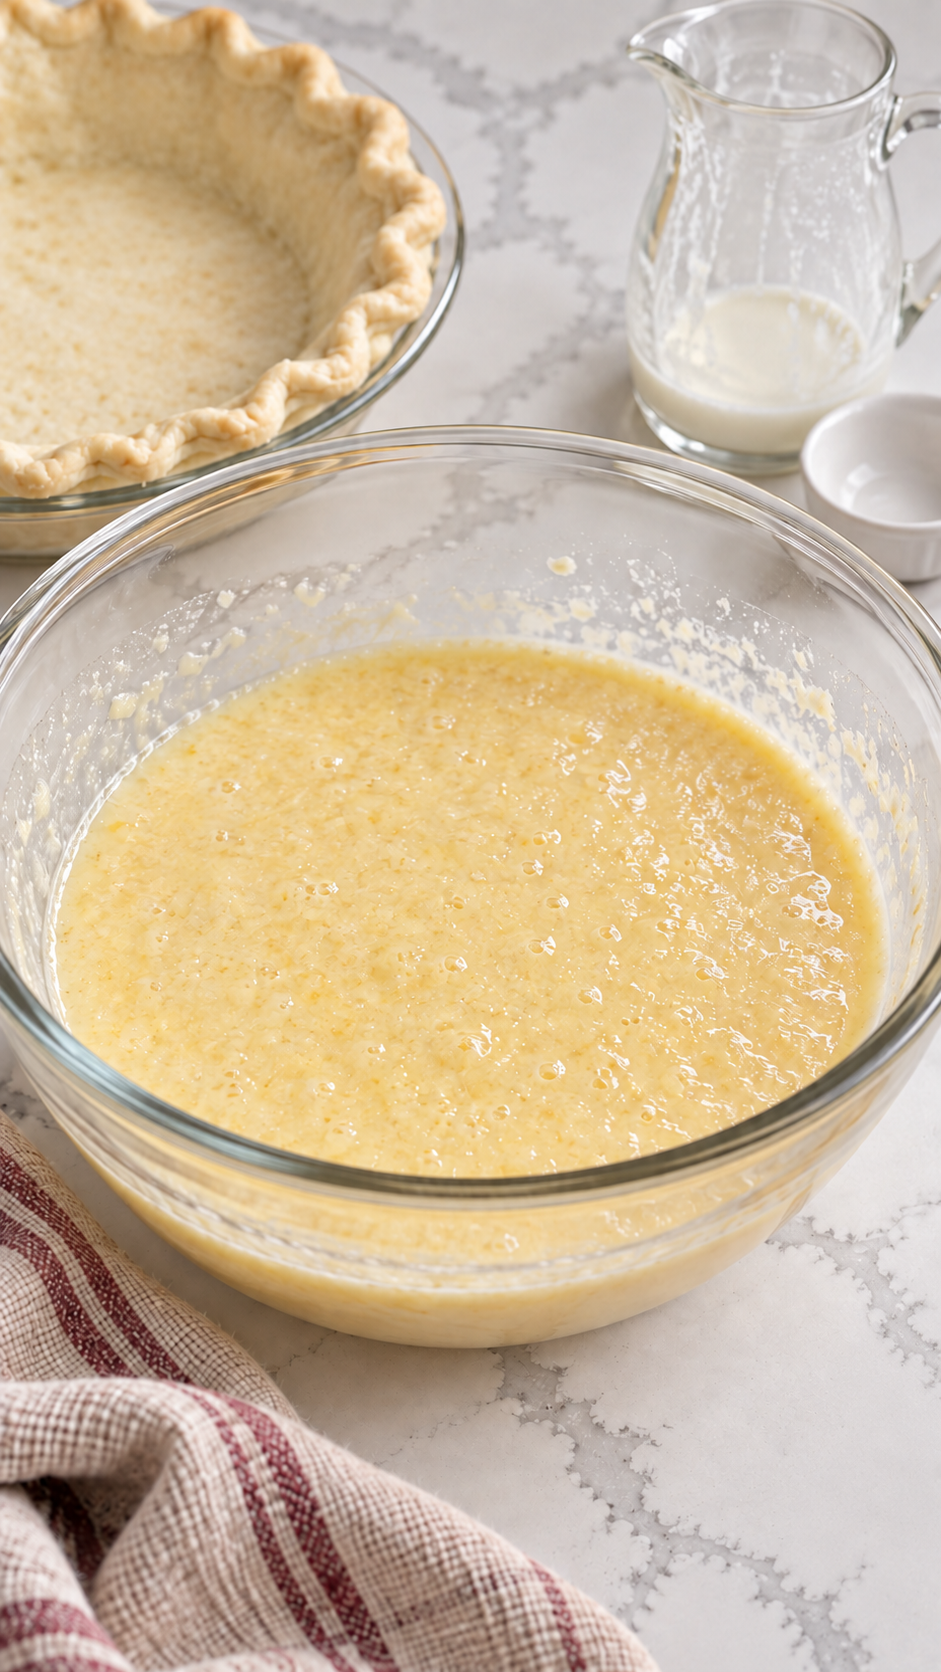
Beat the softened butter and sugar with an electric mixer until evenly combined and creamy. Add the eggs one at a time, scraping the bowl between additions. Mix in the flour, then gradually blend in the room-temperature buttermilk and vanilla on low speed. Scrape the bottom as well as the sides so pockets of butter or flour do not stay behind.
3. Fill and bake
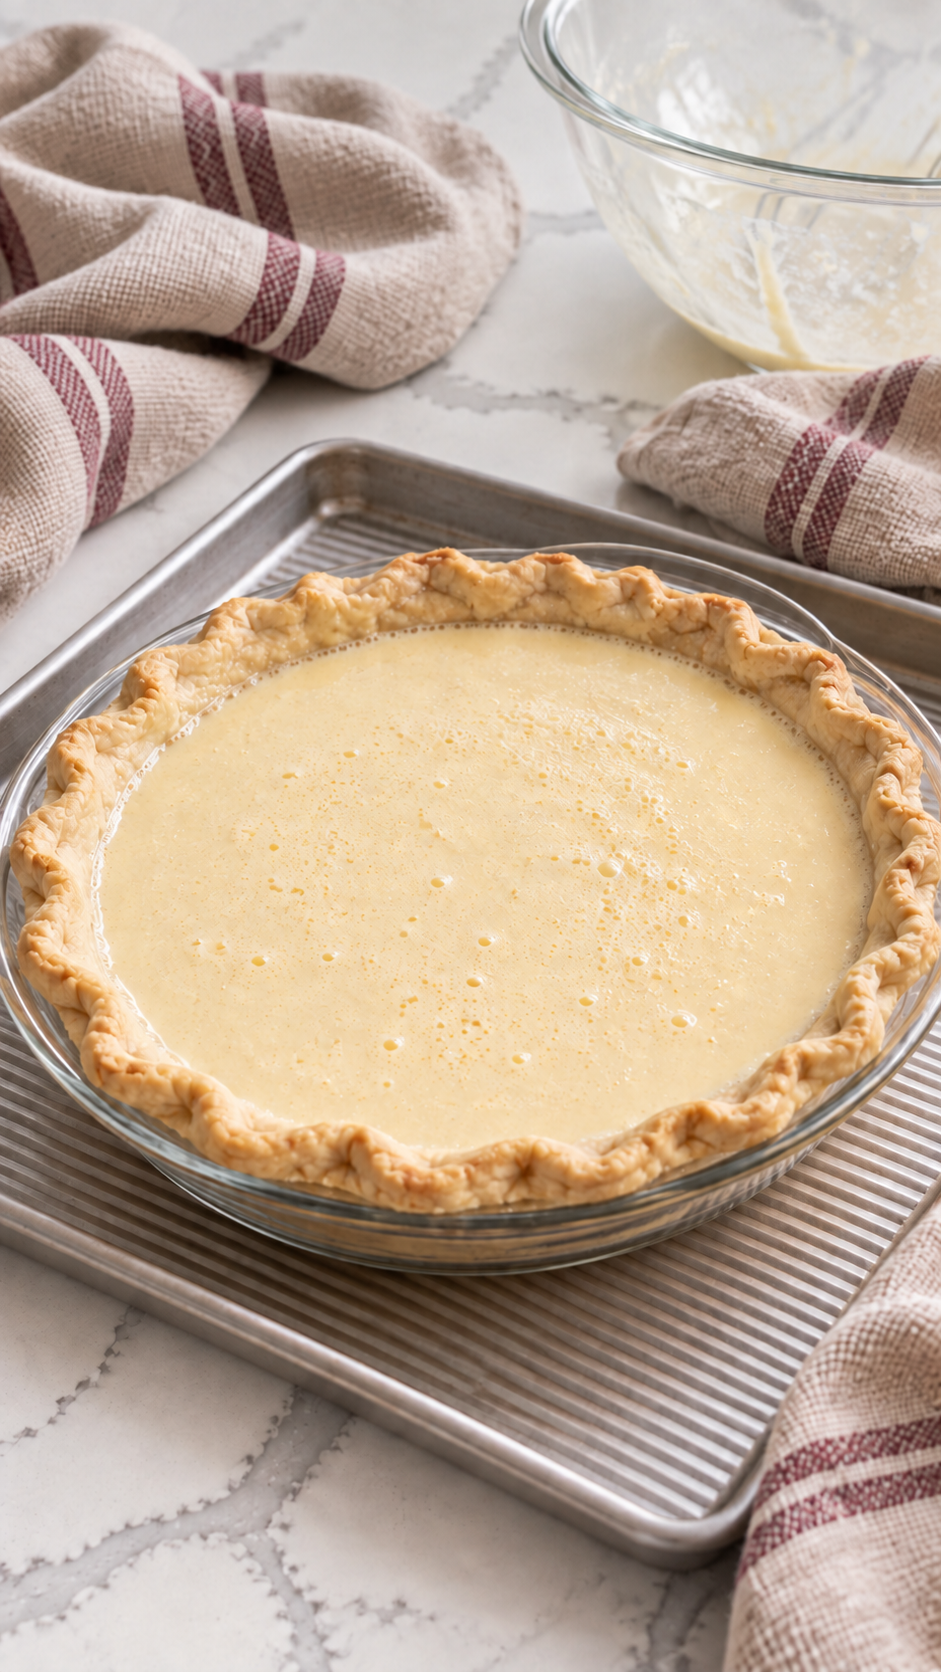
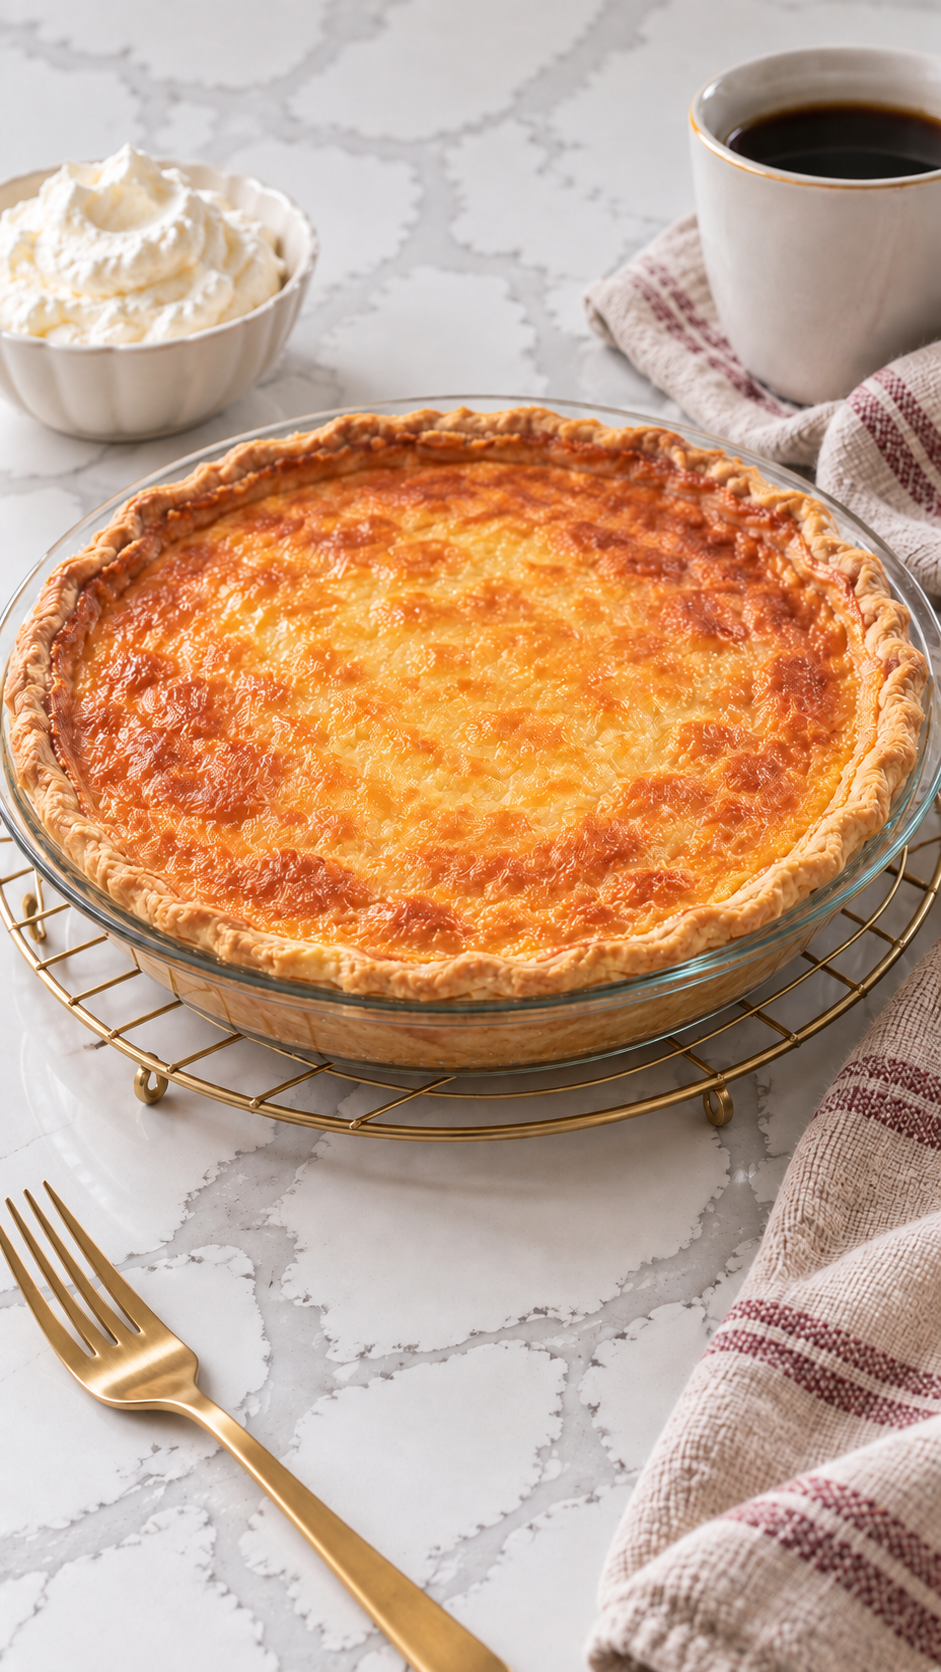
Pour the filling into the partially baked crust and set the pie on a rimmed baking sheet. Bake at 400°F for 5 minutes. Without taking the pie out, reduce the oven to 350°F and bake for another 45-50 minutes. Look for a lightly browned surface, set edges, and a slight wobble in the center rather than a liquid appearance. Loosely cover the crust edges with foil if they brown too quickly.
4. Cool, then refrigerate
Transfer the pie to a wire rack and allow it to cool for up to 2 hours, then refrigerate until ready to serve. The custard firms as it cools. Serve chilled, or let individual slices stand briefly at room temperature before serving. Return leftovers to the refrigerator promptly.
Helpful Tips Before You Start
Set out the eggs and buttermilk so they can come to room temperature, and soften the butter before mixing. Have the baking sheet ready before you fill the crust; it makes a liquid-filled pie easier to move.
A Few Easy Mistakes to Avoid
Do not skip the eggs, leave the pie weights in when adding filling, or forget to lower the oven after the first 5 minutes of baking the filled pie. A browned top alone does not tell you the center is ready. Check the edges and center movement together, then let cooling and refrigeration finish firming the custard.
A Few Things That Make This Recipe Better
Scraping the bowl between eggs keeps the mixture even. Adding the liquids on low speed gives you more control and less splashing. The short partial bake gives the shell a head start, and shielding just the rim lets the filling finish without overbrowning the crust.
Can you substitute for buttermilk in buttermilk pie?
Cultured buttermilk gives this pie the fullest flavor and thicker consistency. If it is unavailable, use 1 tablespoon white vinegar or lemon juice, then add enough whole milk to make 1 cup. Let stand for 5-10 minutes before using. This is a practical buttermilk substitute; homemade buttermilk will be thinner than the cultured product.
How do you know when a buttermilk pie is done?
Buttermilk Pie is very similar to pecan pie. Look for a lightly browned surface and set edges. The center should wobble slightly when gently nudged, without looking liquid. Do not rely on top color alone.
Allow the pie to cool on a wire rack for up to 2 hours, then refrigerate until serving. The filling firms as it cools; slicing too soon can leave a soft center.
Should you refrigerate this pie?
Refrigerate the pie within 2 hours of baking. Once chilled, cover it with plastic wrap and store it in the refrigerator.
How long does this pie keep?
Buttermilk Pie keeps in the refrigerator for up to 4 days. Return leftovers promptly after serving.
Can You Make It Ahead?
Yes. Bake the pie ahead, cool for up to 2 hours, then refrigerate it covered once chilled. Keep it refrigerated for up to 4 days. You can serve it cold straight from the refrigerator or let individual slices stand briefly before serving.
Can You Freeze Buttermilk Pie?
Yes. Chill it completely, then wrap the whole pie or individual slices tightly in plastic wrap and foil. Freeze for up to 2 months and thaw overnight in the refrigerator. The custard may soften slightly or release a little moisture after thawing.
What to Serve with Buttermilk Pie
Serve the pie with lightly sweetened whipped cream or fresh berries, alongside coffee or unsweetened tea. If you need a topping that holds its shape ahead of serving, try my stabilized whipped cream. The plain vanilla filling also belongs comfortably beside classic pumpkin pie or classic apple pie on a holiday dessert table.
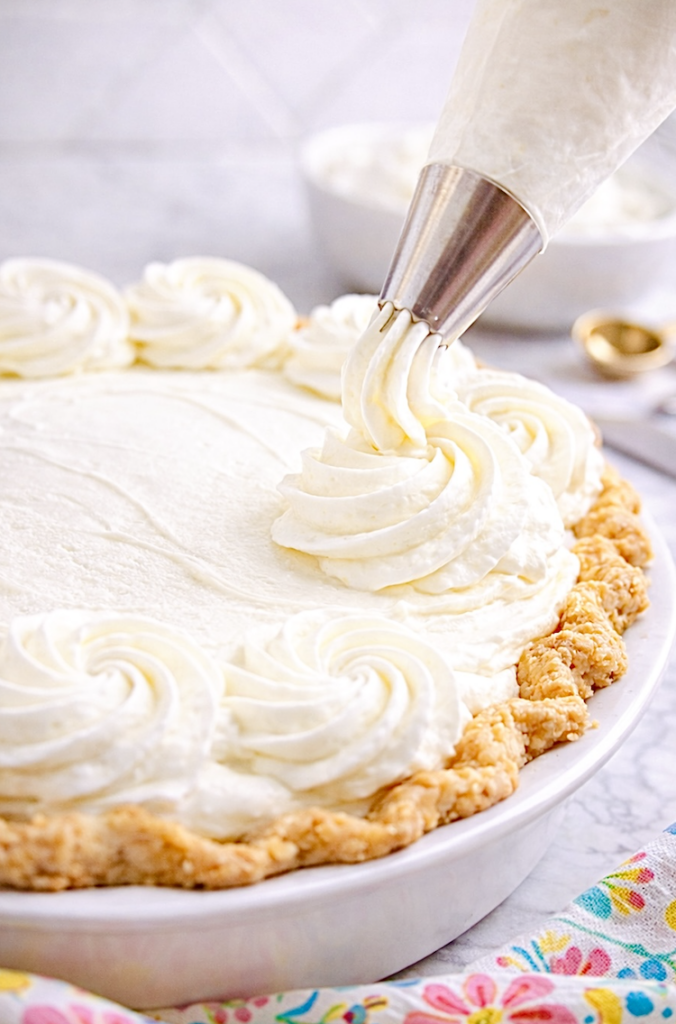
Stabilized Whipped Cream
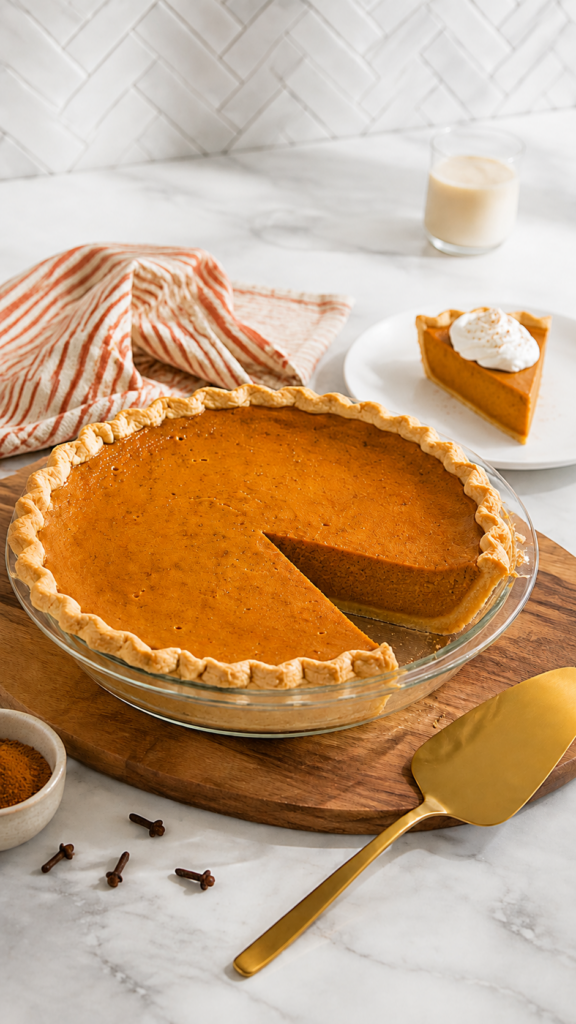
Classic Pumpkin Pie
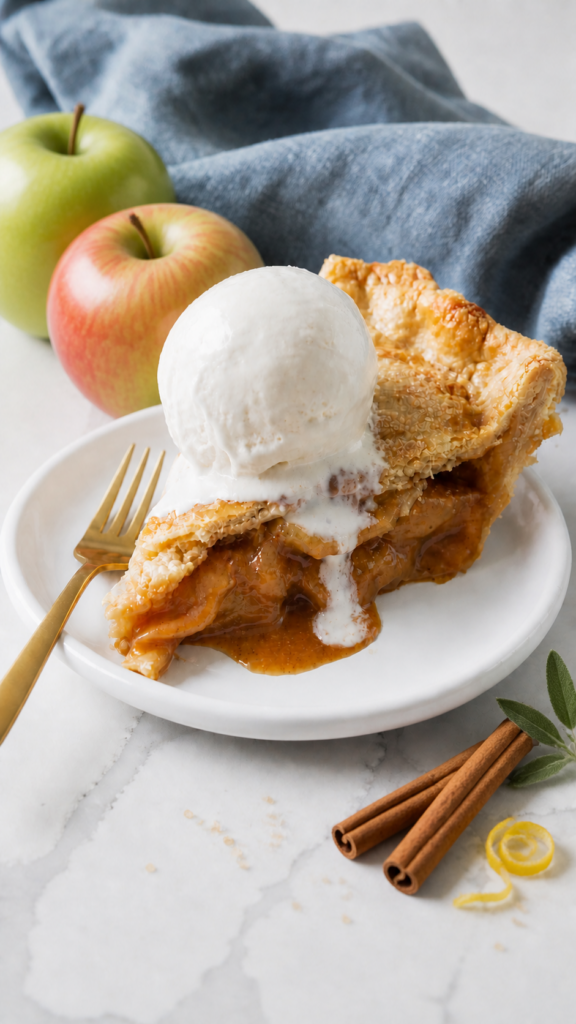
Classic Apple Pie
Why Is My Buttermilk Pie Runny?
A pie that is still liquid in the center may need more baking, while a pie sliced before cooling can look softer than expected. Measure the full amount of flour, follow the egg step, and use the set-edge and slight-wobble cues before removing it from the oven. Chilling firms a baked custard; it is not a substitute for baking a liquid center.
More Sweet Inspiration!
Have you made any of my recipes? Post it on Instagram and tag @jennifercooks123 and #jennifercooks!
Buttermilk Pie
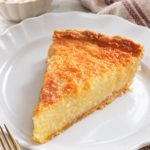
Buttermilk pie turns simple pantry staples into a rich, creamy vanilla custard with a golden top and flaky crust. An easy Southern dessert worth saving room for. Perfect for Thanksgiving dessert or Christmas dessert.
- Prep Time: 15 minutes
- Cook Time: 1 hour 5 minutes
- Total Time: 3 hours 20 minutes
- Yield: 8 servings 1x
- Category: Dessert
- Method: Baking
- Cuisine: American, Southern
Ingredients
- ½ cup butter (softened)
- 1 ½ cups granulated sugar
- 3 tablespoons all-purpose flour
- 3 large eggs (at room temperature)
- 1 cup buttermilk (at room temperature)
- 1 teaspoon vanilla extract
- 1 9-inch pie crust (unbaked)
Instructions
- Heat the oven to 400°F. Fit the pastry into a 9-inch pie plate, pressing it gently into the bottom and sides. Fold and crimp the edge.
- Line the pastry with parchment paper and fill with pie weights or dried beans. Bake for 8 minutes to partially bake the shell.
- Carefully lift out the parchment and weights. Let the crust cool slightly while preparing the filling.
- Beat the softened butter and sugar in a large bowl with an electric mixer until evenly combined and creamy.
- Mix in the eggs one at a time, scraping the bowl between additions.
- Add the flour and mix until incorporated. Gradually blend in the buttermilk and vanilla on low speed.
- Pour the filling into the partially baked crust. Place the pie on a rimmed baking sheet.
- Bake at 400°F for 5 minutes. Without removing the pie, reduce the oven temperature to 350°F and continue baking for 45-50 minutes.
- Check for a lightly browned surface and set edges. The center should have a slight wobble when gently nudged, without appearing liquid. Cover the crust edges loosely with foil if they brown too quickly.
- Transfer the pie to a wire rack. Allow it to cool for up to 2 hours, then refrigerate until ready to serve. The filling will firm as it cools.
Notes
Yield: 1 (9-inch) pie; 8 servings.
Timing: Prep 15 minutes; cook 55-65 minutes; cooling about 2 hours, followed by refrigeration until serving. Total time is about 3 hours 10 minutes-3 hours 20 minutes, plus additional refrigeration as needed.
Substitutions: Use a homemade or refrigerated pie crust. If buttermilk is unavailable, place 1 tablespoon lemon juice or white vinegar in a measuring cup and add enough whole milk to make 1 cup. Let stand for 5-10 minutes before using. Cultured buttermilk provides a fuller flavor and thicker consistency.
Serving: Serve chilled or let individual slices stand briefly at room temperature before serving. Top with lightly sweetened whipped cream or fresh berries. Pair with coffee or unsweetened tea.
Storage: Cover and refrigerate for up to 4 days. Refrigerate within 2 hours of baking, and return leftovers to the refrigerator promptly after serving.
Freezing: Chill the pie completely, then wrap the whole pie or individual slices tightly in plastic wrap and foil. Freeze for up to 2 months. Thaw overnight in the refrigerator. The custard may soften slightly or release a little moisture after thawing.





26