

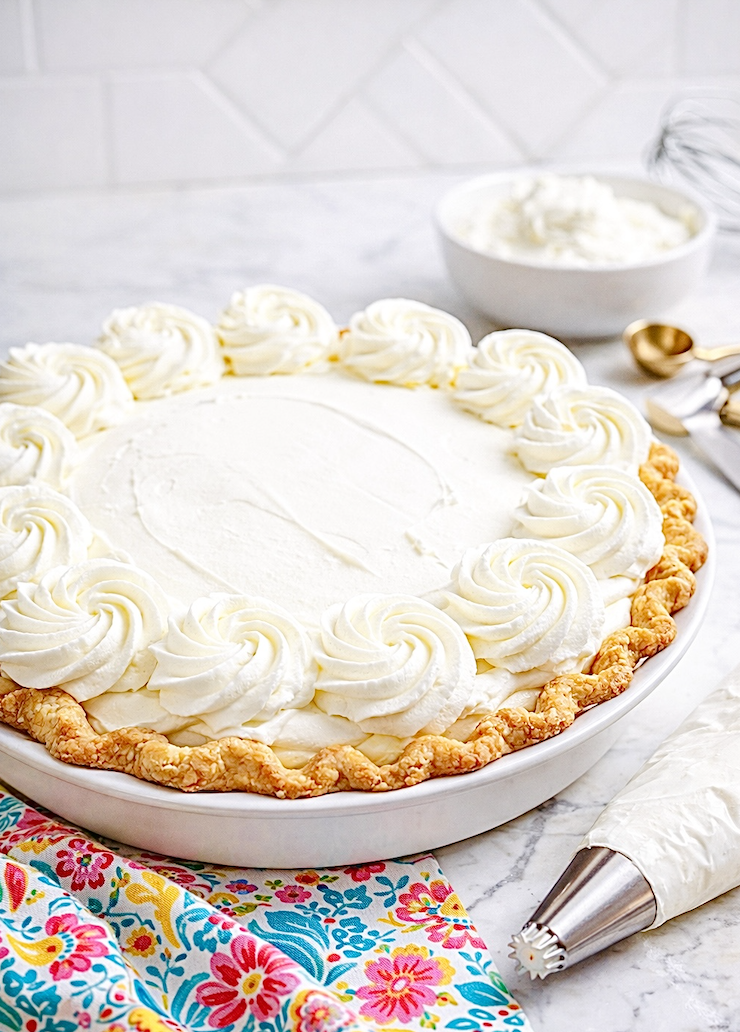
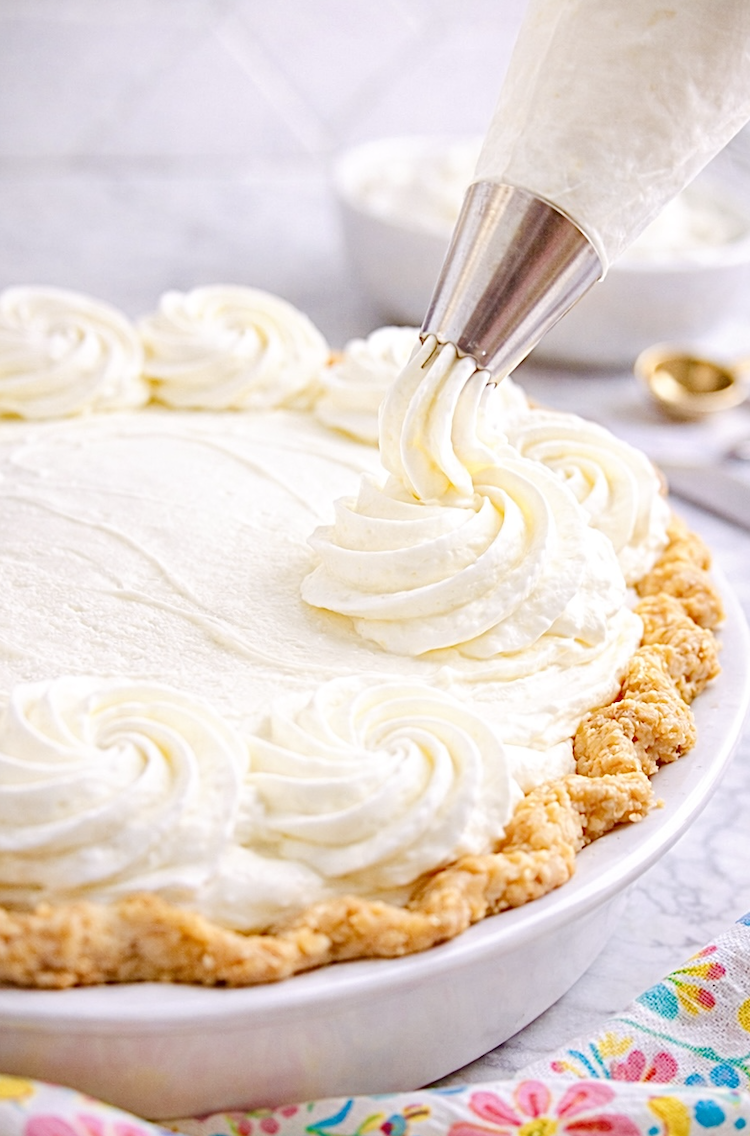
If you've ever piped whipped cream onto a cake or pie only to watch it slowly melt into a soft puddle, you already understand why stabilized whipped cream exists. This version holds its shape beautifully for days while still tasting like real whipped cream-light, fluffy, and fresh.
This method uses marshmallow creme to give the whipped cream structure without making it stiff or gelatin-like. It's the trick many bakeries rely on when they need whipped cream that pipes clean rosettes and stays picture-perfect on cakes, pies, and holiday desserts.
What is stabilized whipped cream? Stabilized whipped cream is homemade whipped cream with a small stabilizing ingredient added so it keeps its shape longer than traditional whipped cream. That simple change turns a delicate topping into something sturdy enough for piping, layering, and make-ahead desserts.
If you love desserts topped with soft bakery-style whipped cream but want something more dependable than regular whipped cream, this technique solves the problem with just a few simple ingredients.
How to Stabilize Whipped Cream
The easiest way to stabilize whipped cream is by adding a small amount of marshmallow creme while whipping. It strengthens the whipped cream structure so it holds stiff peaks and keeps its shape for days instead of collapsing after a few hours.
This simple method creates whipped cream that's sturdy enough for piping onto cakes, pies, cupcakes, and layered desserts while still tasting light and fresh.
Best Ways to Stabilize Whipped Cream
Bakers use several different ingredients to stabilize whipped cream depending on how long the topping needs to hold its shape. Some methods create very firm whipped cream while others keep it soft and fluffy.
- Marshmallow creme - The easiest method and the one used in this recipe. It stabilizes whipped cream while keeping it soft and pipeable.
- Gelatin - A traditional bakery method that produces very firm whipped cream.
- Cream cheese - Adds structure and richness but slightly changes the flavor.
- Instant pudding mix - A quick shortcut sometimes used in layered desserts.
For most home bakers, marshmallow creme strikes the best balance. It stabilizes whipped cream beautifully while keeping the texture light and natural.
Why Stabilized Whipped Cream Works
Regular whipped cream is simply heavy cream whipped with sugar. As the cream traps air, it forms delicate bubbles that create those fluffy peaks. The problem is that the structure is fragile. After a few hours the air bubbles begin collapsing and the cream releases liquid.
Adding a stabilizing ingredient reinforces the structure of those bubbles. In this recipe, marshmallow creme gently strengthens the whipped cream without making it dense or rubbery. The result is soft whipped cream that holds its shape for hours-or even days in the refrigerator.
That stability makes it perfect for topping pies, decorating cakes, layering into desserts, or preparing ahead for holidays and gatherings.
Common Ways to Stabilize Whipped Cream
Bakers use several techniques to stabilize whipped cream depending on the dessert and how long the topping needs to hold.
- Marshmallow creme. The method used in this recipe. It stabilizes whipped cream while keeping it soft and fluffy.
- Gelatin. A traditional stabilizer that produces very firm whipped cream.
- Cream cheese. Adds structure and richness but slightly changes the flavor.
- Instant pudding mix. Sometimes used in quick dessert toppings, though it produces a thicker texture.
Ingredients
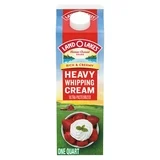
- Heavy whipping cream
- Jet-Puffed marshmallow creme
- Powdered sugar
- Vanilla extract
- Vanilla bean paste (optional)
 Buy Now →
 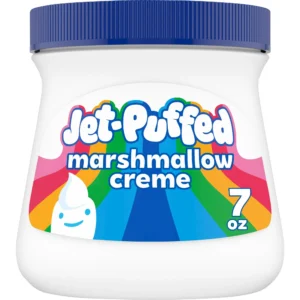 Buy Now →
 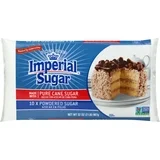 Buy Now →
Tools
You don't need much equipment for this recipe, but a few simple tools make the process easier and help create smooth, stable whipped cream.
- Stand mixer or hand mixer with whisk attachment
- Large mixing bowl
- Rubber spatula
- Piping bag with star tip (optional)
 Buy Now →
  Buy Now →
 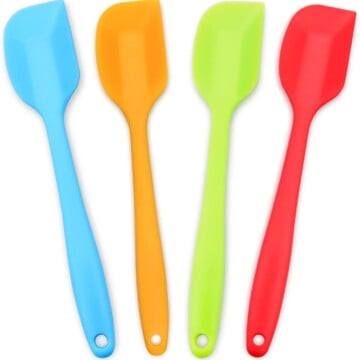 Buy Now →
  Buy Now →
 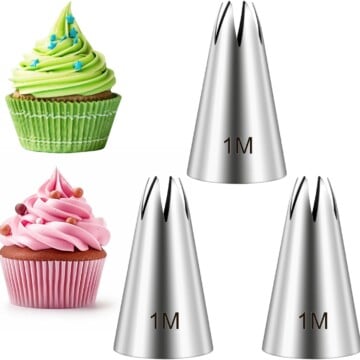 Buy Now →
 Chef Tips
- Start with very cold cream. Cold cream whips faster and creates stronger peaks.
- Chill your bowl and whisk. This small step makes whipped cream noticeably more stable.
- Whip to soft peaks before adding the stabilizer. This ensures proper aeration.
- Let the marshmallow creme cool slightly before adding. If it's too warm it can deflate the whipped cream.
- Stop at stiff peaks. Over-whipped cream becomes grainy.
Whipping Technique (Soft Peaks vs Stiff Peaks)
Understanding when to stop whipping makes all the difference between silky whipped cream and something grainy.
- Soft peaks gently fold over at the tip. This is when the marshmallow creme should be added.
- Stiff peaks stand upright and hold their shape. This is the final stage where the whipped cream is ready for piping or spreading.
Mistakes to Avoid
- Using warm cream
- Adding the stabilizer too early
- Over-whipping the cream
- Using too much stabilizer
When stabilized whipped cream is made properly, it should look smooth, glossy, and firm enough to hold its shape without turning stiff or grainy.
FAQs
How long does stabilized whipped cream last?
Stored in an airtight container in the refrigerator, stabilized whipped cream typically holds its shape for 2-3 days.
Can stabilized whipped cream be piped?
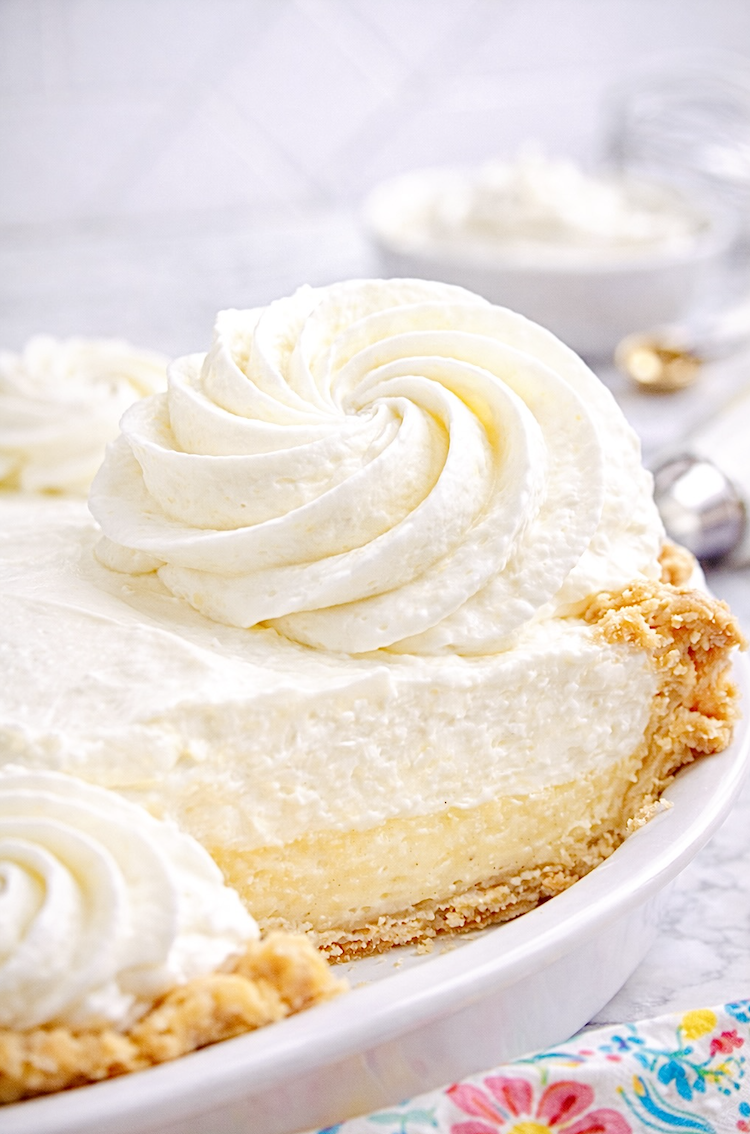
Yes. This recipe is ideal for piping decorative swirls and borders on cakes, pies, and cupcakes.
Can stabilized whipped cream be frozen?
Yes. Freeze small dollops on a baking sheet, then transfer to a freezer bag. Thaw in the refrigerator before using.
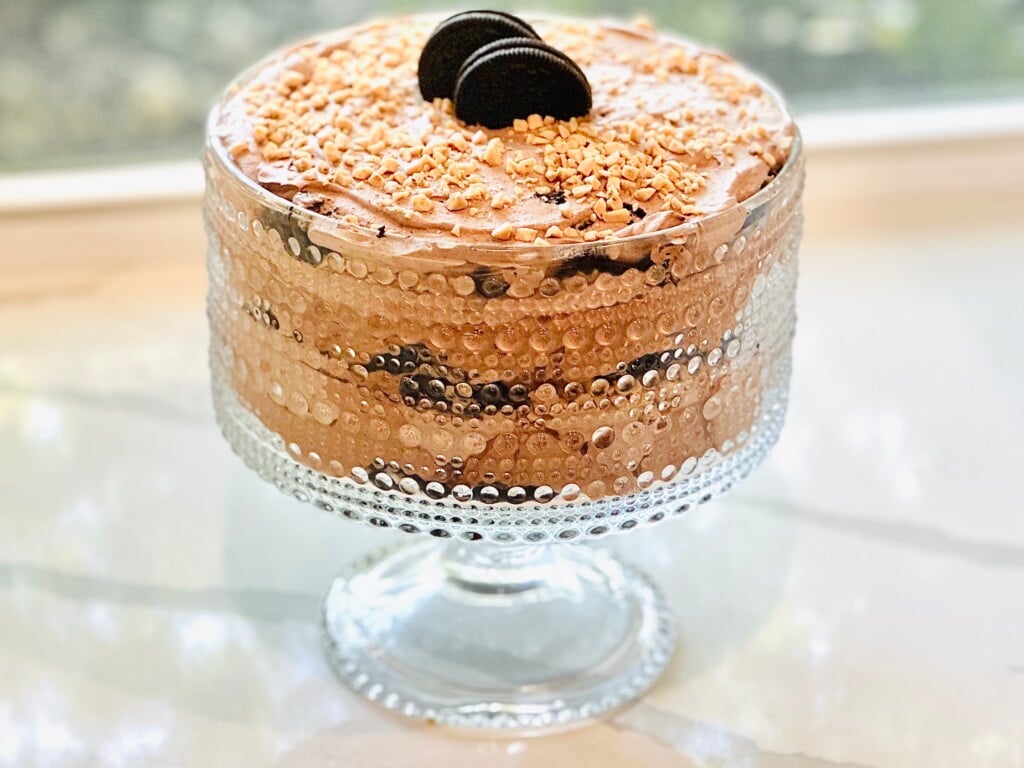
Desserts That Pair Perfectly with Stabilized Whipped Cream
One of the biggest advantages of stabilized whipped cream is that it holds its shape long enough to decorate and serve desserts beautifully. Instead of melting after a few minutes, it stays light and fluffy for hours.
Try using it on some of these desserts where a soft whipped topping makes all the difference:
- French Silk Chocolate Pie - Rich chocolate filling balanced by light whipped cream.
- Simple Strawberry Shortcake - Classic berries and cream dessert.
- Biscoff Banana Pudding - Creamy layers topped with whipped cream.
- Baileys Chocolate Cheesecake Trifle - Perfect for stabilized whipped cream layers.
Get More Recipes Like This
If you loved this recipe, make sure you're on my email list. I send out my best weeknight dinners, holiday favorites, and reader-requested recipes straight to your inbox.
I'll also send you my 5 Chef Secrets that instantly elevate your cooking - the exact techniques I use in my own kitchen.
Tried It?
If you make this stabilized whipped cream, I'd love to hear how you used it. Leave a comment and let me know what dessert you topped with it!
More Recipes You Might Like


Recipe
Stabilized Whipped Cream
Equipment
- Stand Mixer or hand mixer
Ingredients
- 1 cup heavy whipping cream
- 2 heaping tablespoons marshmallow creme
- ¼ cup powdered sugar optional, to taste
Instructions
Whip the Cream
- In the bowl of a stand mixer fitted with the whisk attachment (or using a handheld mixer and a chilled bowl), beat the heavy cream on medium-high until soft peaks form. You're looking for gentle peaks that hold their shape but still curl at the tip.
Melt the Marshmallow
- Scoop a heaping tablespoon of marshmallow creme into a small microwave-safe bowl.
- Microwave in 5-second bursts until just melted-don't let it bubble.
- Stir gently and let it cool to nearly room temperature. The texture should be thick and gooey, not hot or runny.
Combine and Whip to Stiff Peaks
- Slowly pour the melted marshmallow creme into the whipped cream while the mixer is running.
- Turn the speed to high and continue whipping until stiff peaks form-those luscious swirls should stand tall without drooping.
Sweeten (Optional)
- If you like your whipped cream a bit sweeter, add ¼ cup powdered sugar after the marshmallow goes in.
- Taste and adjust by adding more powdered sugar, 1 tablespoon at a time, until it's just right for you.
Video

Notes
- Store in an airtight container in the fridge for up to 2-3 days. It'll keep its shape beautifully, especially if piped onto desserts in advance.
- For longer storage, pipe dollops onto a parchment-lined baking sheet, freeze until solid, then transfer to a zip-top bag. Use within 1-2 months for best quality. Great for topping hot cocoa or coffee straight from the freezer!
*Nutrition information is automatically calculated based on ingredient data and should be considered an estimate. When multiple ingredient options are provided, the first listed is used for calculation. Optional ingredients and garnishes are not included in the nutrition analysis.


Leslie says
Question:
I have a iSi cream whipper. Can I put these ingredients in my cream charger?
Jennifer says
I’ve not tried that but I don’t see why it wouldn’t work.
Makaylah says
If I’m needing to make this for 60 cupcakes, how much should I make? Triple the recipe?
Jennifer says
This makes 2 cups, so depending on how much you’re using for each cupcake, 2 cups could ice 12-24.
Kay says
Excited to try. If I make this in the morning and refrigerate, will it be easily pipeable in the evening? Should I defrost first? I’m too scared to immediately pipe onto my pie in the morning incase it does separate due to my error.
Jennifer says
It should be pipeable by the evening if you make it in the morning.
Norma Jordan says
Would this work for filling cream puffs?
Jennifer says
I've never tried it in cream puffs, but I believe you would have to mix it with pastry cream to be stable enough to last in cream puffs.
Karen Tima says
Wondering if you could use regular marshmallows (melted) instead of fluff??
Jennifer says
I’ve tried this before and unfortunately it didn’t work the same.
Brittany Henslee says
I want to make a cake with piped rosettes covering the cake. Would this frosting work for that?
Jennifer says
Hi Brittany! Yes, I believe this would work for frosting a cake and decorating with rosettes and other piped decorations, but to be on the safe-side, since you'll probably be layering with it, I would double the amount of marshmallow cream to "beef up" the stabilization of the cream. I'd love to hear from you again about how this works out for you!
Kelly says
Hello
I'm wondering which to use.. marshmallow fluff or marshmallow creme? My grocery store carries both and you list creme as the ingredient but refer to it as fluff in the recipe.
Thank you I can't wait to try this recipe!
Jennifer says
Use Marshmallow Cream. I will update the recipe. Thank you for catching that!
Megan says
Can I frost the cake the day before a party or only make the frosting the day before?
Jennifer says
It should be fine to frost the day before the party. This stabilized whipped cream usually holds up for several days or more.
You might add a couple of extra spoonfuls of marshmallow Creme for good measure for a cake. Let me know how it all turns out!
Jeanne says
Hi,
Can you use gluten free vegan marshmallow cream?
Jennifer says
Hi Jeanne. I have not tried this so I can’t say for sure. But, I believe vegan marshmallows would work as a stabilizer because they are typically made with agar agar, which acts as a stabilizer.
Deb says
Hi,
I read in your article about using unflavored gelatin, but it's not in the recipe. How much and when is it added?
Thanks!
Jennifer says
Hi Deb! You're right, I didn’t include gelatin in the recipe because the marshmallow creme already serves as the stabilizer. However, if you want an "extra sturdy" whipped cream, you can definitely add it. Just dissolve about 1 teaspoon of unflavored gelatin in a tablespoon of hot water, let it cool completely, and then add it to the whipping cream before you start whipping. Hope that helps!
Deb says
Thanks so much!
Jennifer says
You’re welcome!
Tiara martin says
Can i freeze the leftovers and use at another time?
Jennifer says
Hi Tiara! Absolutely, you can freeze stabilized whipped cream—but just know it won’t be quite as fluffy as when it was freshly whipped. My favorite trick? Pipe little swirls or dollops onto a parchment-lined baking sheet, freeze until solid, then transfer them to an airtight container or zip-top bag. They’re perfect for topping off hot cocoa or coffee. They’ll keep well in the freezer for about a month or two, though after that, freezer burn tends to sneak in and dull the magic.
Courtney says
This was easy to make and turned out so good that we were piping it straight into our mouths like kids. Thanks for the recipe!!
Jennifer says
Well, that might be the best review this recipe has ever gotten!
I'm so glad it was a hit! Thanks so much for taking the time to leave a comment. I got a good laugh out of that visual!