
This post may contain affiliate links. I may receive commissions for purchases made through links in this post.
Looking for a dessert that wows all year round? Try our Key Lime Cheesecake! It's boldly tart, delightfully creamy, and perfect for any season. Give it a whirl and see why everyone raves about it!
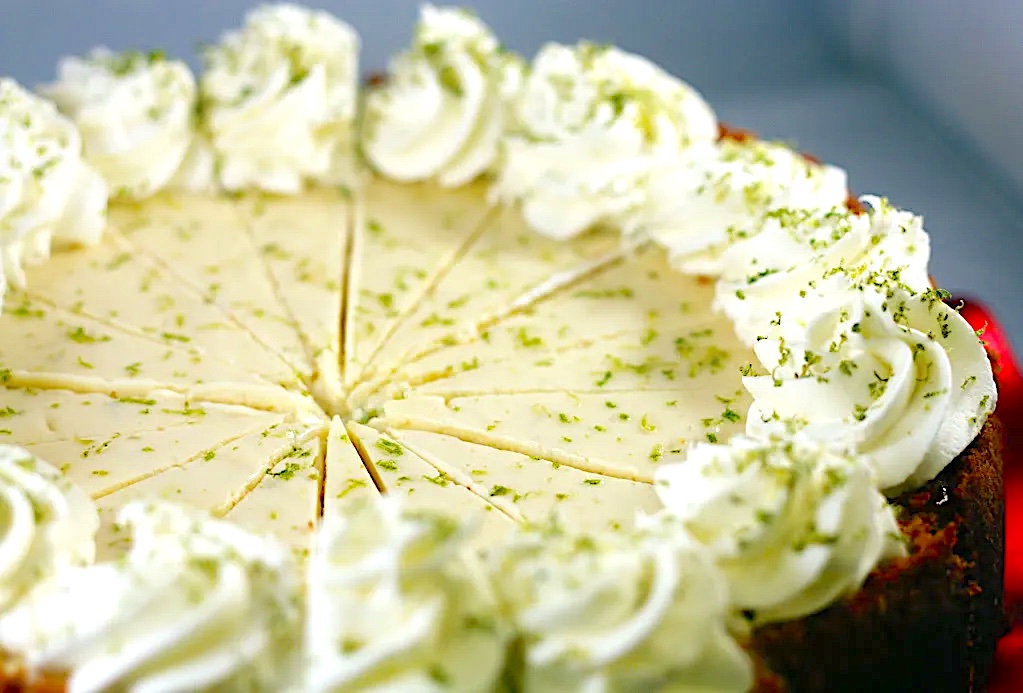
My husband can't get enough of this cheesecake! It's so creamy, with just the right amount of zesty lime and a delicious nutty graham cracker crust. If you're into tangy citrus desserts, you'll absolutely love this recipe!
Let's talk crust-ours is no ordinary base. It's a mix of graham crackers and ground toasted almonds which adds a delightful nuttiness that complements the buttery taste perfectly.
One pro tip: make your Key Lime Cheesecake a day ahead as it needs some time to chill and set perfectly. If you're after those pristine, clean slices, try freezing the cheesecake until it's very firm. Then, use a hot, wiped-down knife for slicing; it'll look like it's straight from a professional kitchen!
Variations and Tips:
Lime Options: While key limes are the star, they can be tricky to find. Don't sweat it! Regular Persian limes work great too. Always opt for fresh limes over bottled juice, but if you're in a pinch, Nellie & Joe's Key West Lime Juice is a good alternative.
No Springform? No Problem! If you don't have a 9-inch springform pan, any metal pan will do. Just line it with parchment paper that overhangs for easy lifting. Even a square or rectangular pan works, so feel free to use what you have.
Ingredients Used
Visit my Amazon Store for everything you need to cook up a storm, bake delicious treats, and whip up your favorite beverages!
How to Make Key Lime Cheesecake
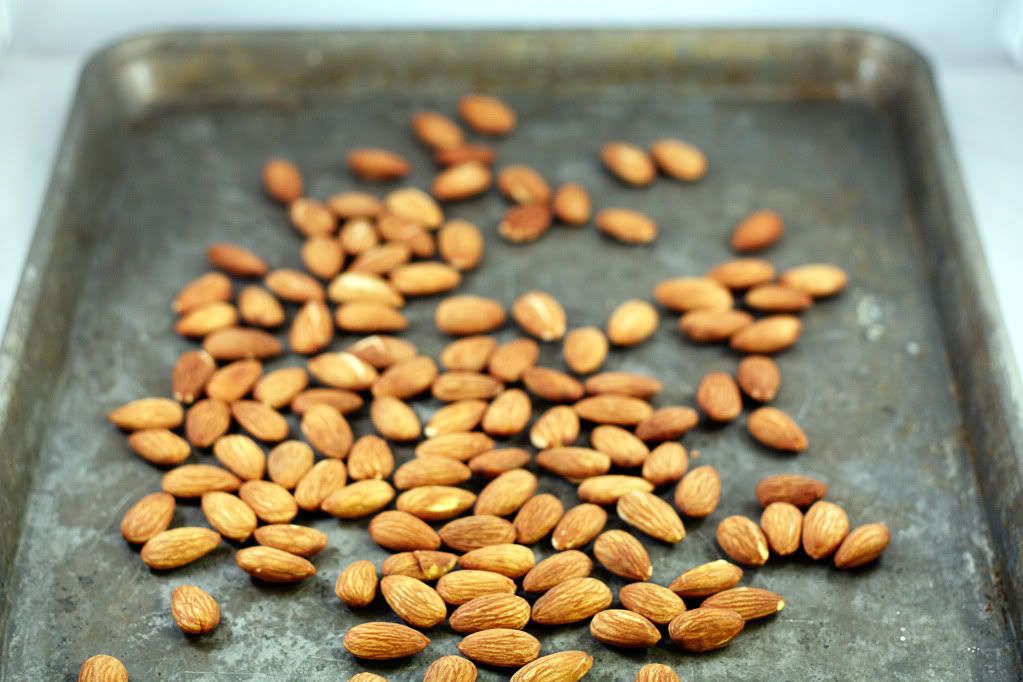
First, toast whole almonds in a 350 degree oven for 5 to 8 minutes. Let cool.
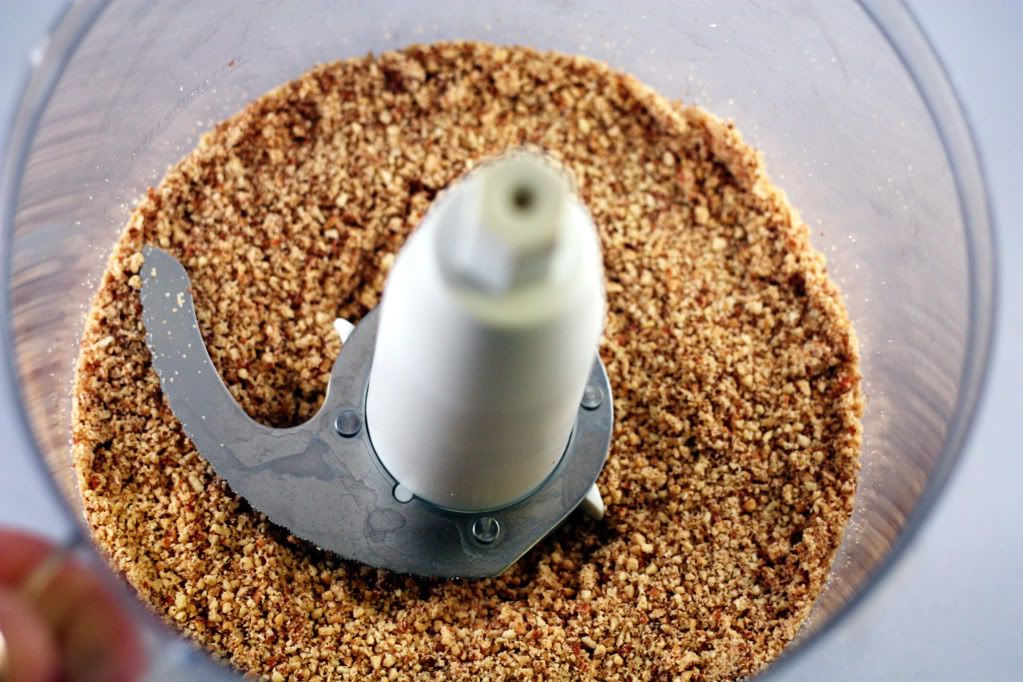
Next place toasted, cooled almonds in the food processor and chop until finely chopped, but not powdery.
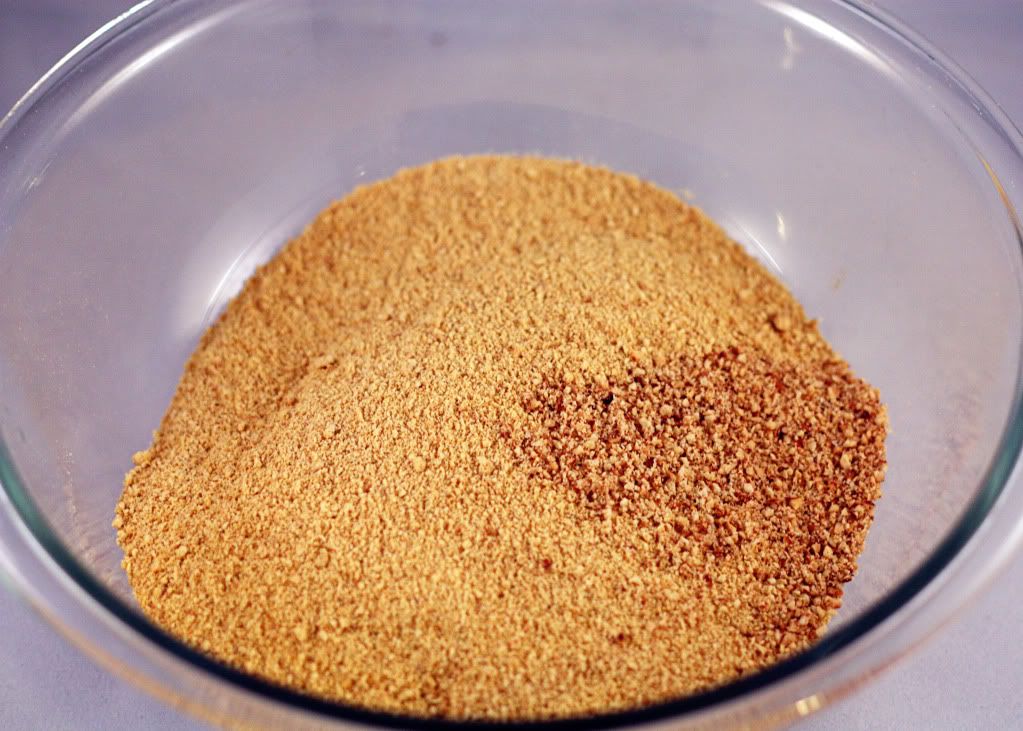
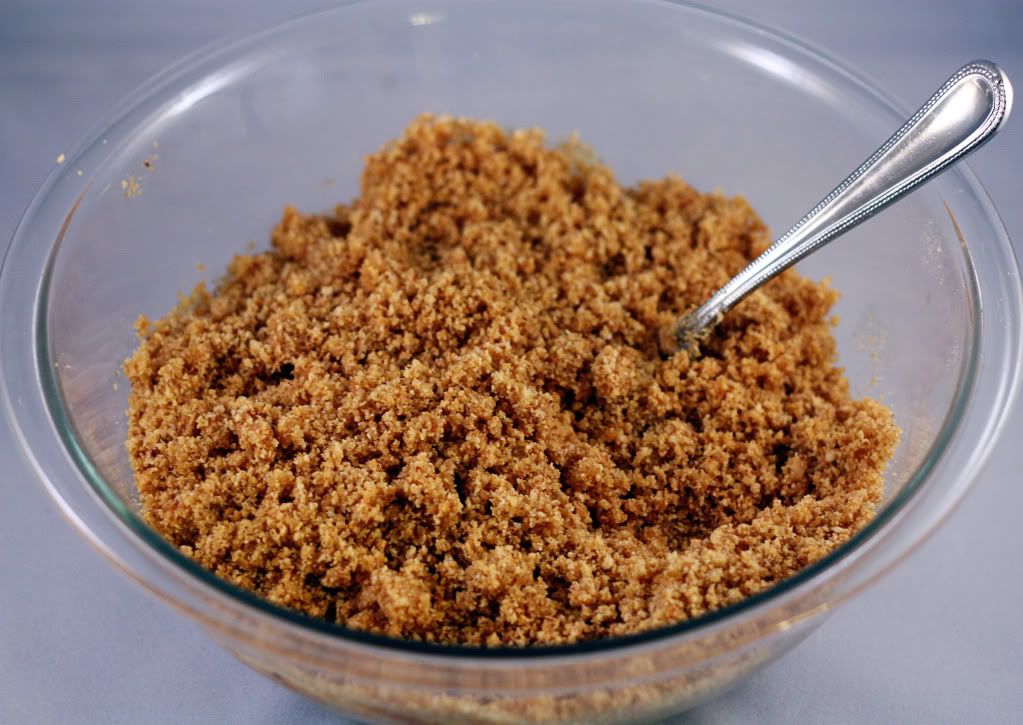
Combine graham cracker crumbs, chopped almonds, melted butter and sugar; combine with a fork until crumbly.
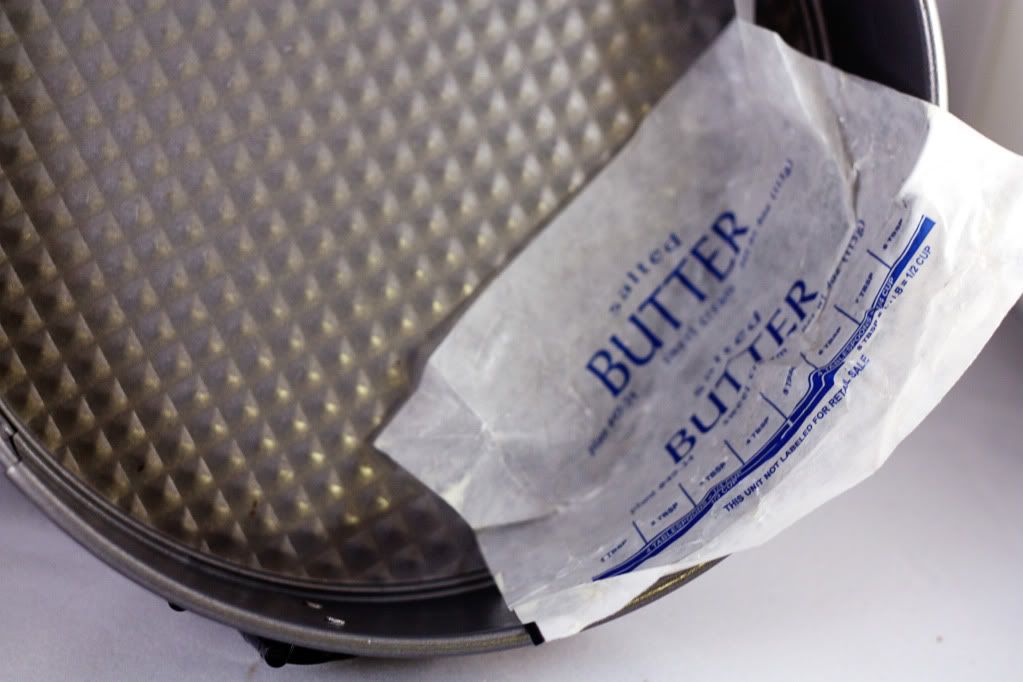
Now, take the butter wrapper and greased the inside-sides of the springform pan.
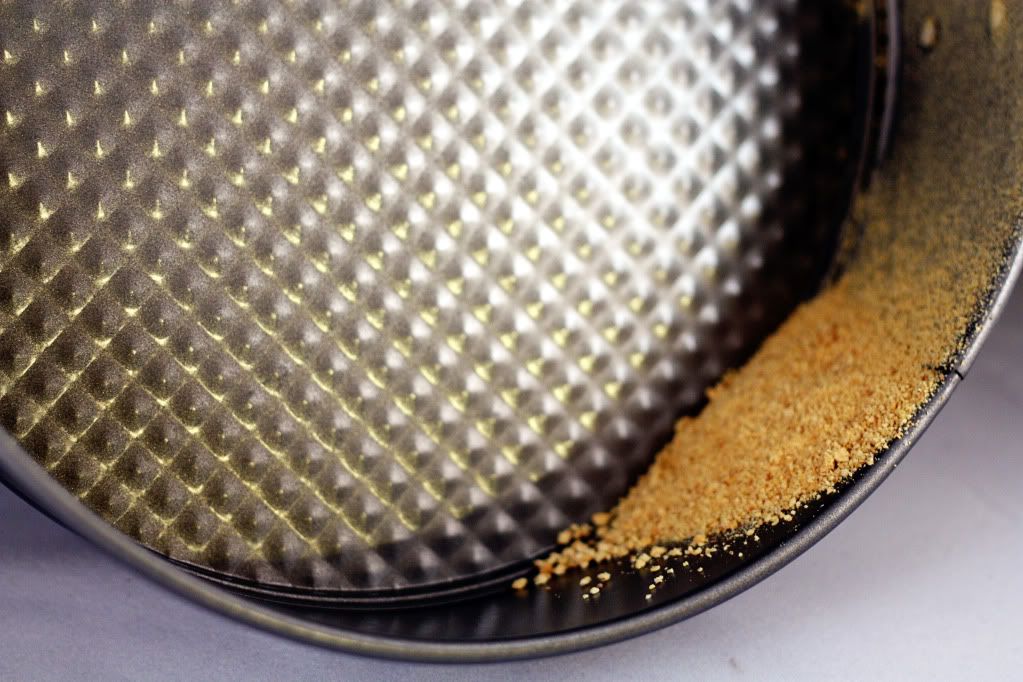
Take some leftover dry graham crumbs and coat the sides of the pan to prevent the cheesecake from sticking to the sides.
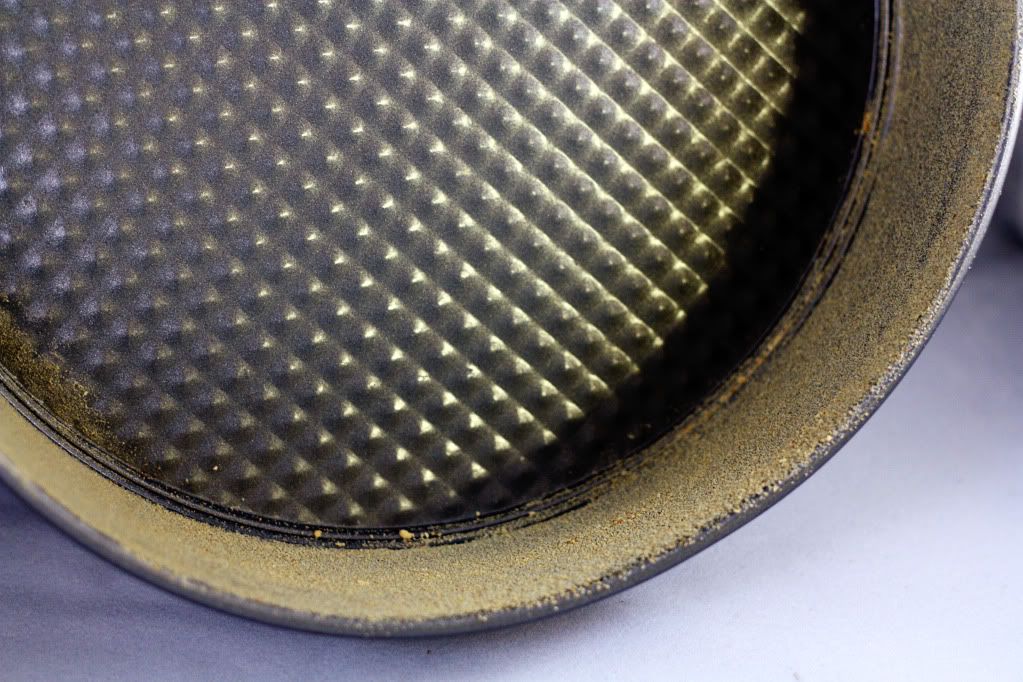
Here's the finished coated pan.
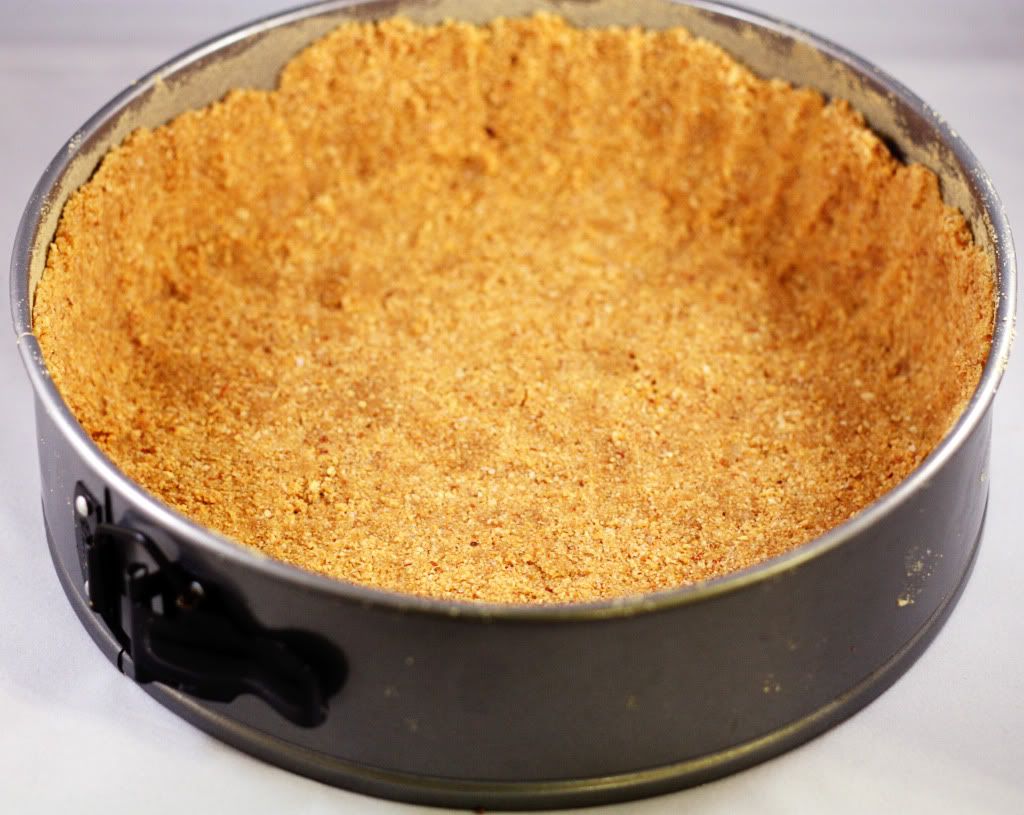
Finally, pour graham crumb and almond mixture into the pan and press firmly to the bottom and part way up the sides.
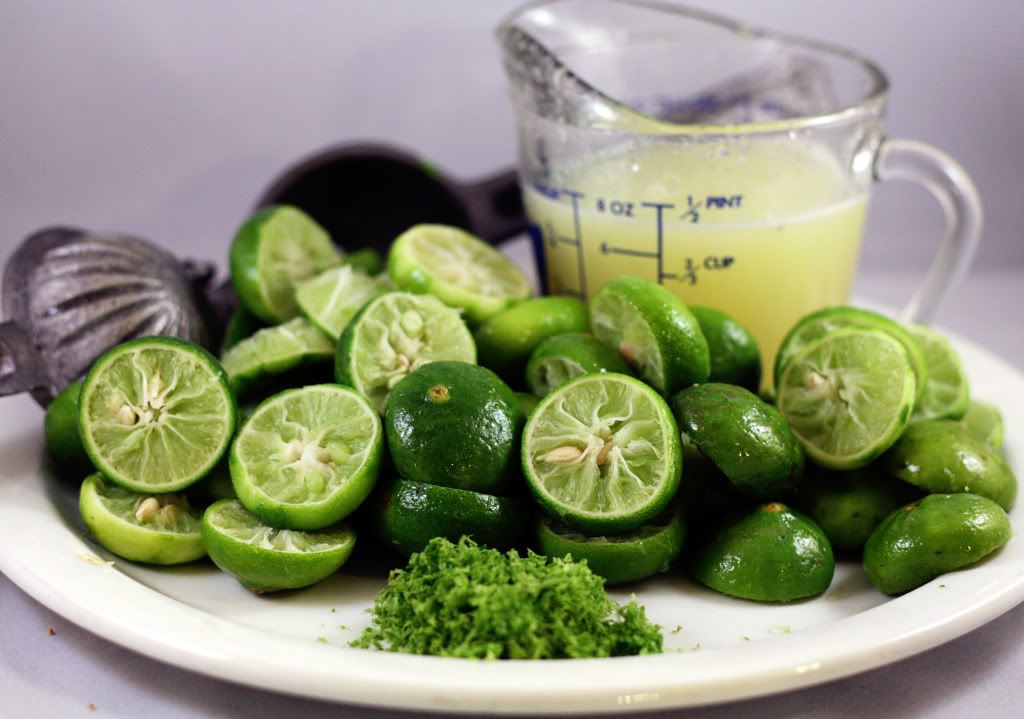
Zest those limes and squeeze the last drop of juice out of each and every one. (I recommend a lemon / lime squeezer thingy)
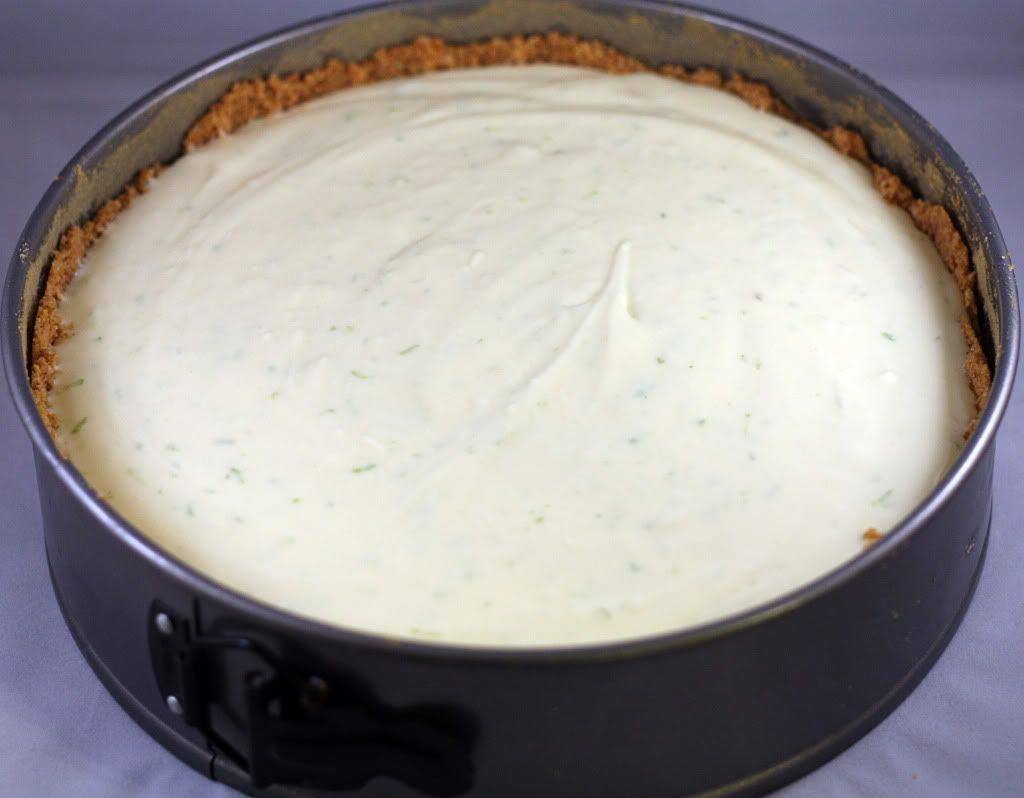
Prepare your filling ingredients...don't forget the zest! It adds so much more flavor. Pour prepared filling into crust and bake as directed below...
Baking Key Lime Cheesecake Tips:
- Before adding boiling water, place the cheesecake in the larger baking pan and put it in the oven so that you avoid moving hot water-filled pans, you can just add the hot water to the bottom pan when you're ready.
- You'll know it's done after an hour when the top slightly jiggles in the center and is no longer wet and shiny looking.
- After baking, turn off the oven, keep the door closed, and let it sit for an hour. This allows the cheesecake to cool very slowly and will reduce the cracking.
- Once cooled to room temperature, wrap it loosely and chill overnight before serving.
- If you want the pristine, clean slices, try freezing the cheesecake until it's very firm. Then, use a hot, knife for slicing, making sure to rinse and wipe down the knife between slices.
More Delicious Dessert Recipes


Please let me know how this Key Lime Cheesecake turn out for you in the comments! I love hearing from you!
Key Lime Cheesecake
Equipment
Ingredients
Crust:
- 2 cups graham cracker crumbs
- ½ cup toasted almonds ground
- 1 teaspoon salt
- 1 ½ sticks butter melted
- ½ cup sugar
Filling:
- 1 ½ cups sugar
- 1 can Eagle Brand Milk
- 4 tablespoons flour
- 2 tablespoons lime zest
- 5 8 ounce pkgs. cream cheese, softened
- 1 teaspoon vanilla bean paste
- 1 cup fresh lime juice about 25 Key limes or Nellie & Joe's Famous Key Lime Juice
- 3 eggs
- 2 egg yolks
Whipping Cream: For Garnish
Instructions
Crust:
- Preheat the oven to 400 degrees F. Make the crust by combining the graham cracker crumbs with the butter and ½ cup sugar in a medium bowl. Stir well enough to coat all of the crumbs with the butter. Keep it crumbly. Press the crumbs onto the bottom and about one half of the way up the sides of an 8-inch spring form pan. You don't want the crust to form all the way up the back of each slice of cheesecake. Bake the crust for 5 minutes, then set it aside until you are ready to fill it.
Filling:
- In a large mixing bowl combine the cream cheese, sugar, and vanilla. Mix with an electric mixer until smooth. Add the Eagle Brand milk, lime juice lime zest, flour and eggs and continue to beat until smooth and creamy.
- Pour the filling into the pan. Bake for 20 minutes at 400 degrees. Drop the temperature to 250 degrees and add a pan of boiling water on the rack underneath the cheesecake; continue baking for an additional hour or until the center is set. Remove from the oven and allow it to cool.
- When the cheesecake has come to room temperature, put it into the freezer. The cheesecake is best when it has been allowed to chill overnight. Remove cheesecake from freezer and allow to sit 10 minutes. Carefully removes sides and bottom of pan and place cheesecake on serving platter. Run a sharp knife under hot water, dry with a clean towel and make 16 uniform slices, rinsing the knife under hot water and drying it between each slice. Top each piece with sweetened whipped cream and sprinkle with additional lime zest, if desired.
Whipping Cream:
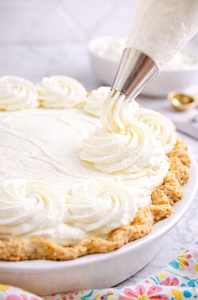
- Place bowl of electric mixer along with wire whip in the freezer to chill while you are gathering other ingredients. Combine all ingredients in chilled bowl and whip on medium-high speed until desired consistency is reached. I like to beat mine just until stiff peaks form so that I can pipe it out of a pastry bag.
Nutrition
*Nutrition information is automatically calculated based on ingredient data and should be considered an estimate. When multiple ingredient options are provided, the first listed is used for calculation. Optional ingredients and garnishes are not included in the nutrition analysis.

Comments
No Comments