

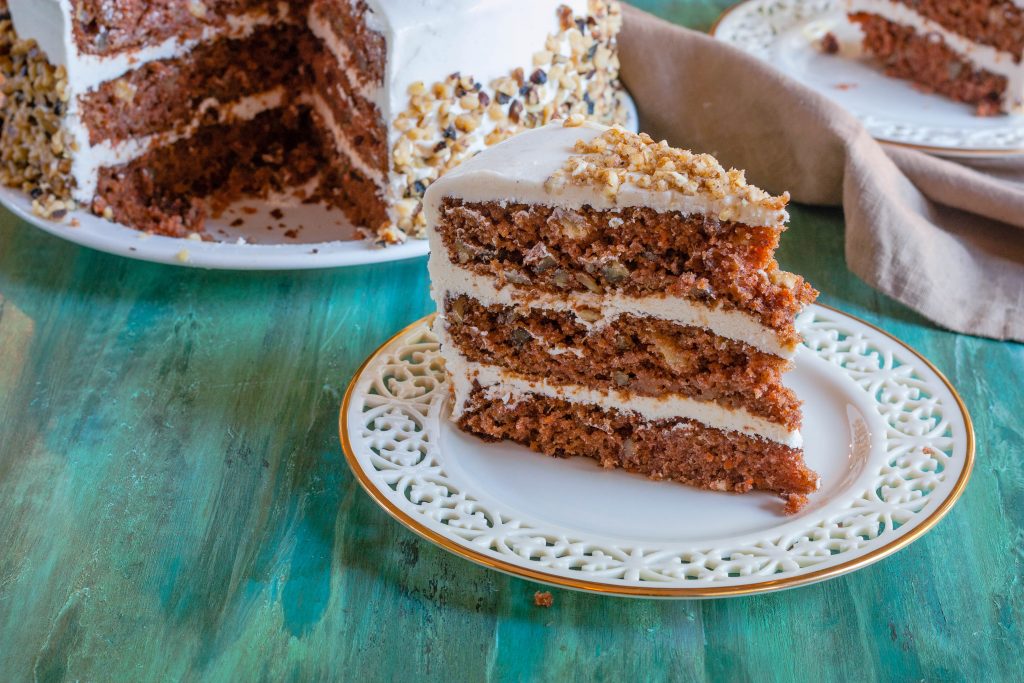
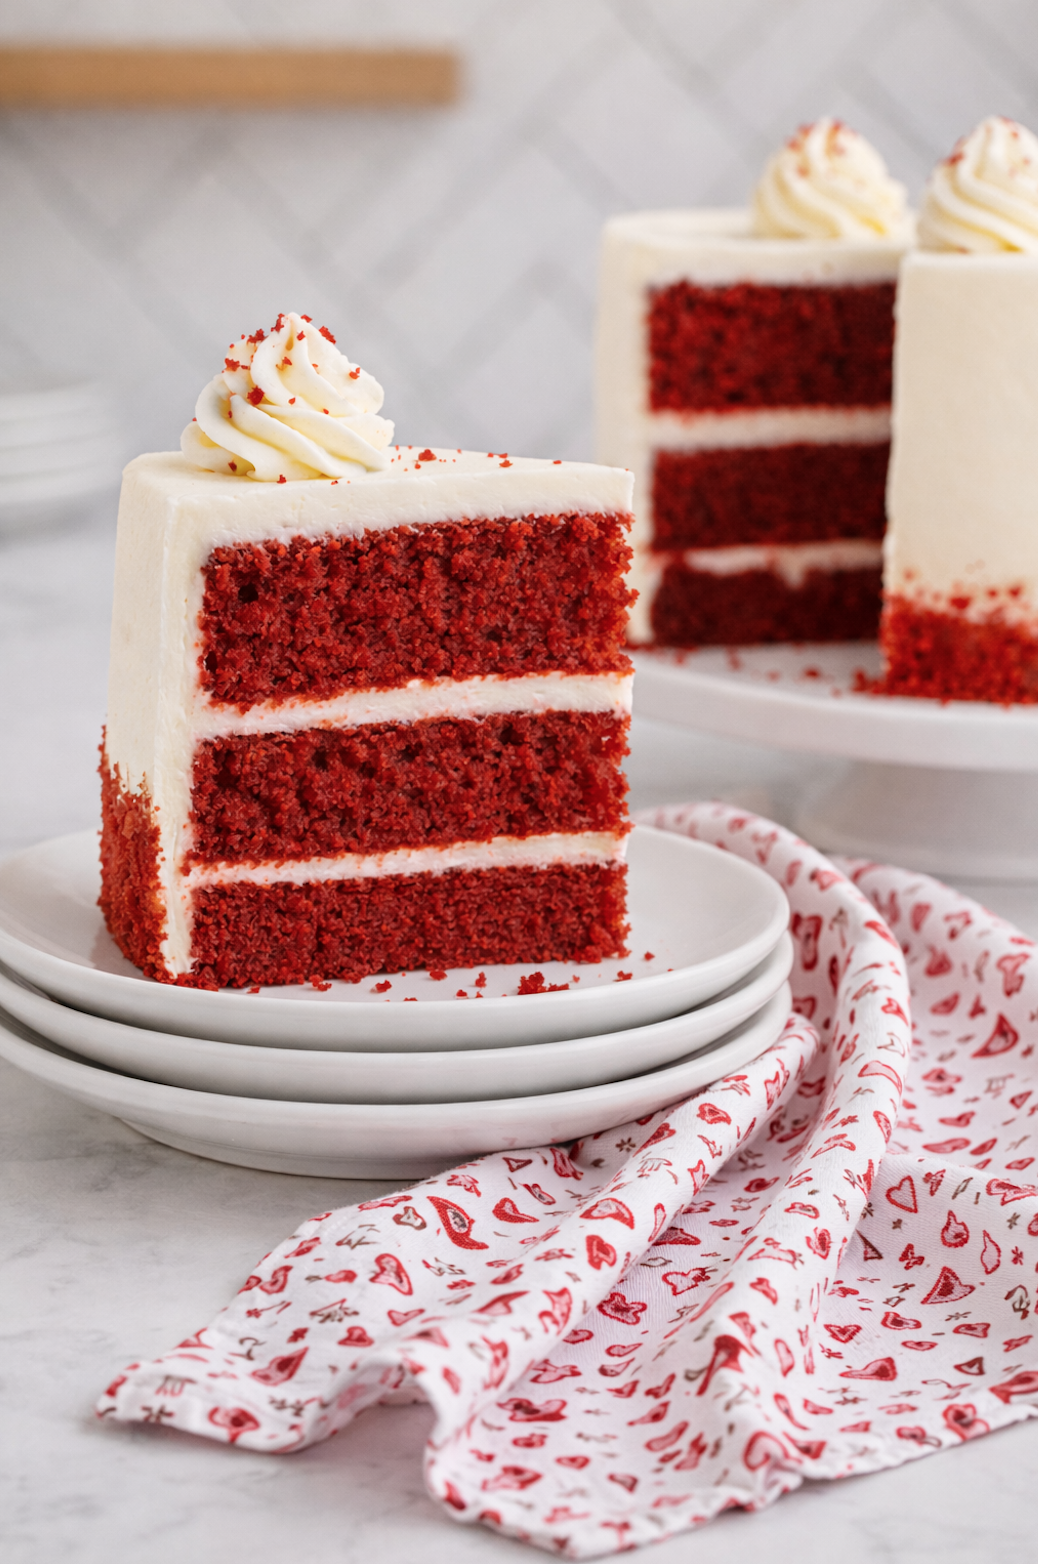
There's always a pause when someone's handed a freshly sliced piece of red velvet cake. Their eyes land on that bold, red color against the cream cheese frosting, and for a second, they just take it in.
Red velvet often comes up when someone wants a striking centerpiece for a special occasion. Birthdays, Valentine's Day, holiday tables - it's the kind of cake that looks right the moment it's sliced.
Color matters more than people realize with Red Velvet Cake. I prefer a concentrated gel food coloring because cocoa powder naturally dulls the batter, and liquid coloring usually forces you to add more than you need. A small amount of a good gel keeps the red color vibrant without thinning the cake batter or throwing off the texture.
This cake works best when it's treated like its own thing, not a chocolate cake with food coloring added at the end. Overmixing once the flour goes in or baking until the layers feel firm will leave you with a dry cake that just happens to be red. The fix is simple: mix gently, stop early, and pull the pans when the centers spring back and a toothpick shows moist crumbs.
I bake this recipe in 9-inch pans because the cake layers bake evenly and slice cleanly into individual slices without fuss. Thirty to thirty-five minutes is usually right, but I start checking early. When they cool, the layers should feel light in the hand, not stiff.
This post may contain affiliate links. I may receive commissions for purchases made through links in this post.
The Roots of This Recipe
Red velvet cake is an American layer cake most closely associated with the Southern United States.
Early versions appeared in the early 1900s, when small amounts of cocoa powder were used to soften flour and create a finer crumb. The cocoa reacted with acidic ingredients like buttermilk and vinegar, producing a subtle reddish-brown tint long before red food coloring was common.
In the 1930s and 1940s, Adams Extract, based in Texas, promoted red velvet cake recipes that relied on bottled red food coloring. That marketing push helped standardize the bright red color most people recognize today.
Cream cheese frosting became the preferred pairing by the mid-20th century, as home refrigeration became more widespread. Over time, the cake shifted from lightly tinted chocolate cake to the classic red velvet cake defined by tender layers, mild cocoa flavor, and tangy cream cheese frosting.
The Gist
Cook time: 30-35 minutes | Total time: about 2½ hours
Yield: Serves 14-16
Skill level: Intermediate
Best for: Birthdays, holidays, Valentine's Day
Make-ahead friendly: Yes
Dietary notes: Vegetarian
What you'll learn: How small mixing and timing choices create a moist cake with a tender crumb
You Might Also Like

Why You'll Love It
The cake layers bake evenly in standard 9-inch pans and stack cleanly without trimming.
The cocoa powder adds flavor without turning this into a full chocolate cake.
The tangy cream cheese frosting balances the sweetness and stays soft enough to slice.
It works just as well for birthday cakes as it does for Valentine's Day or holiday tables.
Kitchen Equipment
 Buy Now →
  Buy Now →
  Buy Now →
  Buy Now →
  Buy Now →
Shop my kitchen favorites
Visit my Amazon Store for the tools and staples I use most often.
Ingredients You'll Need
 Buy Now →
  Buy Now →
  Buy Now →
  Buy Now →
  Buy Now →
  Buy Now →
  Buy Now →
  Buy Now →
  Buy Now →
  Buy Now →
  Buy Now →
  Buy Now →
  Buy Now →
 Ingredient notes
• Cake flour keeps the crumb soft and light
• Salted butter balances the sweetness without extra salt
• Cocoa powder adds flavor and affects color intensity
• Buttermilk and vinegar provide acidity for texture
• Gel food coloring delivers stronger color with less volume
Substitutions
• All-purpose flour can replace cake flour, but the crumb will be slightly firmer
• Whole milk with vinegar can stand in for buttermilk
• Gel food coloring can replace liquid with less added moisture
How to make
The cake batter comes together by creaming butter and sugar first, then adding eggs and vanilla before alternating dry ingredients with the buttermilk mixture. The cocoa powder is added directly to the creamed mixture to keep it evenly distributed.
Once baked, the cake layers need to cool completely before frosting. The cream cheese frosting is mixed until smooth and fluffy, then spread between layers and over the exterior before chilling to set.
Timing & planning notes
You can bake the cake layers a day ahead and wrap them tightly once cooled. The frosting can also be made in advance and refrigerated, then softened briefly before using.
For best texture, assemble the cake at least an hour before serving to allow the frosting to set cleanly.
Let's get to cookin'
Prepare the pans
Preheat the oven to 350°F and butter and flour three 9-inch pans so the layers release cleanly.
Mix the dry ingredients
Whisk the cake flour, baking soda, and salt until evenly combined.
Cream the butter and sugar
Beat until light and fluffy, about three minutes, stopping once the mixture looks pale and aerated.
Add eggs and cocoa
Mix in eggs one at a time, then sift in cocoa powder and blend just until combined.
Alternate wet and dry ingredients
Add flour and buttermilk mixtures in turns, mixing gently and stopping as soon as the batter comes together.
Bake and cool
Bake until centers spring back lightly and a toothpick shows moist crumbs. Cool completely before frosting.
The Process

Chef's tips for Red Velvet Cake
• Use gentle mixing: Overworking the batter tightens the crumb
• Watch the bake time: Pull the layers early rather than late
• Choose good food coloring: Strong gel color prevents overuse
• Cool fully before frosting: Warm layers will soften the frosting
Troubleshooting
• Cake is dry → Overbaked or overmixed → Check early and mix gently
• Color looks dull → Too much cocoa or weak coloring → Use gel color
• Layers crumble → Cake was cut warm → Cool completely before slicing (I like to freeze my cakes until firm and use a knife run under hot water, cleaning my blade with every slice)
Make ahead & freezing
Cake layers can be frozen tightly wrapped for up to two months. Frosted cakes or cupcakes freeze well for up to one month. Thaw overnight in the refrigerator before serving.
FAQs
Can I make this as cupcakes?
Yes. Fill liners two-thirds full and bake 18-22 minutes.
Does red velvet taste like chocolate cake?
It has cocoa flavor, but it's milder and balanced by acidity.
Can I use a hand mixer?
Yes. A hand mixer works well for both batter and frosting.
Leftovers & storage
Store covered at room temperature for up to two days or refrigerated for up to one week. For clean slices, chill briefly before cutting.
Stick around for seconds!
There's more where this came from if you're planning a dessert table or just looking for something dependable to bake next.
Tried it?
If you made this cake, leave a rating or note. I always like to know how it turned out in someone else's kitchen.
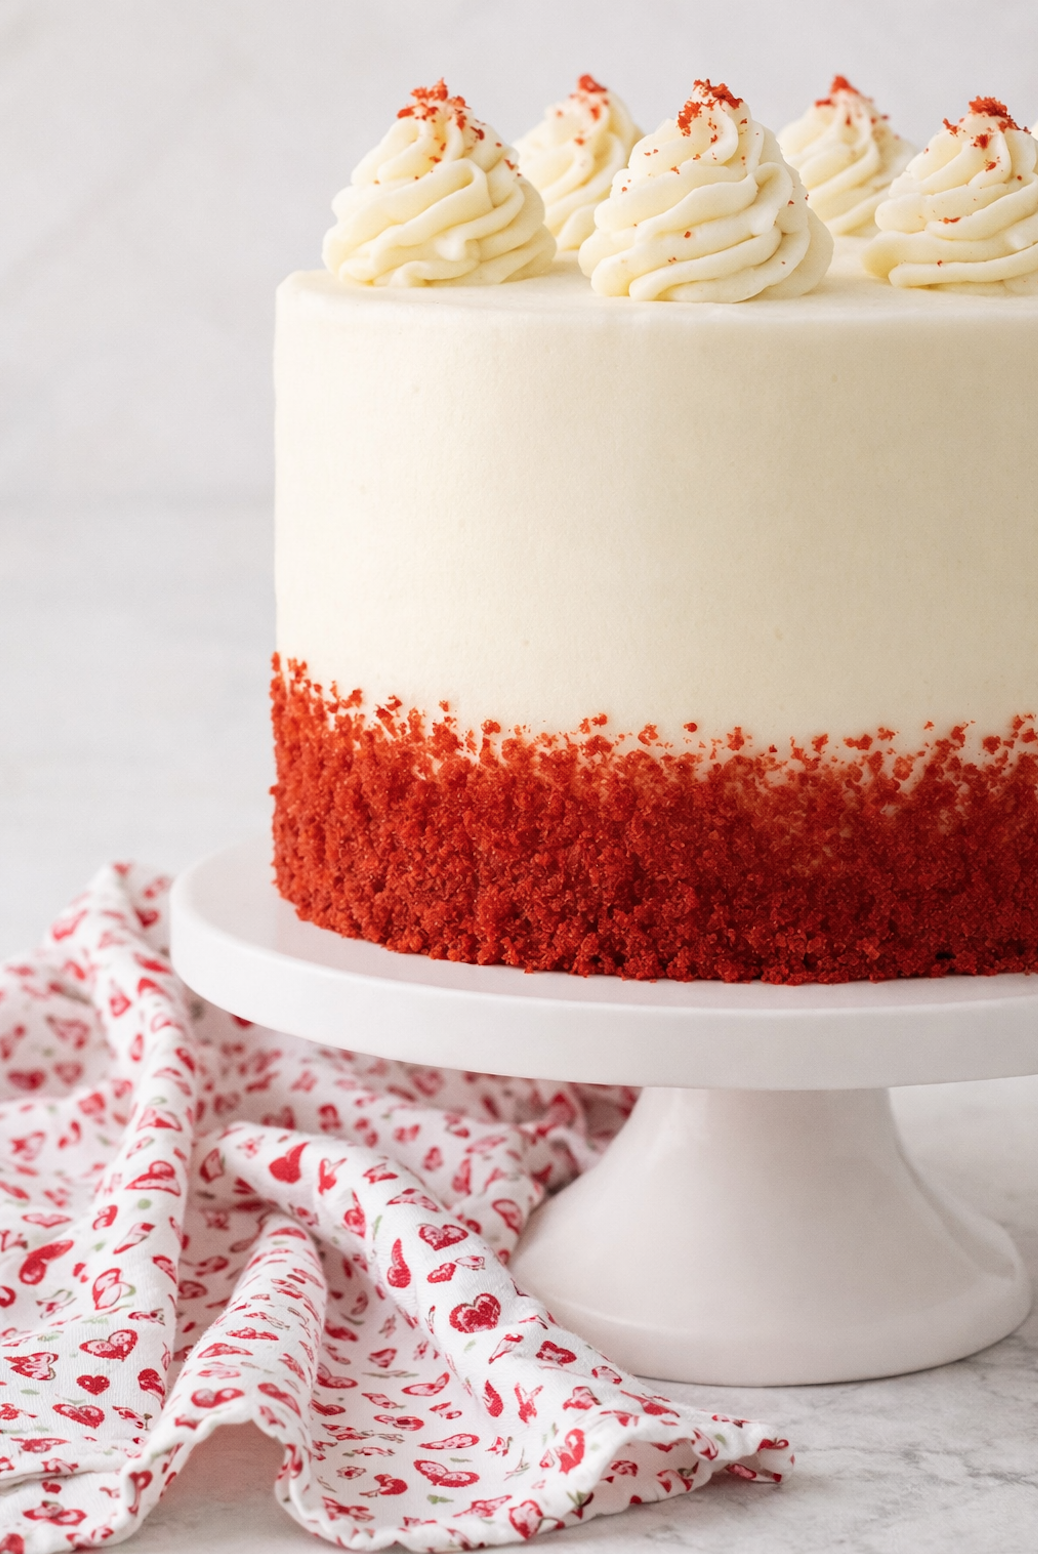
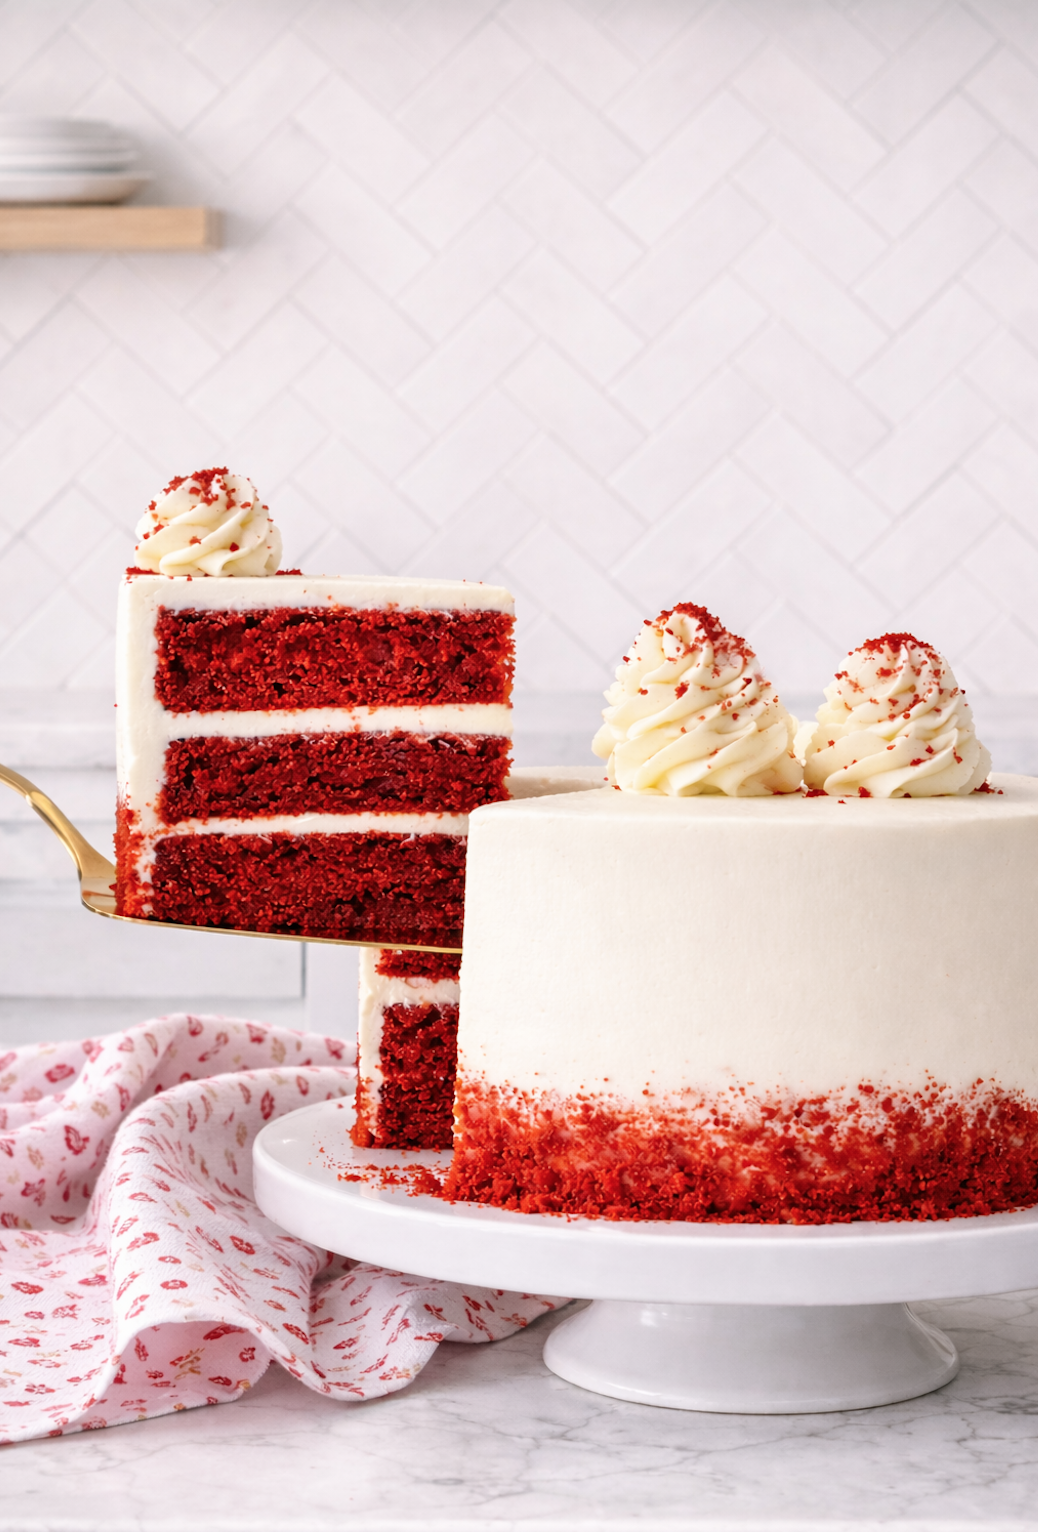
Red Velvet Cake with Cream Cheese Frosting
Equipment
- Stand Mixer or Hand Mixer
Ingredients
Cake
- 3¾ cups Cake Flour
- 1½ teaspoons baking soda
- 1½ teaspoons Kosher salt
- ¾ cup salted butter room temperature
- 2¼ cups granulated sugar
- 3 large eggs room temperature
- 3 teaspoons vanilla extract
- 3 tablespoons unsweetened cocoa powder
- 1½ cups buttermilk room temperature
- 1½ tablespoons white vinegar
- 1½ -2½ tablespoons gel red food coloring
Cream Cheese Frosting
- 3 (8-ounce) packages cream cheese softened to room temperature
- 2¼ cups salted butter room temperature
- 1½ teaspoons vanilla extract
- 8¼ cups confectioners' sugar sifted
Instructions
Make the Cake
- Preheat the oven to 350°F. Butter and flour three 9-inch round cake pans.
- In a medium bowl, whisk together the flour, baking soda, and salt. Set aside.
- In a large bowl or stand mixer fitted with the paddle attachment, beat the butter on medium speed until smooth. Add the sugar and beat until light and fluffy, about 3 minutes.¾ cup salted butter, 2¼ cups granulated sugar
- Add the eggs one at a time, mixing well after each addition. Beat in the vanilla extract.3 large eggs, 3 teaspoons vanilla extract
- Sift the cocoa powder into the bowl and mix just until combined, scraping down the sides as needed.3 tablespoons unsweetened cocoa powder
- In a liquid measuring cup, stir together the buttermilk, vinegar, and red food coloring.
- With the mixer on low speed, add half of the flour mixture, followed by half of the buttermilk mixture, mixing just until combined. Repeat with the remaining flour mixture and buttermilk mixture.
- Divide the batter evenly among the prepared pans.
- Bake for 30-35 minutes, or until the centers spring back lightly when touched and a toothpick inserted comes out clean.
- Cool the cakes in the pans for 10 minutes, then turn out onto wire racks and cool completely before frosting.
Make the Cream Cheese Frosting
- In a large bowl or stand mixer fitted with the paddle attachment, beat the cream cheese and butter on medium speed until smooth and fluffy, about 3 minutes.3 (8-ounce) packages cream cheese, 2¼ cups salted butter
- Beat in the vanilla extract.1½ teaspoons vanilla extract
- With the mixer on low speed, gradually add the confectioners' sugar until incorporated.8¼ cups confectioners' sugar
- Increase speed to medium and beat until light and fluffy, about 1 minute.
Assemble the Cake
- Place one cake layer on a cake stand or serving plate. Spread about ¾ cup frosting evenly over the top.
- Add the second layer and repeat with frosting.
- Top with the final cake layer and frost the top and sides of the cake.
- Smooth the frosting with an offset spatula or bench scraper.
- Chill the cake for about 1 hour before serving to allow the frosting to set.
Notes
Notes
Clean cake slices• For sharp, clean slices, freeze the fully frosted cake until firm.
• Remove from the freezer just before slicing.
• Use a long, sharp knife, running it under hot water and wiping it clean between each cut. Cupcake instructions
• This recipe yields about 30–36 standard cupcakes
• Line cupcake pans with paper liners
• Fill liners about ⅔ full
• Bake at 350°F for 18–22 minutes, until set and springy in the center
• Cool completely before frosting Substitutions
• Whole milk mixed with 1½ tablespoons vinegar or lemon juice may be used in place of buttermilk
• Gel food coloring may be substituted for liquid food coloring; adjust amount as needed Serving suggestions and pairings
• Serve slightly chilled or at cool room temperature
• Pairs well with coffee, espresso, or unsweetened tea Storage and freezing
• Store covered at room temperature for up to 2 days or refrigerated for up to 1 week
• Cake layers may be wrapped tightly and frozen for up to 2 months
• Frosted cake or cupcakes may be frozen for up to 1 month; thaw overnight in the refrigerator before serving
Nutrition
*Nutrition information is automatically calculated based on ingredient data and should be considered an estimate. When multiple ingredient options are provided, the first listed is used for calculation. Optional ingredients and garnishes are not included in the nutrition analysis.
Comments
No Comments