
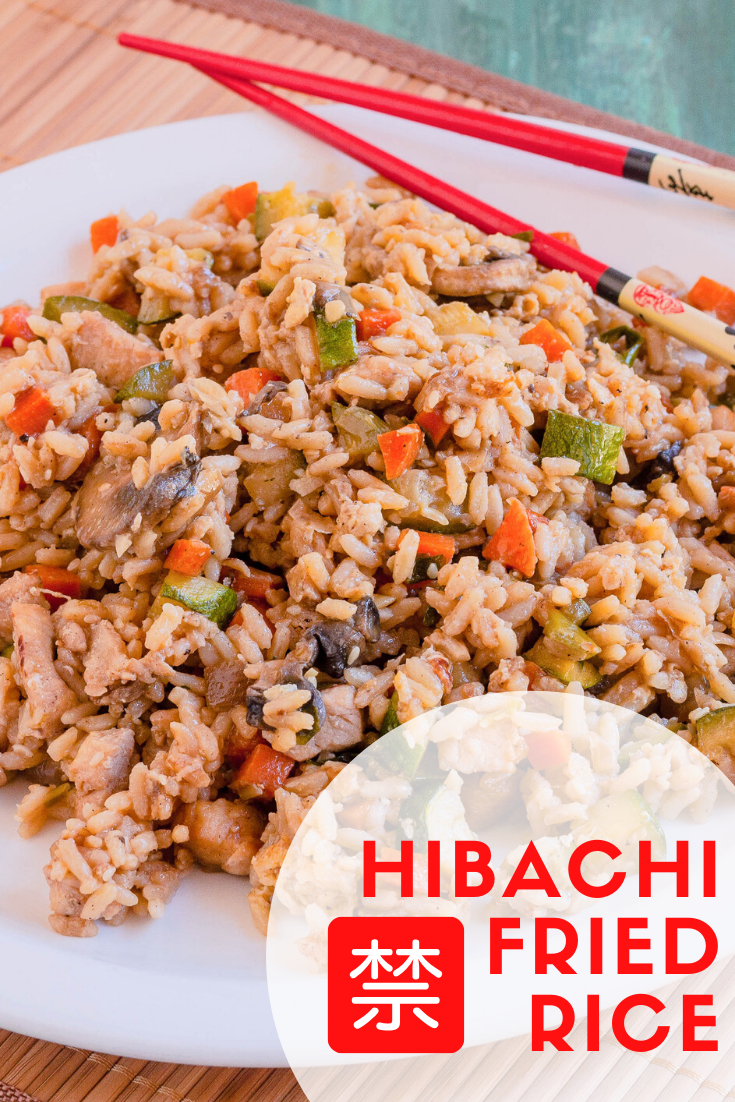
Packed with chicken, fresh vegetables and savory seasonings, this Hibachi Style Fried Rice will have you kicking the takeout habit!
 Hibachi Style Fried Rice is by far my most loved fried rice. There are some tricks to making fried rice a success when making it at home.
HOW TO MAKE HIBACHI STYLE FRIED RICE
- Something that may be eye-opening to many home cooks is how much butter or margarine is used in the Hibachi restaurant environment - it's a lot! But, using a generous amount of margarine separates all of the rice and flavors the dish quite well.
- Another very important secret is using day-old leftover short-grain rice. It is best to make the rice the day before or use leftover rice because this rice has been cooled and allowed to dry out some, which will allow it to soak up the seasonings and sauce that is added when stir-frying. Using day-old cooked rice will also keep your fried rice from becoming gummy because much of the excess moisture has been dried out.
- Lastly, fried rice is cooked at high heat, so make sure you allow your pan or wok to heat up very well, but not so hot that everything burns as soon as it hits the pan.
Because most of us don't have a large built-in griddle to work with, we need to cook the ingredients separately before bringing it all together so that everything doesn't get mushy and gummy.
 Using this recipe, I think you'll be able to kick that takeout habit and love making it right at home. I hope you enjoy!
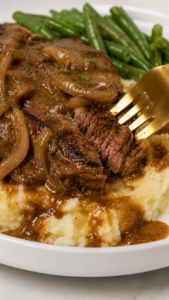
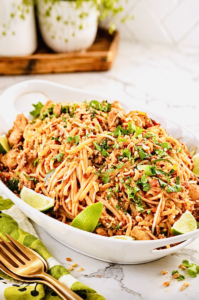
MORE ASIAN INSPIRATION!
HAVE YOU MADE ANY OF MY RECIPES? POST THEM ON INSTAGRAM AND TAG @jennifercooks123 AND #jennifercooks!
Hibachi Style Fried Rice
- Yield: 4 to 6 main dish servings 1x
Ingredients
Scale
- 4 cups cooked short grain rice (preferably leftover, cold)
- 8 tablespoons margarine
- 2 cloves garlic
- 2 tablespoons canola or vegetable oil
- 2 chicken breasts (small cubes (can use steak, shrimp, pork or ham instead if desired))
- 4 eggs (beaten)
- 2 cups zucchini (medium dice)
- 1 cup diced onion
- 1 cup finely diced carrot
- 16 ounces sliced cremini mushrooms
- 4 green onions (thinly sliced)
- ¼ cup soy sauce
- 1 teaspoon sesame oil
- 1 tablespoon sesame seeds (toasted)
- salt and pepper (to taste)
Instructions
- Prepare meat and vegetables in advance.
- Combine margarine and minced garlic and mix into a paste; set aside.
- In a large skillet or wok, heat 1 tablespoon oil over medium-high heat. Place chicken pieces in pan and let sear for about 2 minutes, or until the chicken begins to brown. Stir and continue cooking for 4 to 6 minutes, or until just done and no longer pink - do not overcook. Right before removing from pan, stir in 1 tablespoon margarine mixture. Spoon meat onto a plate or bowl and set aside.
- Without cleaning out the pan, add 1 tablespoon oil, then add zucchini, onion, carrot and mushrooms making sure not to overcrowd the pan - just barely cover the bottom; cook in batches if necessary. Saute for about 4 minutes, or until crisp-tender. Right before removing from pan, stir in 1 tablespoon margarine mixture. Spoon vegetables onto a plate or bowl and set aside.
- Without cleaning the pan, add 2 tablespoons margarine mixture and melt. As soon as margarine is melted, stir in the eggs and lightly scramble.
- When eggs are almost done, stir in the rice and mix to combine.
- Add 2 more tablespoons butter mixture and spread rice out evenly in the pan. Allow rice to cook without stirring for about 2 to 3 minutes or until rice begins to lightly brown. Stir and spread out again and cook for another 2 to 3 minutes. Continue this process until desired doneness, adding margarine as necessary to prevent sticking.
- Stir back in cooked chicken and vegetables. Add soy sauce, sesame oil and sesame seeds. Saute until well combined and heated through.
- Season with salt and pepper to taste. Serve immediately.

Bridgitte says
Great recipe! I make my rice almost exactly the same way. I decided to take detailed mental notes of how they make the fried rice when I dined at a hibachi restaurant once. The rice came out practically perfect when I made it at home. I also found an AMAZING recipe for the "yum yum" or shrimp sauce that I like to eat with it. I found that using leftover/day old rice is the key too. Thanks for the tips!
Karen T. says
I’m sitting here searching the Internet for a recipe that’s close to my favorite Japanese steakhouse and yours is the closest! The only thing missing is a few doses of sake. I may have to go do some “research” and remind myself when they add it and estimate how much is being added. Probably 2 tablespoons or so, it gives it a nice sweetness but not overwhelming or sugary.
Jennifer says
Awesome! Let me know how it turns out.