
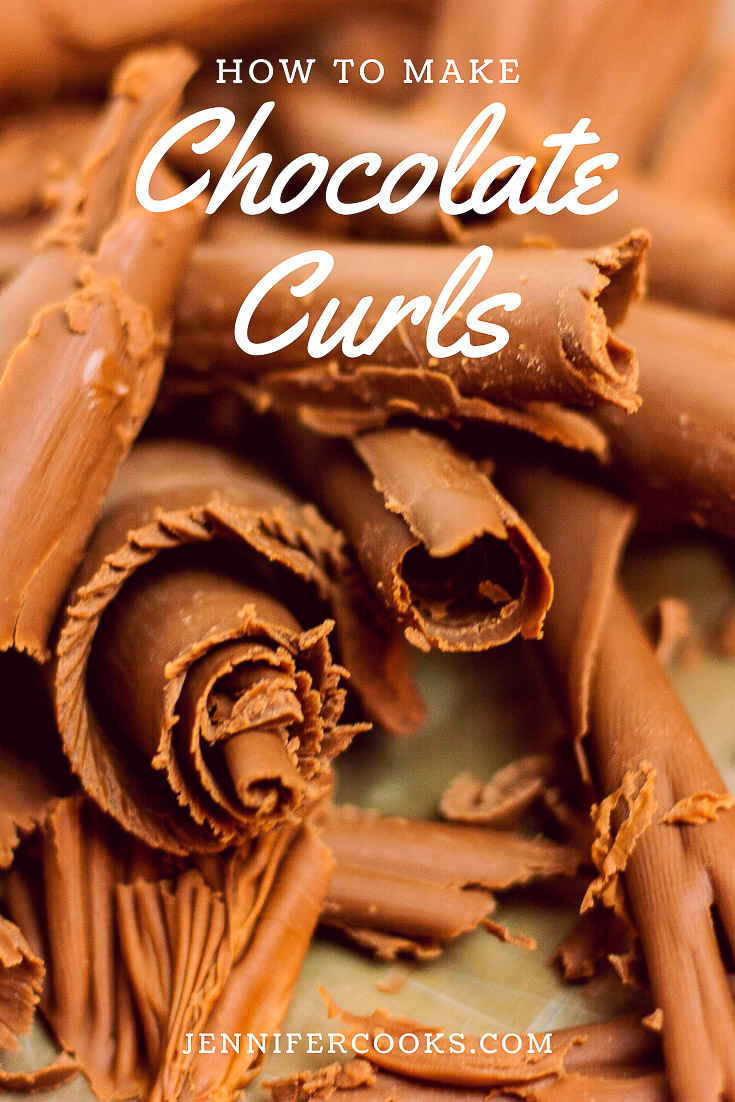
Learn how to make chocolate curls at home with a few simple ingredients in only a few minutes! Decorate your decadent desserts and drinks with these beautiful bakery-style curls!

Have you ever wanted to know how to make chocolate curls? Well, now's your chance! Don't be intimidated by the idea of making them at home, they're really quite simple to make.

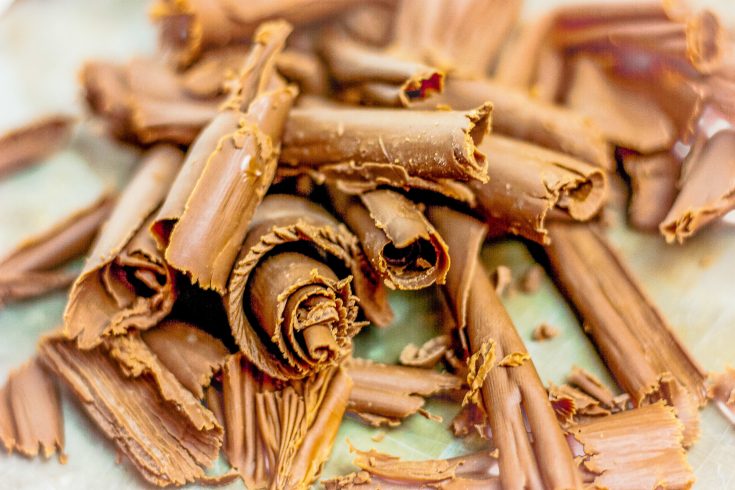
One key to making chocolate curls is getting the chocolate to the right temperature. This can be done by checking it often after spreading.
Allowing the chocolate to get too cold will cause you to have chocolate shards instead of curls. Too soft and it won't curl, it will push into fan-like chunks.
HOW TO MAKE CHOCOLATE CURLS

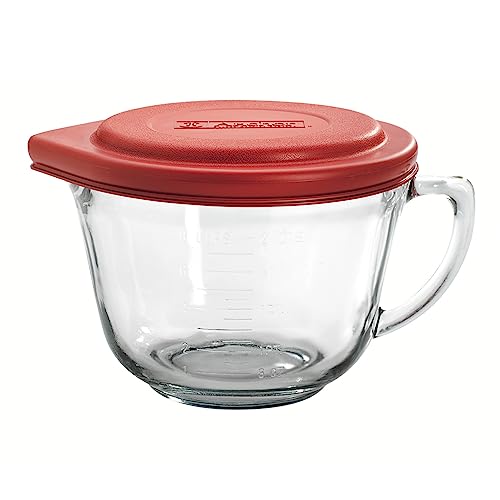
- In a medium-size glass bowl, add the chocolate and shortening then microwave on high for about 30 seconds and stir. If chocolate and shortening are not completely melted, continue microwaving at 15-second intervals and stirring between until smooth.
- Flip a jellyroll pan or large cookie sheet upside down and immediately spread the melted chocolate out onto the back of the cookie sheet.

- Continue to spread the chocolate out all over the pan until it's a thin, even layer.
- Place the pan into the freezer, and leave it there for approximately 3 to 4 minutes. You want the chocolate to be where it's not too soft and not too hard. (The chocolate is ready when it is no longer shiny and when pressed with your finger, it will leave a fingerprint and not a dent.)
- Now the fun part, curling! Using a metal spatula flipped upside down or a metal bench scraper, gently begin to push forward to start the curl rolling. Stop when you've reached the desired size of the curl.
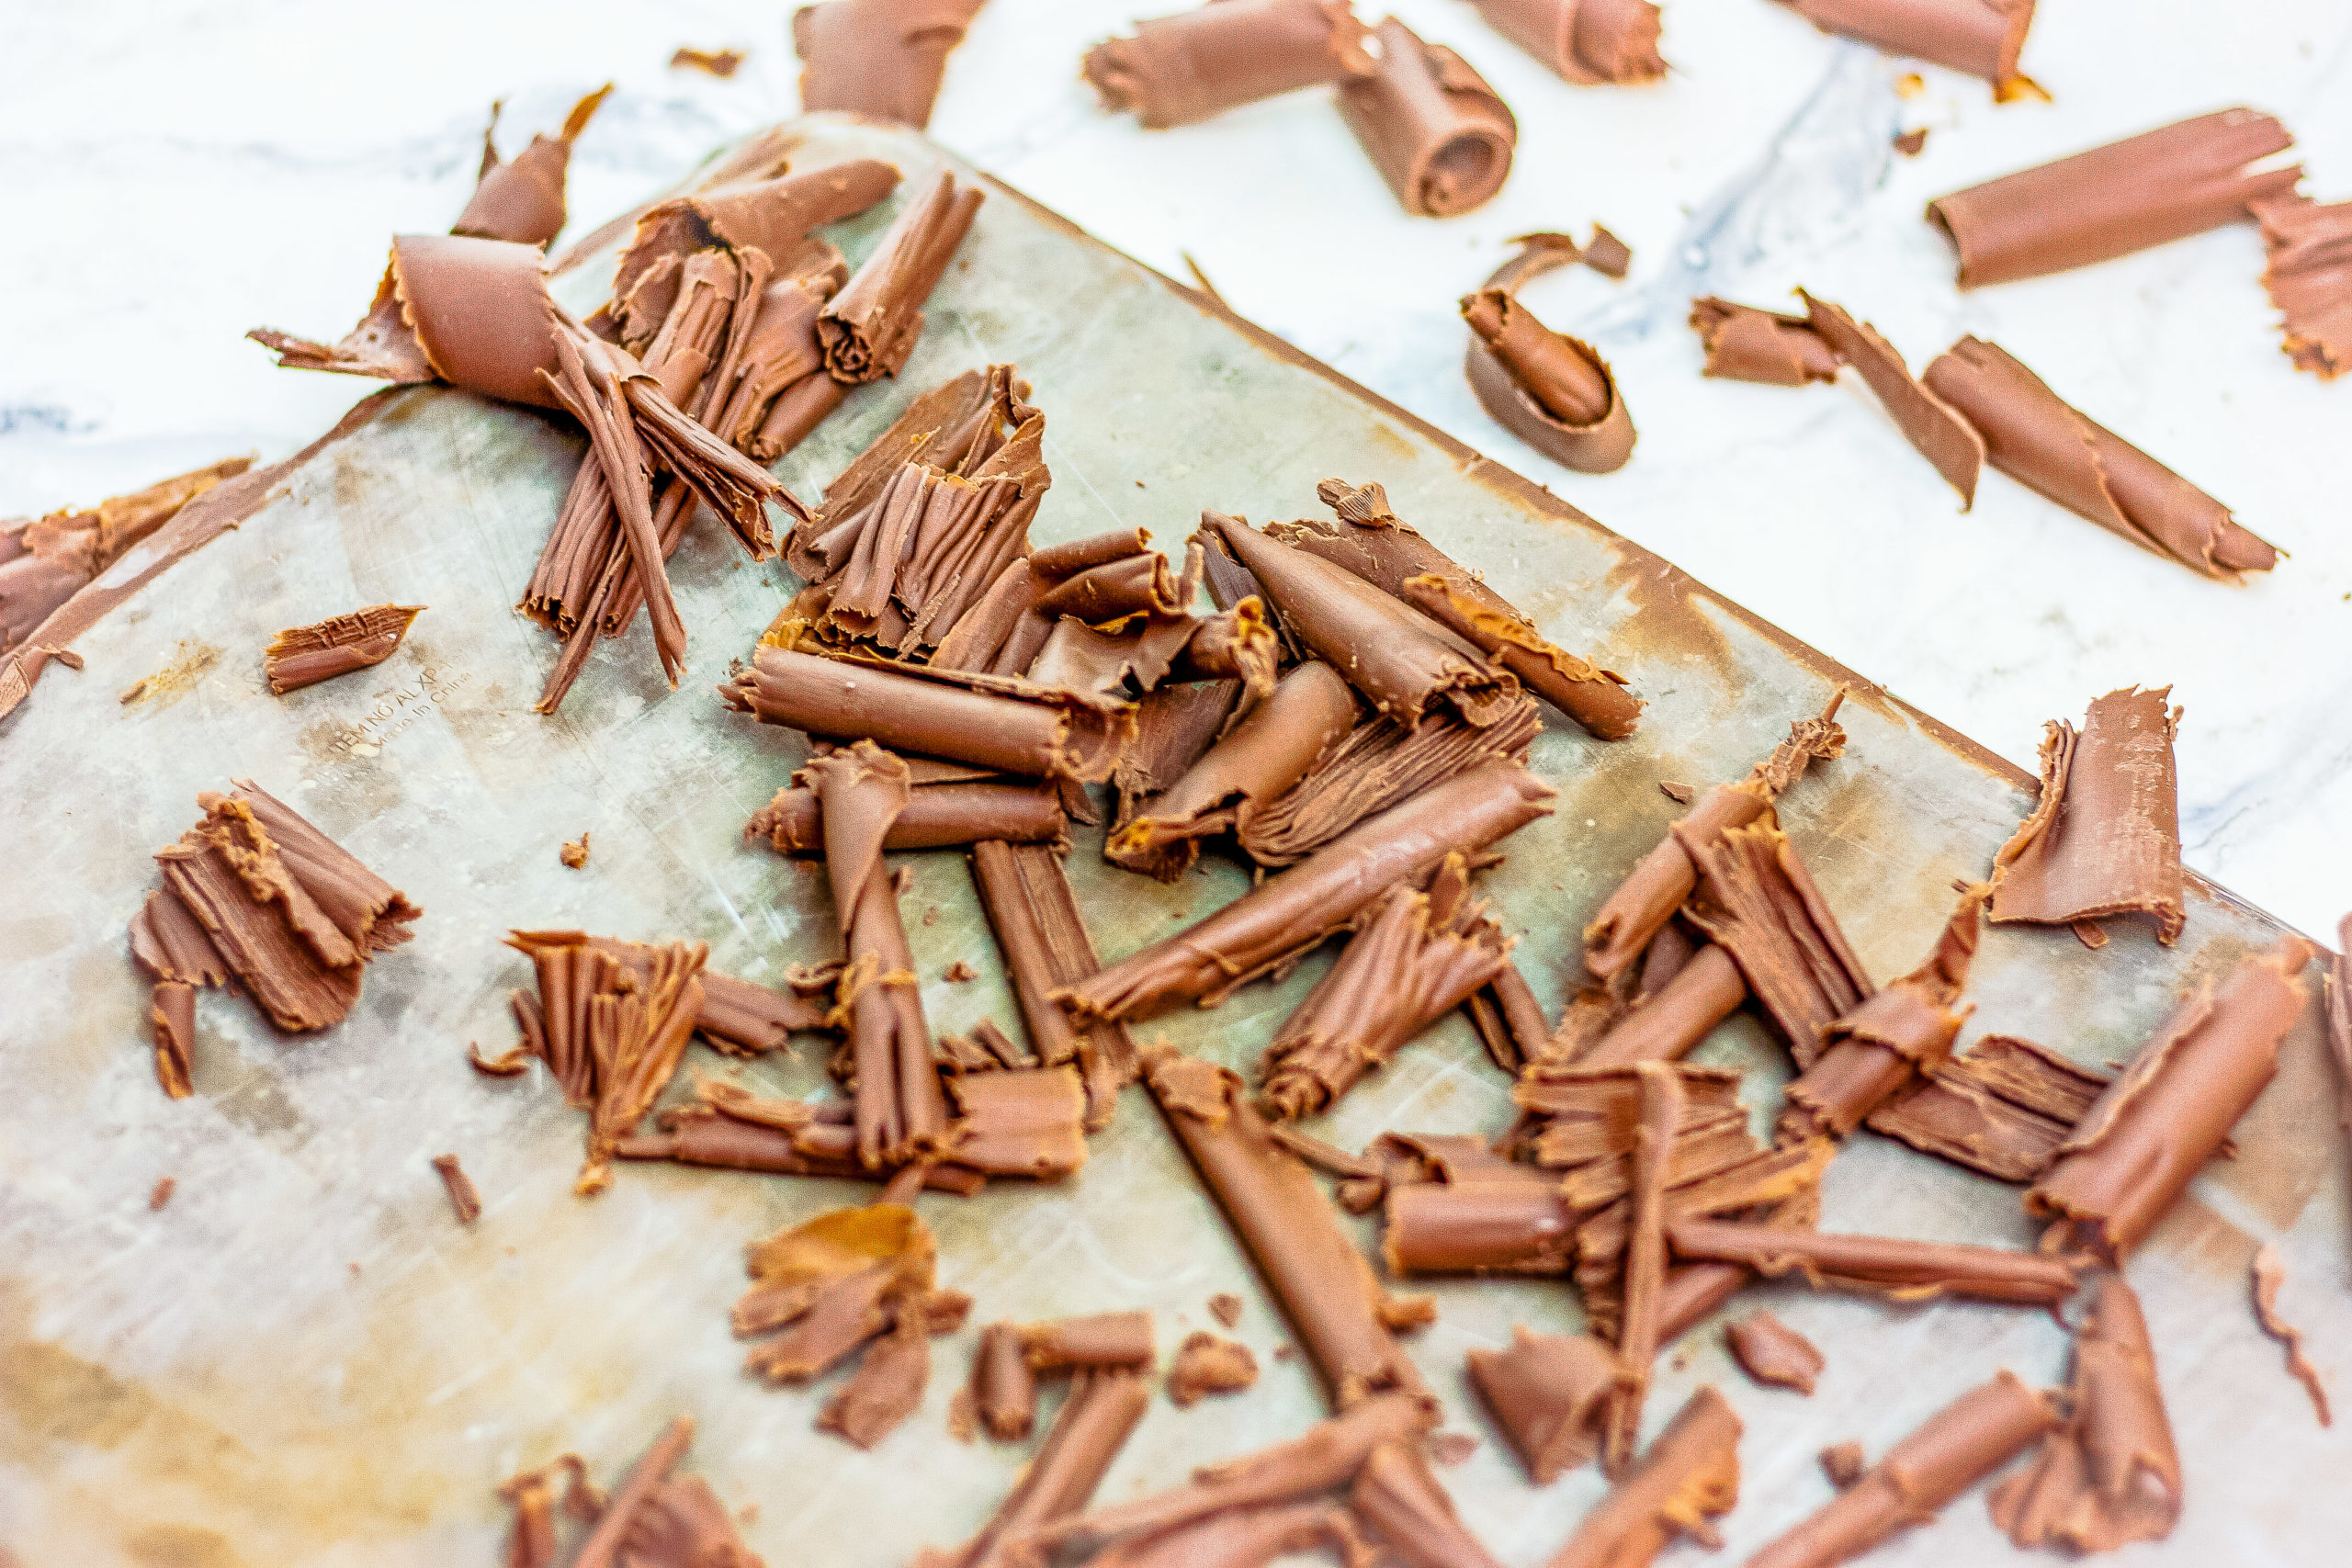
- Continue scraping the chocolate into curls.
- You can transfer the curls to a parchment-paper-lined cookie sheet using a toothpick and gently lifting them over to the clean pan. Place the curls into the refrigerator or freezer to continue to harden.
TIPS FOR HOW TO MAKE CHOCOLATE CURLS
- Clear a space in your freezer to hold the jellyroll pan evenly.
- Use your favorite, quality chocolate. I like Ghirardelli Chocolate Chips!
- To prevent your jellyroll pan from sliding while you're working, you can place a piece of rubberized shelf liner underneath it, or you can also use a damp kitchen towel. Otherwise, place one side of the jellyroll pan against the backsplash to prevent it from moving.
- Most of the time when I'm making large curls I really like using this bench scraper. I like the handle and the way it allows me to control the curl.
- If your chocolate begins to get too soft as you work just place it back into the freezer for a couple of minutes.
- Yes, you can freeze chocolate curls! Store them in the freezer inside an airtight storage container for up to 3 months.
USE CHOCOLATE CURLS ON THESE DELICIOUS DESSERTS!
HAVE YOU MADE ANY OF MY RECIPES? POST THEM ON INSTAGRAM AND TAG @jennifercooks123 AND #jennifercooks!
How to Make Chocolate Curls
Prep Time:
10 minutes
Total Time:
10 minutes
Learn how to make chocolate curls at home with a few simple ingredients in only a few minutes! Decorate your decadent desserts and drinks with these beautiful bakery-style curls!
Ingredients
- 1 cup semi sweet chocolate chips
- 1 tablespoon shortening
Instructions
- In a medium-size glass bowl, add the chocolate and shortening then microwave on high for about 30 seconds and stir. If chocolate and shortening are not completely melted, continue microwaving at 15-second intervals and stirring between until smooth.
- Flip a jelly roll pan or large cookie sheet upside down and immediately spread the melted chocolate out onto the back of the cookie sheet.
- Continue to spread the chocolate out all over the pan until it’s a thin, even layer.
- Place the pan into the freezer, and leave it there for approximately 3 to 4 minutes. You want the chocolate to be where it’s not too soft and not too hard. (The chocolate is ready when it is no longer shiny and when pressed with your finger, it will leave a fingerprint and not a dent.)
- Now the fun part, curling! Using a metal spatula flipped upside down or a metal bench scraper, gently begin to push forward to start the curl rolling. Stop when you’ve reached the desired size of the curl.
- Continue scraping the chocolate into curls.
- You can transfer the curls to a parchment-paper-lined cookie sheet using a toothpick and gently lifting them over to the clean pan. Place the curls into the refrigerator or freezer to continue to harden.
Recommended Products
As an Amazon Associate and member of other affiliate programs, I earn from qualifying purchases.


Comments
No Comments