
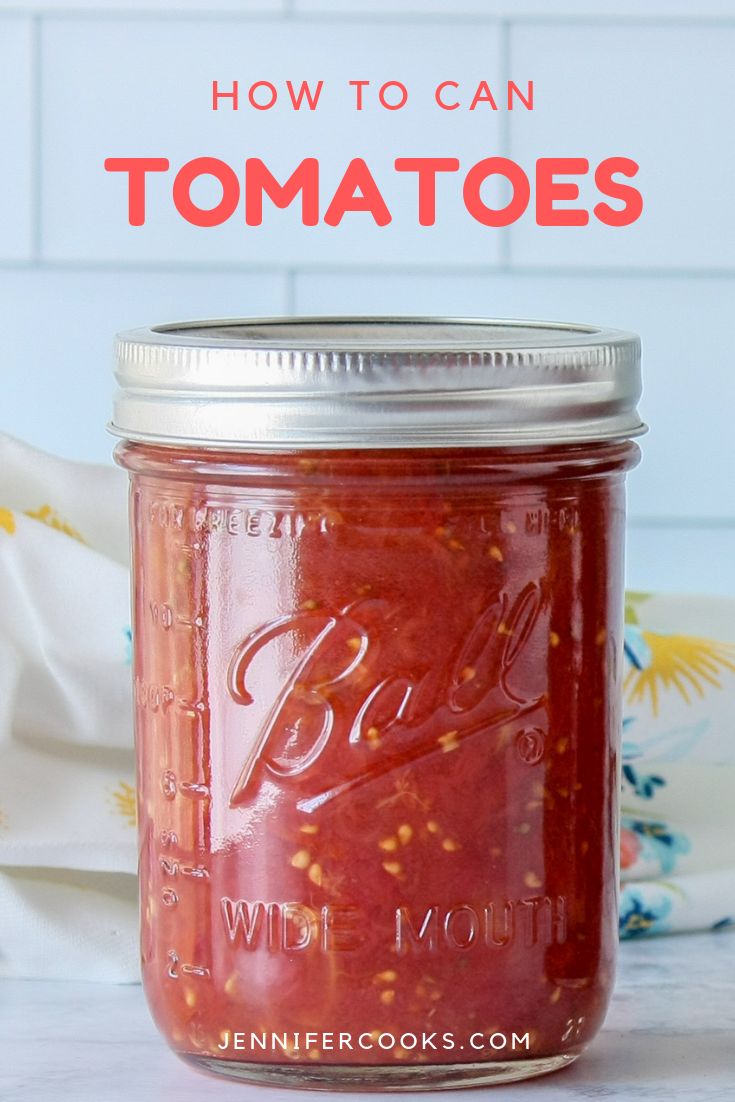
Enjoy garden-fresh tomatoes all year long by canning! Follow this tried and true recipe for delish tomatoes at the ready anytime you need them!
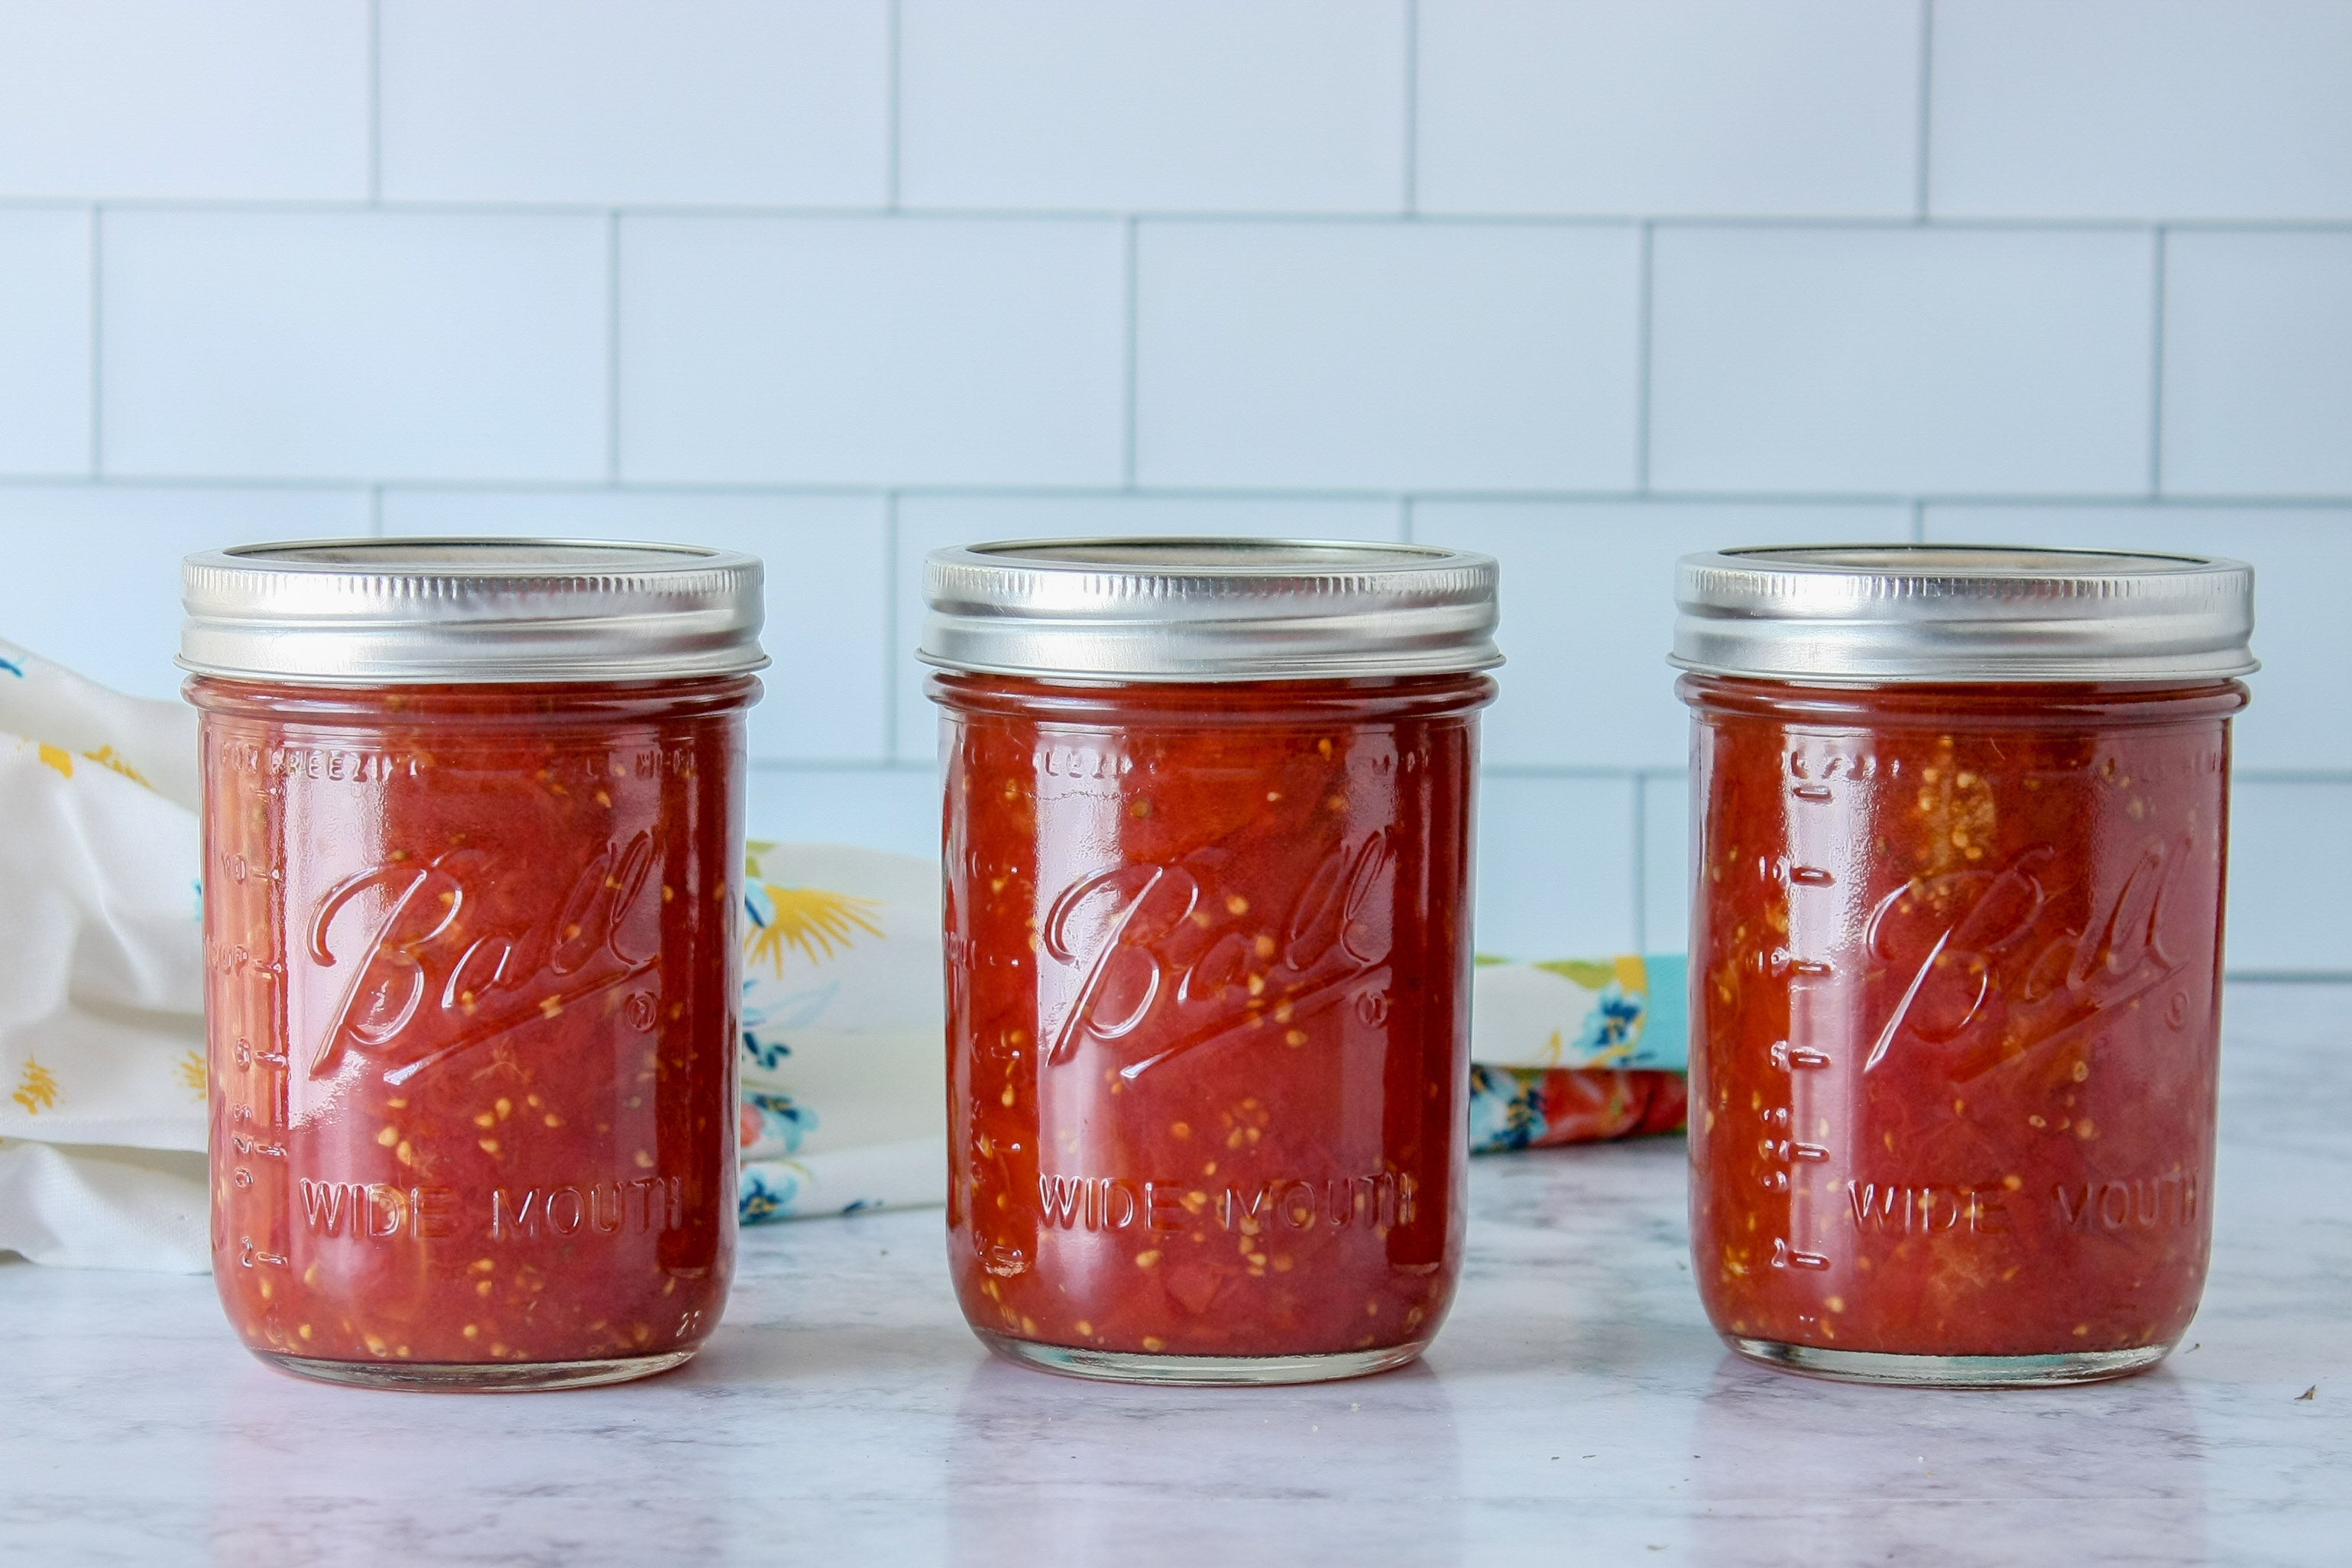 As the summer comes to an end your tomato plants may be yielding their last big harvest. This can be overwhelming at the end of the season, but don't worry, follow this tried and true recipe for how to can tomatoes!
Having fresh canned tomatoes on hand is great in the middle of winter. You can use the tomatoes to make a fresh spaghetti sauce, lasagna, chili, or other tomato-based meals for that fresh garden taste!
Tips for How to Can Tomatoes:
-
- Choose the best tomatoes: You want to look for whole, healthy disease-free tomatoes. Check the skin to make sure it's tight and there's no significant bruising or mushy spots.
- Add Acid: There's some debate on adding acid to make canning tomatoes more safe. I prefer to add it just to be on the safe side! In order to get the acid level to the desired point, add two tablespoons of bottled lemon juice for every quart of tomatoes you're canning. Don't worry about the taste because you can always add a little sugar to balance the flavor if you need to.
- Use Stainless Steel: Fruits and vegetables are sensitive to aluminum and copper and react poorly to these metals by becoming discolored and bitter. Stainless steel is best for cooking tomatoes to keep their bright red color and delicious flavor.
Try these recipes using your canned tomatoes!
Taqueria Restaurant Style Salsa
Have you made any of my recipes? Post it on Instagram and tag @jennifercooks123 and #jennifercooks!
Instructions
- Wash jars and two piece lids in hot soapy water; rinse well.
- Dry bands and set aside.
- Heat jars and lids in a saucepan of simmering water (do not boil).
- Allow jars to stay in the hot water until ready to use.
- Fill boiling water canner halfway full with water. Place rack in canner and place lid on top of canner and bring water to a boil.
- Select fresh ripe tomatoes and rinse with cool water; drain.
- Place tomatoes in wire basket and lower into boiling water for 30 to 60 seconds.
- Remove immediately from boiling water and plunge into a sink full of ice water to stop the cooking process.
- Carefully peel skins from tomatoes and discard. Remove and discard core.
- Cut tomatoes in half or quarters and place into a large sauce pot. Add enough water to cover tomatoes.
- Bring to a boil and cook for about 5 minutes, stirring occasionally.
- Add 2 tablespoons lemon juice to each quart jar and then pack each jar with hot tomatoes, leaving ½-inch of headspace at the top. Ladle hot tomato liquid into the jars making sure to leave ½-inch of headspace.
- Wipe the jar mouths clean with a clean damp cloth before placing lids and bands on.
- Place lids and band onto jars closing them (don’t overly tighten the bands).
- Process quarts in boiling water canner with the lid on for 45 minutes. (Start counting time after water has returned to a full rolling boil.)
- When processing time is over, turn off heat, remove lid and allow the canner to cool down for about 5 minutes, then remove the jars with a canning jar lifter and place onto a dry towel on the counter to cool. Do not retighten the bands. Let jars cool completely at room temperature, about 12 to 24 hours.
- After jars have cooled, check the lids for a seal by pressing the center of each lid. If the center does not flex, then it is sealed. If the lid pops back and forth, then it is not sealed. Non-sealed jars need to be reprocessed or used immediately.
*Nutrition information is automatically calculated based on ingredient data and should be considered an estimate. When multiple ingredient options are provided, the first listed is used for calculation. Optional ingredients and garnishes are not included in the nutrition analysis.


Comments
No Comments
Mike Marko says
OMG, new recipe to follow. I love it. A perfect gift this coming Christmas.