

I keep homemade vanilla extract going all the time. Not one jar - closer to a dozen one-gallon jars, all rotating in various stages of becoming something better.
It probably sounds excessive until you bake with it long enough. When one gets low, another is ready. No planning. No panic. Just good vanilla, waiting its turn - which also means that I have extra for gifting, because that always seems to come up when you least expect it.
This is one of those things I don't really think about anymore. It's just part of how my kitchen runs, the same way there's always flour in the pantry and something cooling on the counter. Vanilla is there when I need it - for cookies, ice cream, or whatever happens to be happening that day.
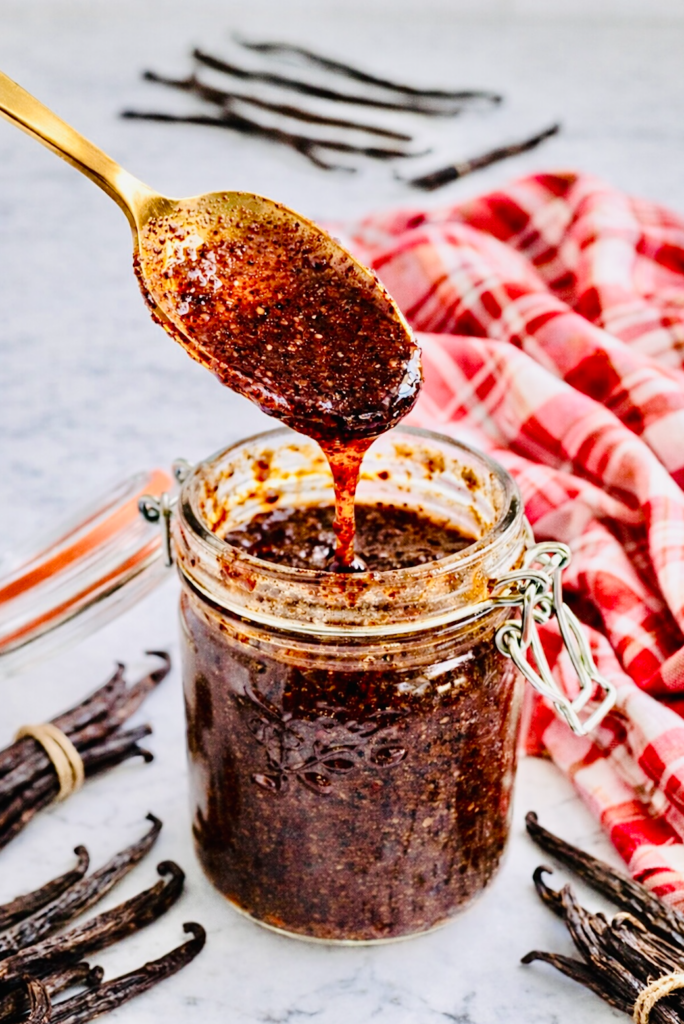
I started making my own vanilla extract years ago because I wanted better flavor than what I was getting at the grocery store. What surprised me was how simple the whole process turned out to be. A handful of real vanilla beans, a bottle of vodka, a glass jar, and time. That's it.
The small choice that makes the biggest difference is splitting the beans all the way down before they go into the jar. It doesn't look like much at the beginning, but months later, it's the reason the extract smells round and deep instead of harsh and thin.
Once you've been using your homemade vanilla for a while, store-bought vanilla extract starts to feel like an afterthought. This is the kind of kitchen project that rewards patience, asks very little up front, and quietly raises the bar on everything that comes after.
This post may contain affiliate links. I may receive commissions for purchases made through links in this post.
The Roots of This Recipe
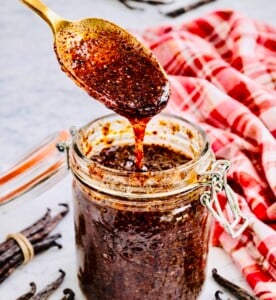
Vanilla extract is an alcohol-based infusion made by soaking cured vanilla beans in spirits to draw out their flavor compounds over time.
The technique goes back to the earliest European use of vanilla after it was introduced from the Americas in the 16th century. While vanilla was initially used whole - scraped directly into dishes or steeped in liquids - alcohol quickly proved to be the most effective way to capture and preserve its aroma.
By the late 1800s, advances in alcohol distillation and expanded global trade made vanilla beans from Mexico and Madagascar more widely available. Vanilla extract began appearing regularly in European culinary and pharmaceutical publications, valued for both flavor and shelf stability.
As baking became more standardized in the early 20th century, so did vanilla extract. By the mid-1900s, U.S. food regulations formally defined pure vanilla extract, specifying minimum alcohol content and the required amount of vanilla beans per ounce of alcohol. That definition made extract consistent, shelf-stable, and easy to find at the grocery store.
Homemade vanilla extract follows the same extraction process used commercially: whole vanilla beans, alcohol, and time at room temperature. Its resurgence today reflects rising vanilla prices, interest in ingredient transparency, and a renewed appreciation for DIY pantry staples. The scale may be smaller, but the method - and the results - are fundamentally the same.
The Gist
Cook time: None | Total time: 15 minutes + aging
Yield: 1 cup
Skill level: Beginner
Best for: Baking, gifting, pantry stocking
Make-ahead friendly: Yes
Dietary notes: Gluten-free with appropriate alcohol
What you'll learn: How bean choice, alcohol, and patience shape flavor
You Might Also Like
Why You'll Love It
• The flavor is fuller and more intense than store-bought vanilla extract
• It becomes cheaper over time, especially if you bake often
• You control the beans, the alcohol base, and the strength
• It makes a genuinely useful gift
• One batch can last for years with refilling
Kitchen Equipment
 Buy Now →
  Buy Now →
  Buy Now →
  Buy Now →
 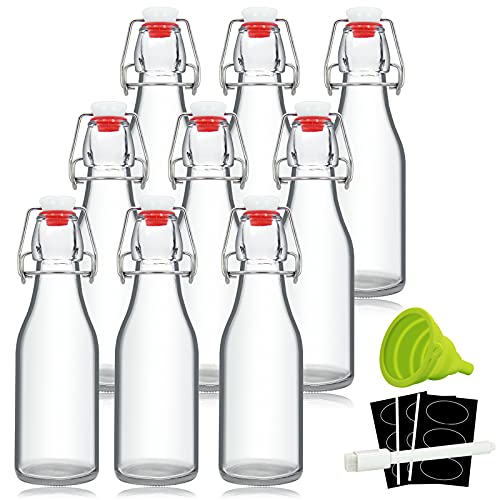 Buy Now →
Shop my kitchen favorites
Visit my Amazon Store for the tools and staples I use most often.
Ingredients You'll Need
 Buy Now →
  Buy Now →
 Ingredient Notes
• Whole vanilla beans: Look for plump, flexible beans that bend instead of snapping
• Grade B beans: Ideal for extract because they're drier and more concentrated
• Vodka: Cheap vodka works beautifully; neutrality is the goal
• Alcohol content: Stick with 80-proof for proper extraction
• Bean varieties: Madagascar is classic, Mexican leans warmer, Tahitian is softer and floral
Choosing vanilla beans: what actually matters
This is where people tend to overthink things.
What matters most is that you're using real vanilla beans that still have aroma and flexibility. If they smell like vanilla when you open the package and don't crack when bent, you're in good shape.
Grade B vanilla beans are often recommended for extract because they contain less moisture and more concentrated flavor. Grade A beans aren't wrong - they're just better suited for scraping seeds directly into desserts.
I often use a mix of beans. Not because it's fancy, but because it builds complexity over time. When you're aging extract for months, those layers show up.
Vodka, alcohol content, and why neutral wins
Vodka gets the job done because it stays out of the way.
Alcohol acts as a solvent, pulling flavor compounds from the vanilla beans and preserving them. That's the whole extraction process in a sentence.
Stick with 80-proof vodka. Lower proof doesn't extract as efficiently, and higher proof can pull harsh notes too quickly. Other alcohol bases - bourbon, rum, brandy - work, but they become part of the flavor. That's a choice, not a requirement.
Substitutions
• Bourbon, rum, or brandy for a flavored extract
• Gluten-free alcohol if needed
• Mixed bean varieties for more layered vanilla flavor
How to make
This is a short setup followed by a long rest. You split the beans, combine them with vodka in a glass jar, and let the extraction process unfold slowly in a cool, dark place.
After the first month, the only real work is giving the jar a good shake now and then and letting time handle the rest.
Timing & planning notes
You can use the extract after about 8 weeks, but it will be mild. At 6 months, the flavor is solid. At 12 months, it's deep, round, and noticeably stronger.
This is an ideal make-ahead project for holiday baking or Christmas gifts. Start early and let it quietly do its thing.
Let's get to makin'
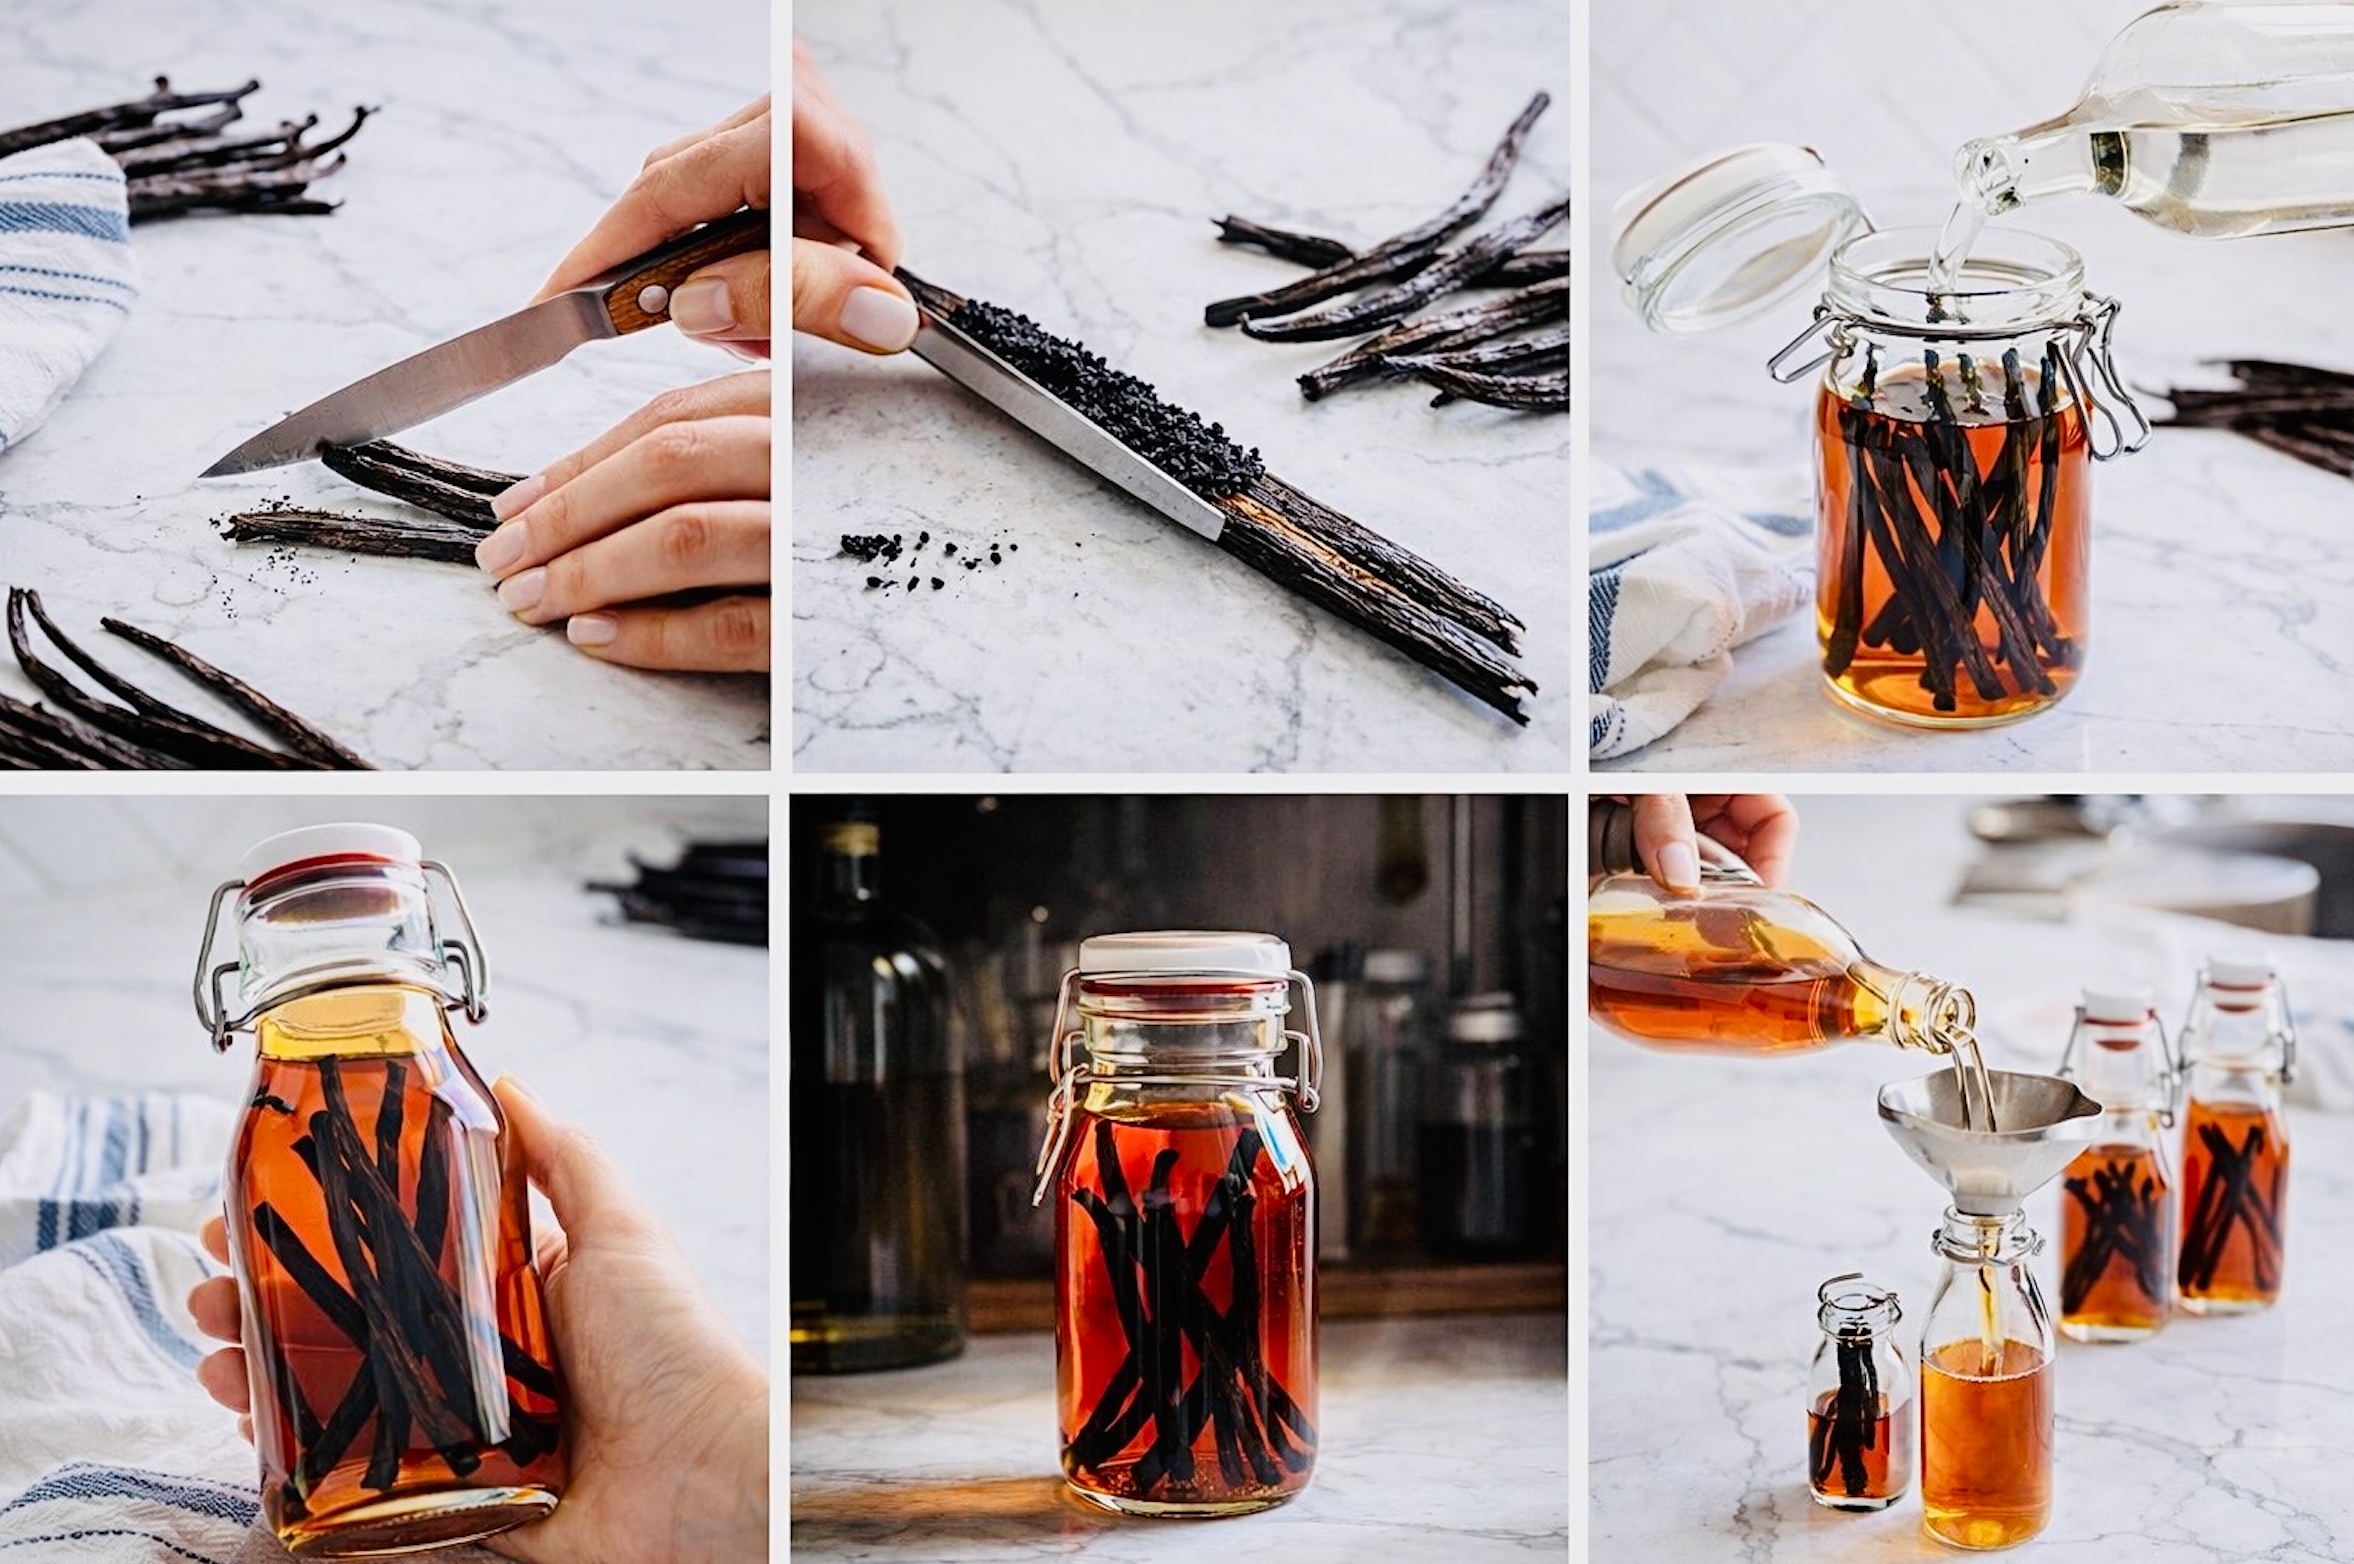
Prepare the vanilla beans
Split each bean lengthwise with the tip of a sharp knife, keeping it intact but fully opened.
Combine ingredients
Place the beans in a clean glass jar and pour in the vodka, making sure everything stays submerged.
Seal and store
Close with a tight-fitting lid and store in a cool dark place.
Shake and wait
Shake once or twice a week for the first month, then occasionally as it ages.
Chef's tips for Vanilla Extract
• Split the beans fully: This exposes the interior for better extraction
• Keep beans submerged: Prevents sliminess and off aromas
• Use the smell test: Clean and rich means it's on track
• Be patient: Stronger extract comes with time
• Refill thoughtfully: Add vodka as you use it to extend the batch
Troubleshooting
• Extract tastes weak → Needs more time or additional beans
• Beans look slimy → Beans weren't fully submerged
• Alcohol smells harsh → Extract is too young
Refilling, reusing, and knowing when beans are done
As you use your extract, you can top off the jar with more vodka. Shake it and keep going.
After about a year of frequent refilling, the beans will start to lose strength. That's when I add fresh split beans or start a new jar and let the old one wind down.
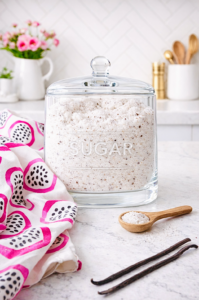
Used beans don't have to be discarded. Dry them and add them to vanilla sugar or a jar of granulated sugar to scent it over time.
Make ahead & freezing
Homemade vanilla extract is meant to be made far in advance. It improves with time and doesn't need refrigeration.
Freezing isn't necessary and is not recommended. Alcohol-based extract remains shelf-stable at room temperature for years.
FAQs
How long does homemade vanilla extract last?
With beans submerged, it can last several years. Without beans, it lasts indefinitely.
Can I reuse the beans?
Yes. Refill with vodka as you use the extract, but replace beans when flavor weakens.
Why are there seeds in my extract?
That's normal and desirable. Shake before using.
Leftovers & storage
Store tightly sealed in a cool dark place. If it smells clean and pleasant, it's safe to use. Shake before each use.
Stick around for seconds!
There's always something quietly brewing around here. Take a look around and stay awhile.
Tried it?
If you make your own vanilla extract, leave a rating or note. I love seeing what's aging in your pantry.
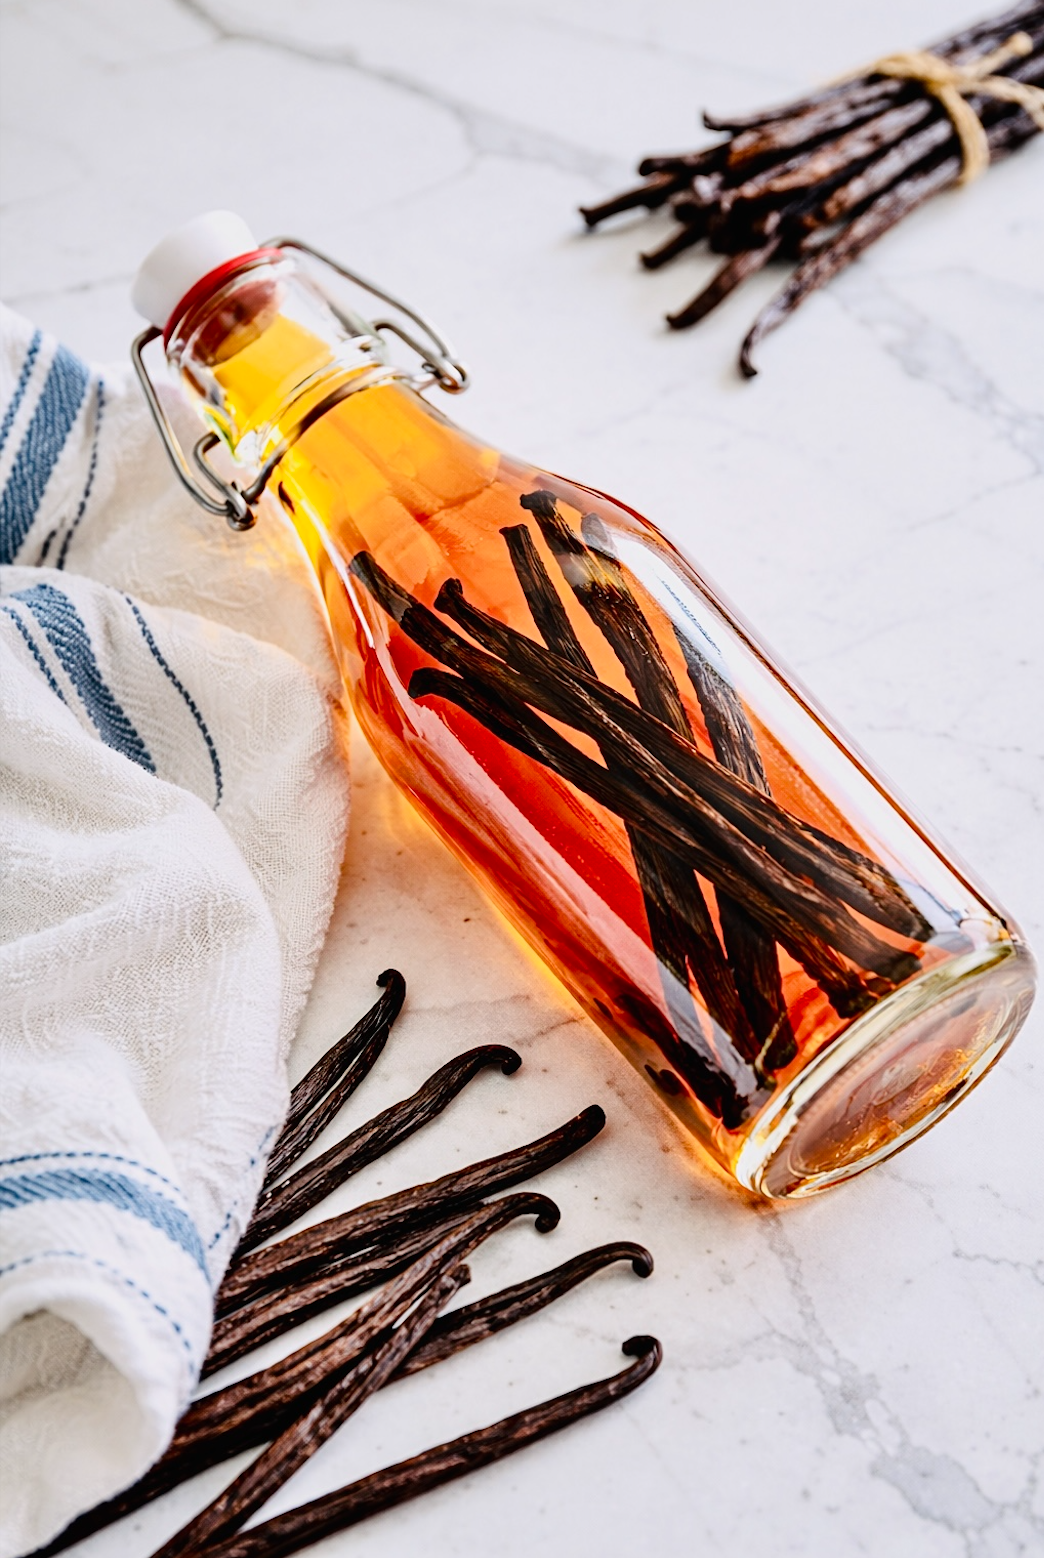
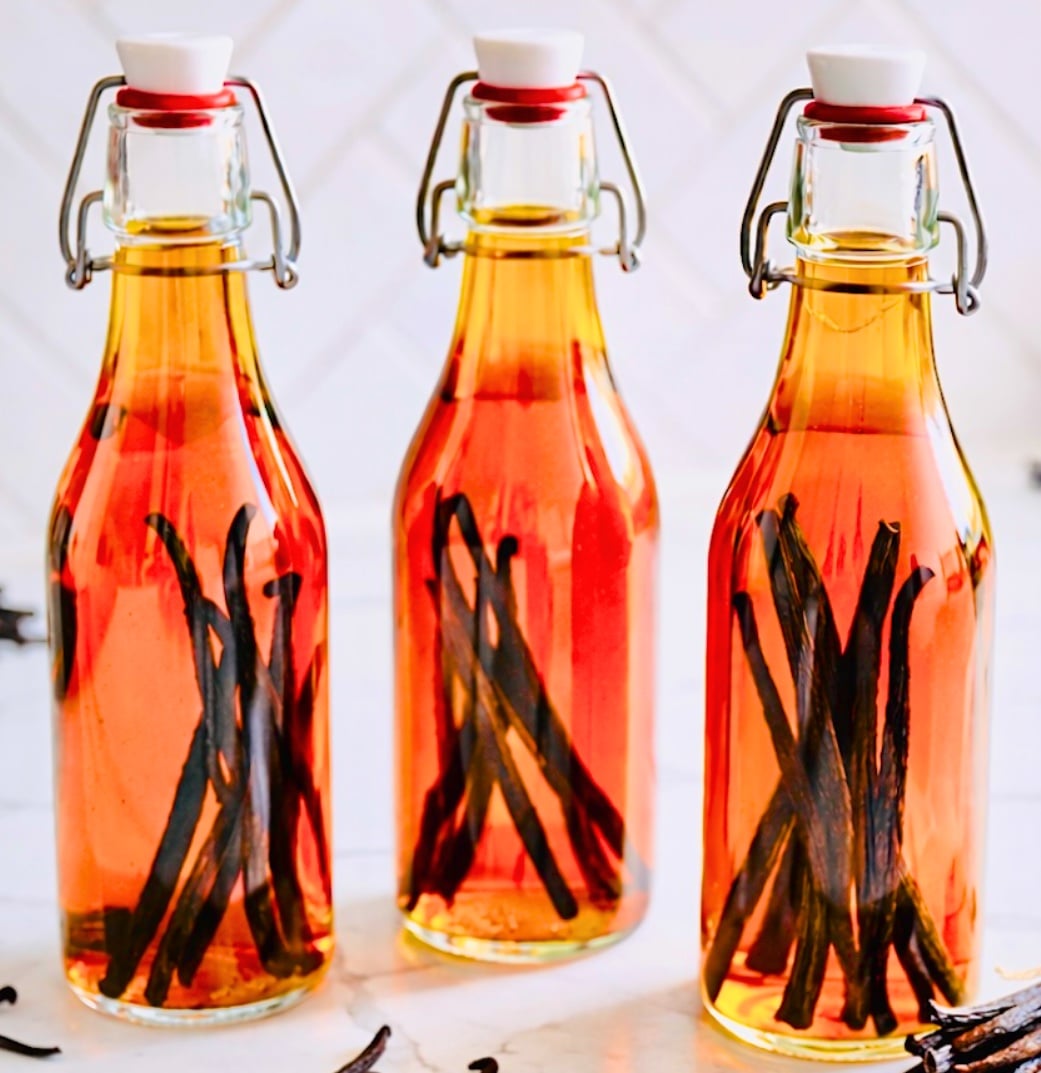
Homemade Vanilla Extract
Equipment
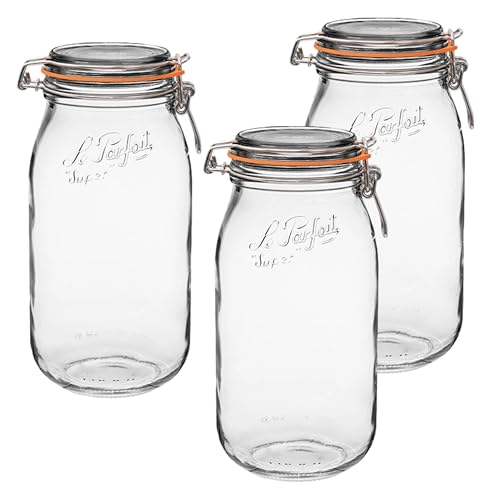
- Large Glass Jar with tight fitting lid
- Glass Bottles for gift packaging
Ingredients
- 1 cup vodka (8 ounces, 80-proof)
- 10 whole vanilla beans
Instructions
Prepare the Vanilla Beans
- Using a sharp knife, make a slit in each vanilla bean down the middle, lengthwise.10 whole vanilla beans
Combine Ingredients
- Place the slitted beans into a clean glass jar or bottle with a tight-fitting lid
- Pour the vodka over the beans, making sure all pieces are fully submerged1 cup vodka
- Seal the jar tightly
Age the Extract
- Store the jar in a cool, dark place such as a pantry or cabinet
- Shake gently once or twice a week for the first month
- After the first month, shake occasionally
- Allow to age for at least 6 months for good flavor
- For best results, age 12 months or longer
Bottle the Extract (Optional)
- When ready to use or gift, place a funnel over clean bottles
- Pour the extract into smaller jars if desired
- For continued flavor development, cut used beans to fit the jars
- Add about 8 bean pieces to 8-ounce jars
Notes
*Nutrition information is automatically calculated based on ingredient data and should be considered an estimate. When multiple ingredient options are provided, the first listed is used for calculation. Optional ingredients and garnishes are not included in the nutrition analysis.

Comments
No Comments