
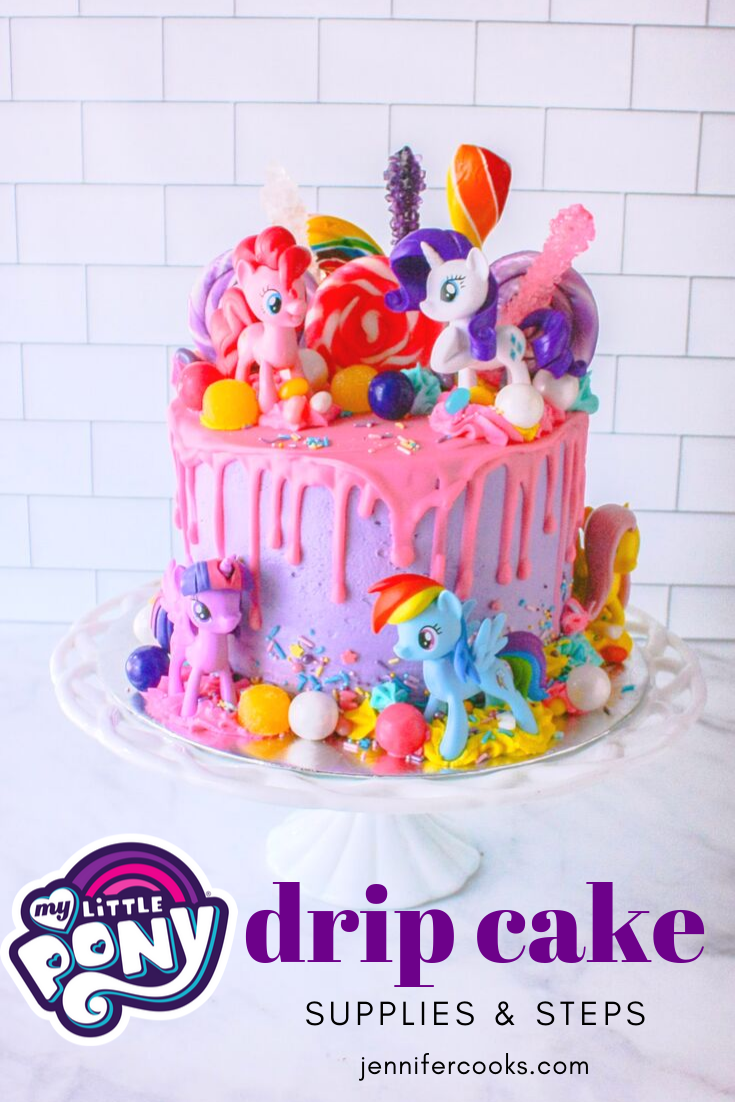
This My Little Pony Cake is very simple and straightforward to make and will dazzle your birthday girl! Check out my steps and tips to make and assemble this cake.
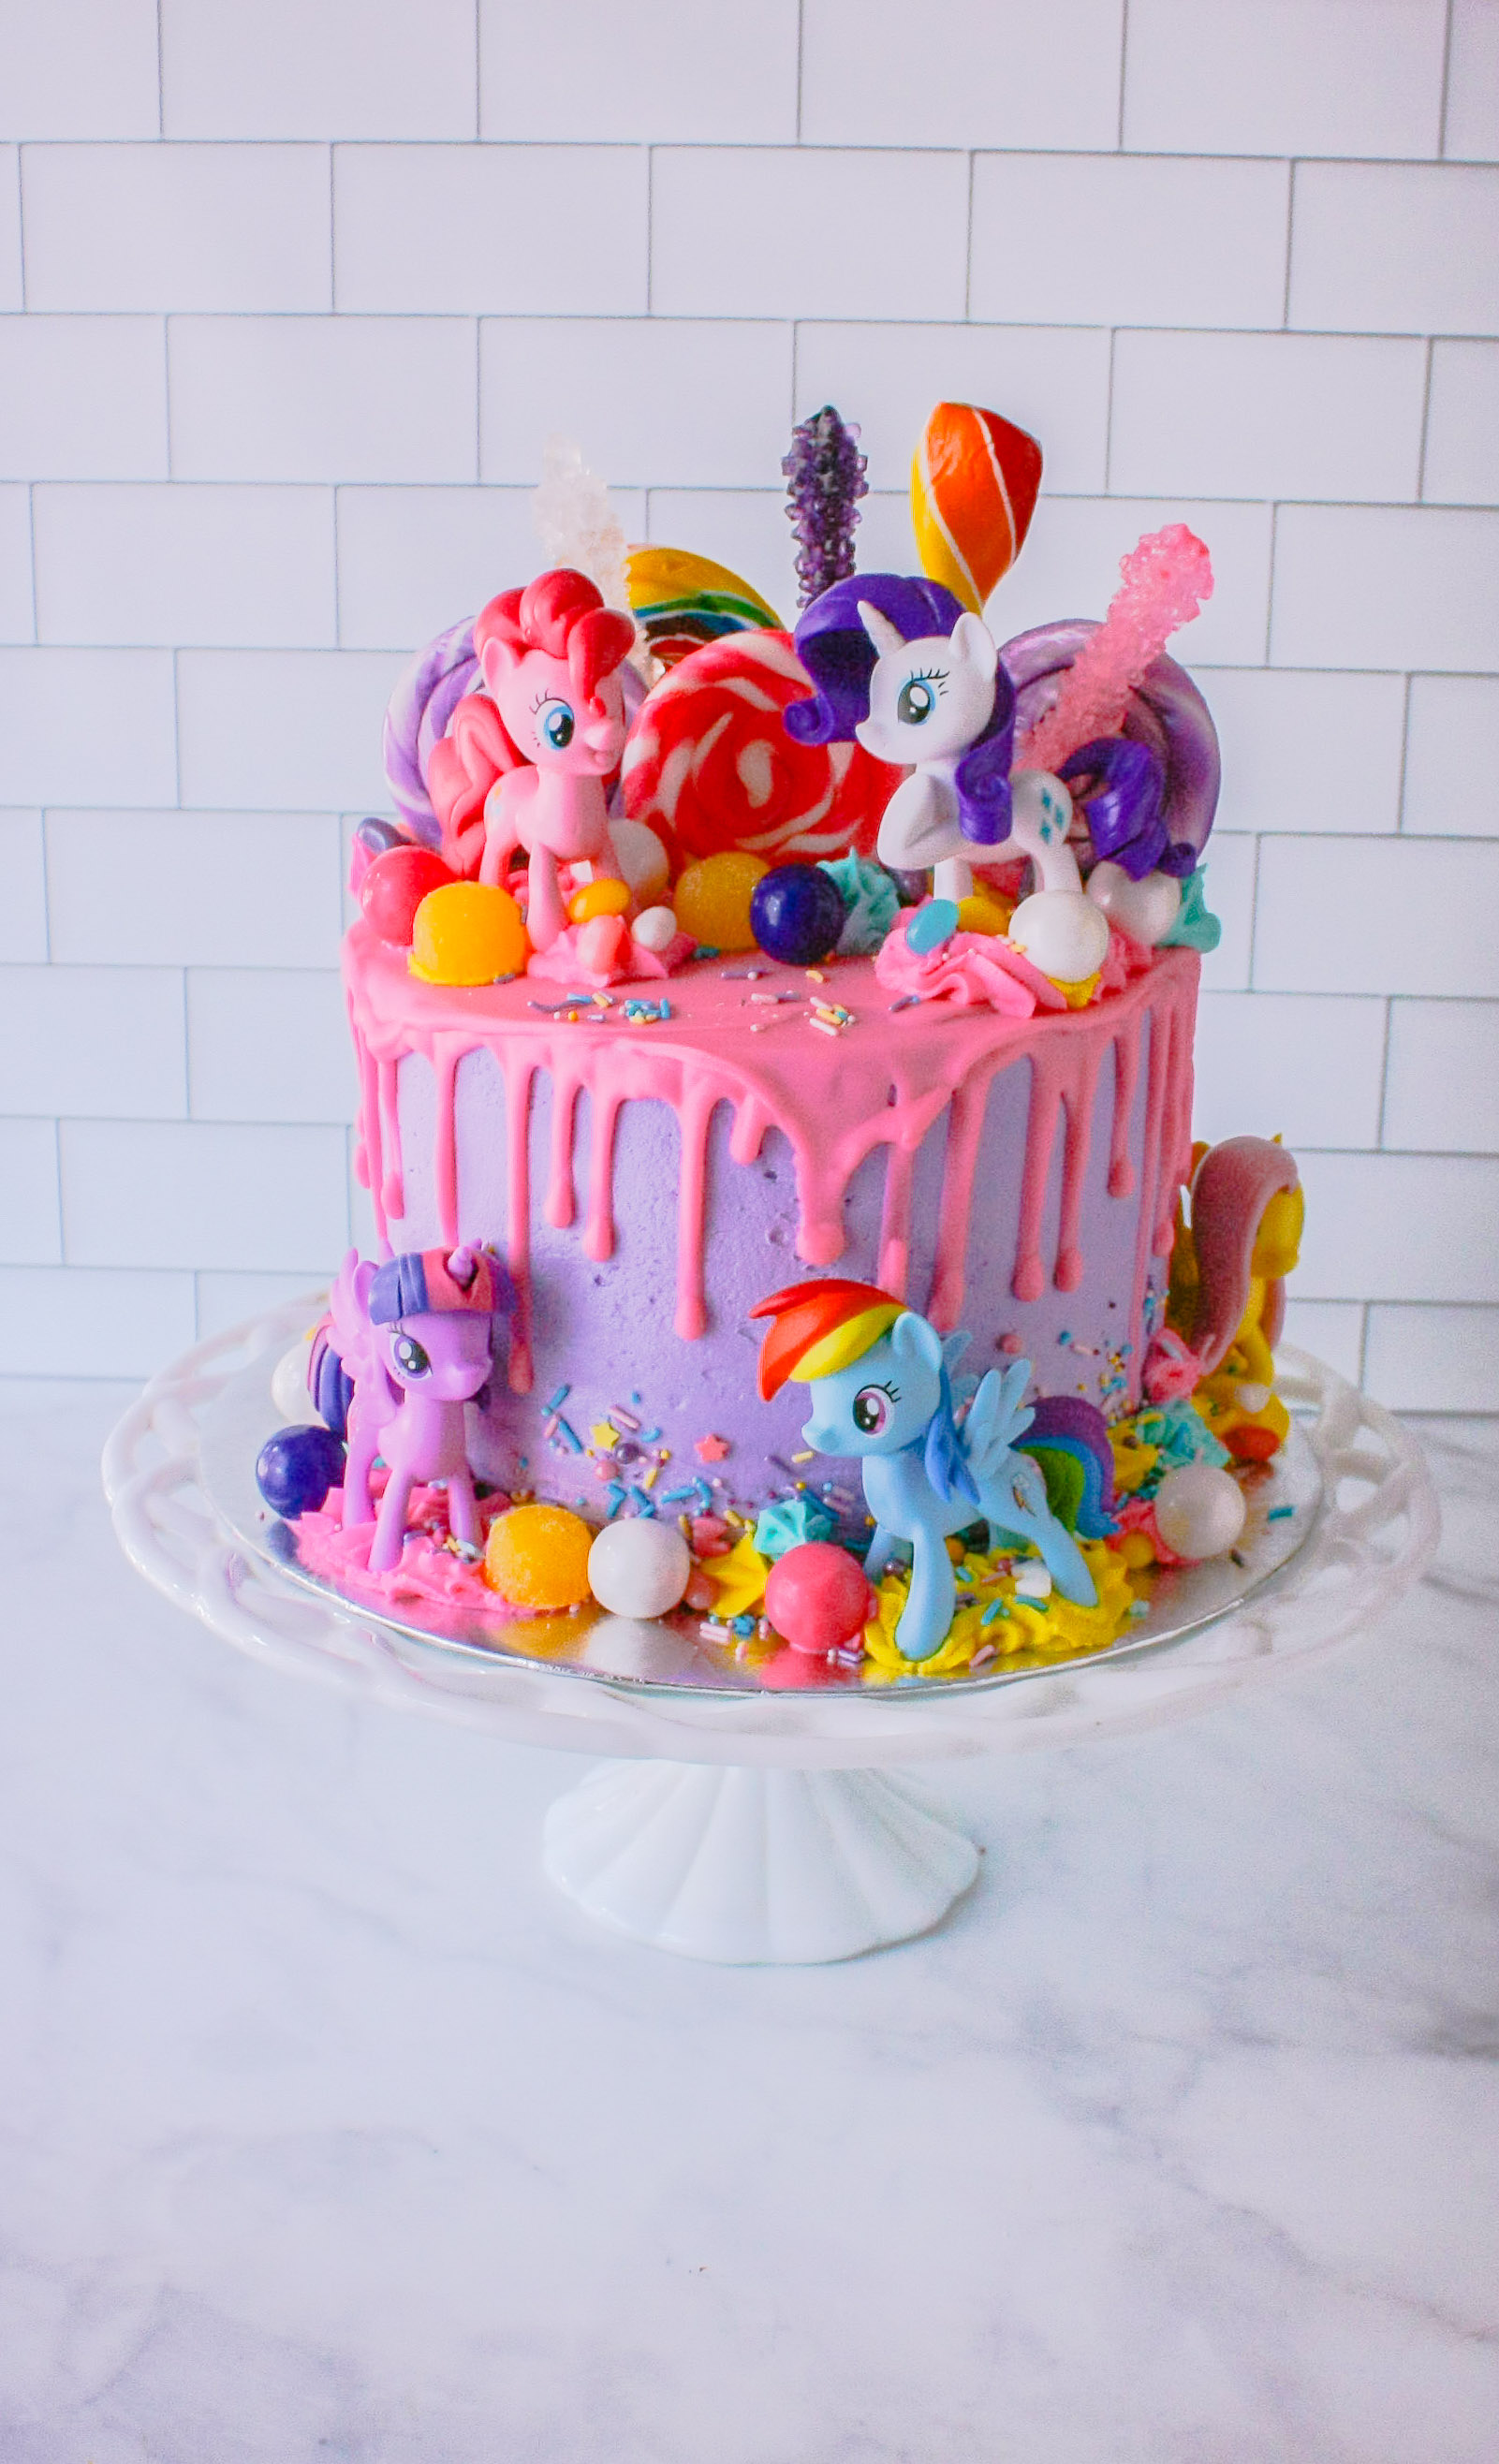
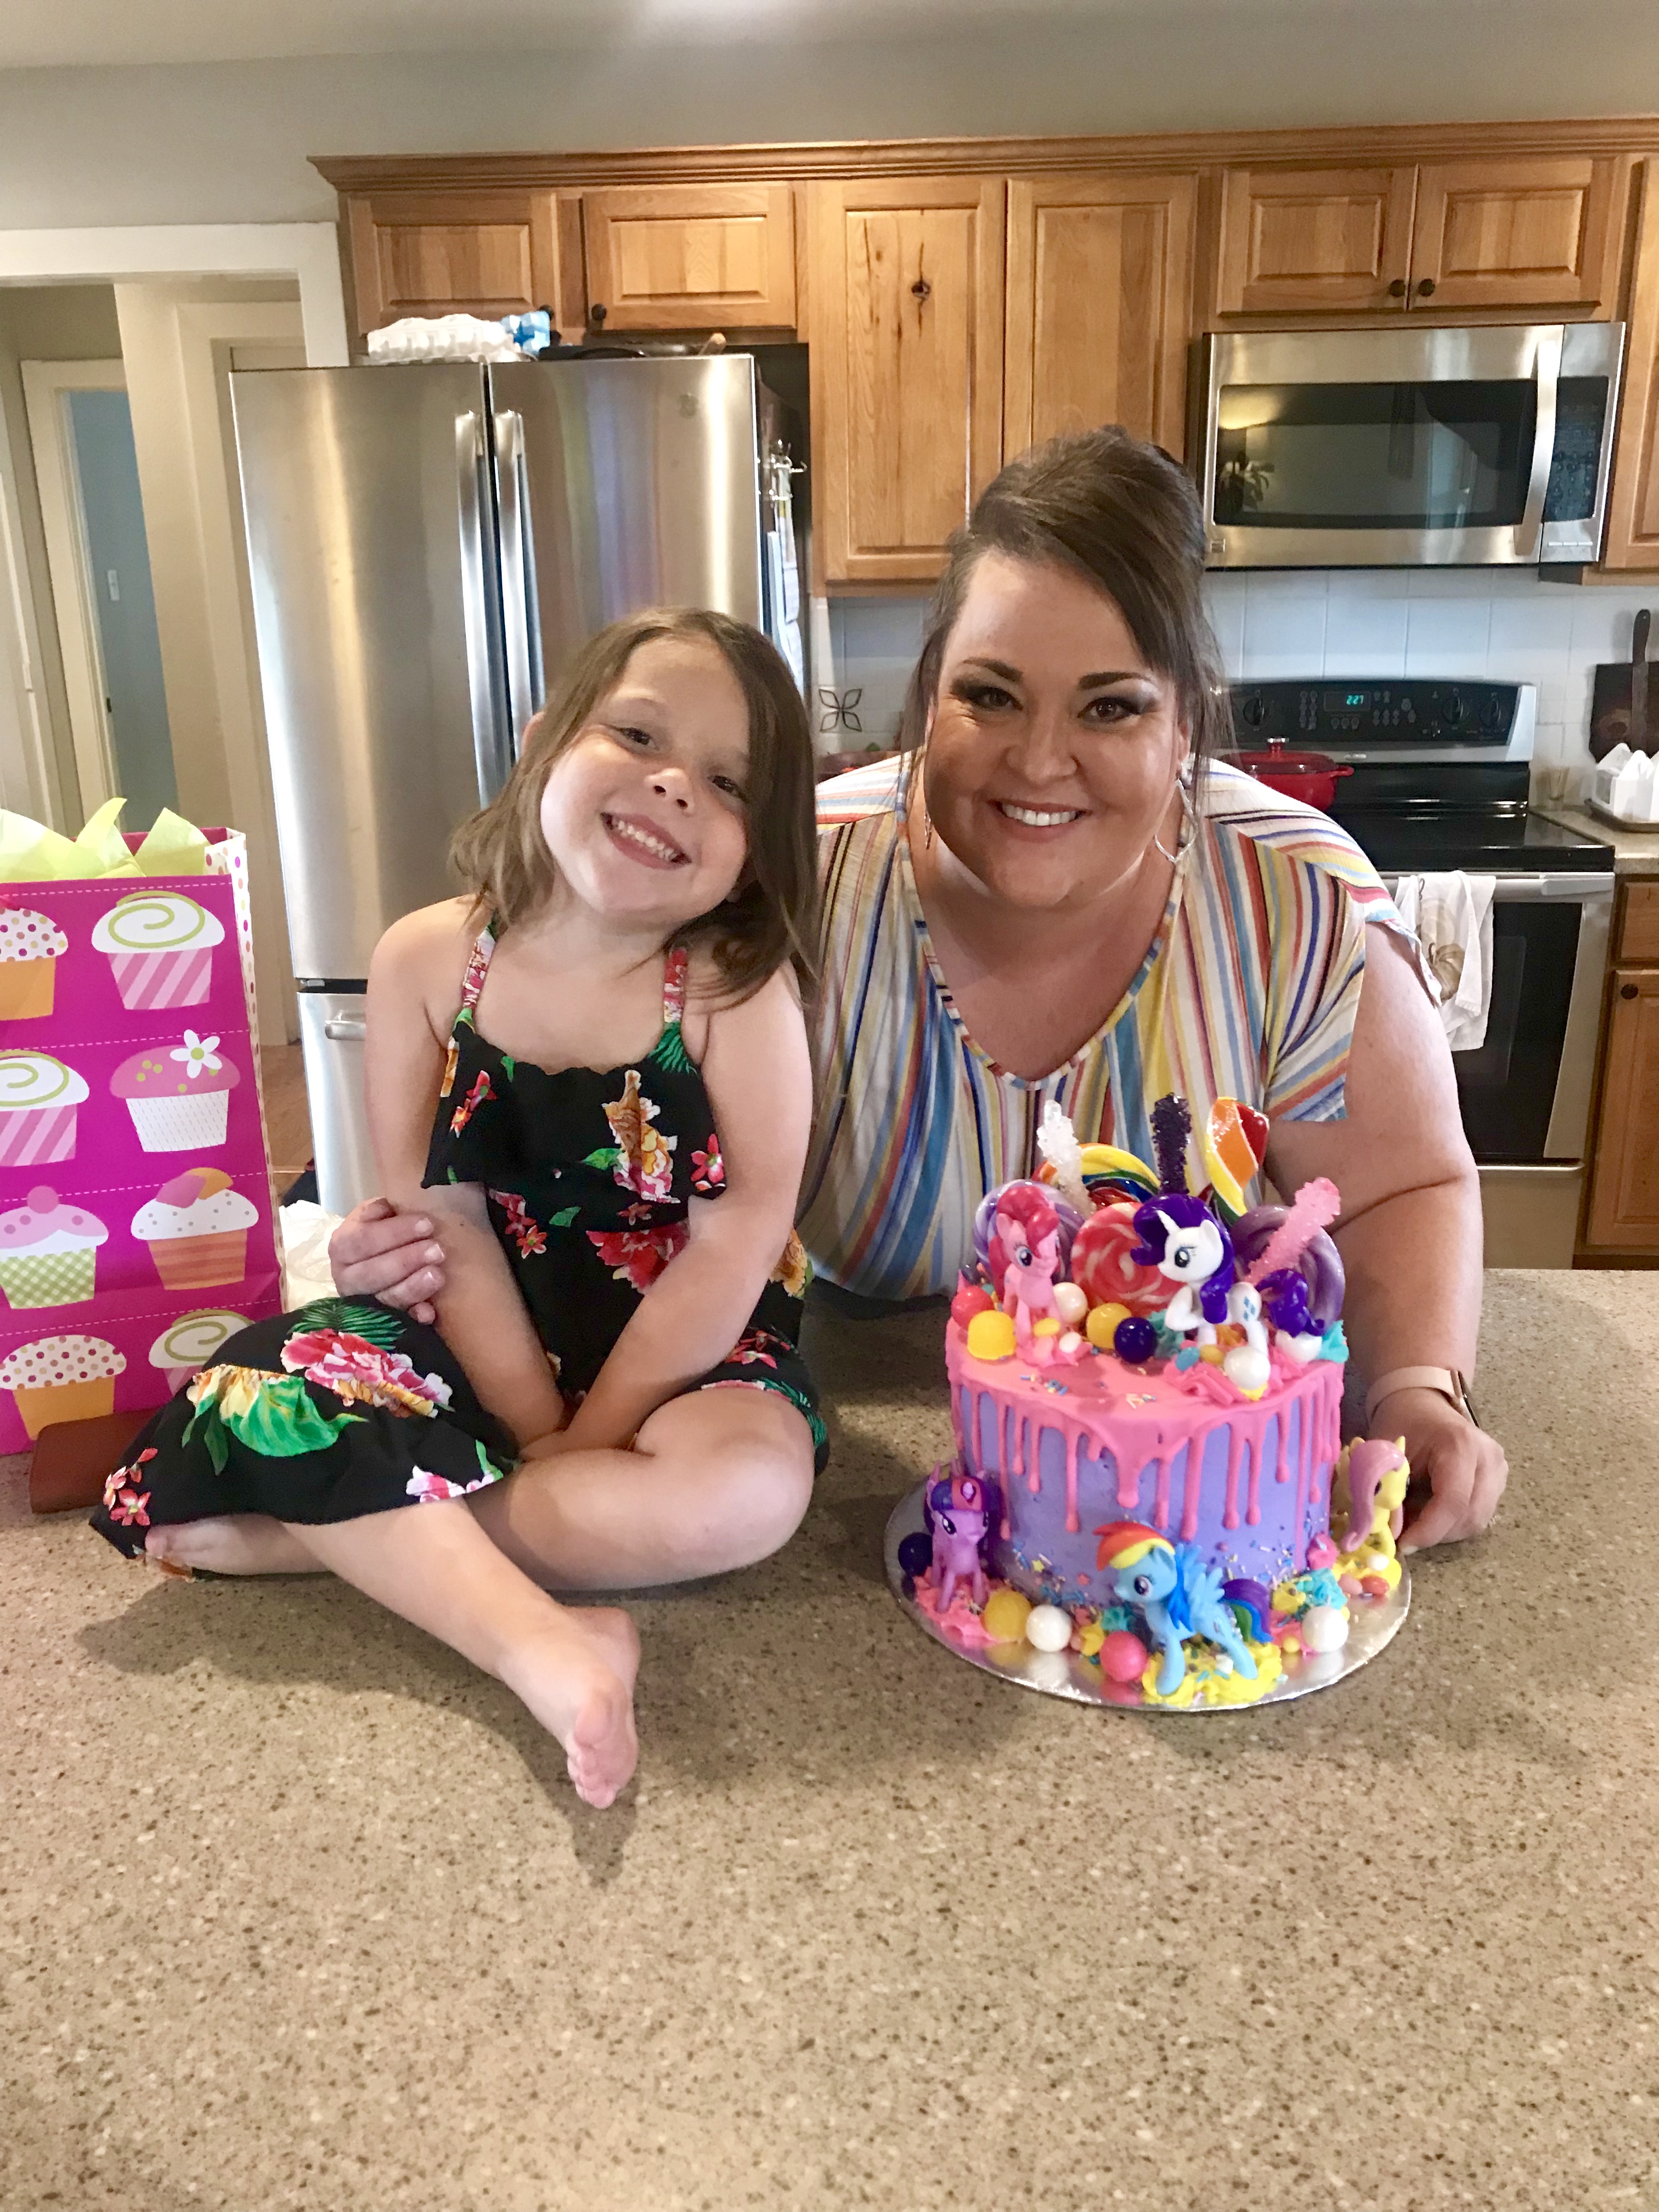
My Little Pony is a favorite toy right now for my niece, Ronni. She knows ALL about them and can tell me their names and what they do and all about their world. It's really cute. So this year for her 4th birthday she asked me to make her a My Little Pony cake and as you can see, I agreed!
I'm the official cake baker of the family. When I was in high school I started a part-time job at Kroger grocery store as a cashier and quickly found myself completely enamored by the cakes in the bakery and wanted to learn how to decorate cakes. Soon enough, I made my transfer into the bakery and began learning under some very talented bakers. From there, I went to work for Walmart bakery while in college and then for Sam's Club after college. I have been making special occasion cakes ever since and have had a lot of fun in the process!
Equipment for making the My Little Pony Cake:
- Wilton 8-inch cake pans
- 12-inch Silver cake board
- 12-inch Frosting Smoother Scraper
- Disposable Decorating Bags
- Plastic Squeeze Bottle
- Ateco #823 Star Tip
- Wilton 1M Star Tip (for cupcakes only)
- Wilton Icing Colors
- My Little Pony Play Set
- Happy Unicorn Sprinkles
- Rainbow Whirly Pop
- Twist Lollipops
- Assorted Color Lollipops
- Shimmer Spring Gumballs
- Rock Candy
- Giant Gum Drops (I just picked out the yellow ones)
- Jellybeans (I picked out a few colors that matched)
- Mini My Little Pony Cupcake Toppers
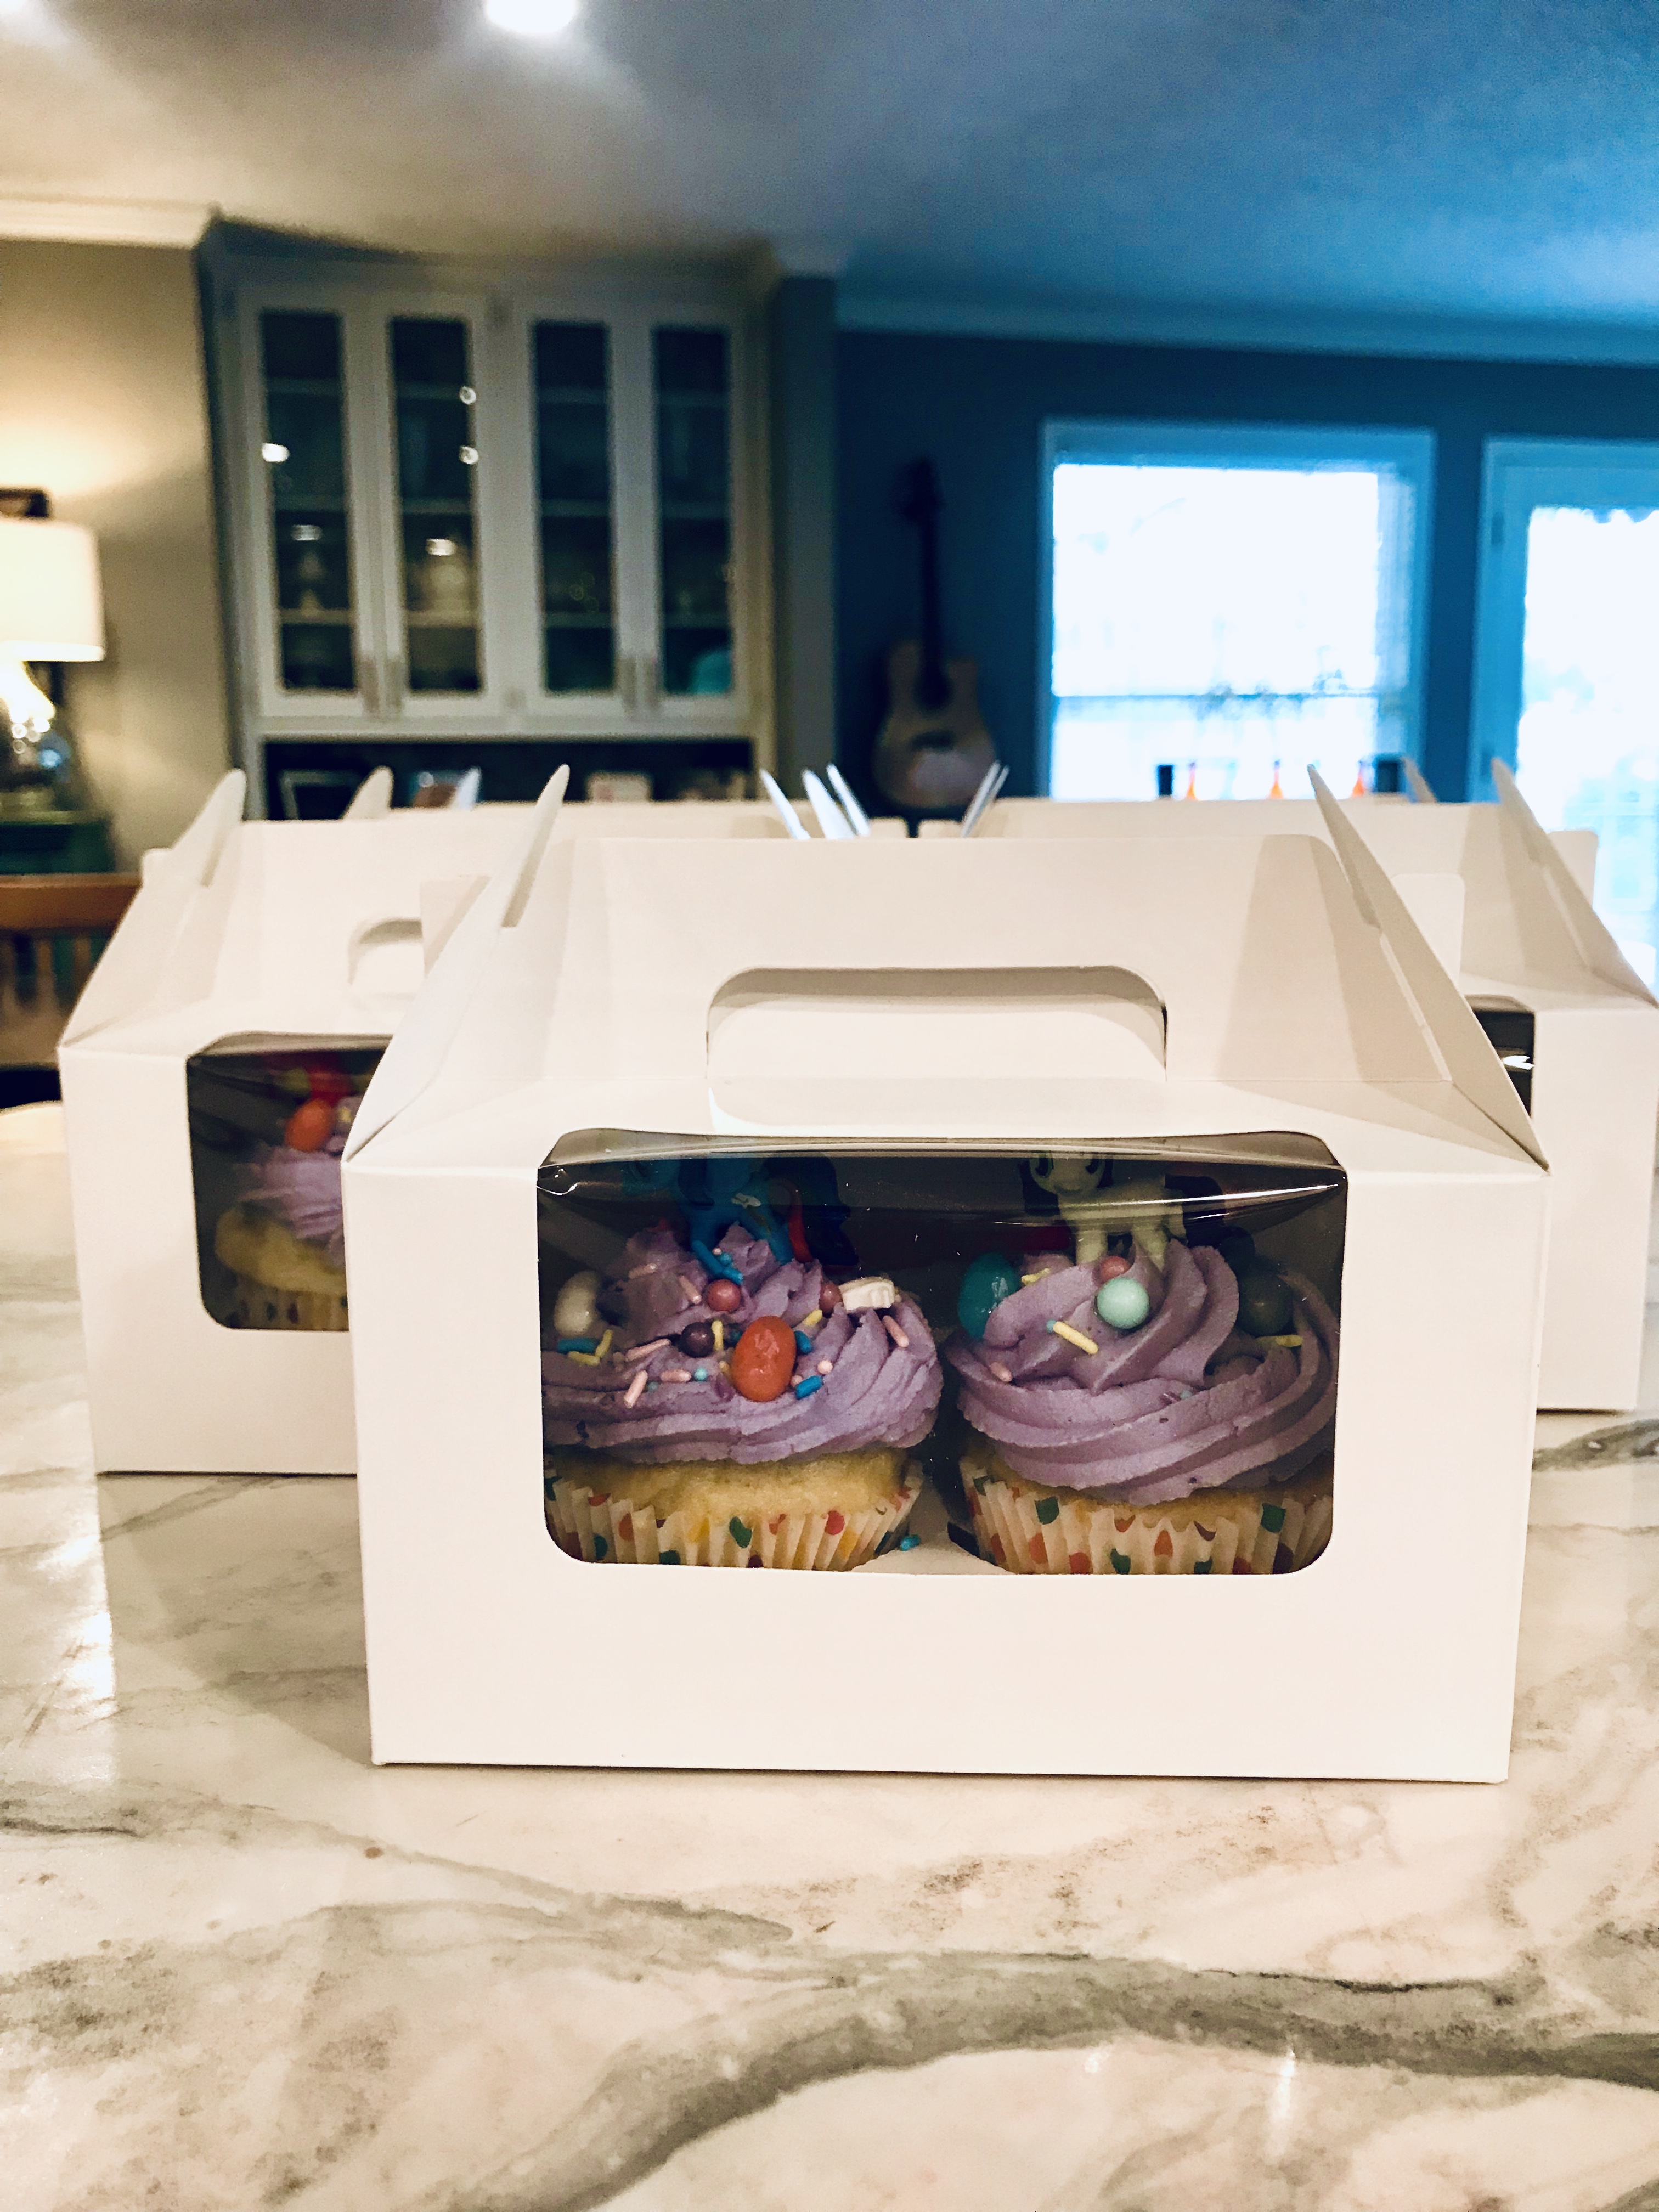
- 2-Holder Cupcake Boxes
- My Favorite Heavy Duty Turntable! (optional of course)
*We used the extra candy for the take-home treat bags!
How to make a My Little Pony Cake:
- Start out by baking your favorite layer cake into 3 layers. I used these Wilton 8-inch pans.
- Once cooled, place cake layers on individual plates or cake boards and freeze solid (I usually do this the night before). Freezing the cake layers makes it much easier to frost.
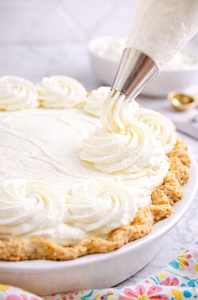
- Make your frosting (see recipe below).
- Divide off 1 cup of frosting into 3 bowls (1-cup of frosting each)
- Make each bowl a different coordinating color. (I chose yellow, aqua and pink)
- Dye the remaining frosting the main color of your theme. (I chose bright lavender)
- Remove cake layers from the freezer (do not thaw) and place 1 layer onto the silver-lined cake board.
- Begin assembling the cake by spreading a thick layer of icing between each cake layer.
- Now ice the cake on the top and sides with a thin layer of frosting, smoothing it out thinly. (This is called a crumb coat) - it's ok if there are crumbs combining with the icing.
- Allow the cake to sit for 3 minutes so that the frosting firms up against the cold cake.
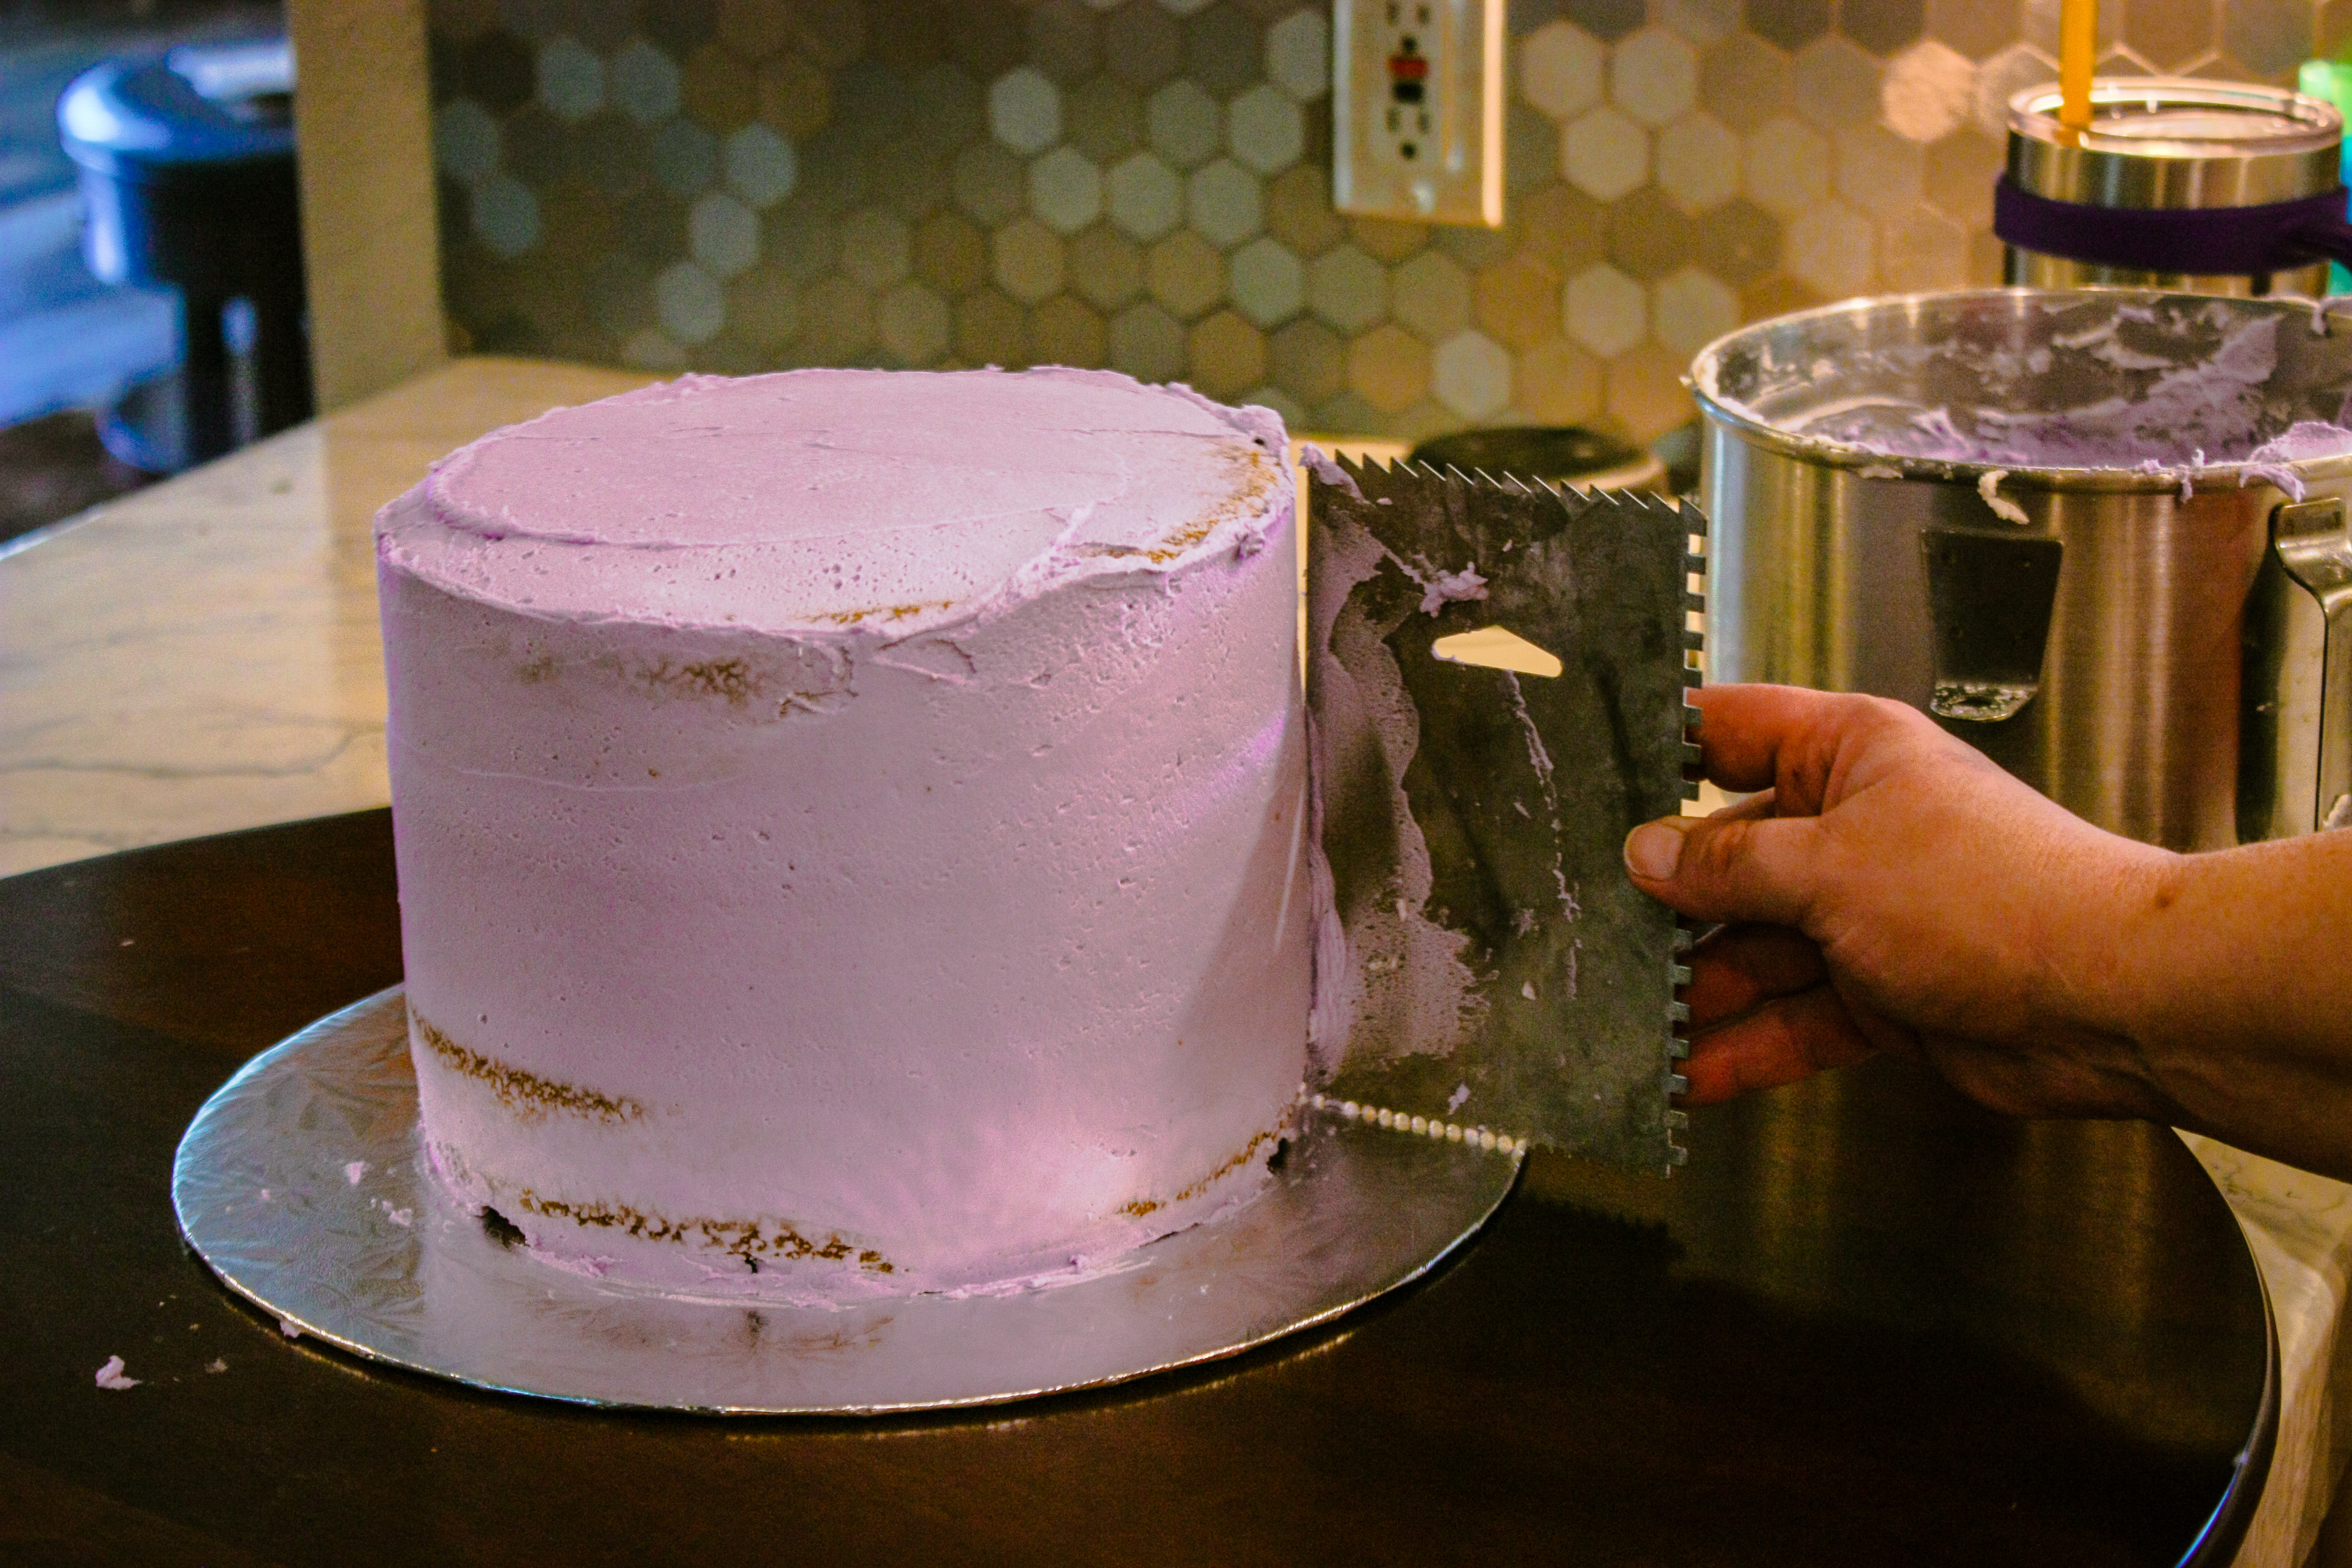
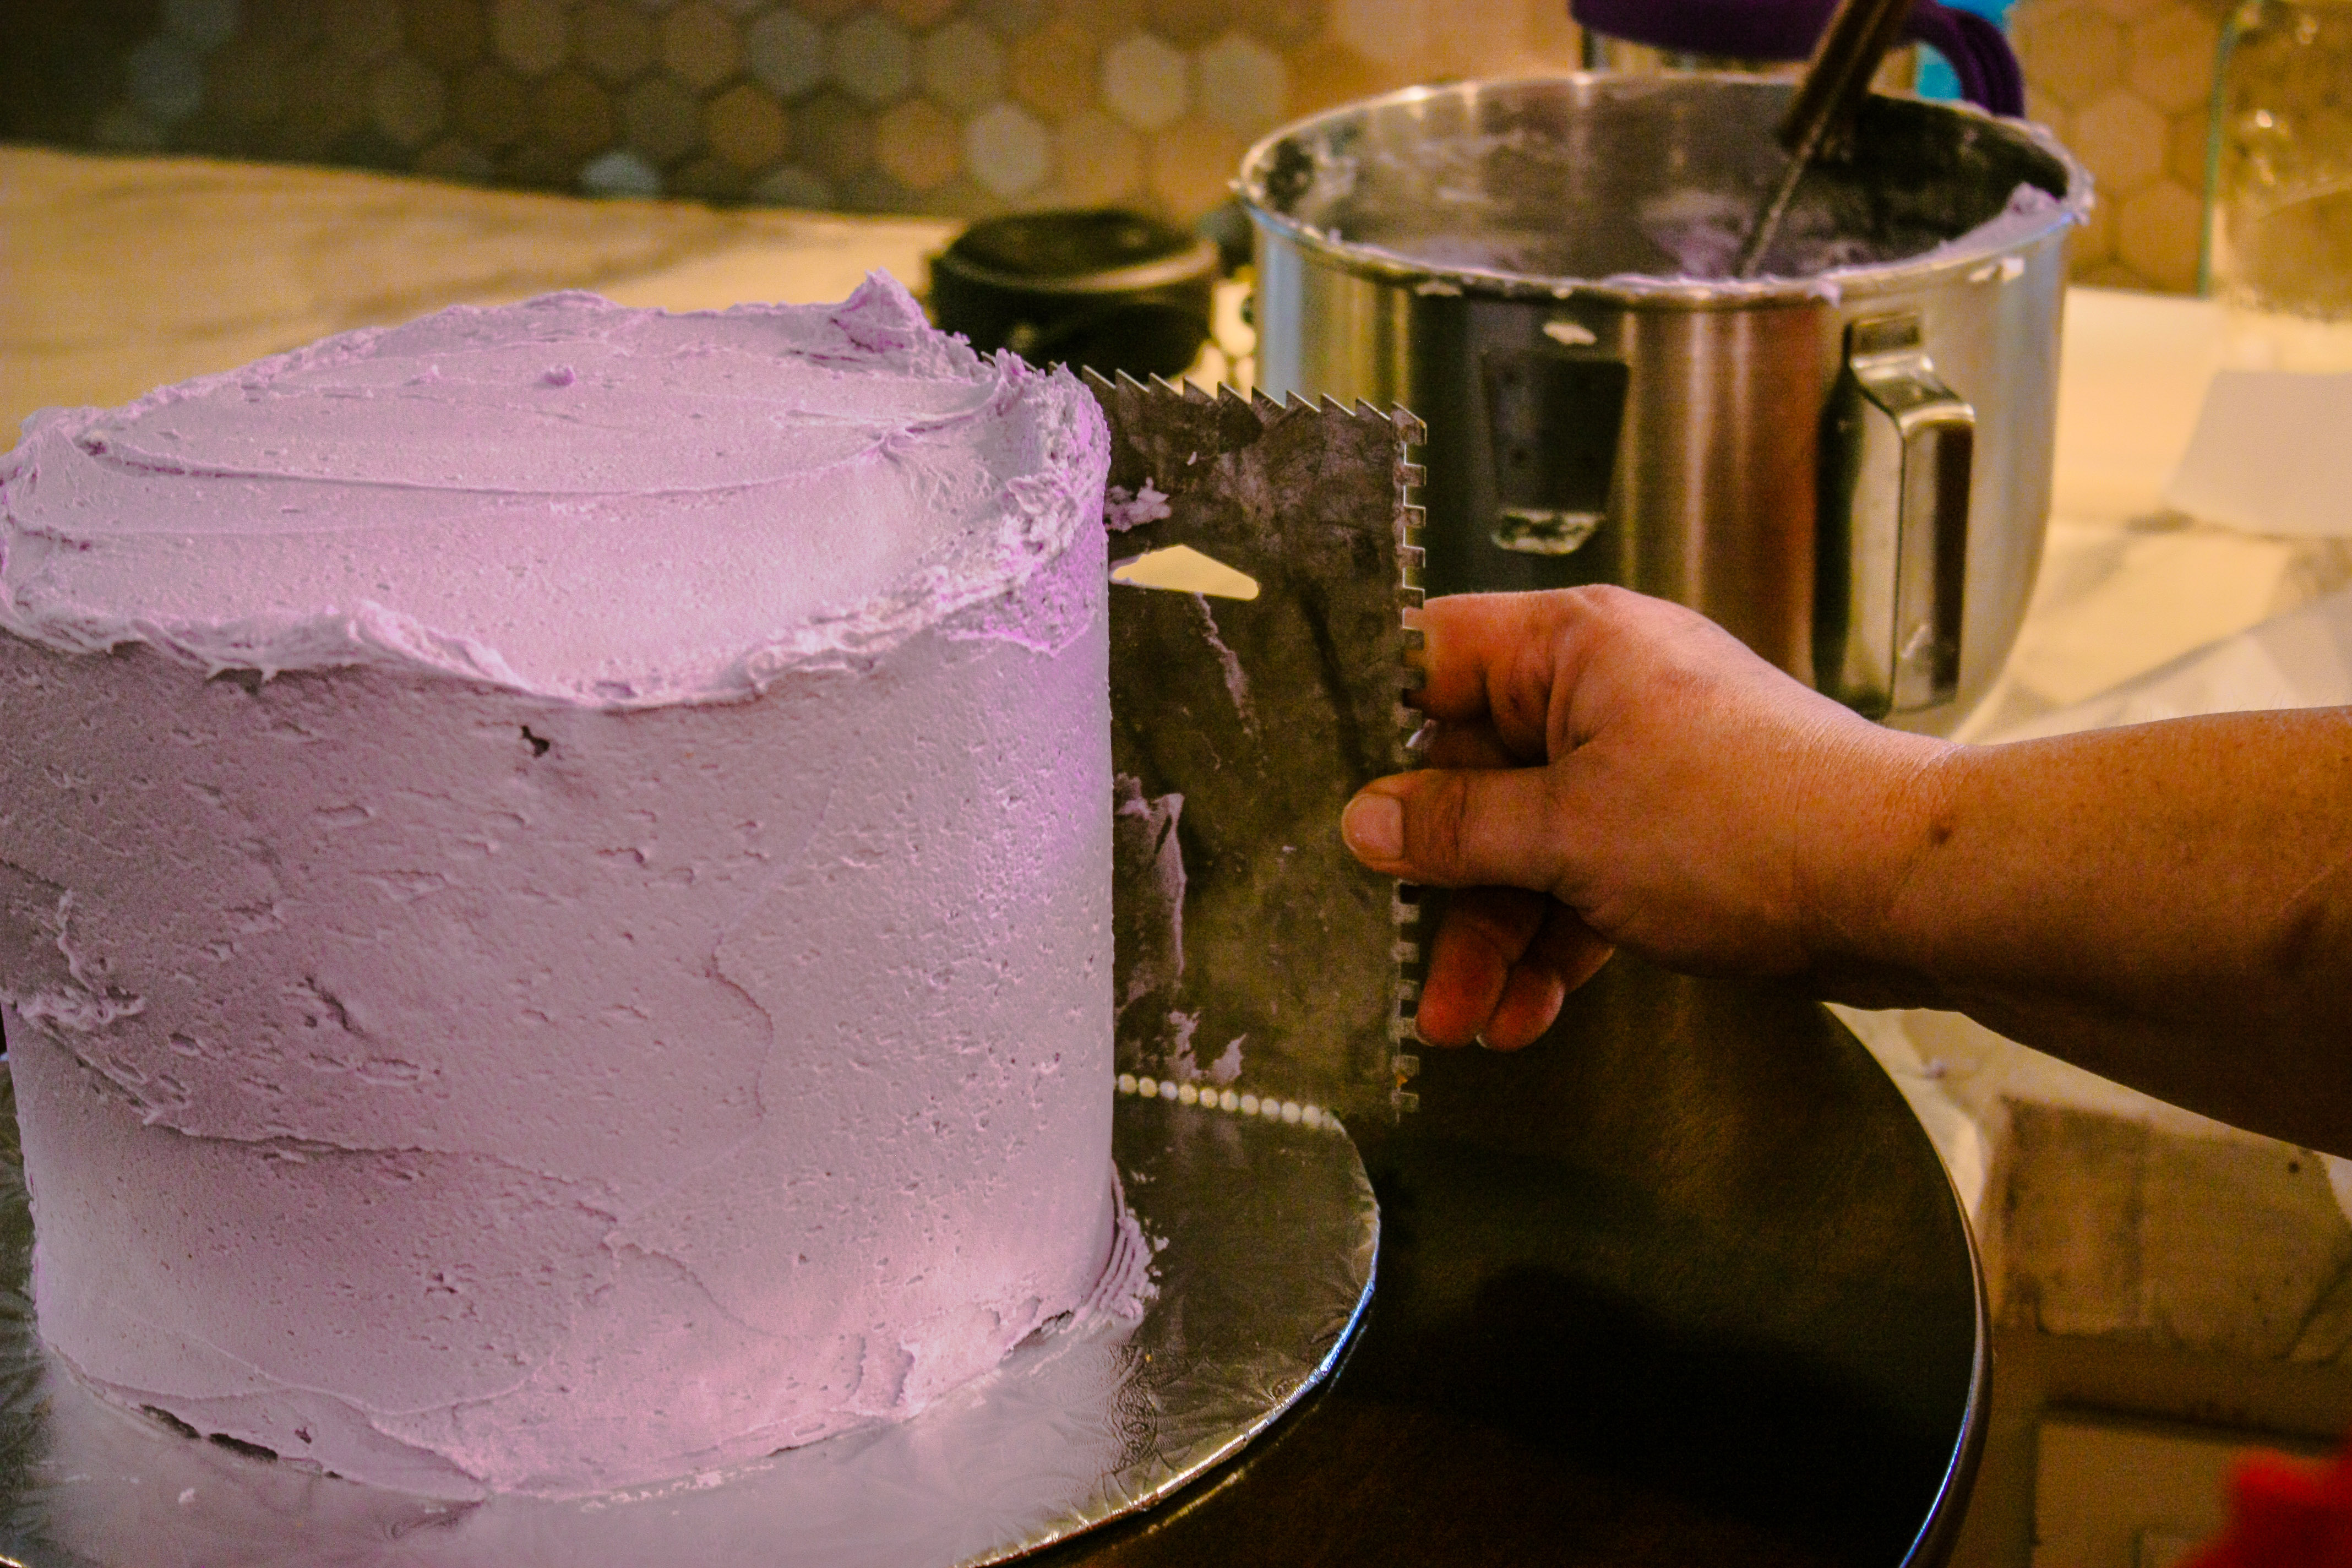
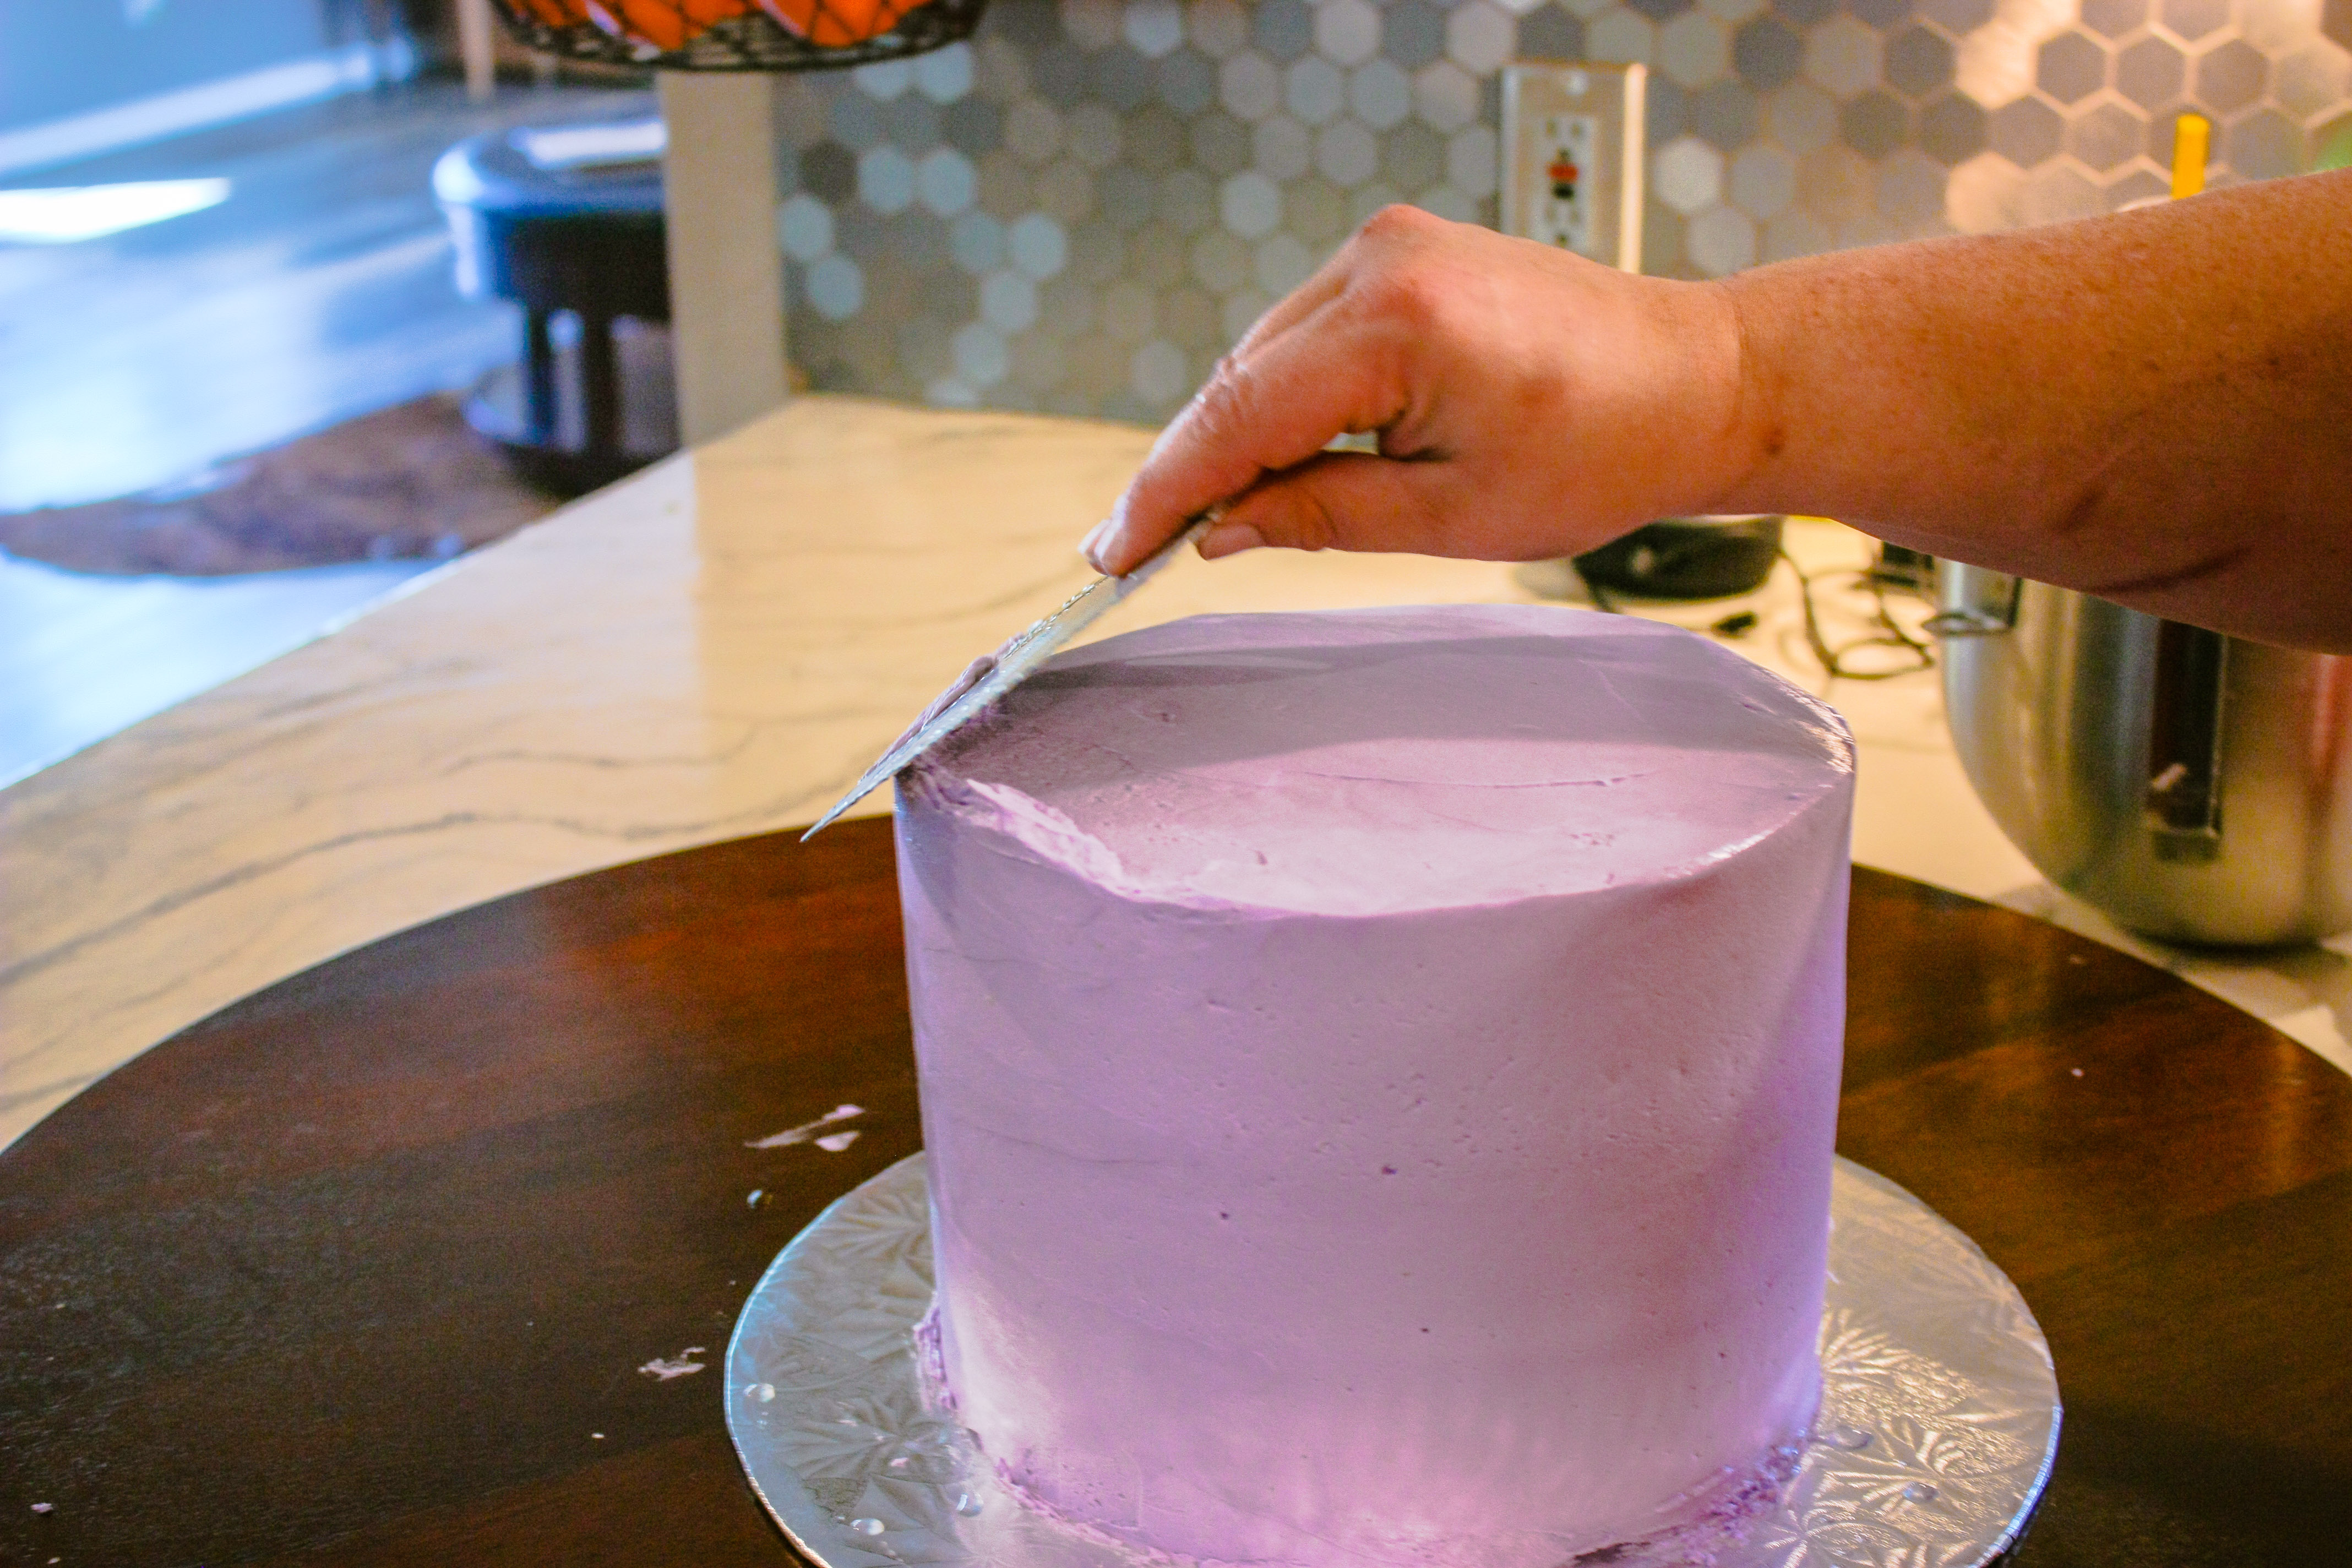
- Ice the cake again with a thick layer of frosting on the top and sides.
- Smooth evenly by slowly turning your turntable as you go. This is where the Acrylic Side Smoother really comes in handy!
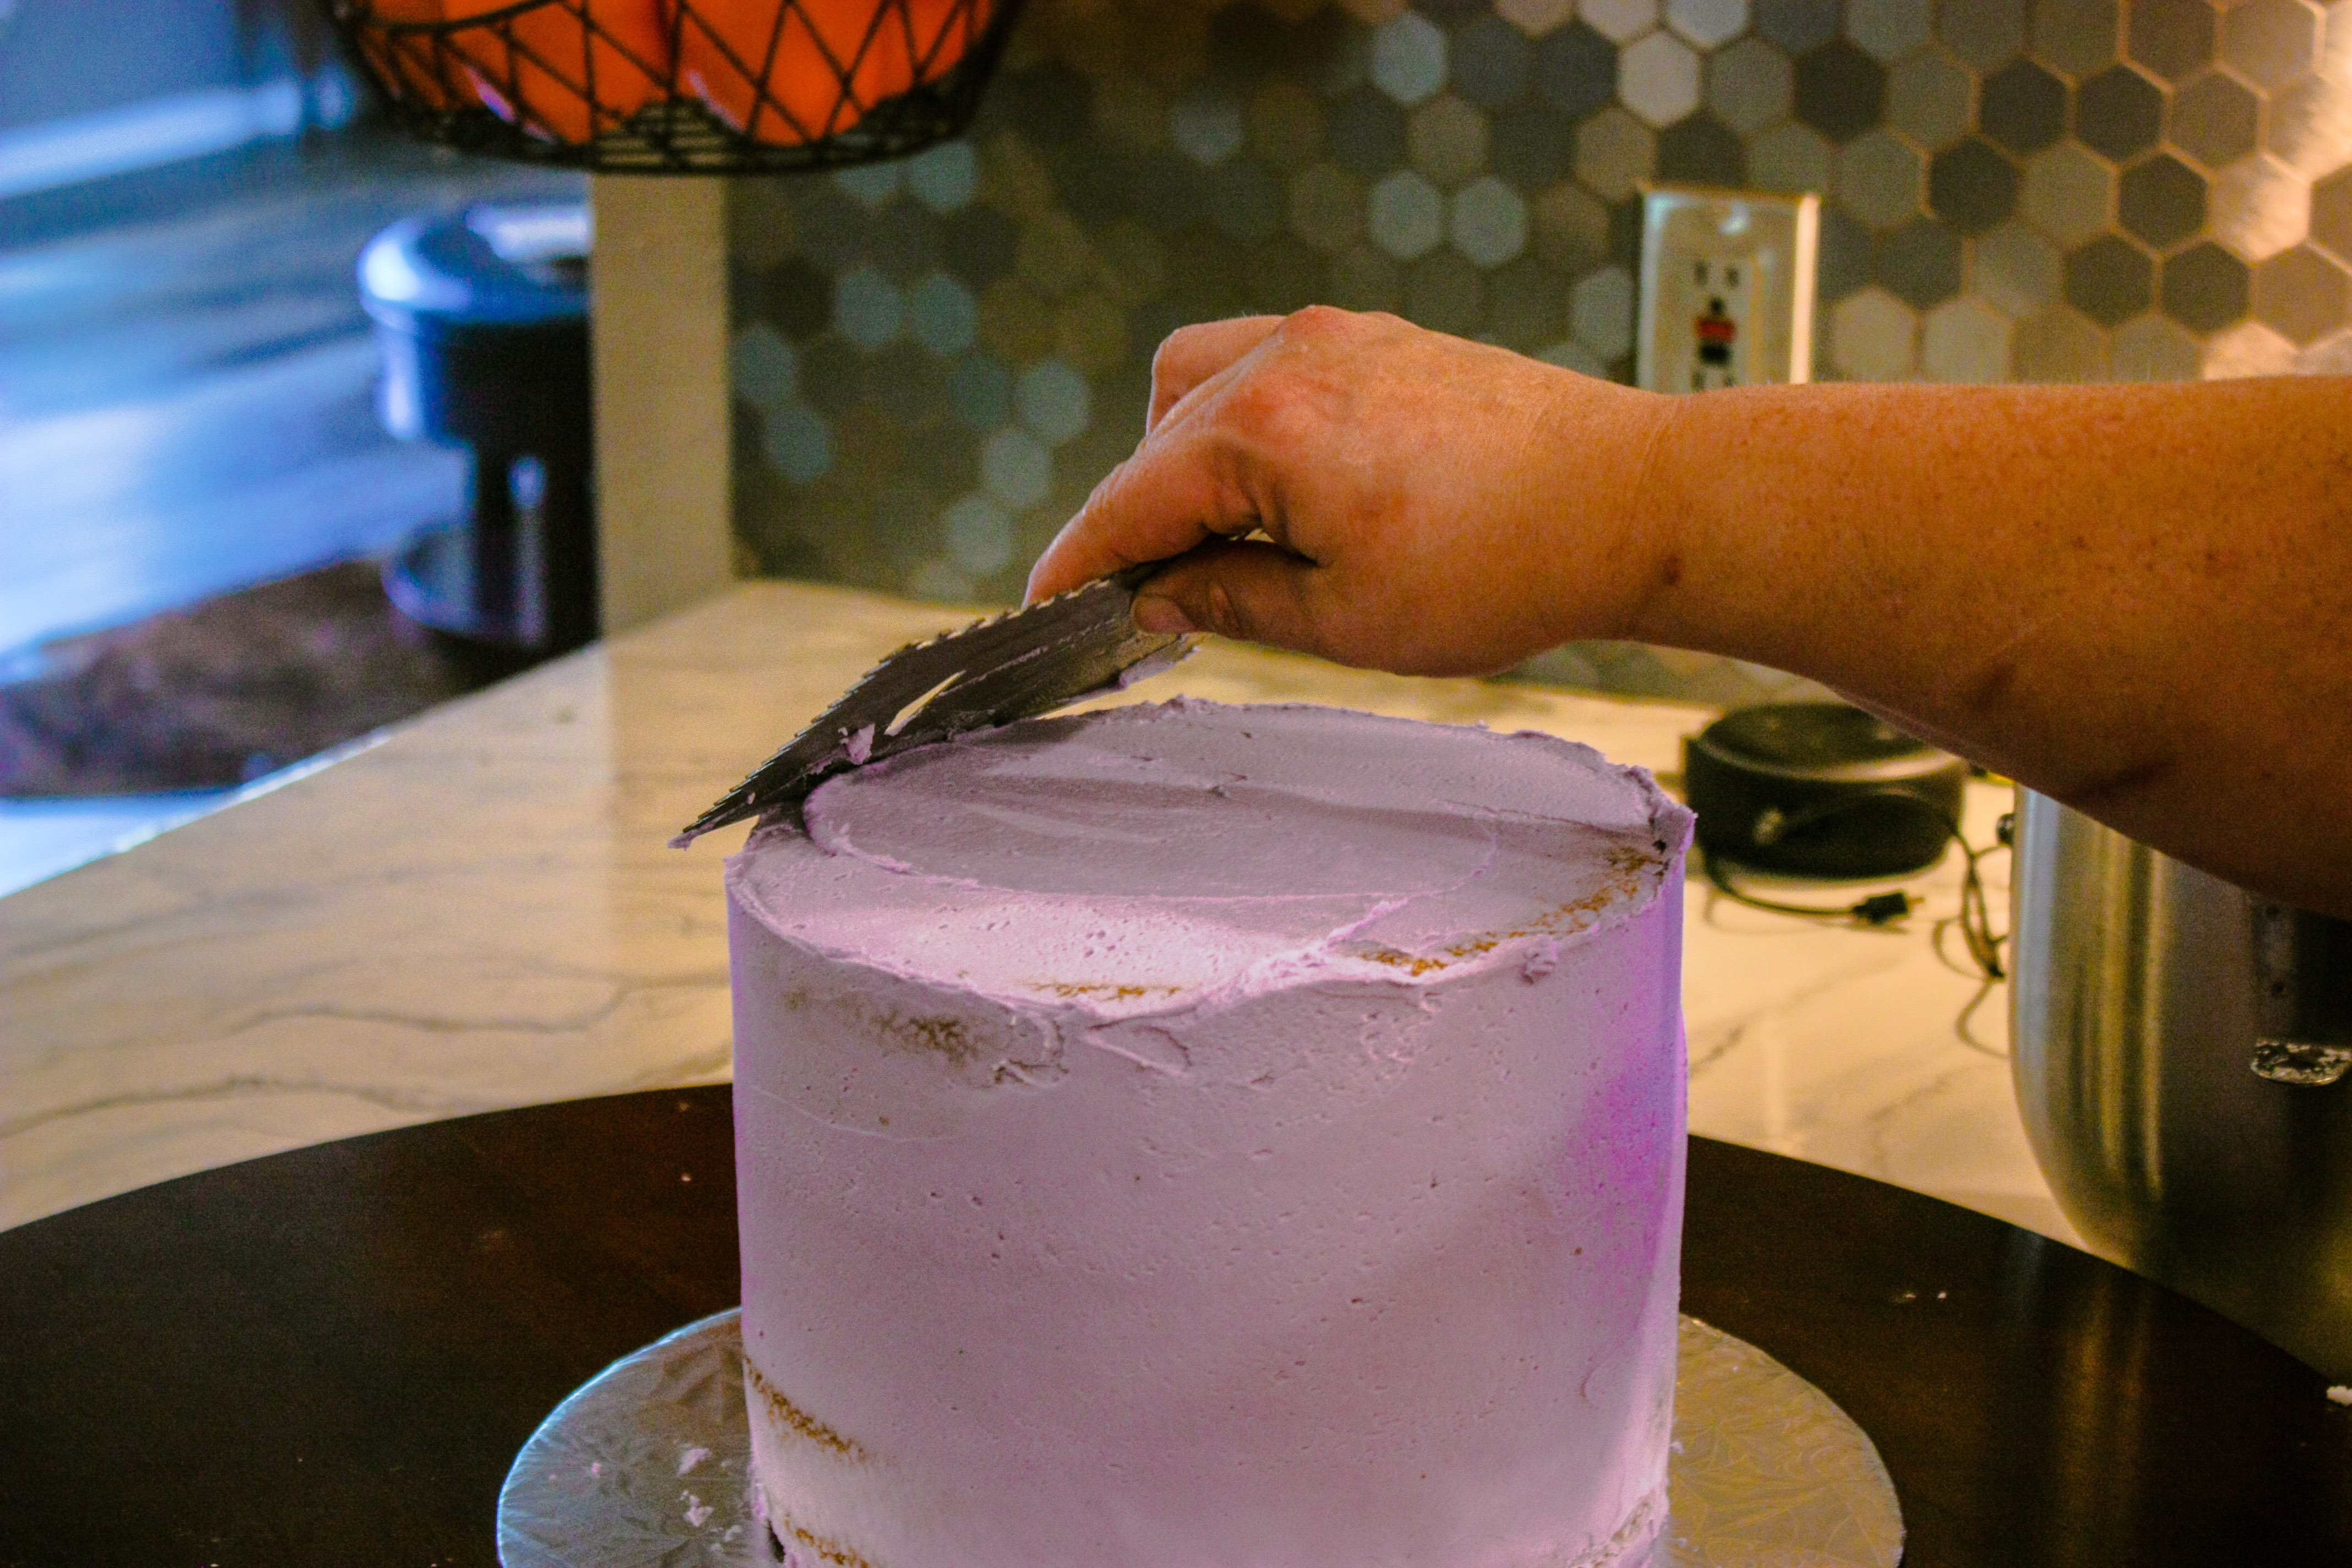
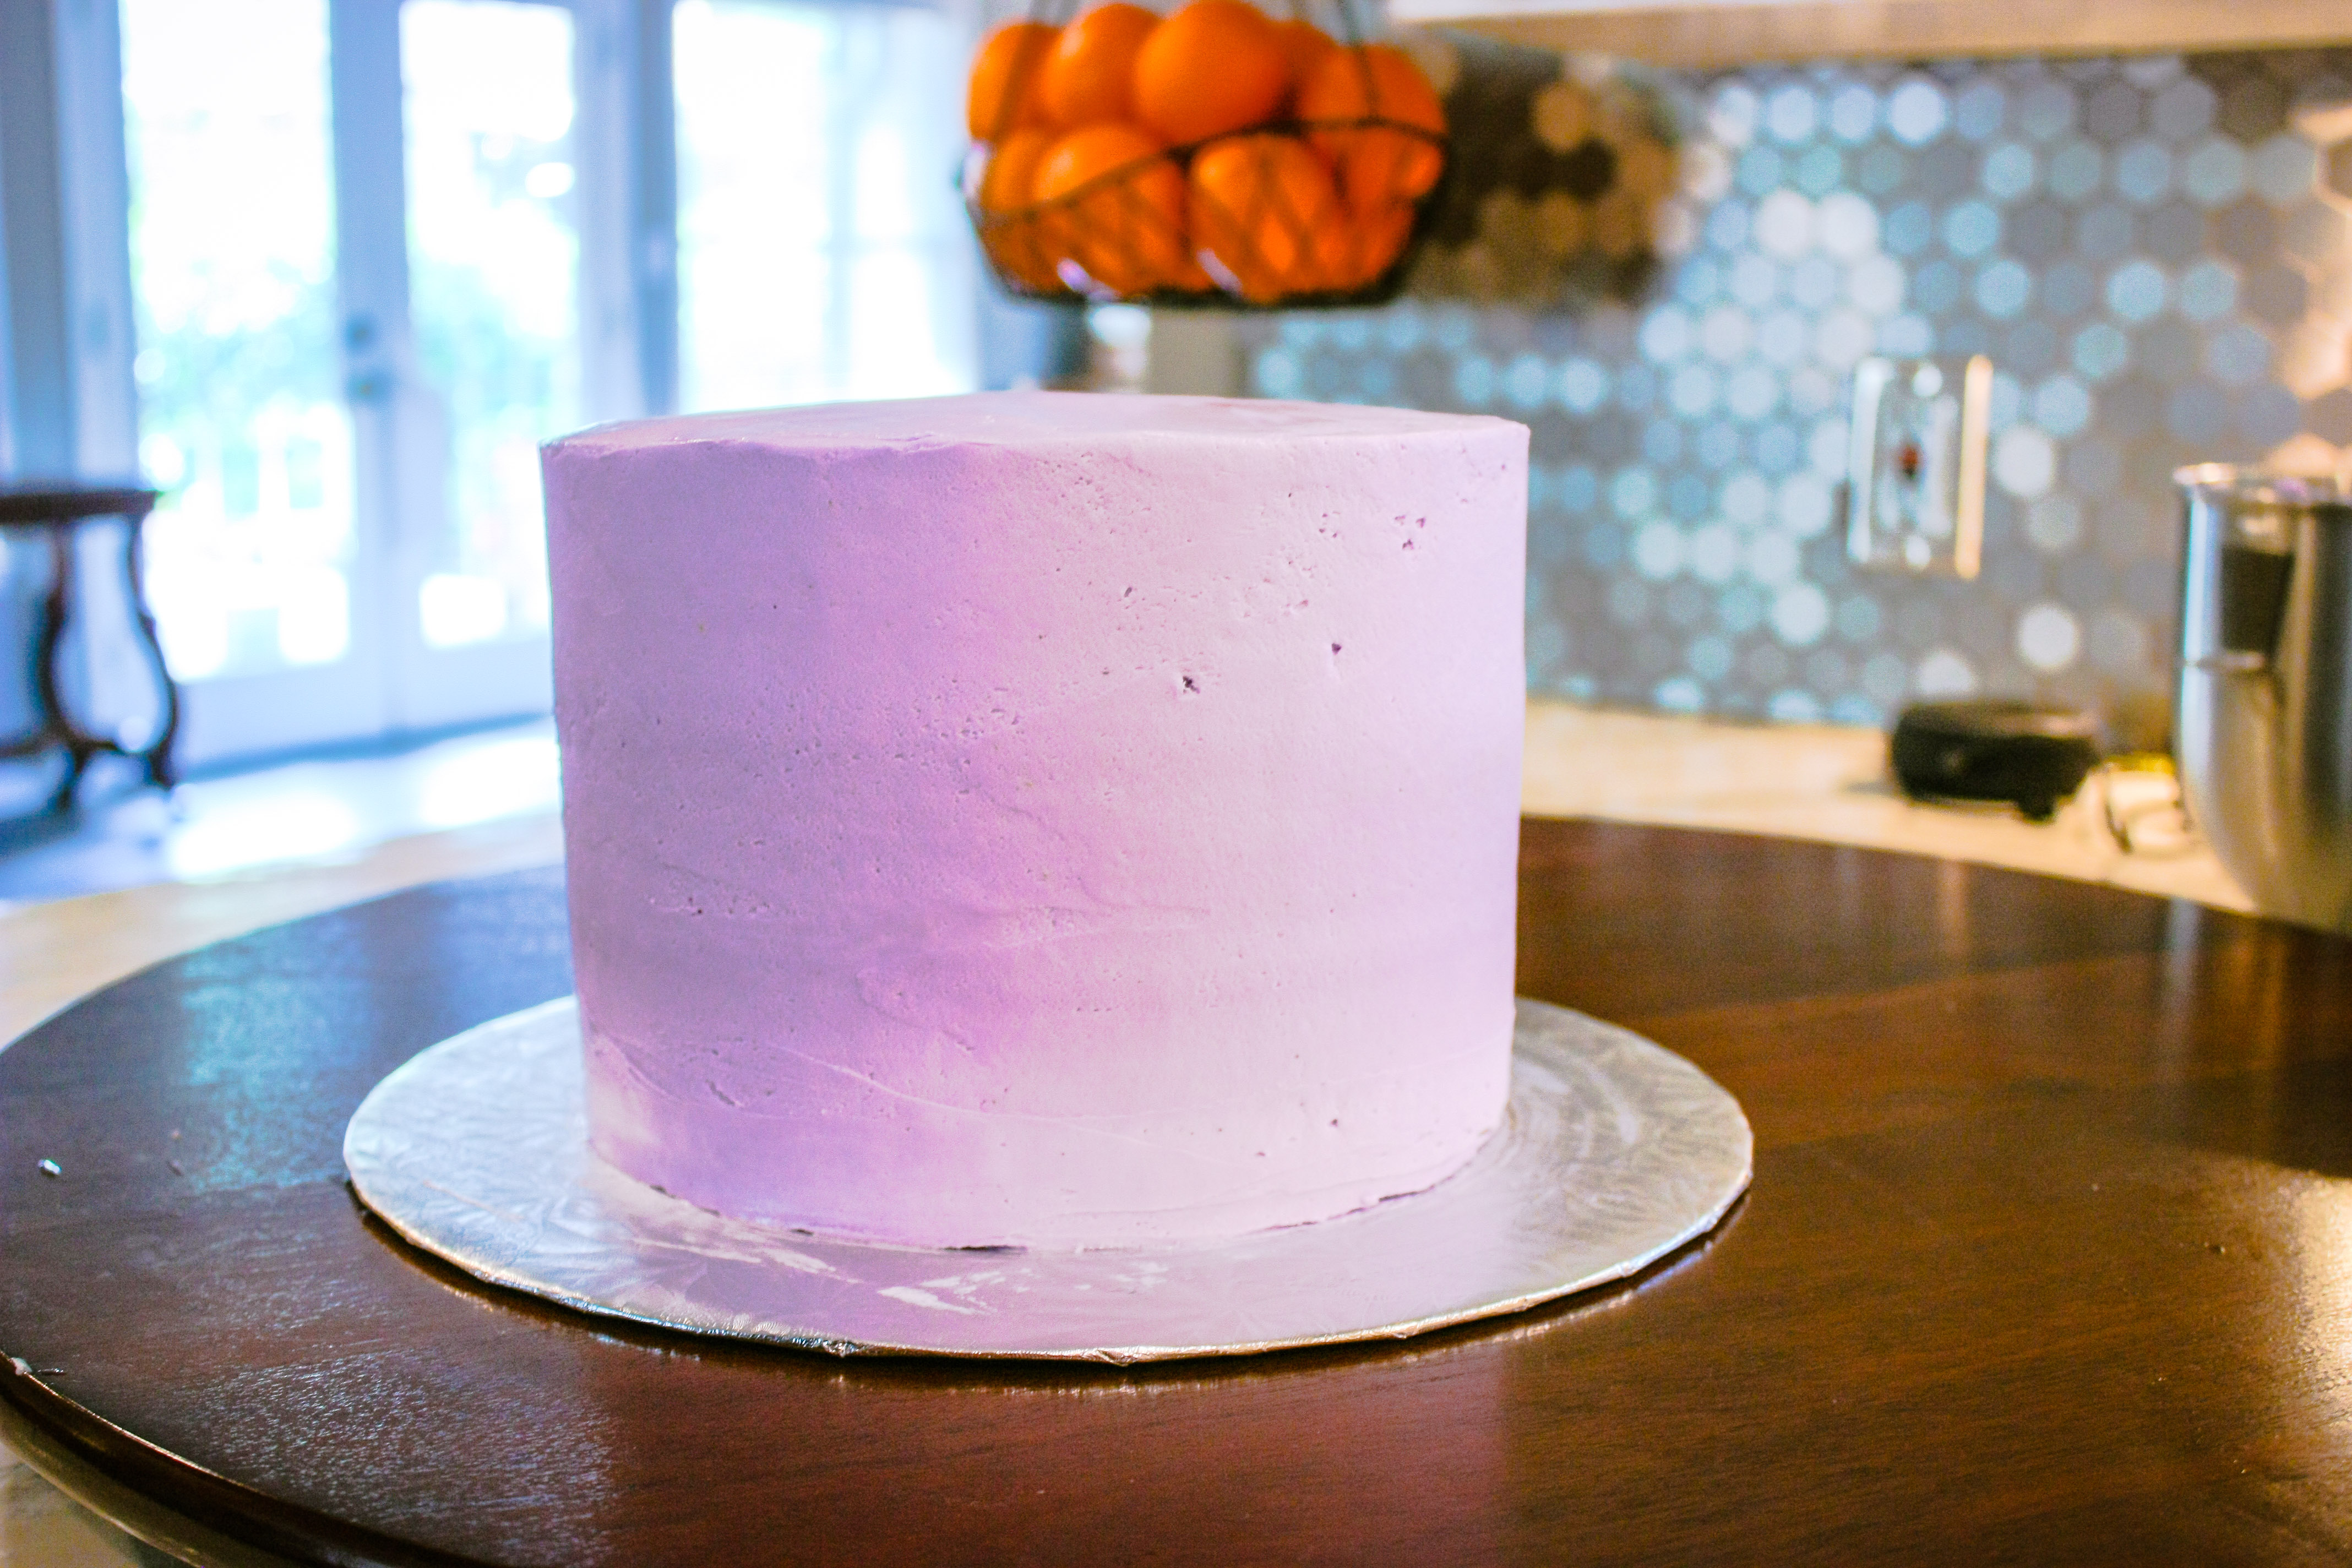
- Continue smoothing the cake until very smooth on the sides and top. *Also, make sure to smooth the frosting on top in a way that makes a level surface.
- Set the cake aside while you prepare the white chocolate for the drip.

Make the Drip part of the My Little Pony Cake:
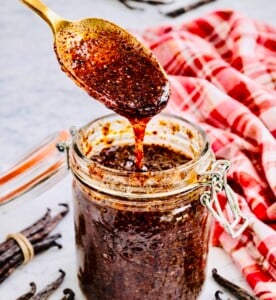
- Prepare the drip by melting 3 cups of white chocolate chips with 1 cup of Heavy Whipping Cream - it MUST be Heavy Whipping Cream, half and half WILL NOT WORK. *melt 30 seconds at a time and stirring in between until smooth.
- Add 1 drop of gel coloring and stir. Continue adding color 1-drop-at-a-time until you reach the desired color.
- Allow white chocolate to cool for about 5 to 8 minutes, stirring occasionally. You don't want to pour it right onto the cake hot or it will melt the frosting beneath it.
- Pour slightly cooled white chocolate mixture into a plastic squeeze bottle. Make sure the nozzle has been snipped to a larger opening, about the size of a lollipop stick.
- When ready, place the cake on a turntable or in an area where you can easily turn the cake as you go.
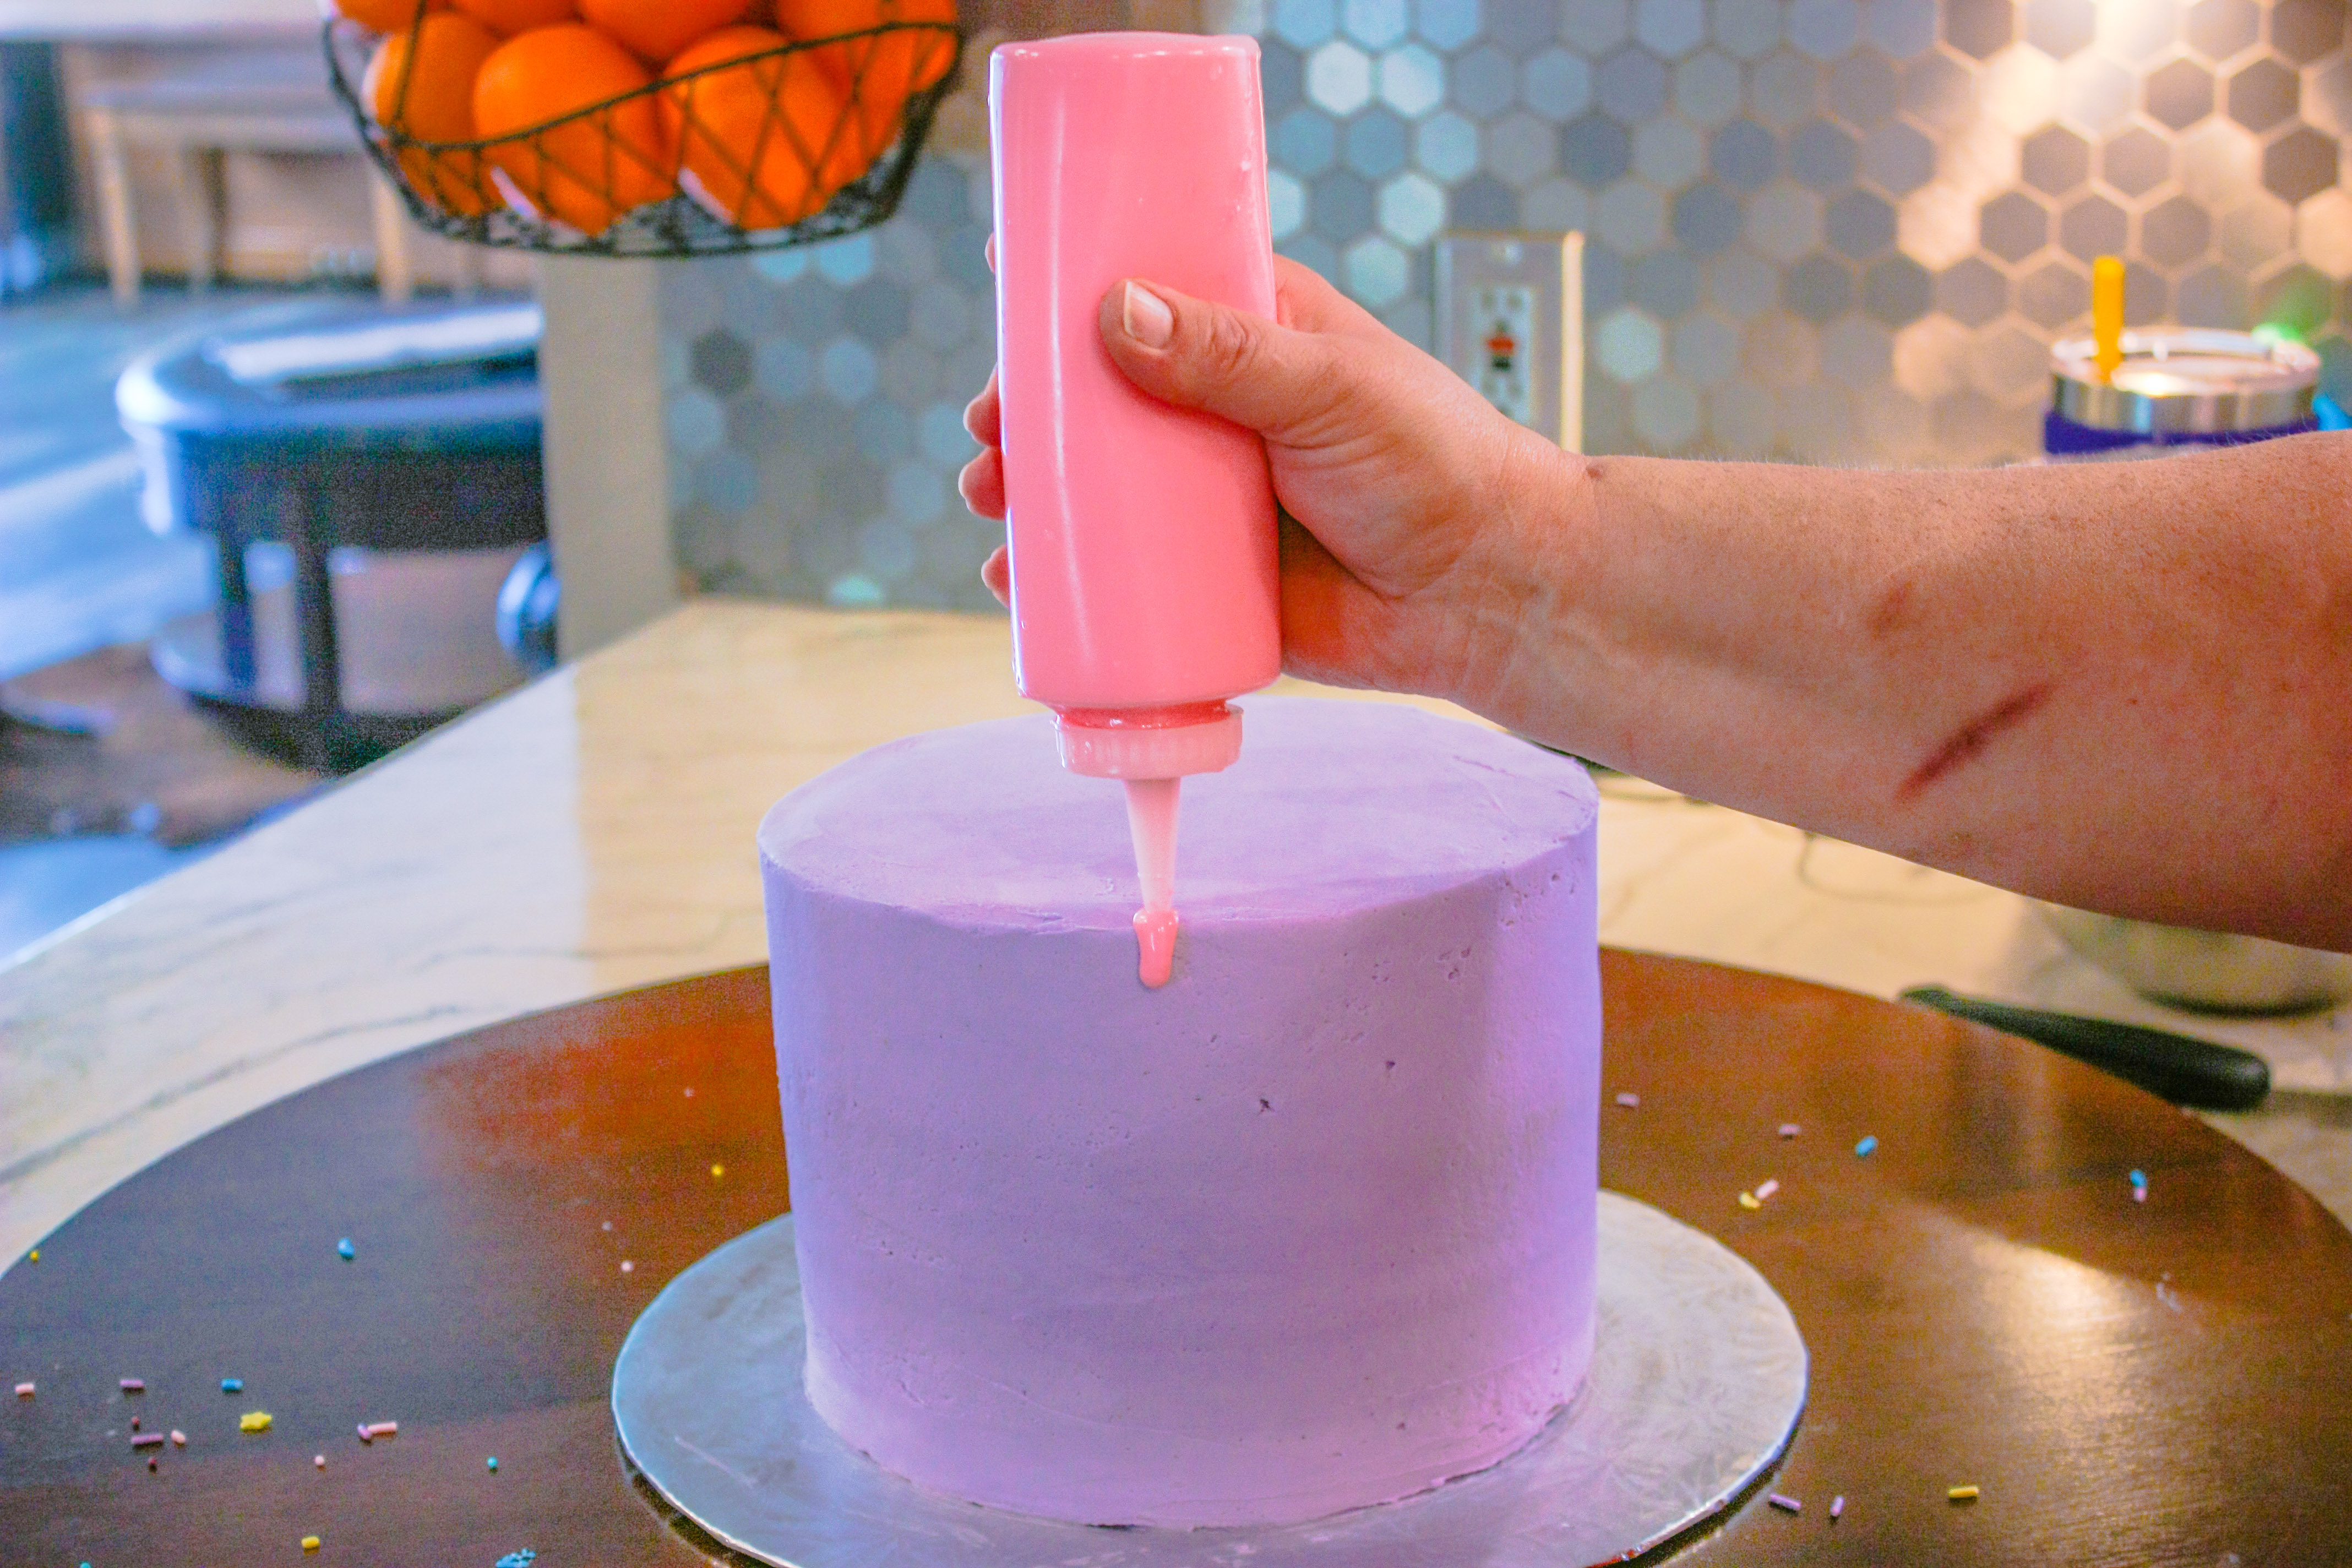


- Holding the plastic bottle upside down and straight upright, begin squeezing the white chocolate mixture directly to the top edge of the cake, varying the pressure to get different lengths of drips. Continue all the way around the cake.
- When drips are complete, quickly pour the white chocolate mixture on top of the middle of the cake and quickly spread to the edge just a little over where you started. Don't go too far or you'll cause large drips to fall over the sides.

- Let drip firm up - you can place the cake in the refrigerator for about 30 minutes to allow it to set up.
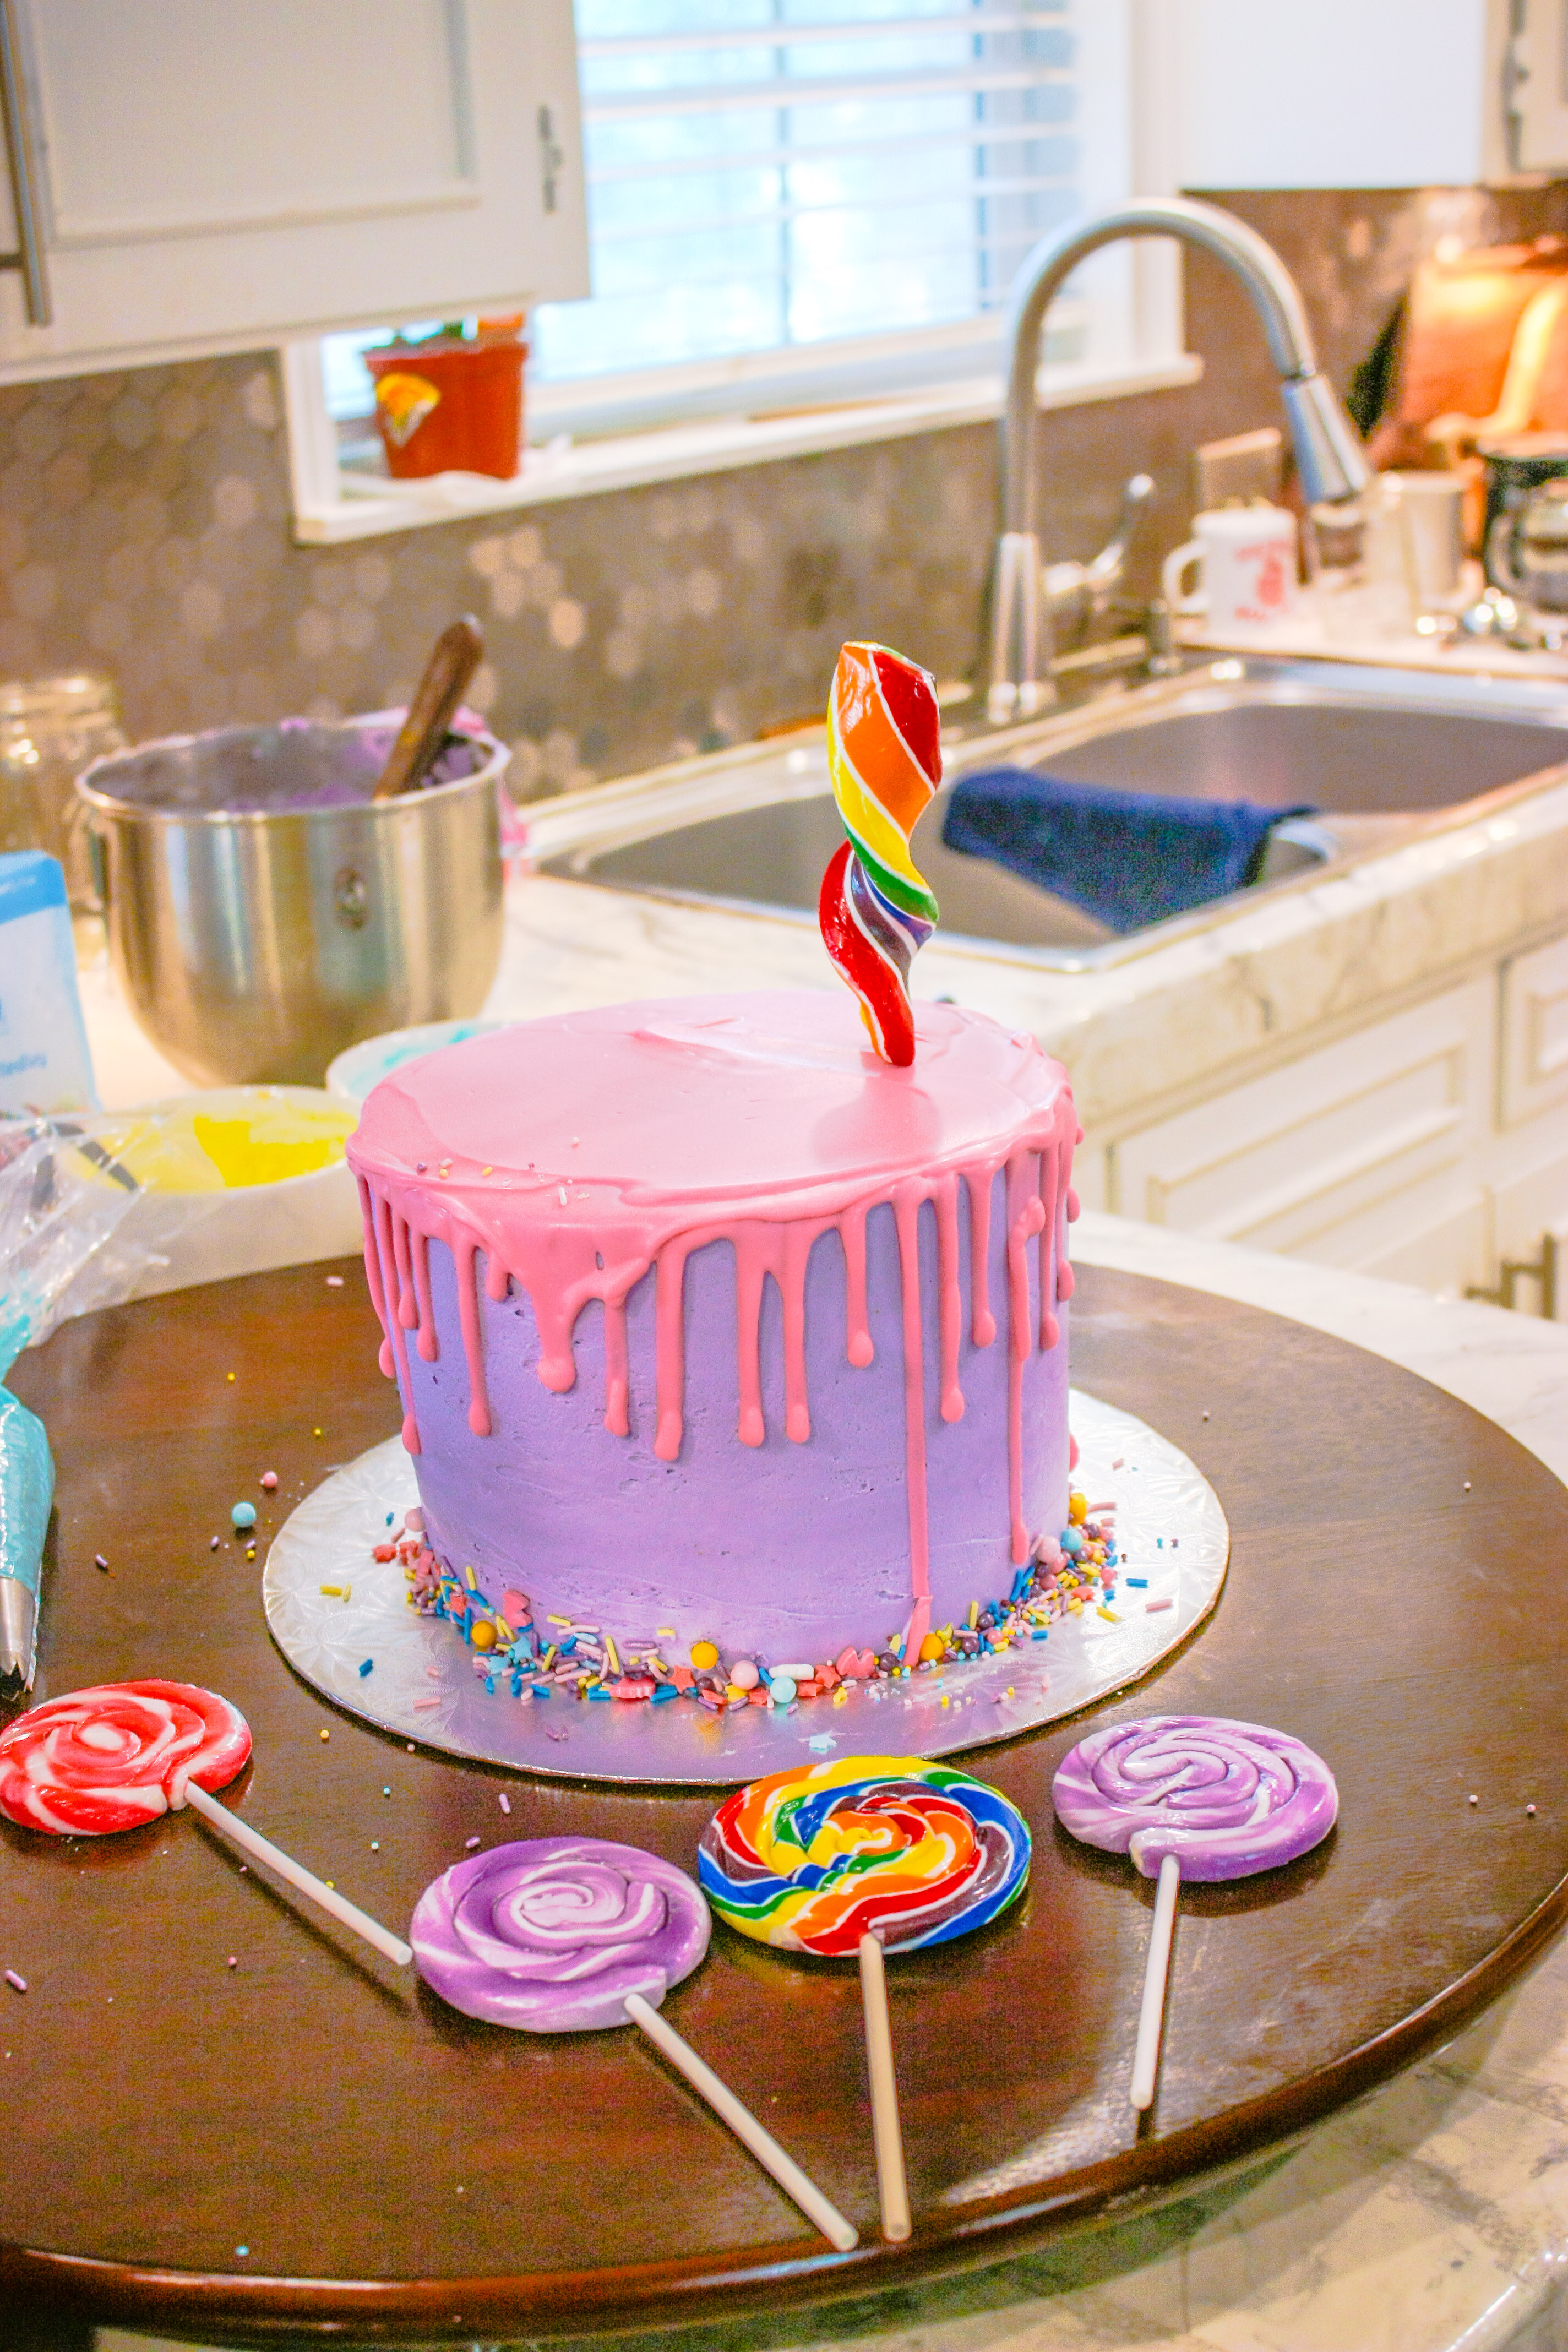
Finish Assembling Cake:
- Remove cake from the refrigerator and place Happy Unicorn Sprinkles around the bottom edge of the cake. Press loose bits into the cake so that they stick well.
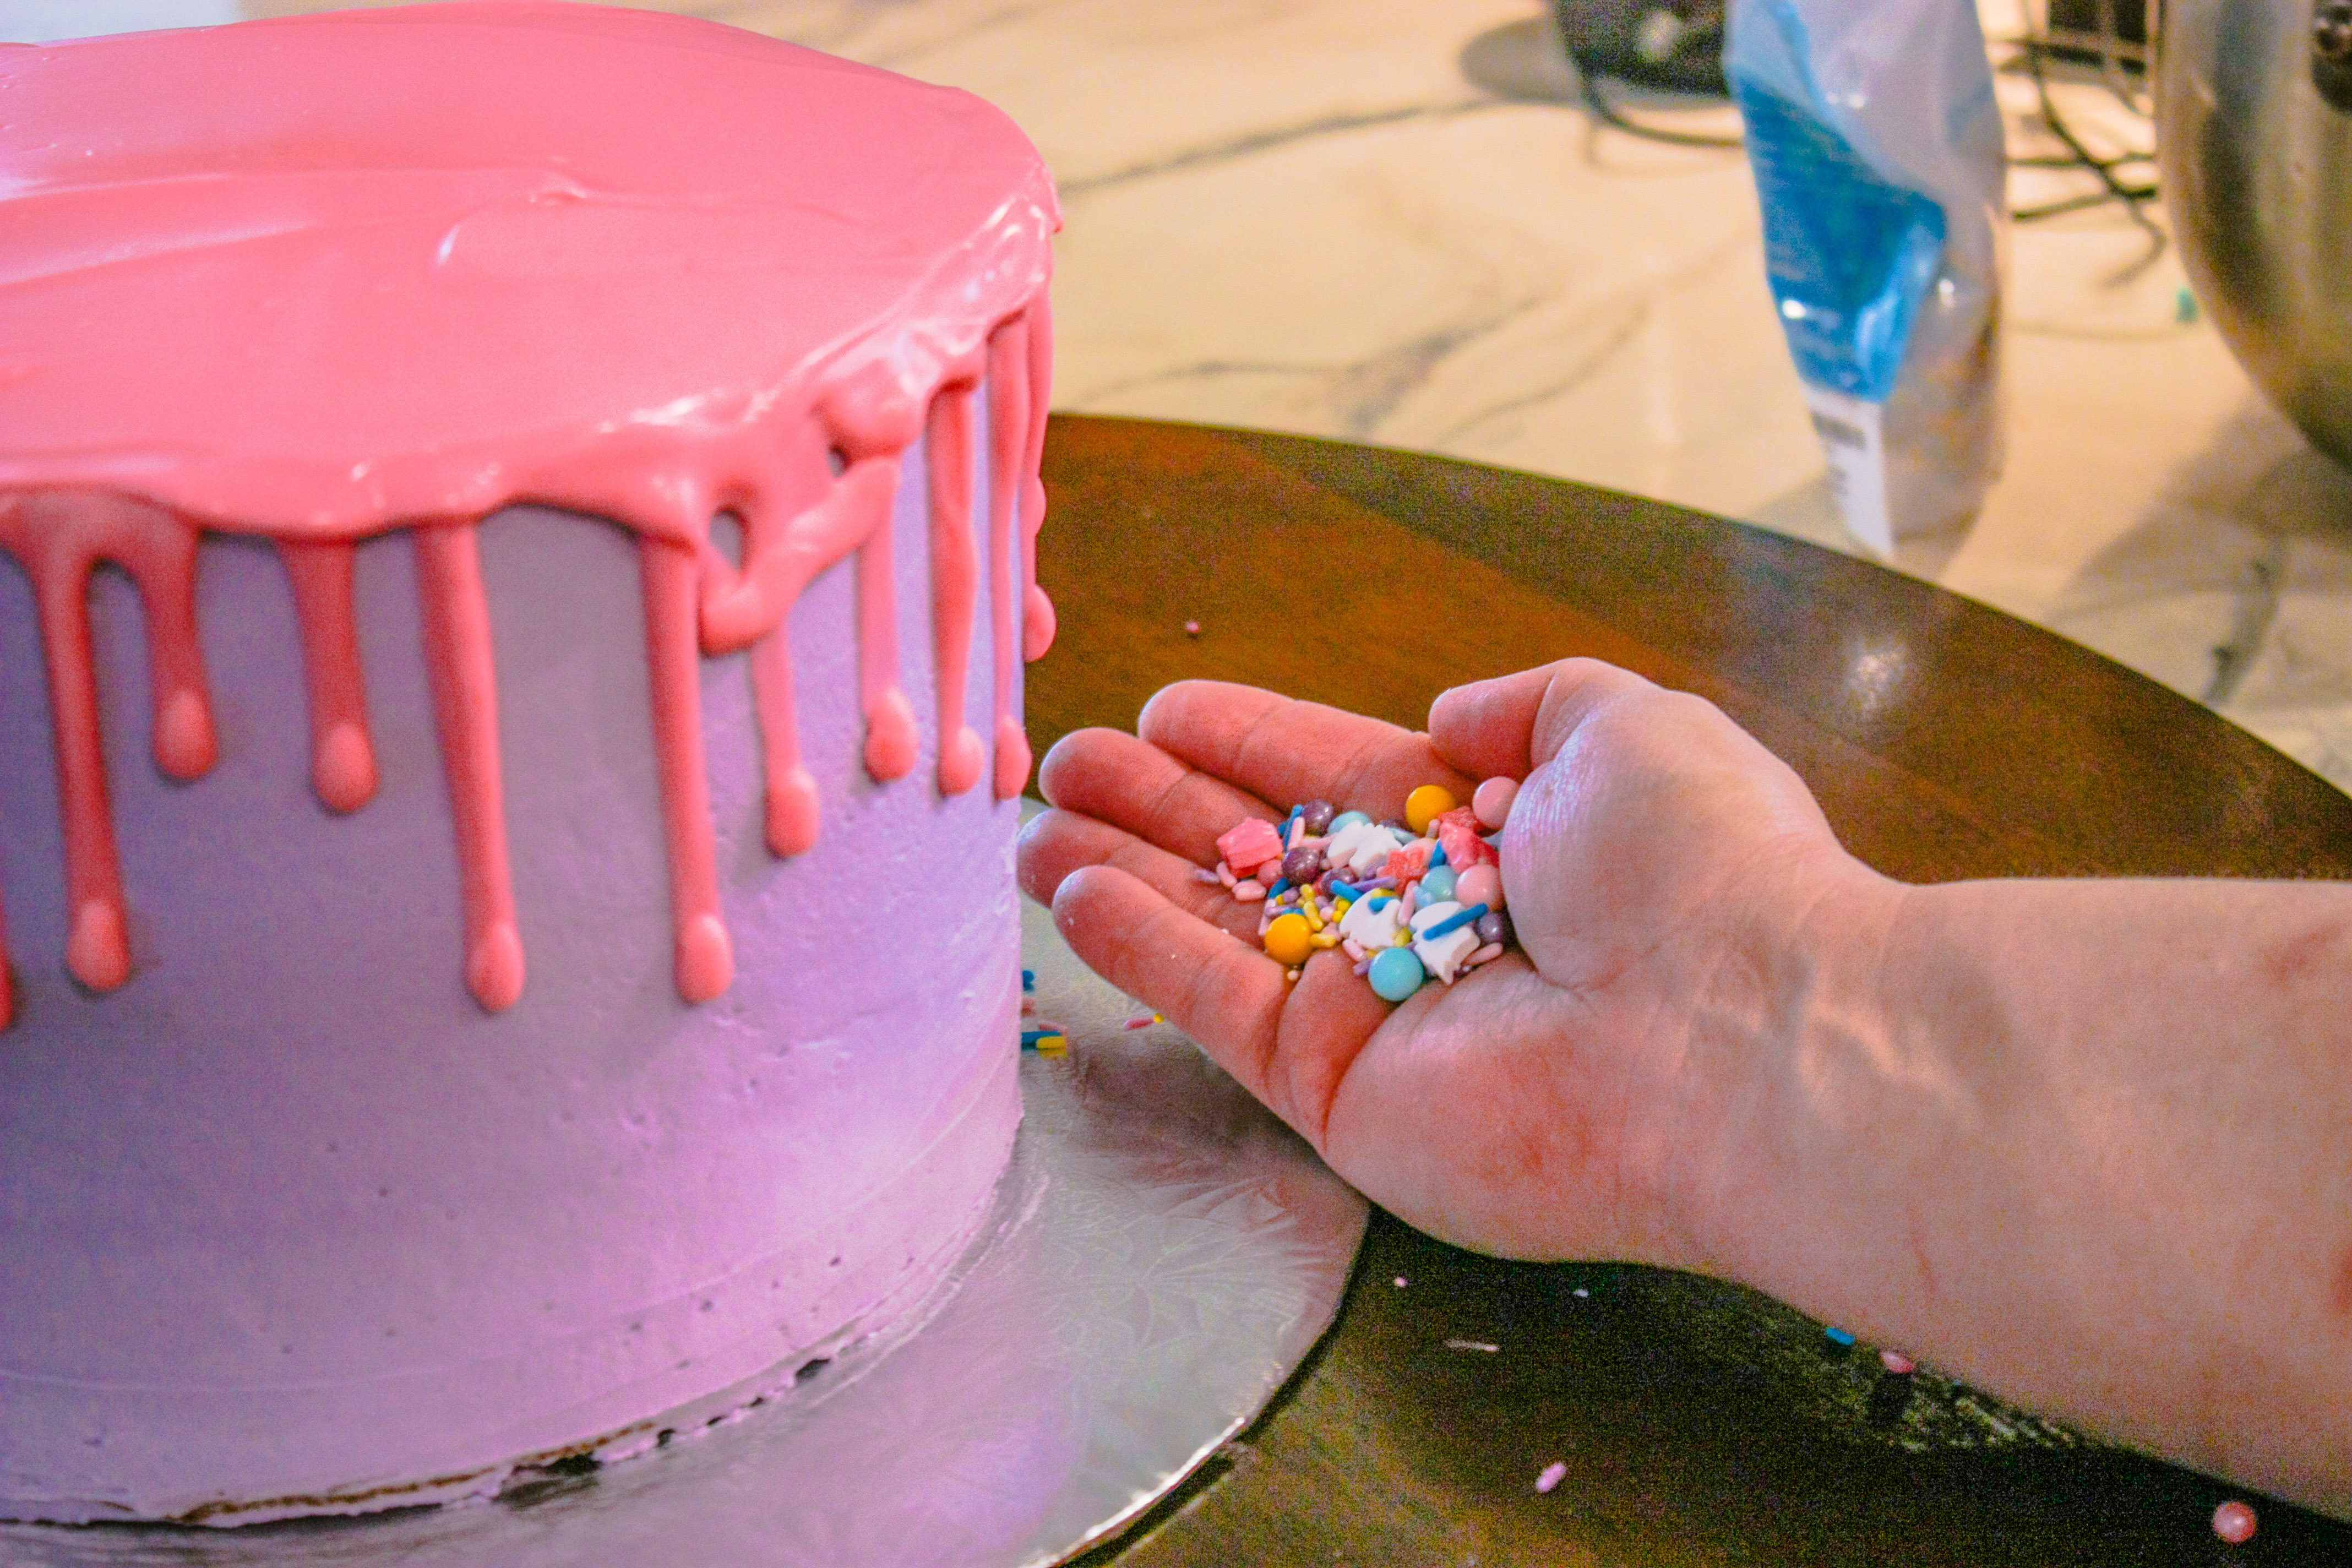
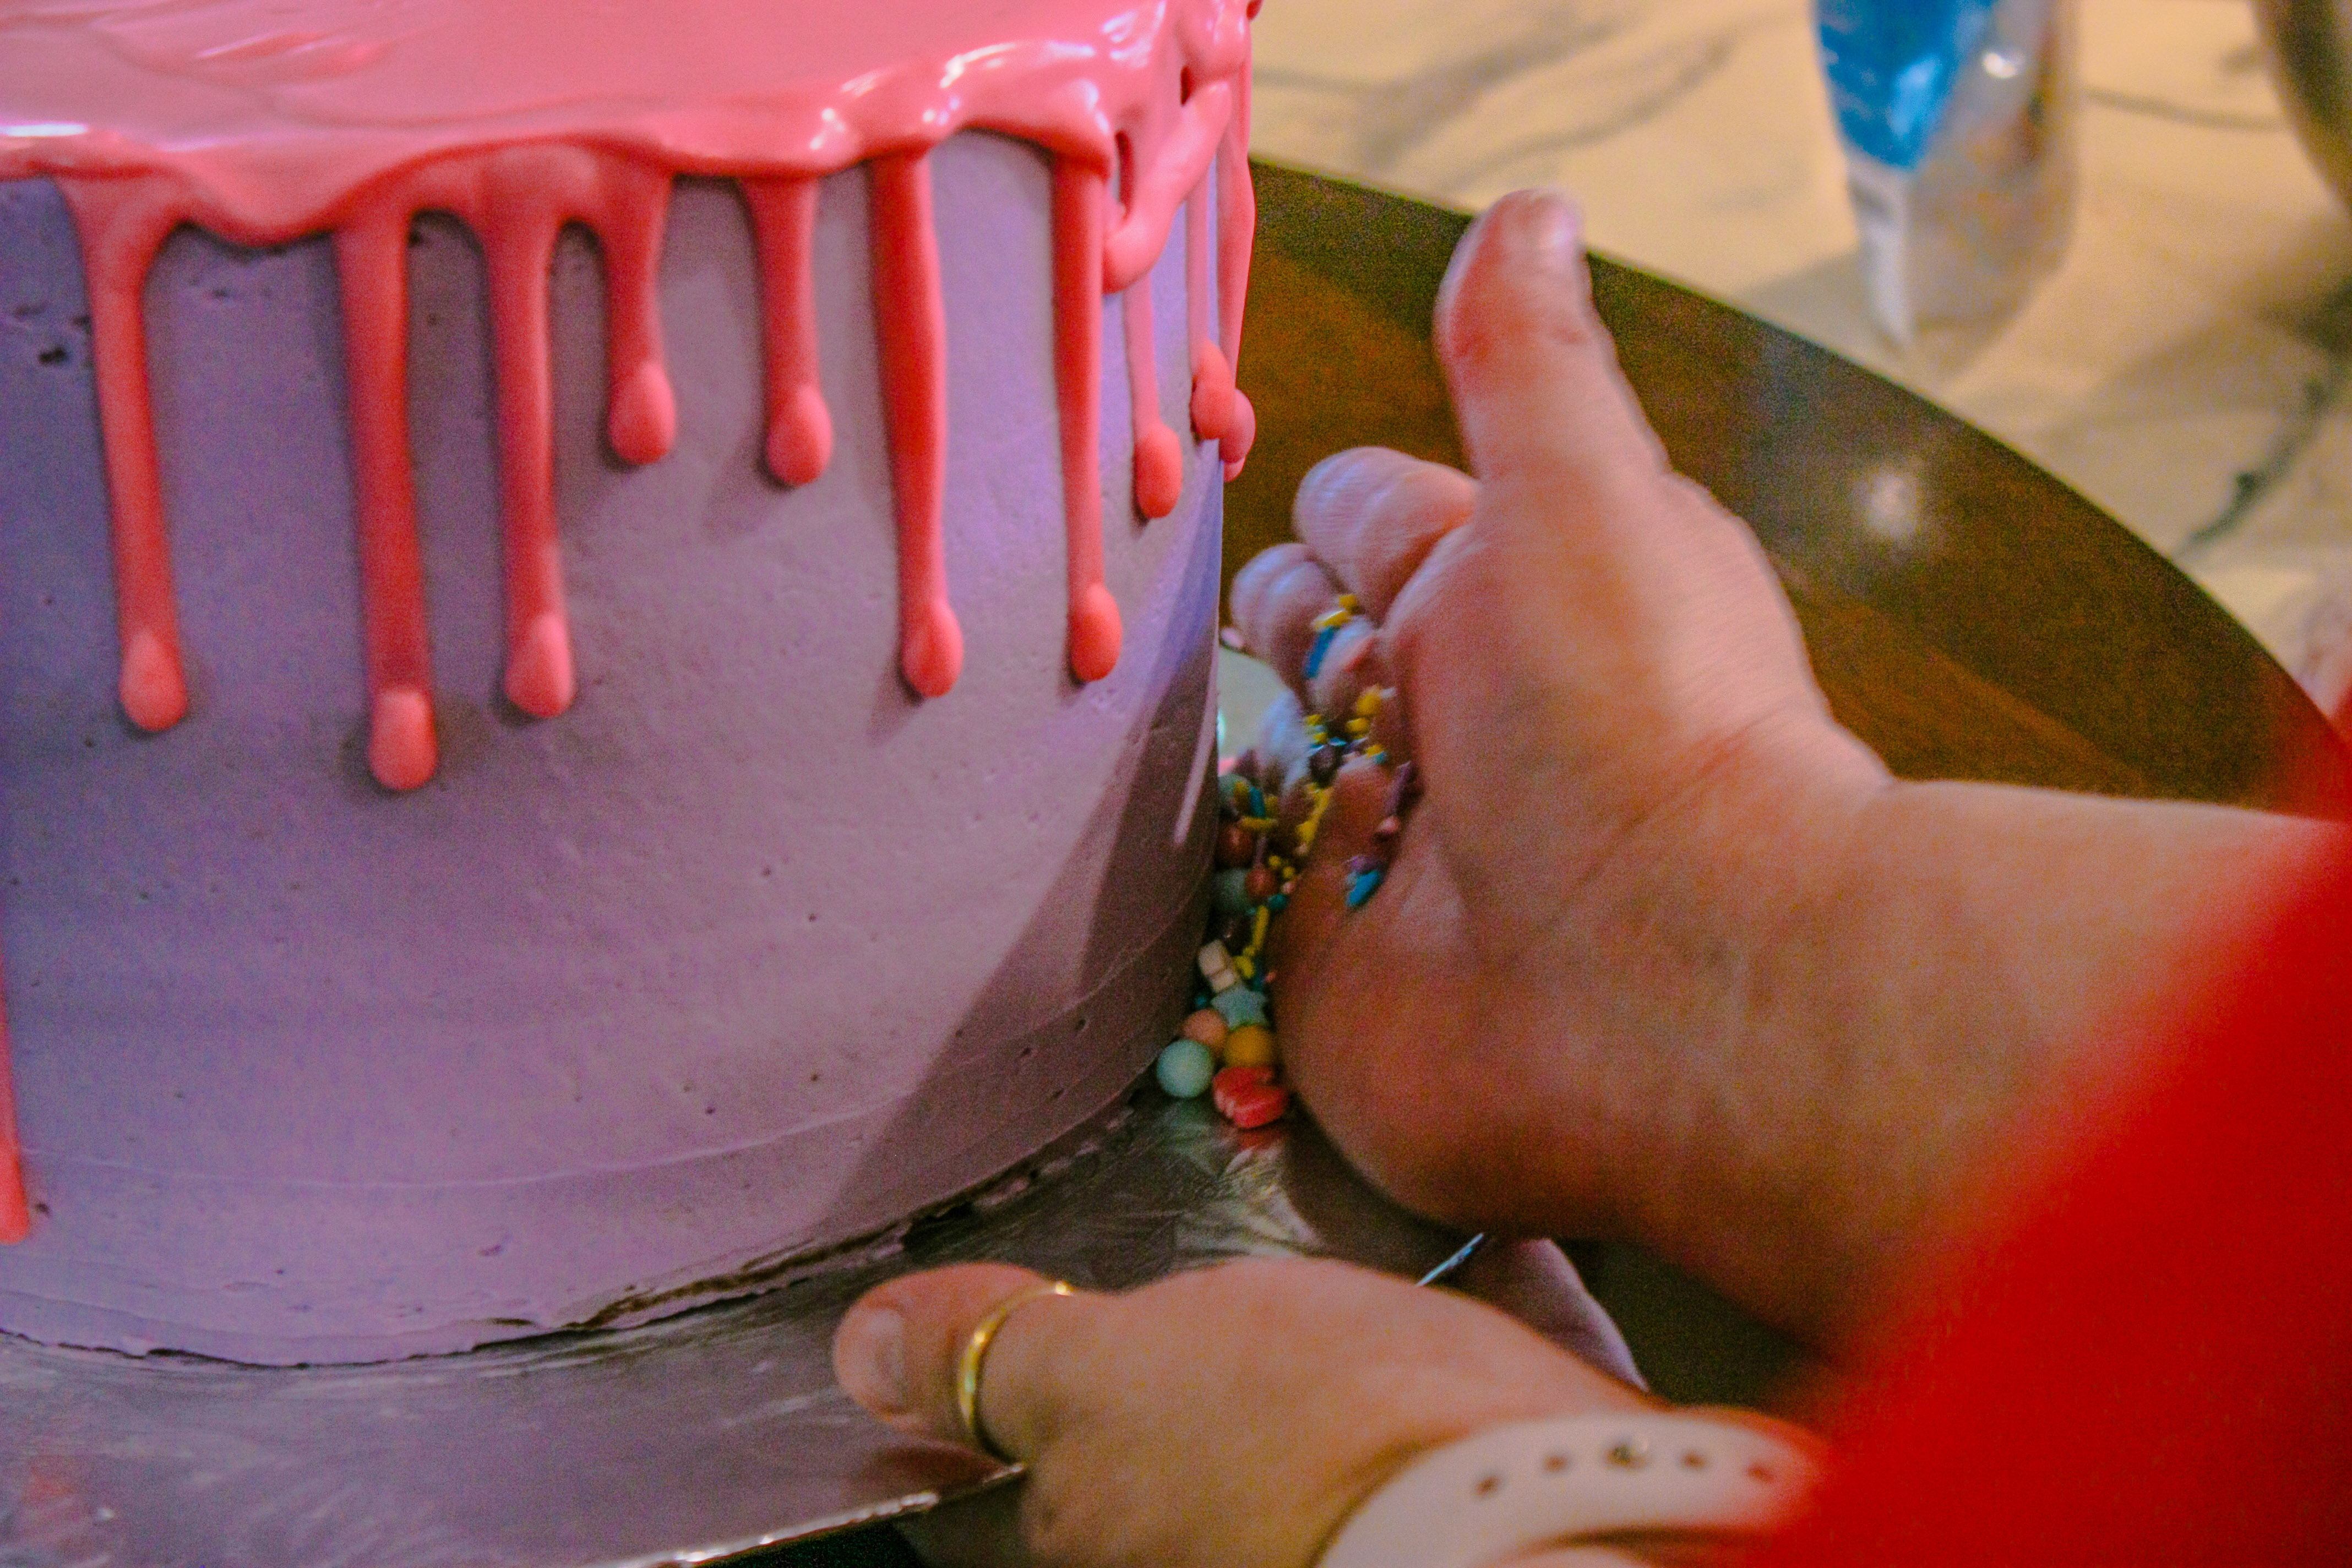

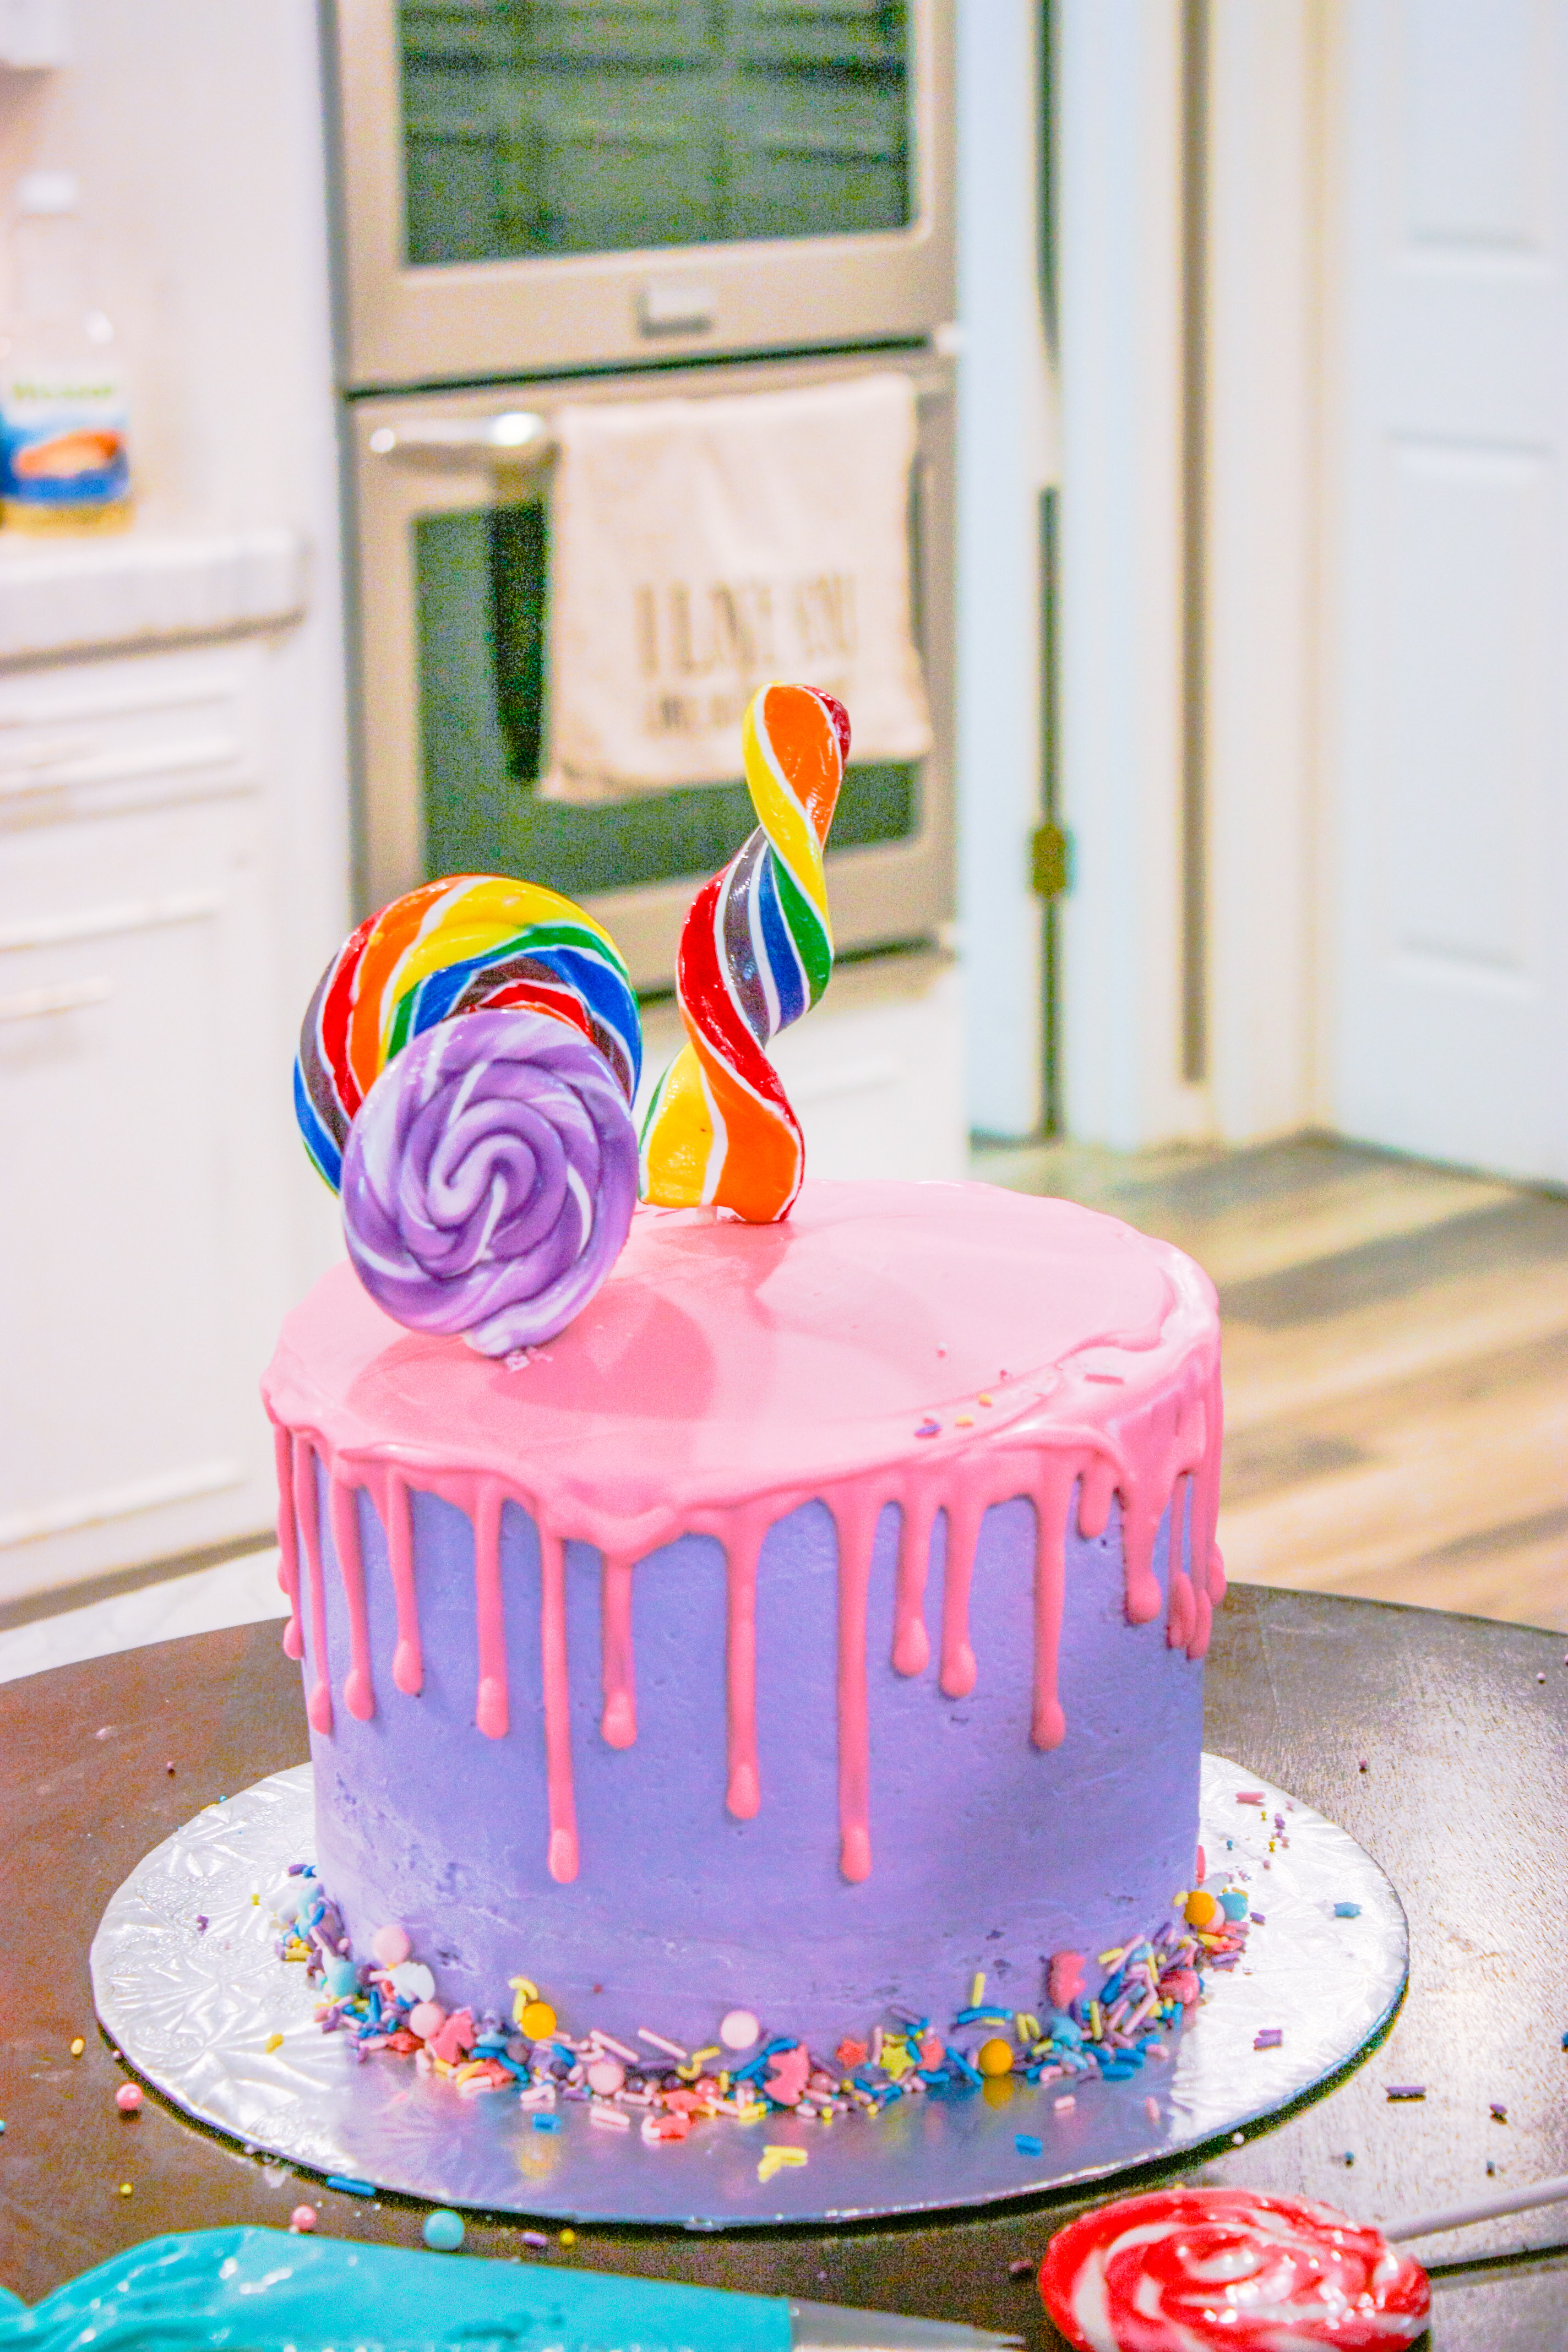
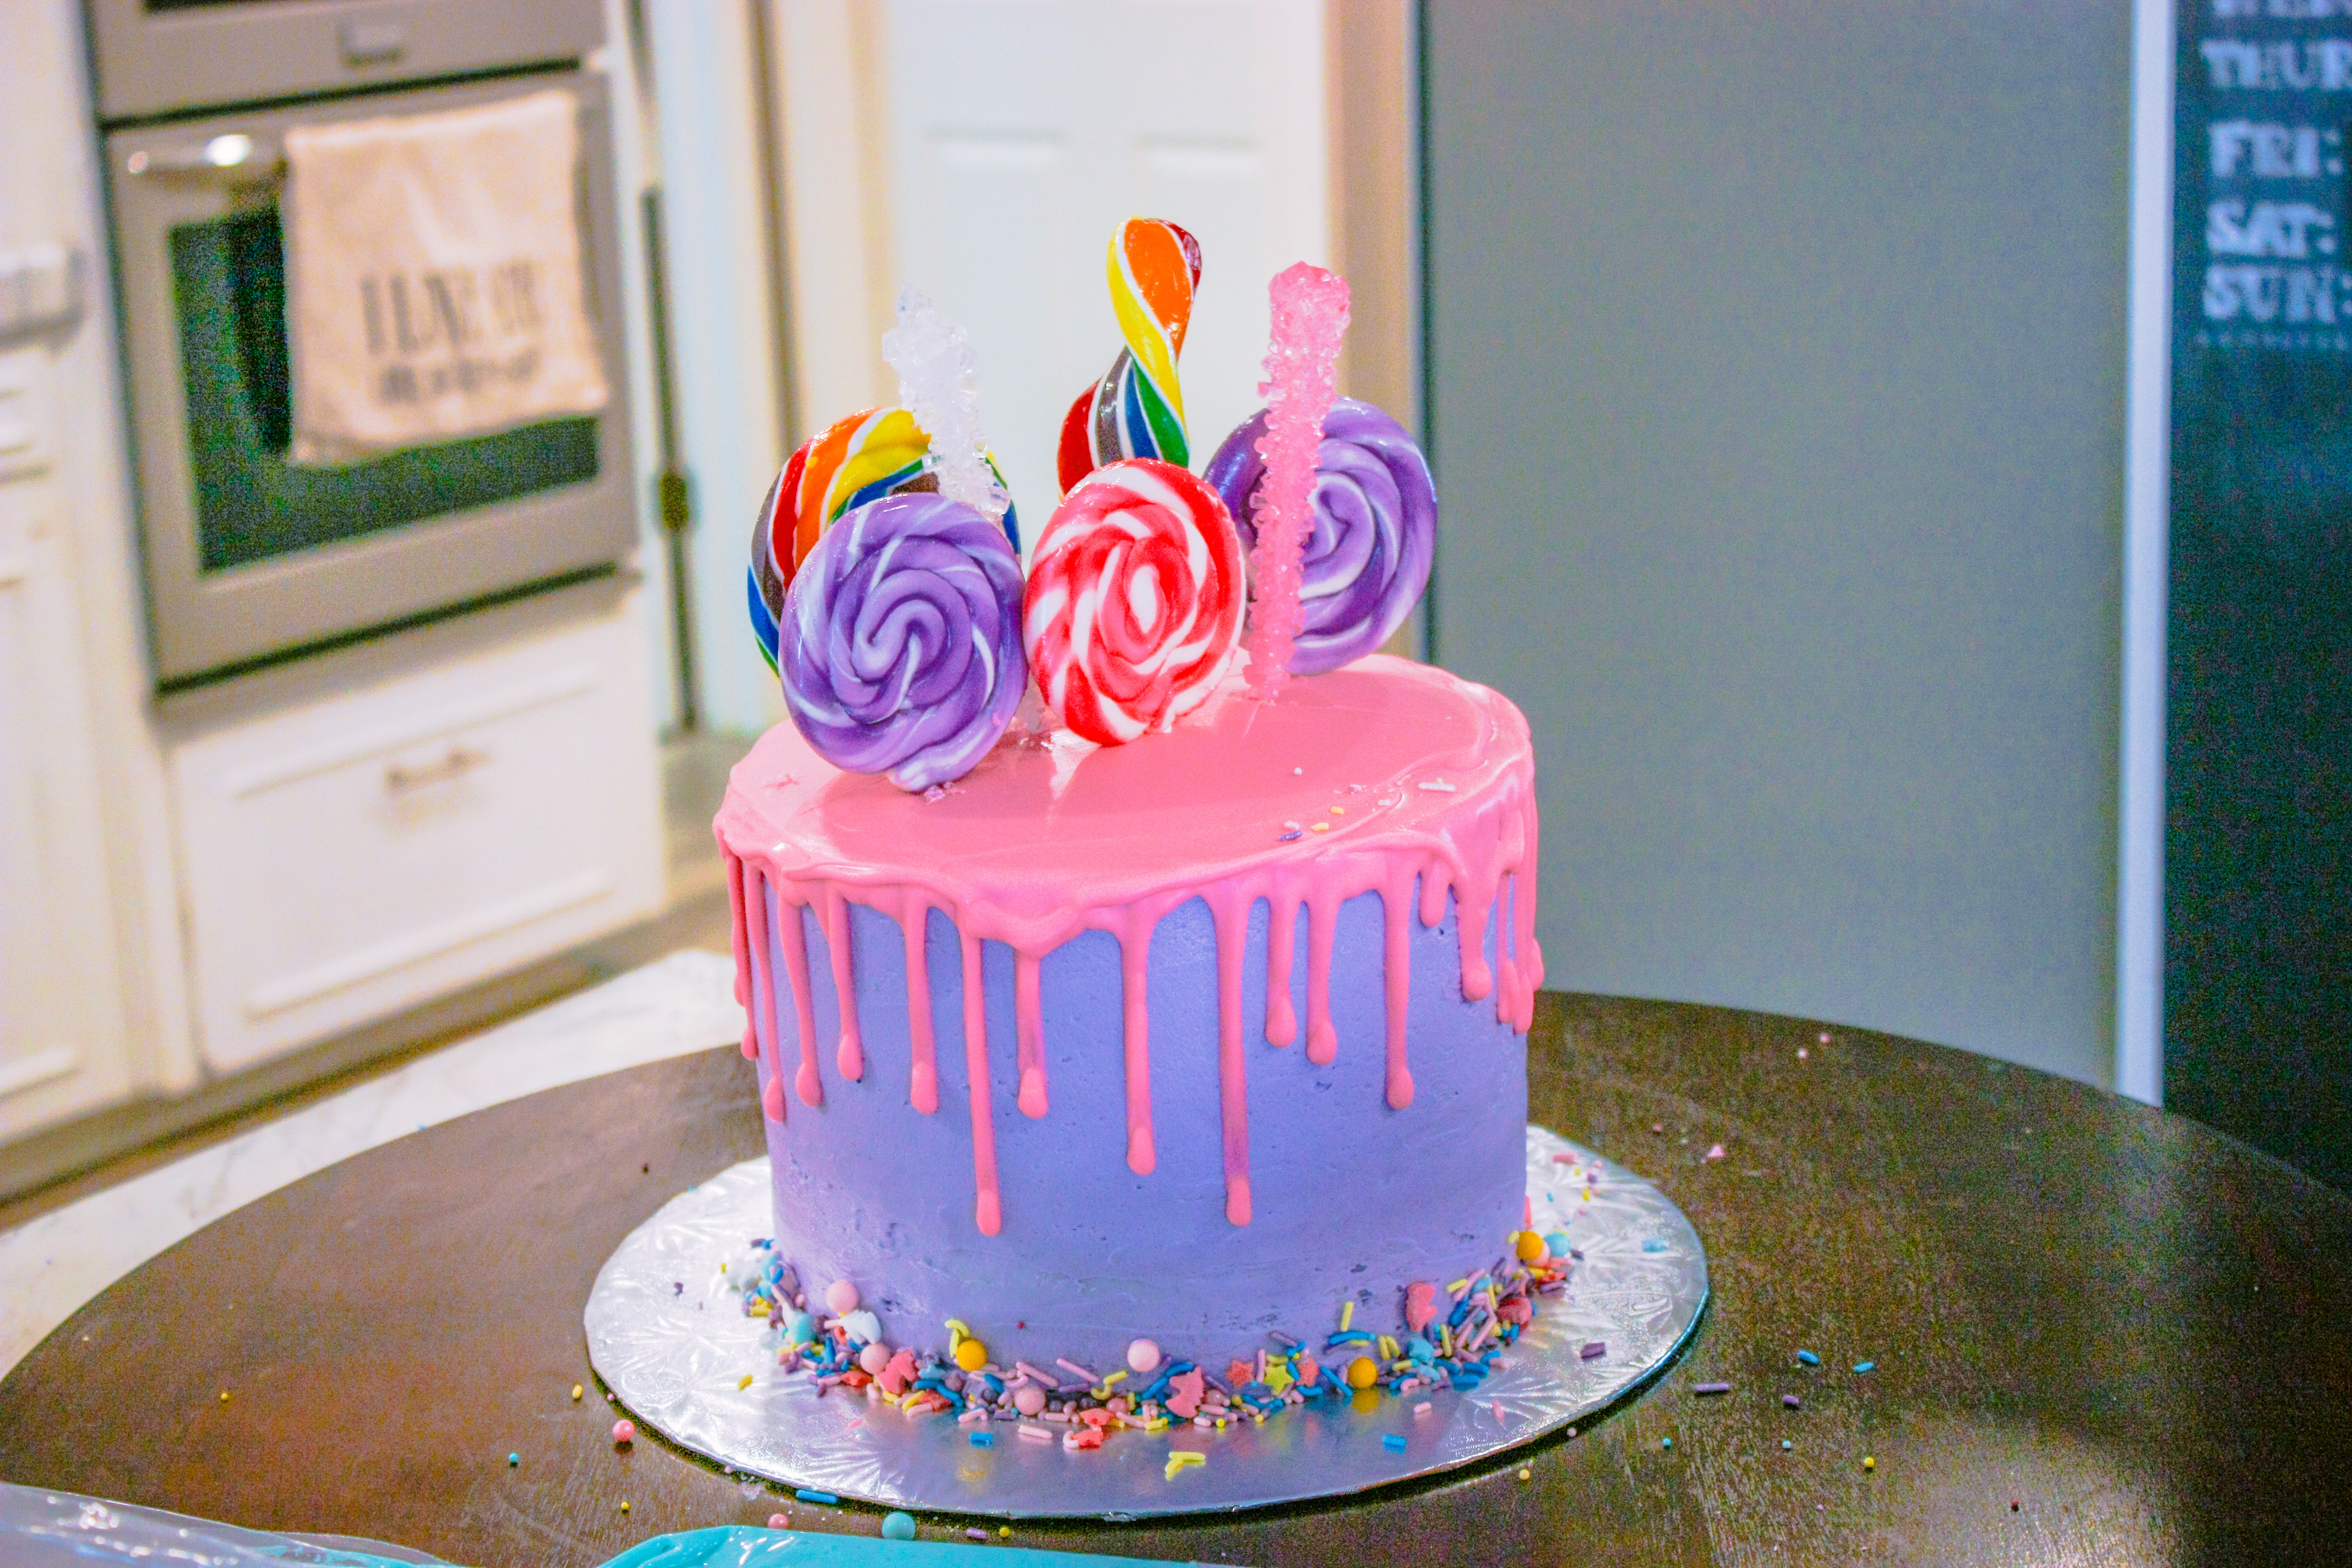
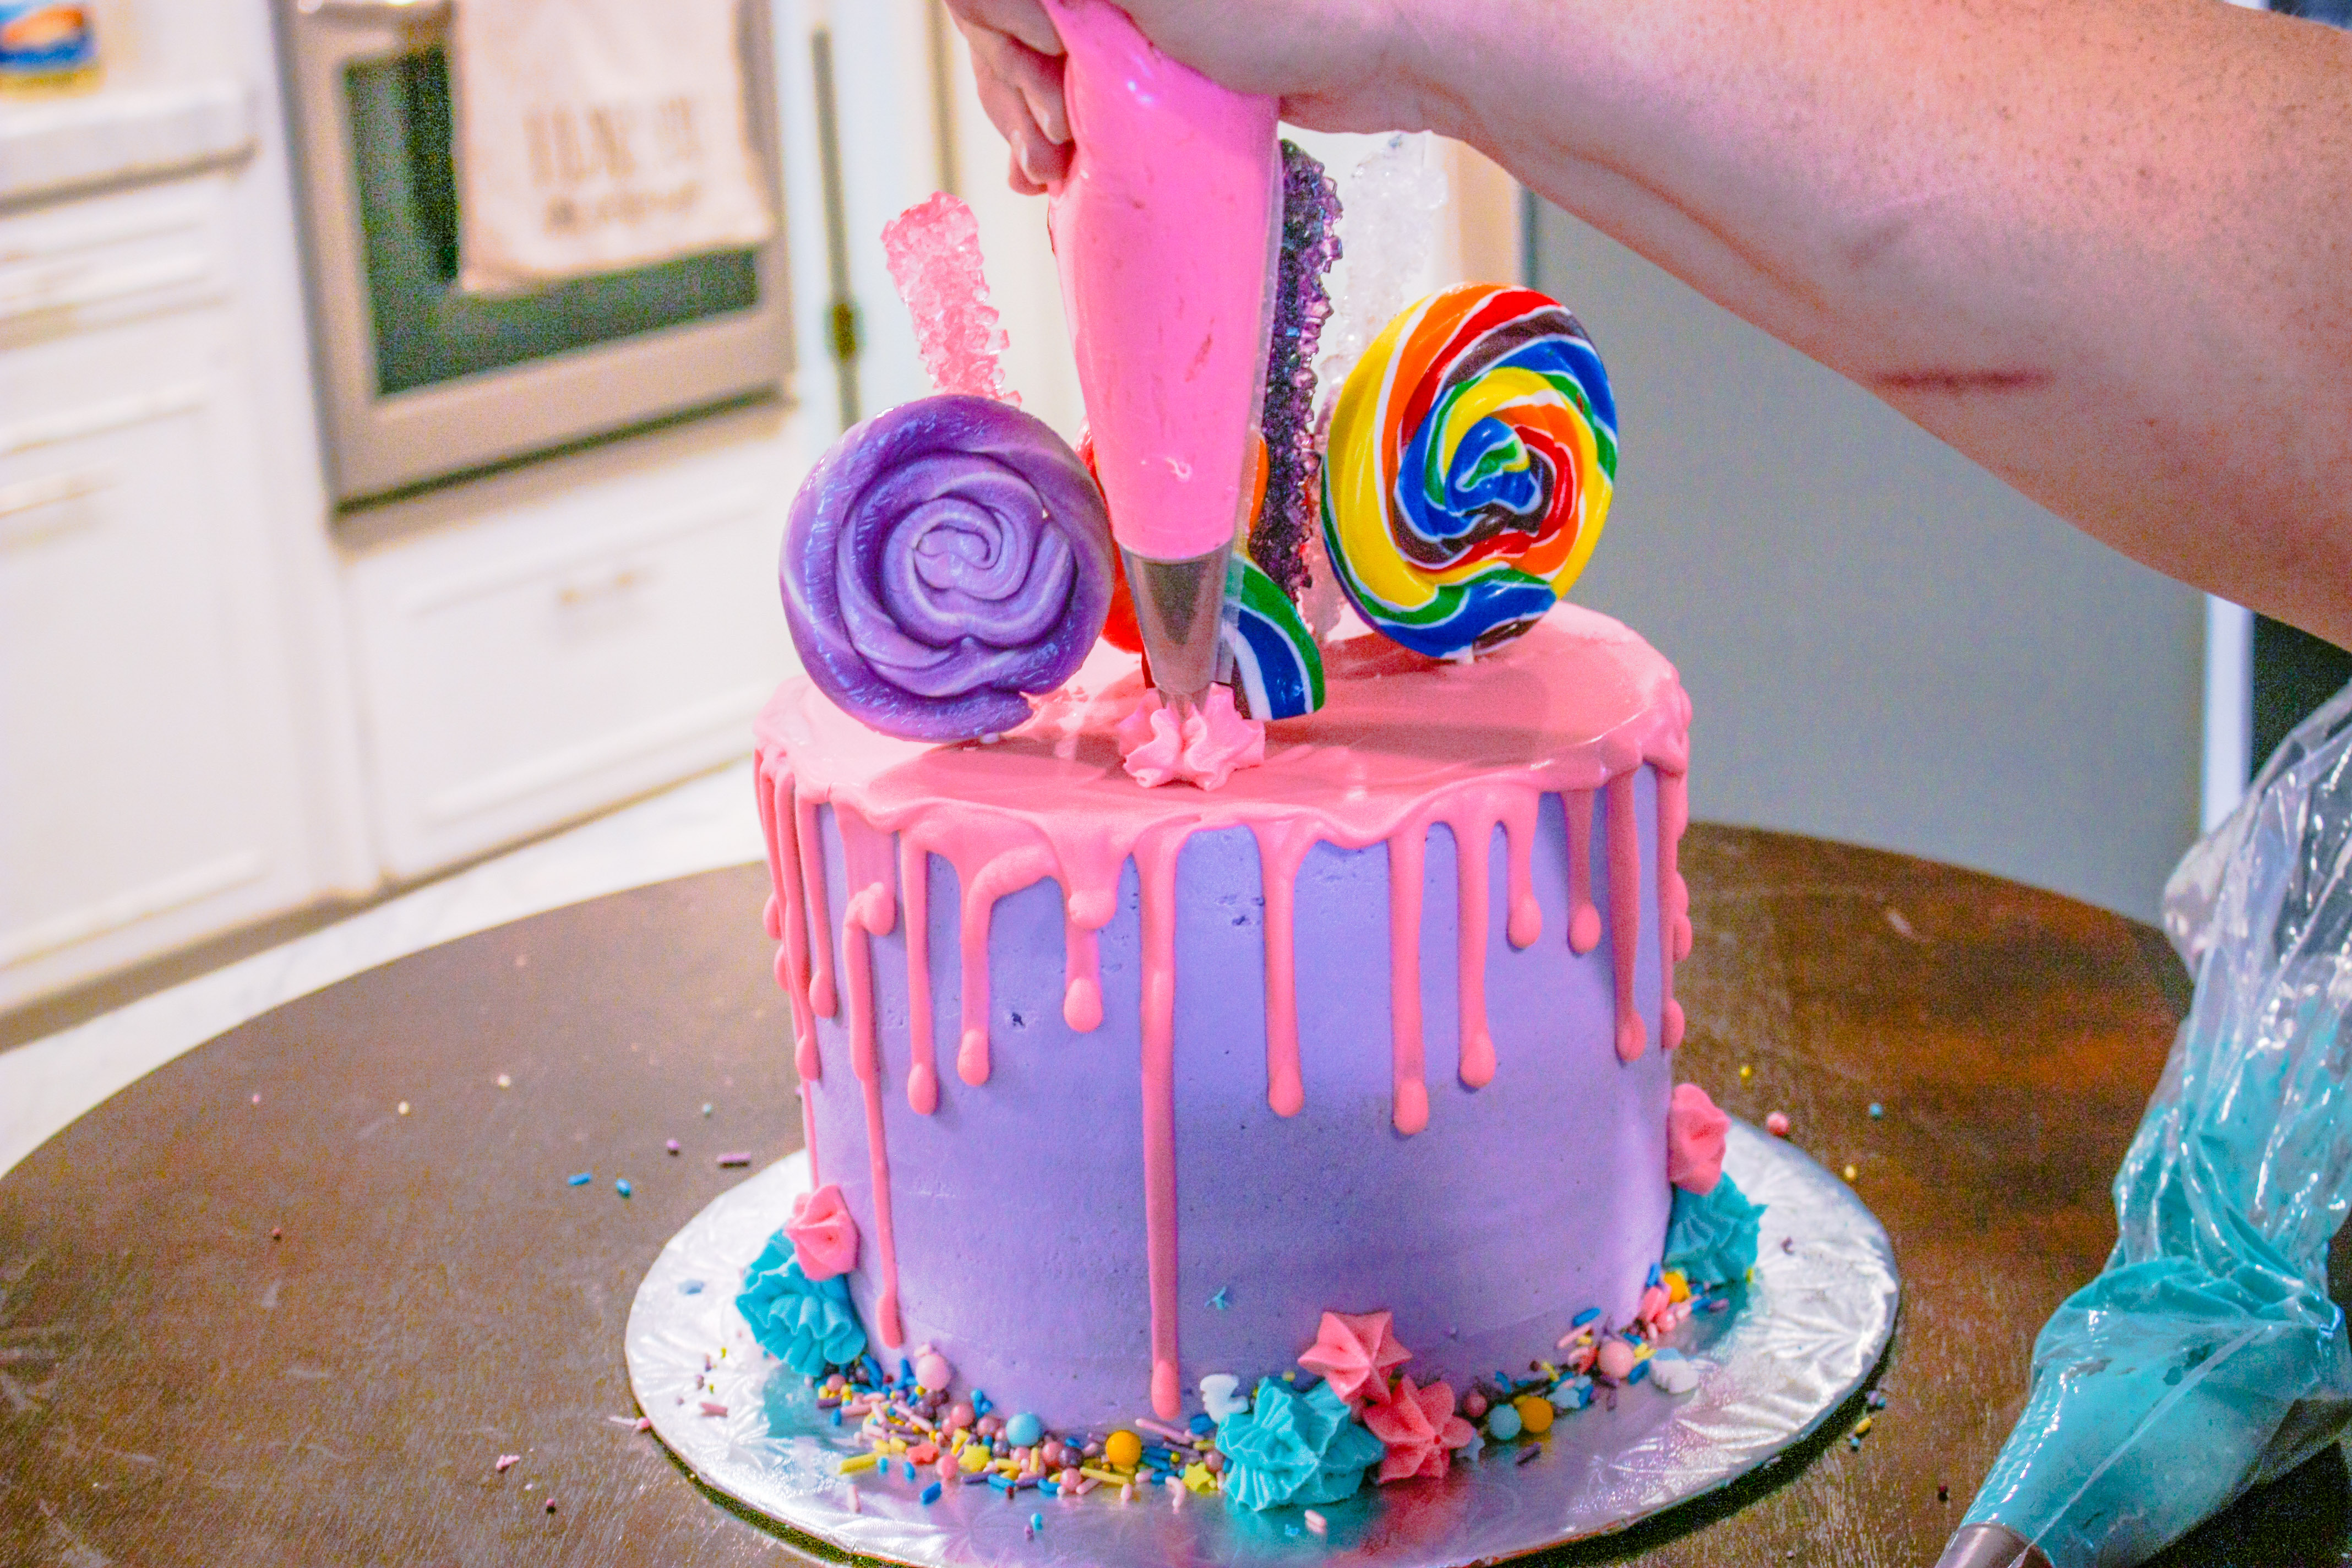
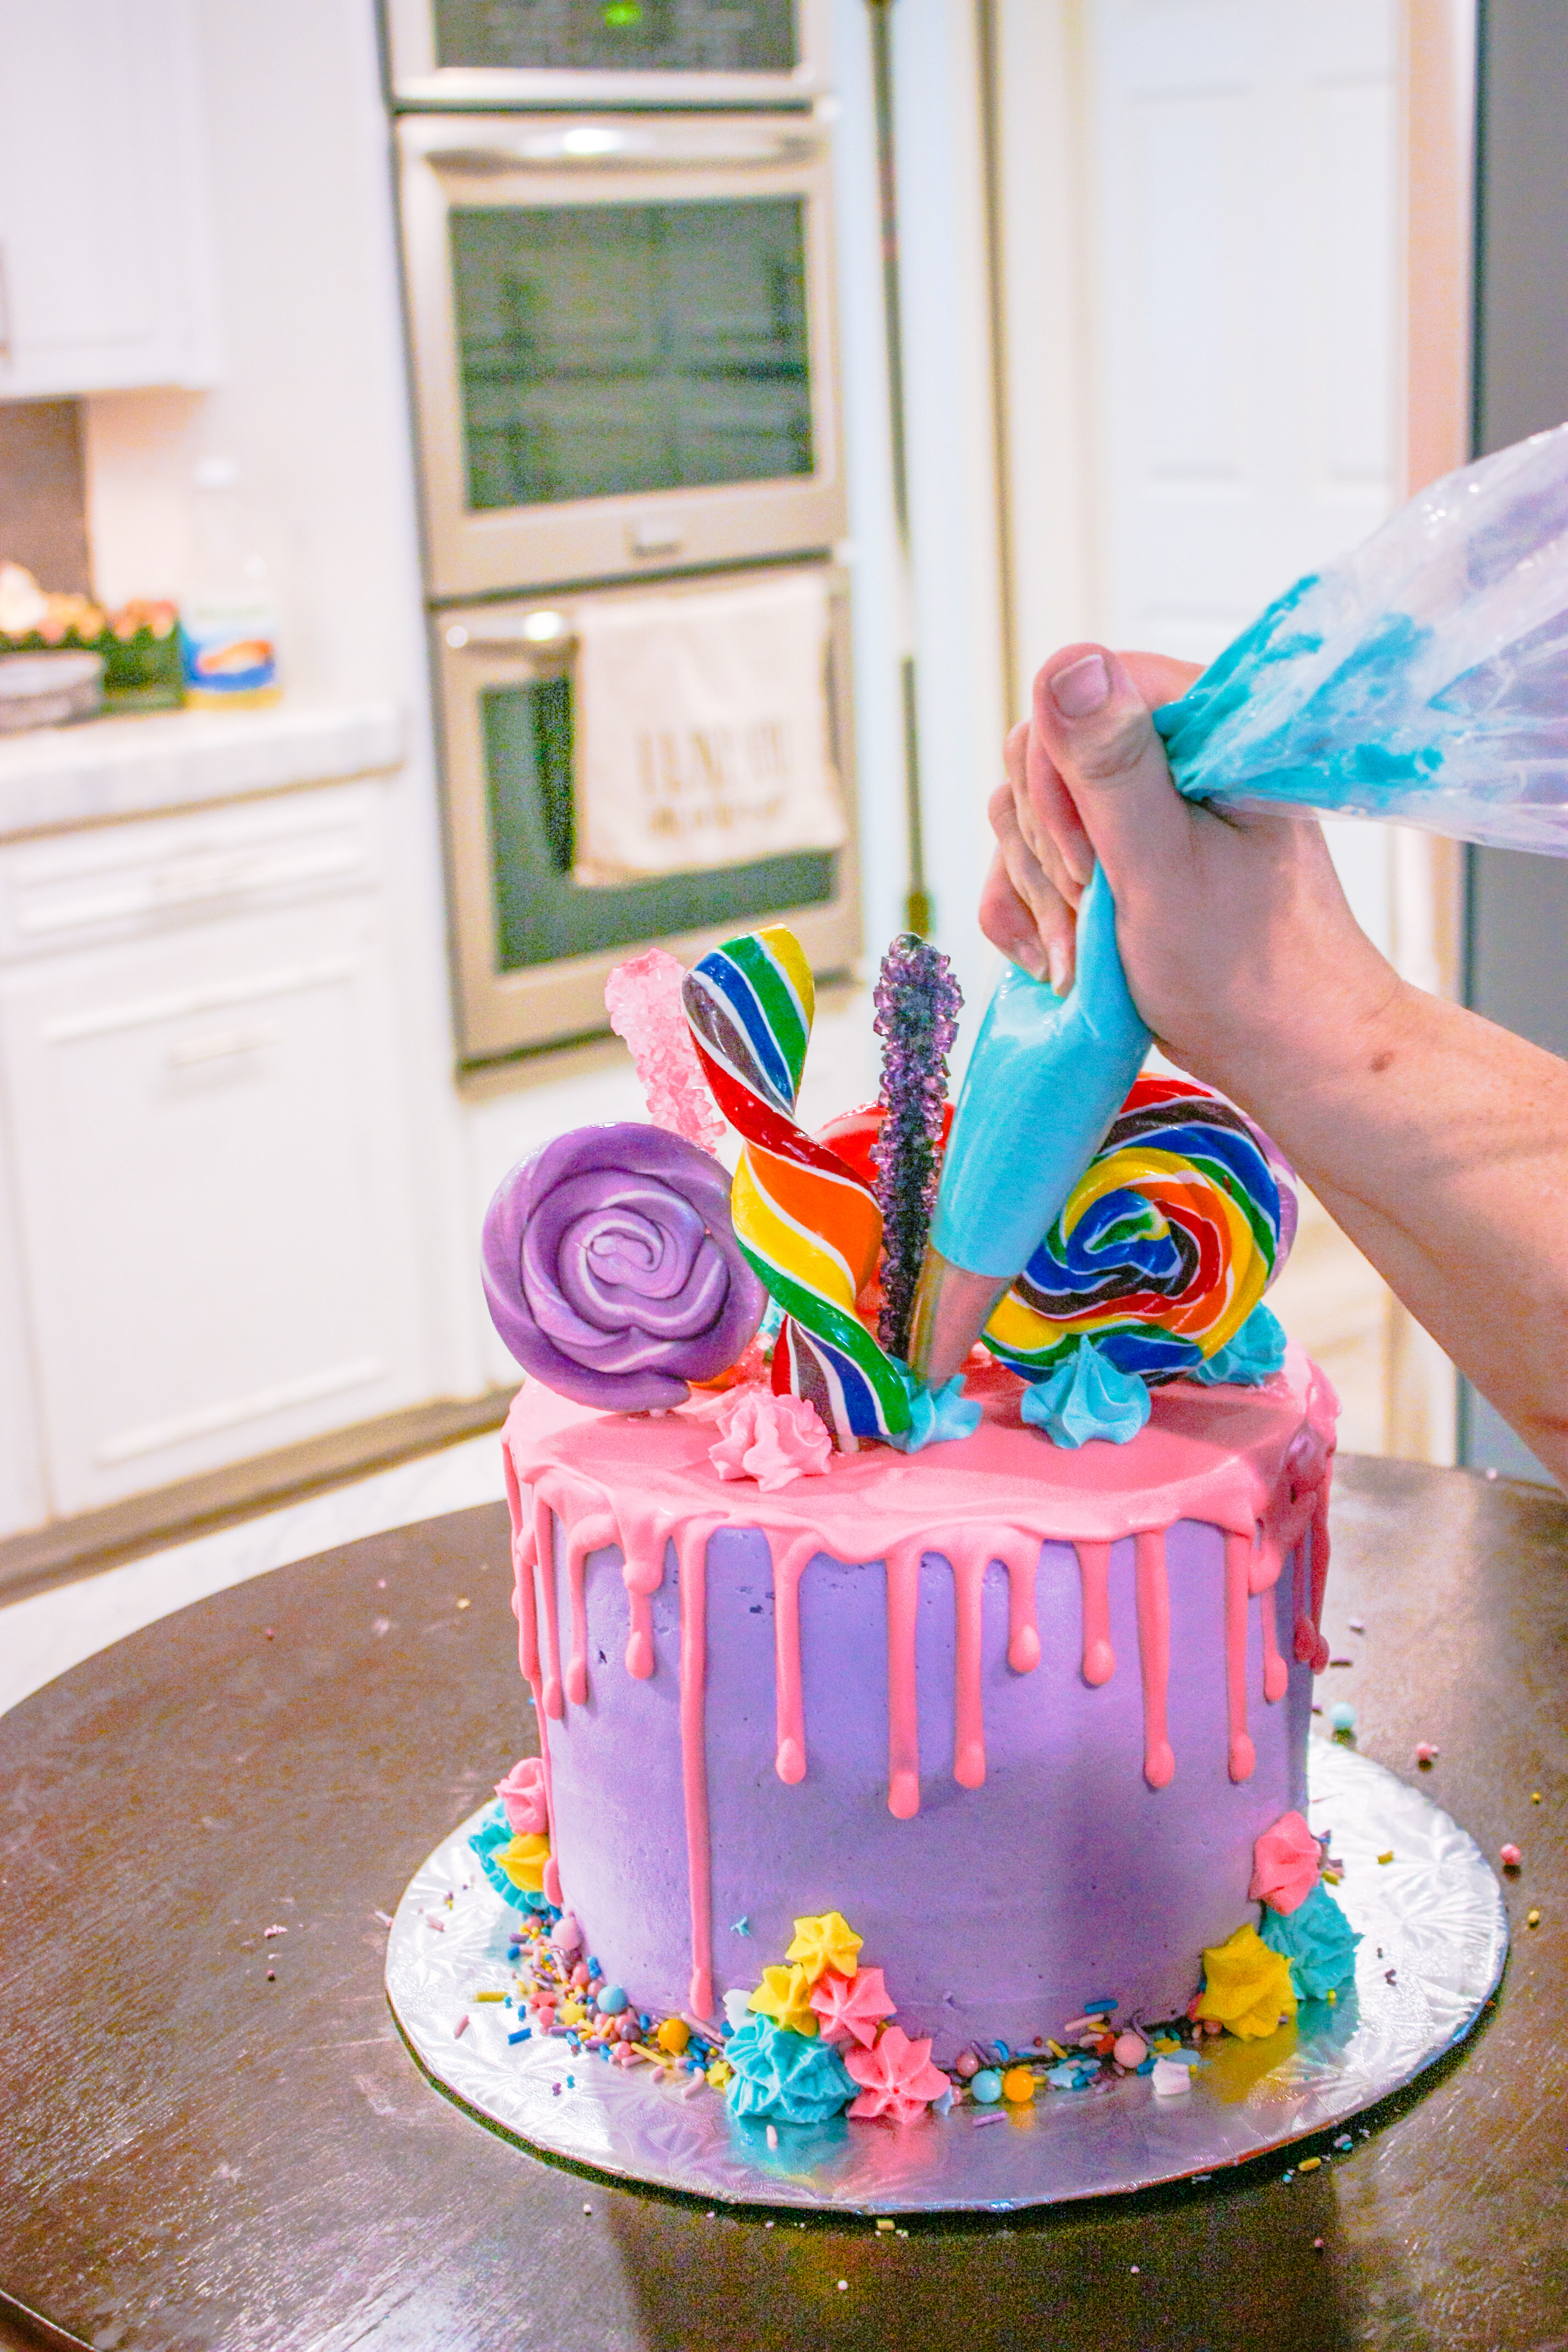
- Place candy on the cake.

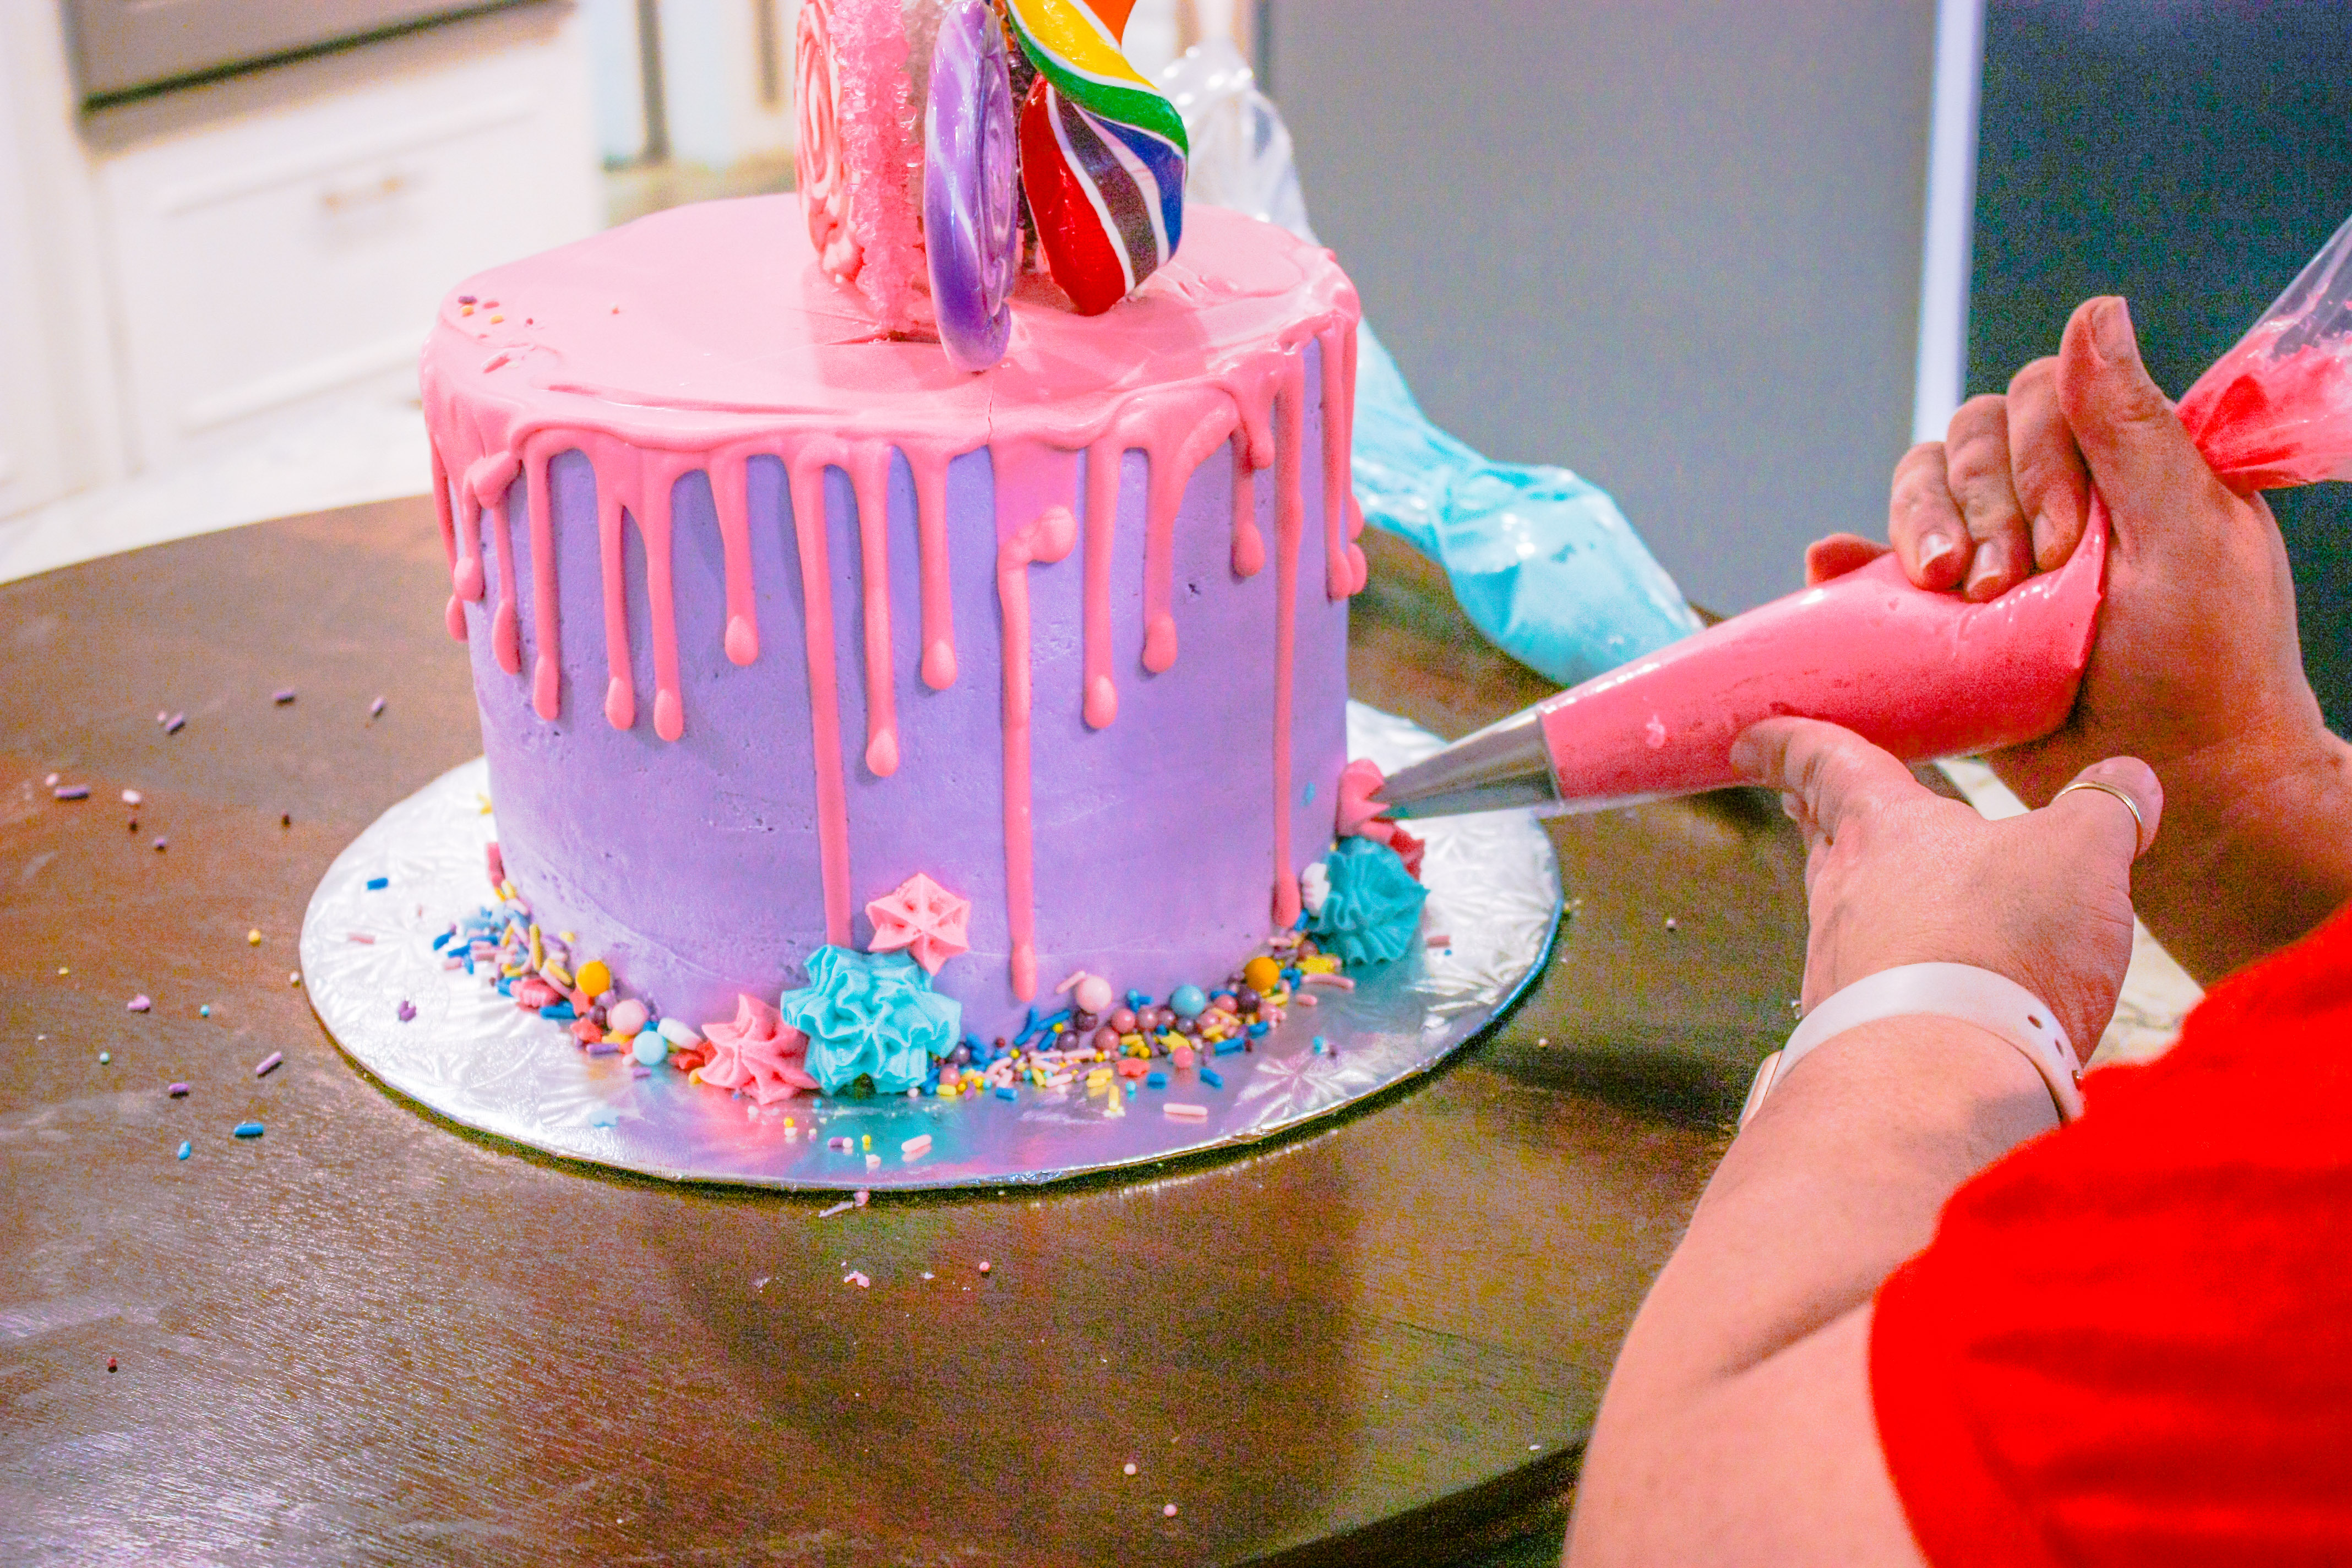
- Place an Ateco #823 Star Tip in each bag and snip the end of the bag so that just the decorative end of the tip sticks out.
- Fill each bag with the three accent colors of frosting.
- Use a simple squeeze and pull technique to make different color and different size stars on multiple places on the sides and top of the cake.

- Place My Little Pony figures, gumballs, gum drops and jellybeans onto the cake using pillows of icing to stabilize them.

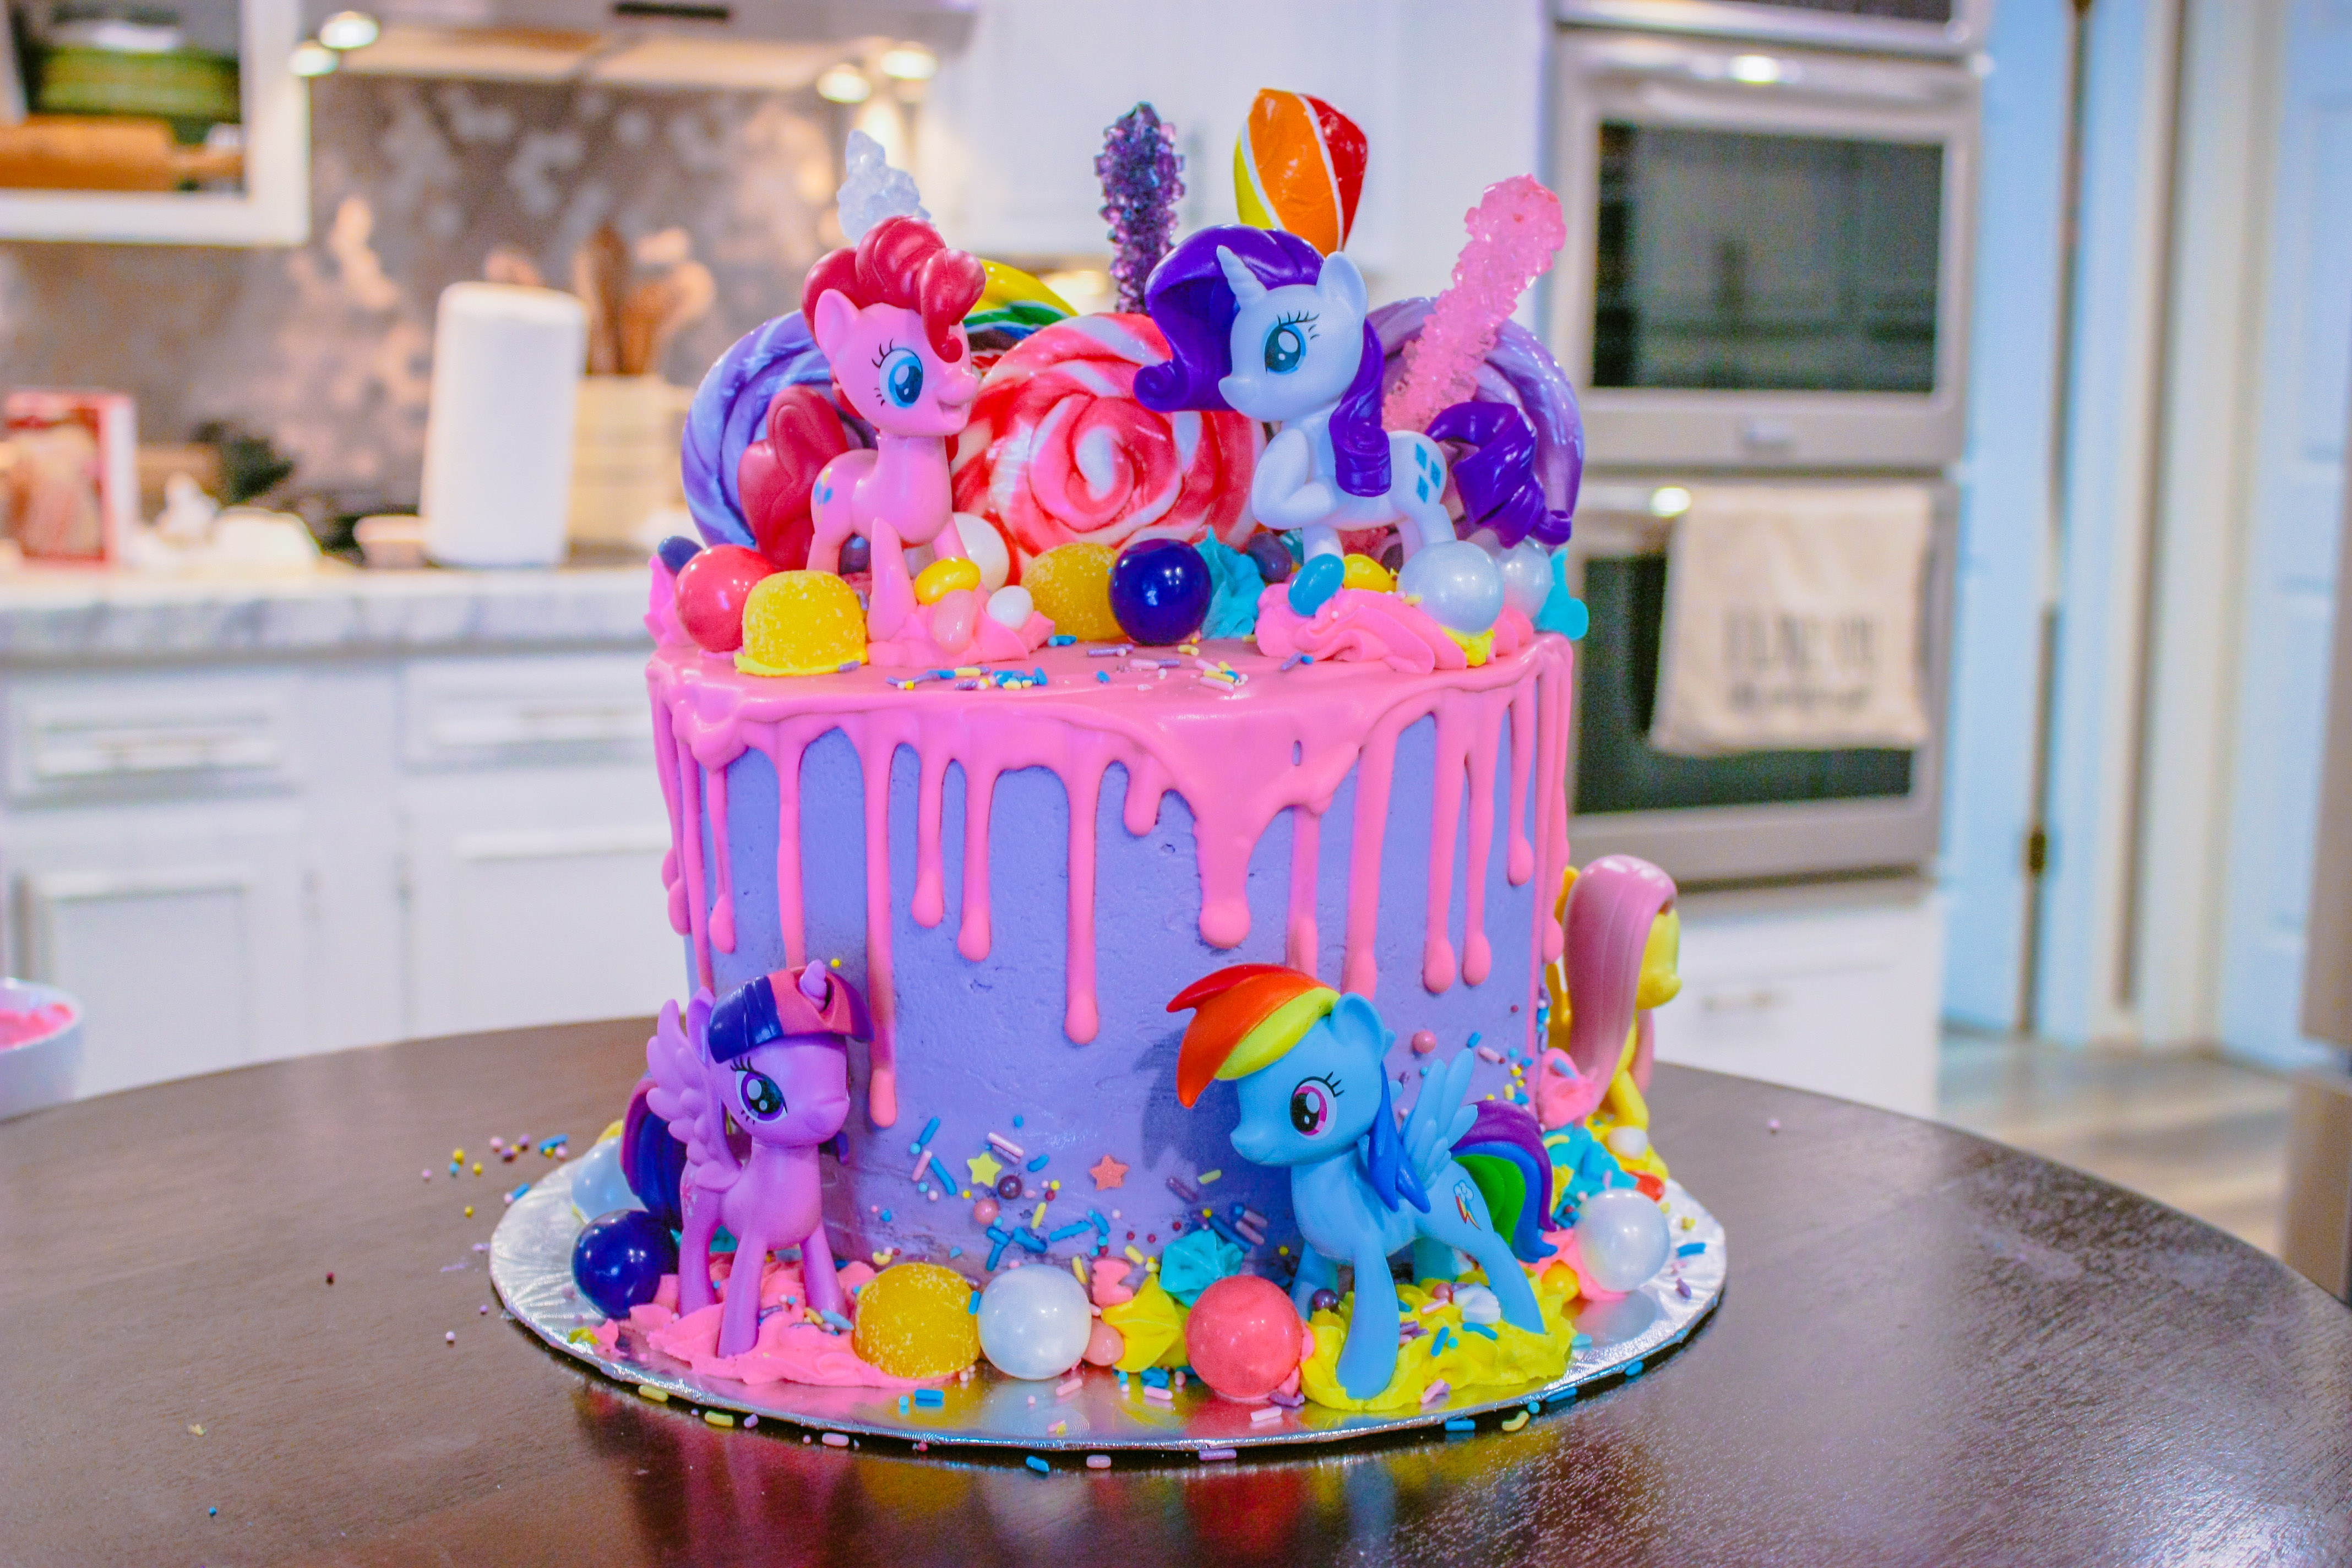
- Sprinkle different areas with the Happy Unicorn Sprinkles.
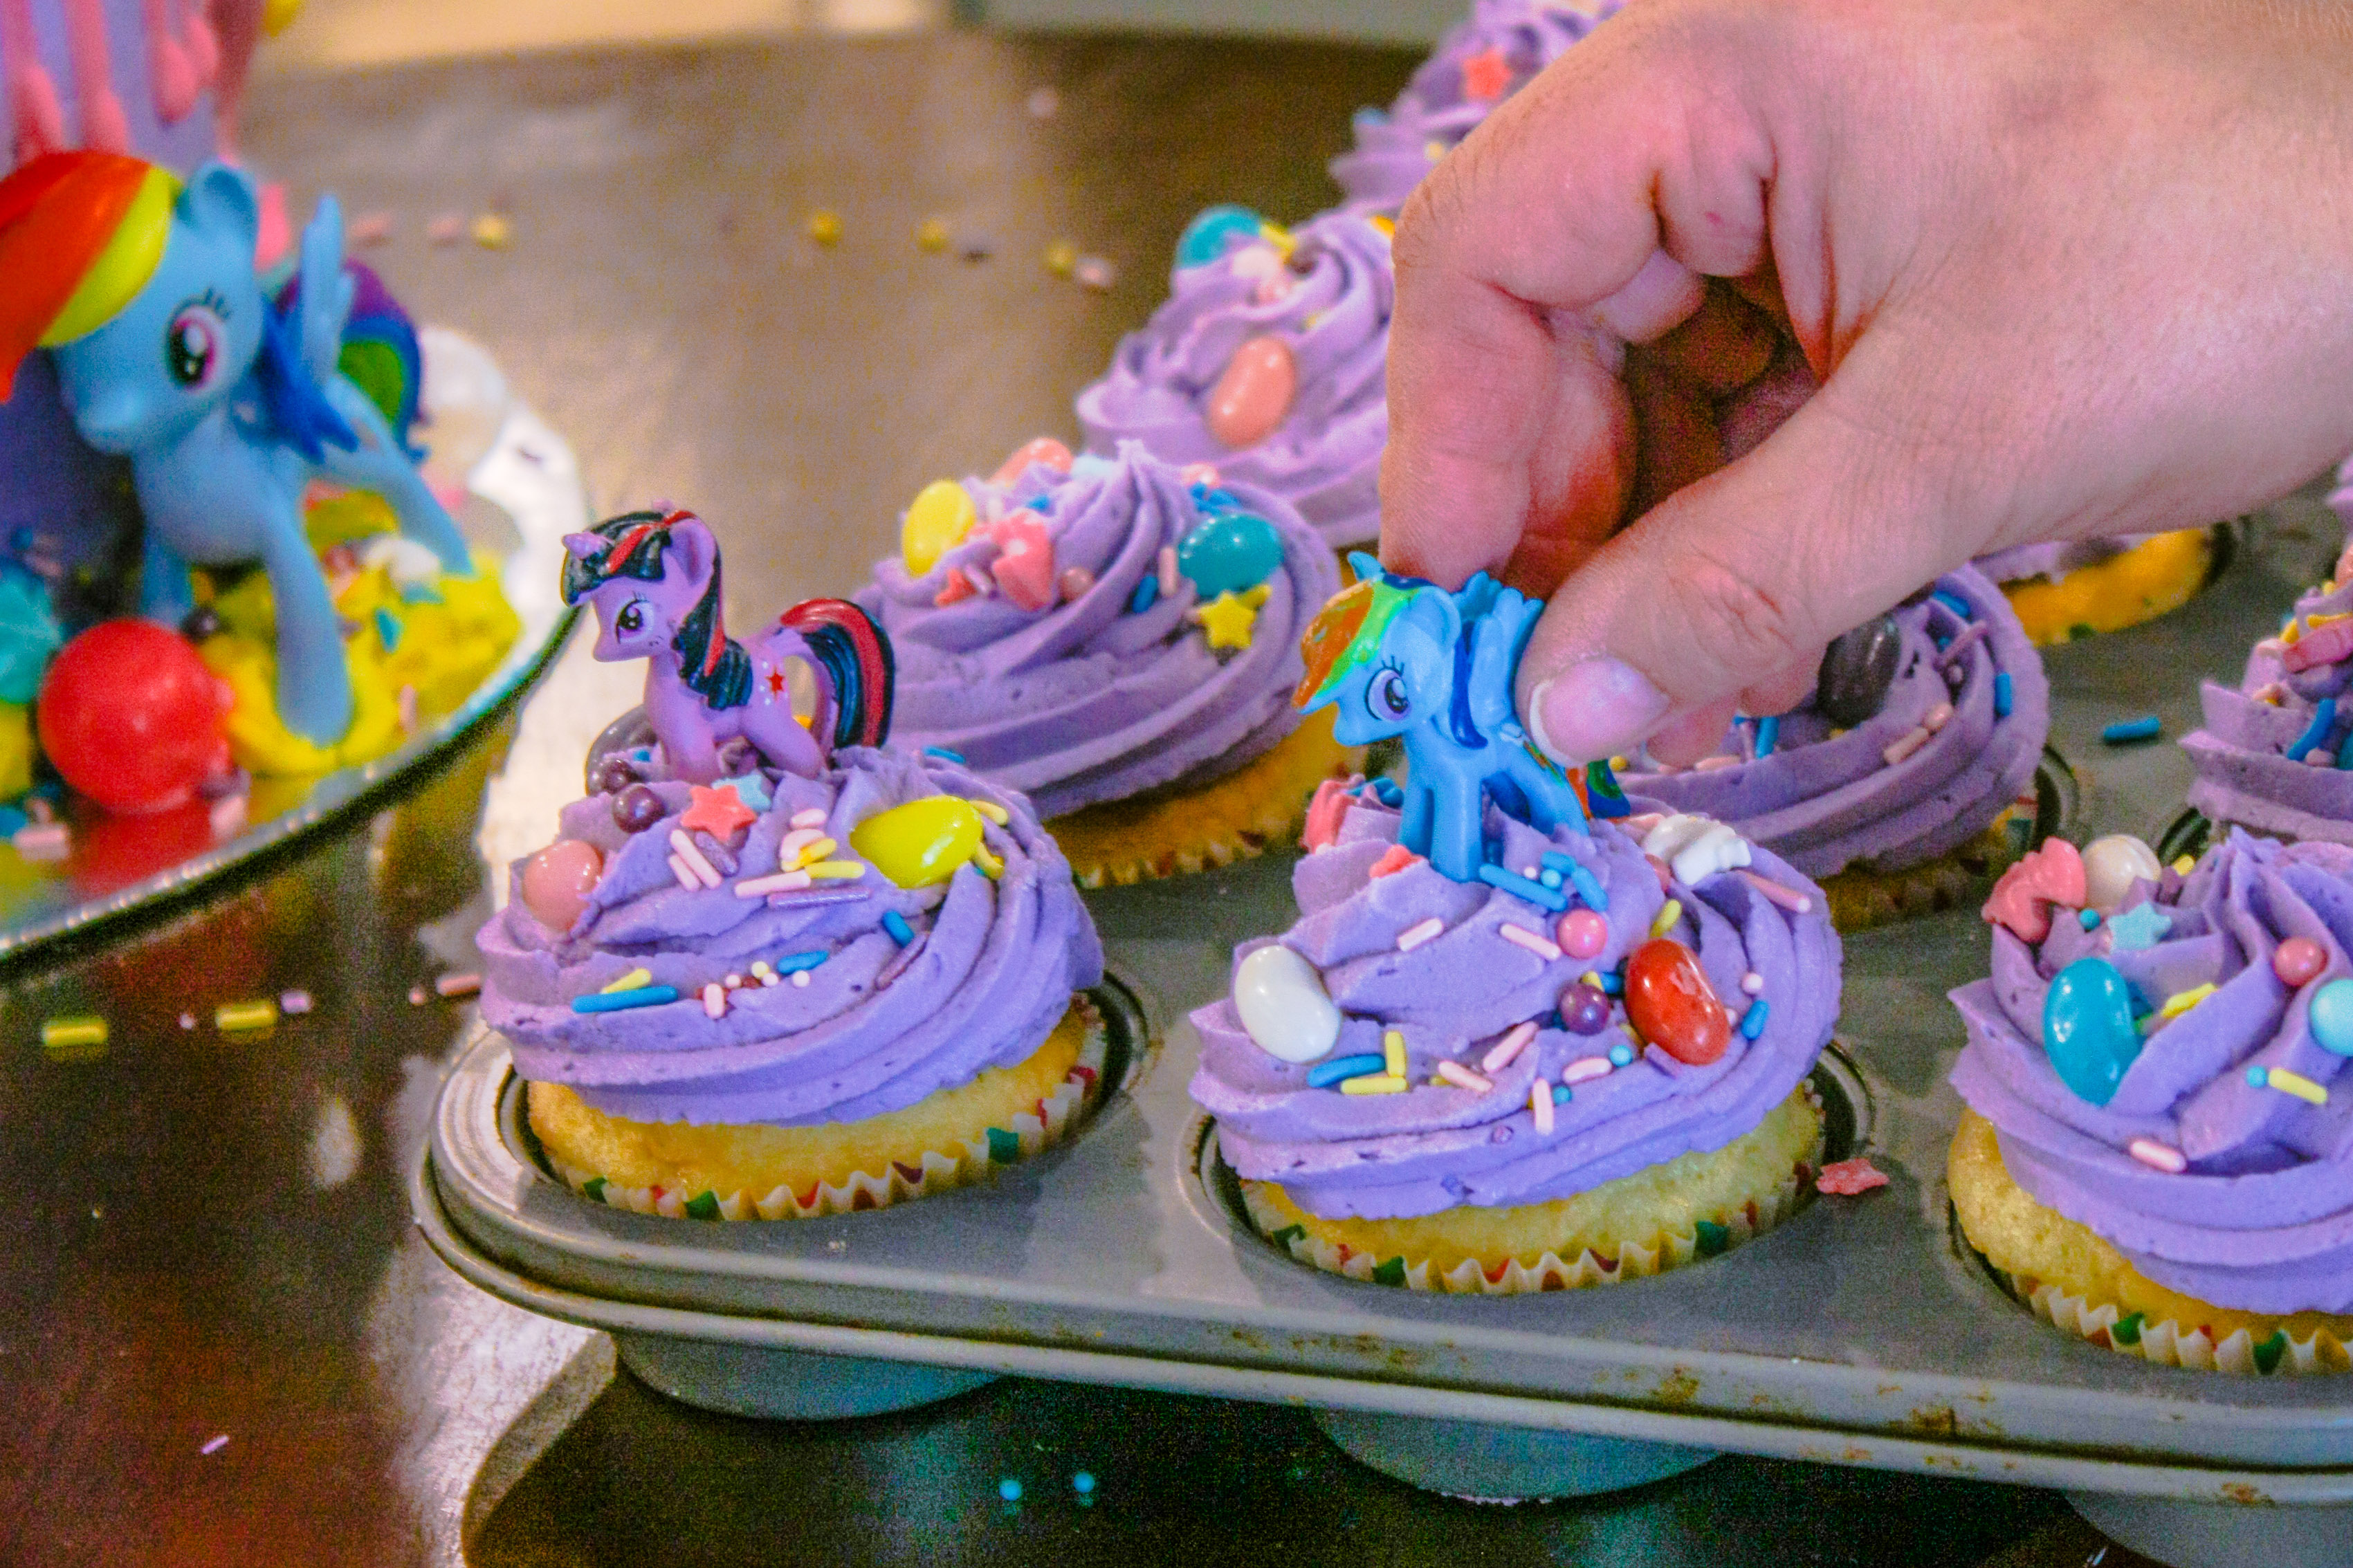
- Use remaining frosting with the Wilton 1M tip to frost cupcakes, if desired.
- Top each cupcake with the Mini Ponies and more sprinkles!
One Happy Little Customer!
Tips for the Best My Little Pony Cake:
- Make sure your cake layers are frozen solid to help make frosting the cake MUCH easier.
- When making your frosting, begin whipping the butter and shortening until fluffy - about 3 to 5 minutes before adding the sugar. This will make the icing very smooth.
- Keep decorated cake refrigerated until ready to transport. The cake sit at room temperature (below 75 degrees) for several hours.
More Cake Ideas!
valentines-cupcakes-with-a-twist
Have you made any of my recipes? Post it on Instagram and tag @jennifercooks123 and #jennifercooks!
Vanilla Buttercream Frosting | My Little Pony Cake

This My Little Pony Cake is very simple and straightforward to make and will dazzle your birthday girl! Check out my steps and tips to make and assemble this cake.
- Category: Cake
- Cuisine: American
Ingredients
- 1 tablespoon Imitation Clear Vanilla Extract
- 1 teaspoon almond extract
- 2 cups solid vegetable shortening
- 4 sticks unsalted butter (softened – not melted)
- 12 cups sifted confectioners' sugar ((approximately 4 - 2 lb bags))
- ¾ cup whole milk
Instructions
- In a large bowl, beat shortening and butter with an electric mixer until light and fluffy. Beat in vanilla.
- Gradually add sugar, one cup at a time, beating well on medium speed. Scrape sides and bottom of bowl often. When all sugar has been mixed in, icing will appear dry.
- Gradually add milk; beat at medium speed until light and fluffy.
Notes
This is enough frosting to ice a 3-layer, 8-inch cake, plus 12 cupcakes.
White Chocolate Ganache for My Little Pony Drip Cake
Ingredients
- 3 cups white chocolate chips
- 1 cup heavy whipping cream DO NOT SUBSTITUTE
- gel food coloring
Instructions
- In a microwave safe bowl, combine white chocolate chips and cream.
- Microwave on high for 30 seconds and then stir.
- Continue microwaving in 30 second intervals, stirring after each session and continue until smooth and creamy.
- Add gel food coloring 1 drop at a time, stirring after each addition, until you reach the desired color.
- Allow ganache to cool for 3 to 5 minutes and stir to ensure there are no lumps and the mixture is still pourable.
- Pour melted white chocolate ganache into plastic squeeze bottle. Make sure the tip is snipped to about the size of a lollipop stick.
- Follow instructions above to create drip effect.
*Nutrition information is automatically calculated based on ingredient data and should be considered an estimate. When multiple ingredient options are provided, the first listed is used for calculation. Optional ingredients and garnishes are not included in the nutrition analysis.

Comments
No Comments