
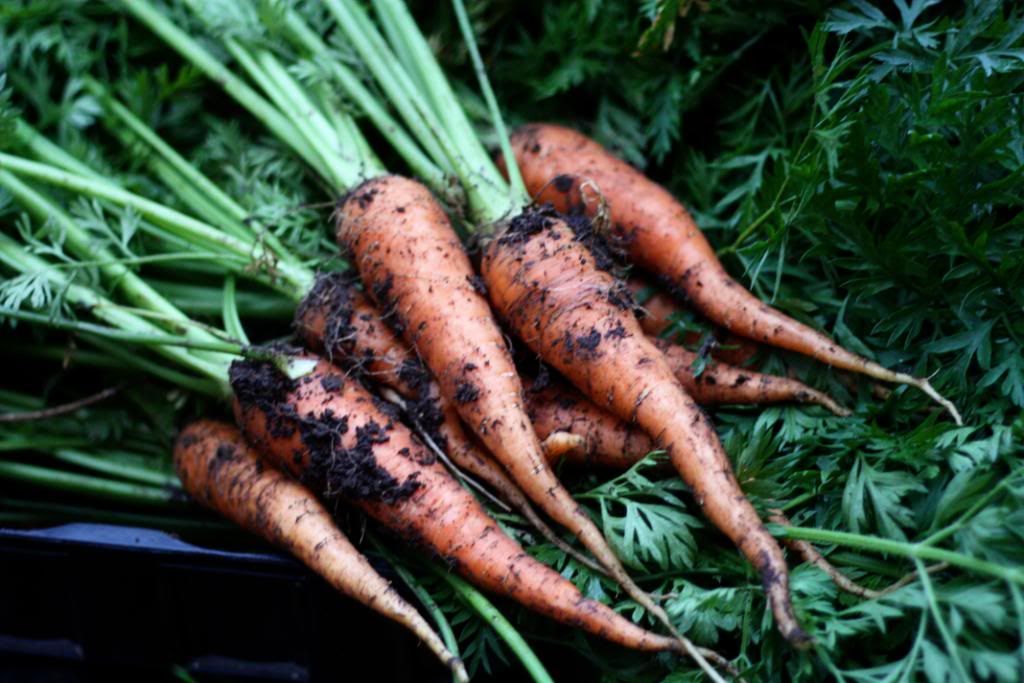
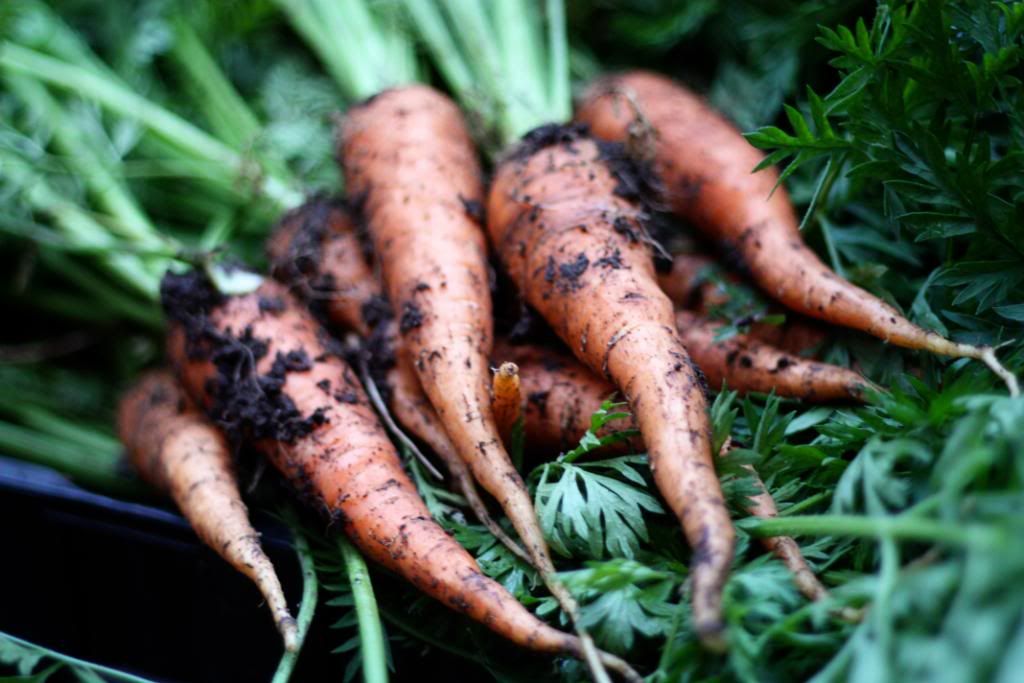
Carrots pulled from our garden last weekend.
I have to admit, carrots have not been my friend in the recent past. I planted them last Spring and last Fall to no avail! I had pretty tops, but terrible bottoms...no good when it comes to carrots! But being a strong-willed, stubborn woman, I decided that I was going to successfully grow carrots, even if it drove me to complete frustration...until then, I would keep on tryin'!
I am so glad I did! Sometimes, it pays to be as stubborn as me! 🙂 (Although, I'm sure my husband might disagree...)
With a little more research on what carrots need and some guideance from reading the Texas Homesteader blog, I have finally sampled the sweet taste of victory!
Here are a few steps that I have learned:
1. Choosing variety: Choose a carrot variety that meets your climate zone and soil consistency. Some do better in slightly warmer climates and some with heavier soils. I chose
Danver's Half Long carrot because here in Central Texas, I have heavy, clay soil. This variety is great for me because they are blocky and thick, and are only about 6-8 inches long at maturity, which works well in our dense soil.
2. Soil preparation: Carrots need deep loose soil to develop healthy, straight roots. Till the soil as deep as possible and make sure to remove hard dirt clods, clay, roots and rocks from the planting area. The Texas Homesteader recommends creating exaggerated raised rows to ensure deep rooting. It's also important to amend the soil with good composted manure as fertilizer.
3. Thinning: Carrots need plenty of space to become fully mature. Once tops are showing and you are able to see which ones look the healthiest, pick out smaller ones, in no particular order. You want to have about an inch between plants after the first thinning. About 2 weeks later, thin to around 3-4 inches apart. This may seem like a lot of work, but you'll be glad you put forth the effort when you see the results! Crowded carrots end up distorted in shape and stunted in their growth. Get the kids involved! They'll love pulling out the teeny tiny carrots! Plus, it'll save your back...they're short...it doesn't take them much effort to reach down and pull away!
Remember, carrots are a cool weather crop and do best in early Spring or Fall. Carrots also take patience. Carrots take 14 to 21 days to germinate, so many gardeners plant radishes with them for a couple of reasons: they mark the rows where carrots are planted and they help loosen the soil by sending down roots first. Carrots take anywhere from 60 to 80 days to reach maturity. You can tell they are ready to pull by removing some soil around the top of the root with your finger. They are generally ready when the top of the root is around 1 to 1 ½ inches in diameter.
To store carrots, remove and discard tops; wash in cold water to remove dirt. Store in the vegetable drawer of your refrigerator or in a vegetable bag. You may also blanch & shock them, package in freezer bags and freeze for later use.
I have to say...fresh garden carrots are right up there with homegrown tomatoes. The taste is outstanding! They are so sweet and have a full carroty aroma and flavor. I will definitely be honing my skills and will continue to plant carrots year after year! Try it for yourself and see what you think!
Do you have any tips or tricks for growing carrots? We'd love to hear from you!


Comments
No Comments