
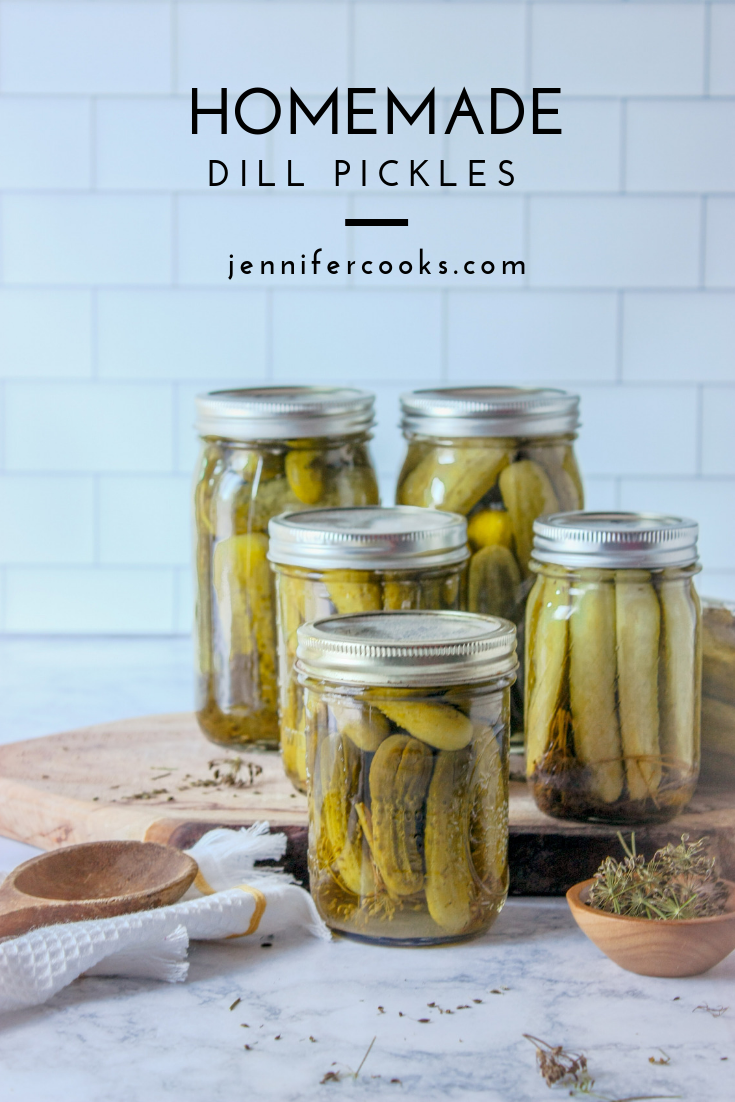
Check out our family's favorite dill pickles! Packed with garlic and fresh dill, these crisp dill pickles will add a boost of flavor to any meal. This Czech recipe has been passed down through our family for generations.

As the summer heats up, cucumber plants produce loads of cucumbers, so making dill pickles becomes a frequent activity in our family for several weeks out of the summer.
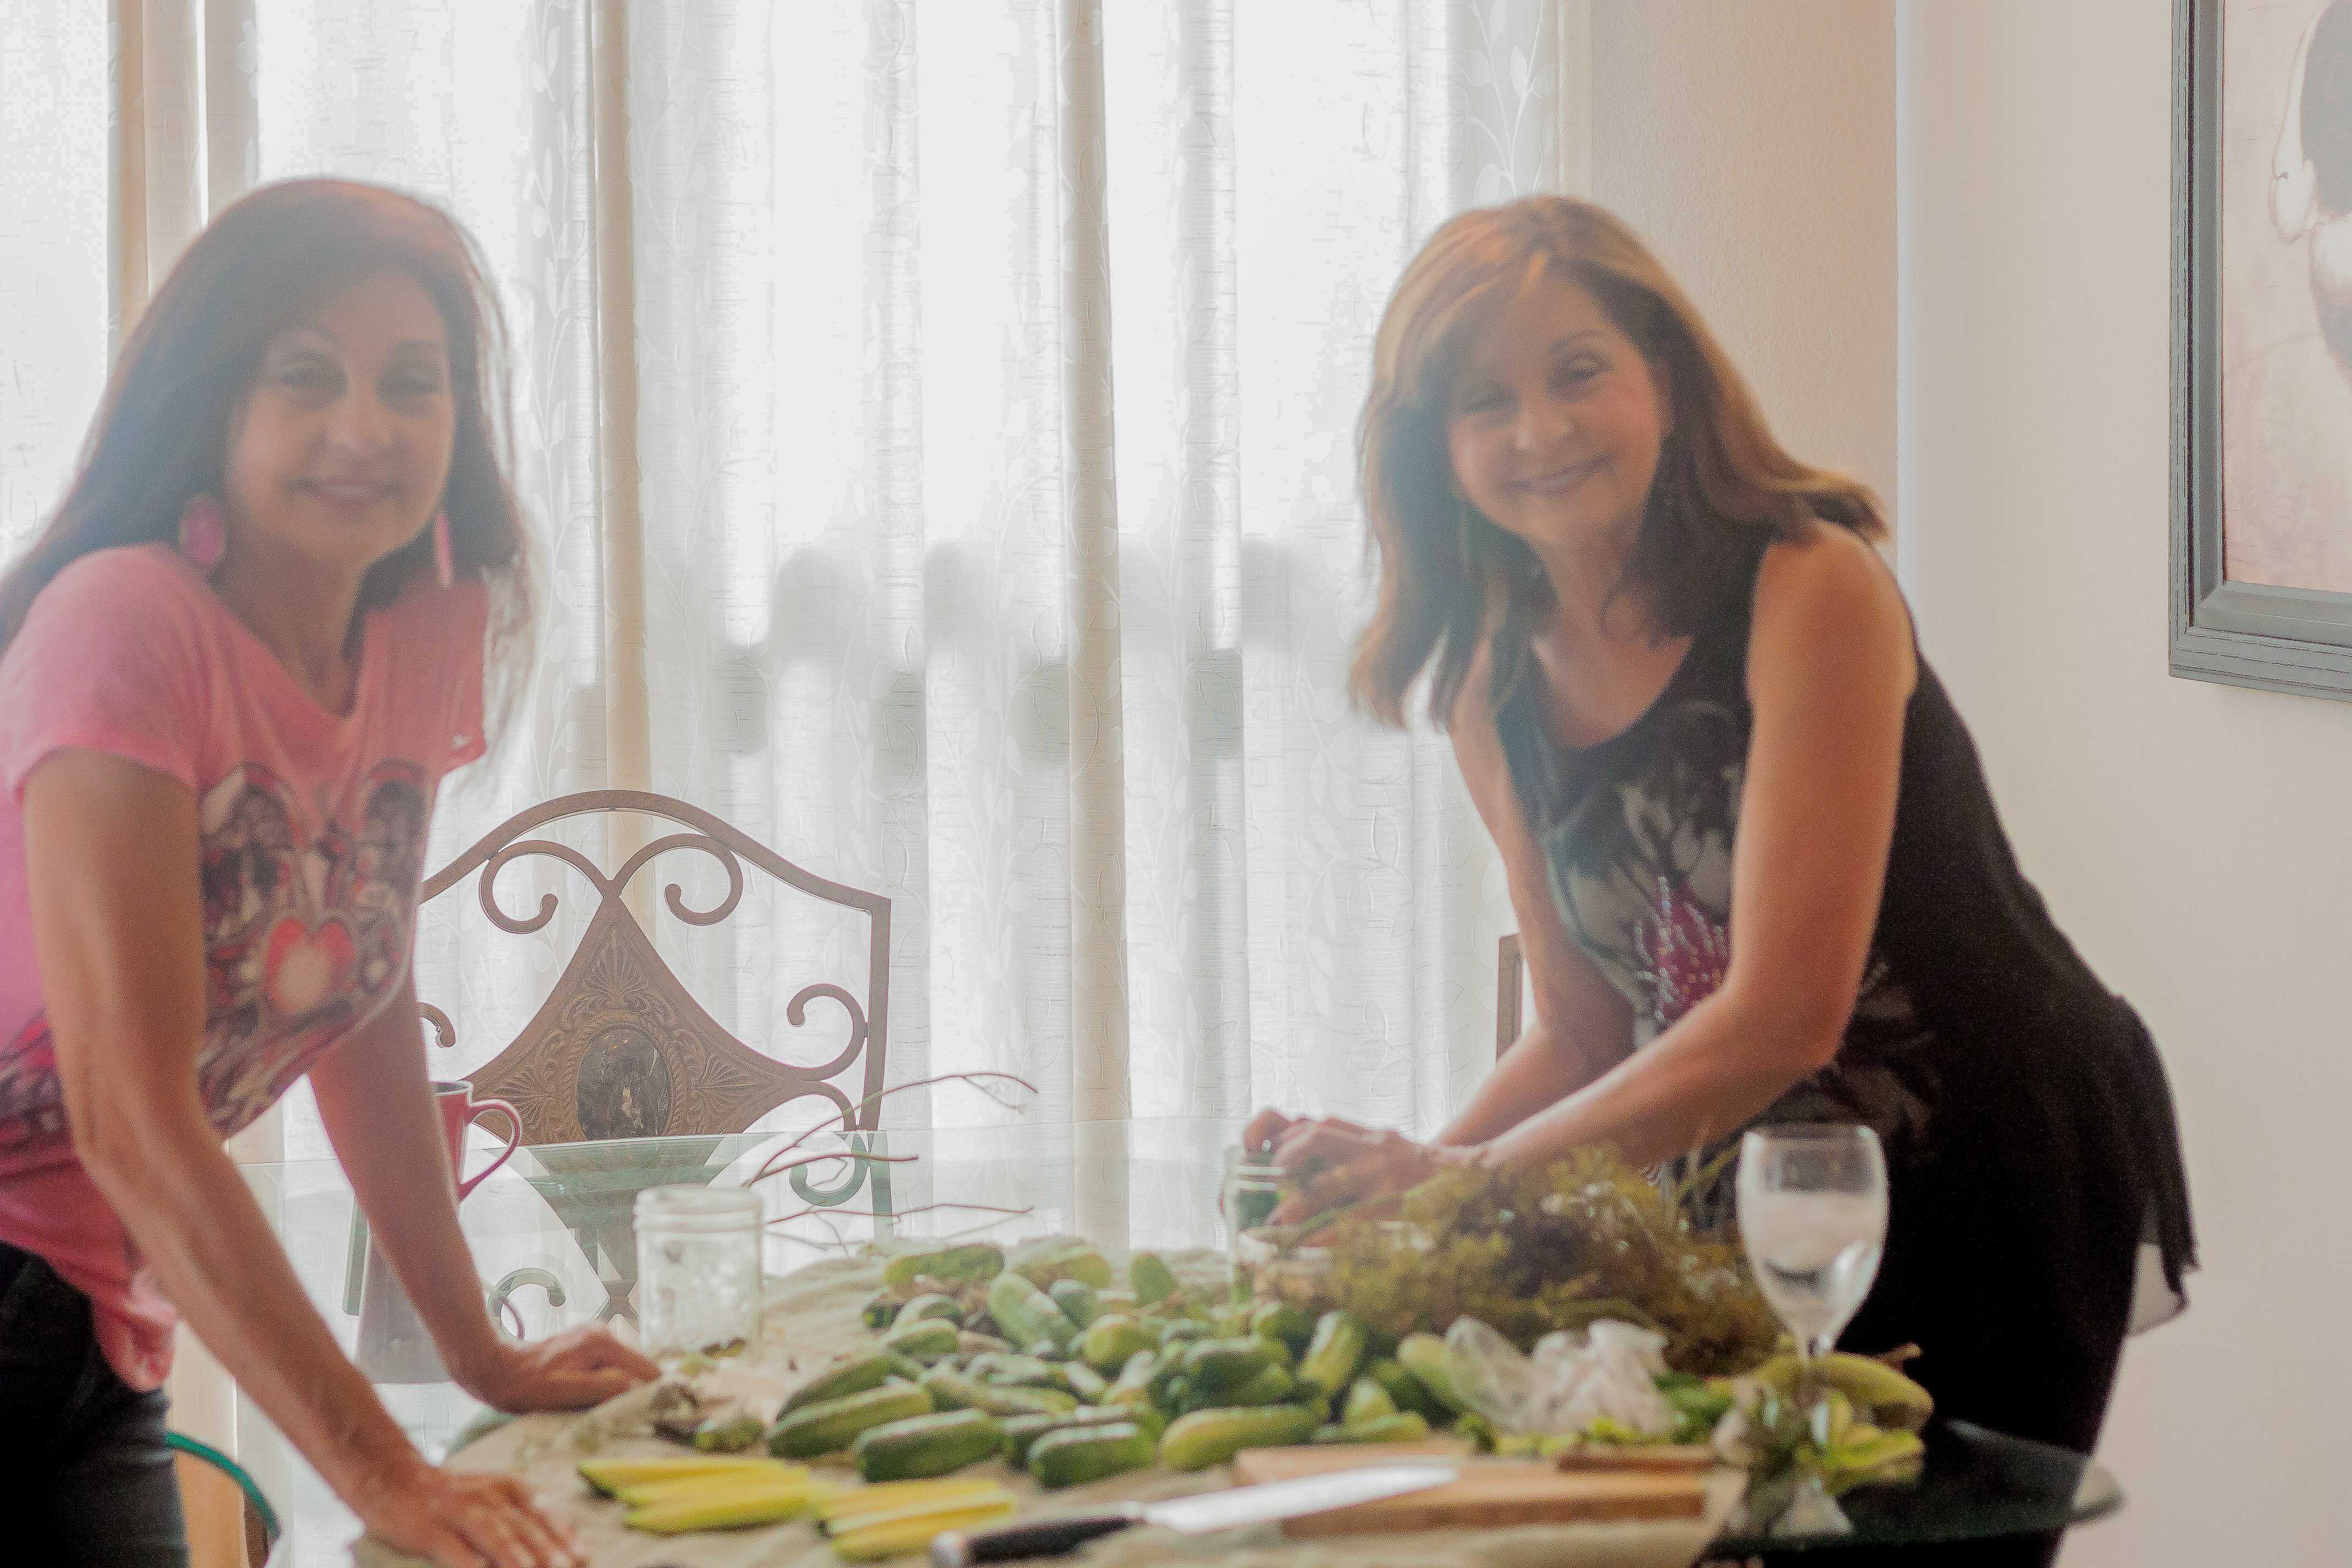
Some of my favorite memories of visiting my Grandma every summer were the sights and smells of garden vegetables being canned in her kitchen. My grandpa would grow a huge garden throughout the year, and there were always things to be done to preserve the harvest. One of the largest crops were cucumbers! So, many summer days were spent packing jars with cucumbers for pickles.

These pickles are packed with garlic and fresh dill! The brine in these pickles is more mellow because the vinegar to water ratio is lower. We prefer less sour pickles so that's one of the reasons we like it so much.

Use small pickling cucumbers for these dill pickles. Pickling cucumbers are small and firm, and have very small seeds. As a result, this type of cucumber stands up well to pickling and stays crisp. Try Boston Pickling Cucumbers or Chicago Pickling Cucumbers.

Did you know that grape leaves help keep dill pickles crunchy?
We usually pick grape leaves off of local vines that grow wild in our area. Grapes leaves are important for making pickles because they release tannins which keep the pickles crisp. You can find fresh grape leaves on Etsy as well as other online grocers.
Garlic is one of the shining stars in this recipe. Make sure to use firm fresh cloves of garlic. We usually cut the garlic cloves in half which releases more garlic flavor into the pickles.
If you like dill pickles a little spicy, add ¼ to ½ of a fresh jalapeno to each jar. This is optional in the recipe.
You should also try my Pickled Okra! They're crunchy and taste like pickles...without the sliminess!
Ingredients
- 9 cups water
- 6 cups white vinegar
- ½ cup pickling salt
- 6 + pounds of pickling cucumbers enough to fill jars
- 9 quart jars for canning
- 18 grape leaves
- 18 cloves garlic peeled
- 18 dill sprigs or 9 large dill heads that have gone to seed
- 9 fresh jalapenos halved, optional
Instructions
- Wash cucumbers with cold water and place on paper towels to drain. Trim a tiny sliver off of each end of the cucumbers.
- Prepare 9 quart jars for canning.
- Add 1 halved fresh pepper to each jar, with 2 cloves of garlic, 2 grape leaves and 1 to 2 large sprigs of dill per jar.
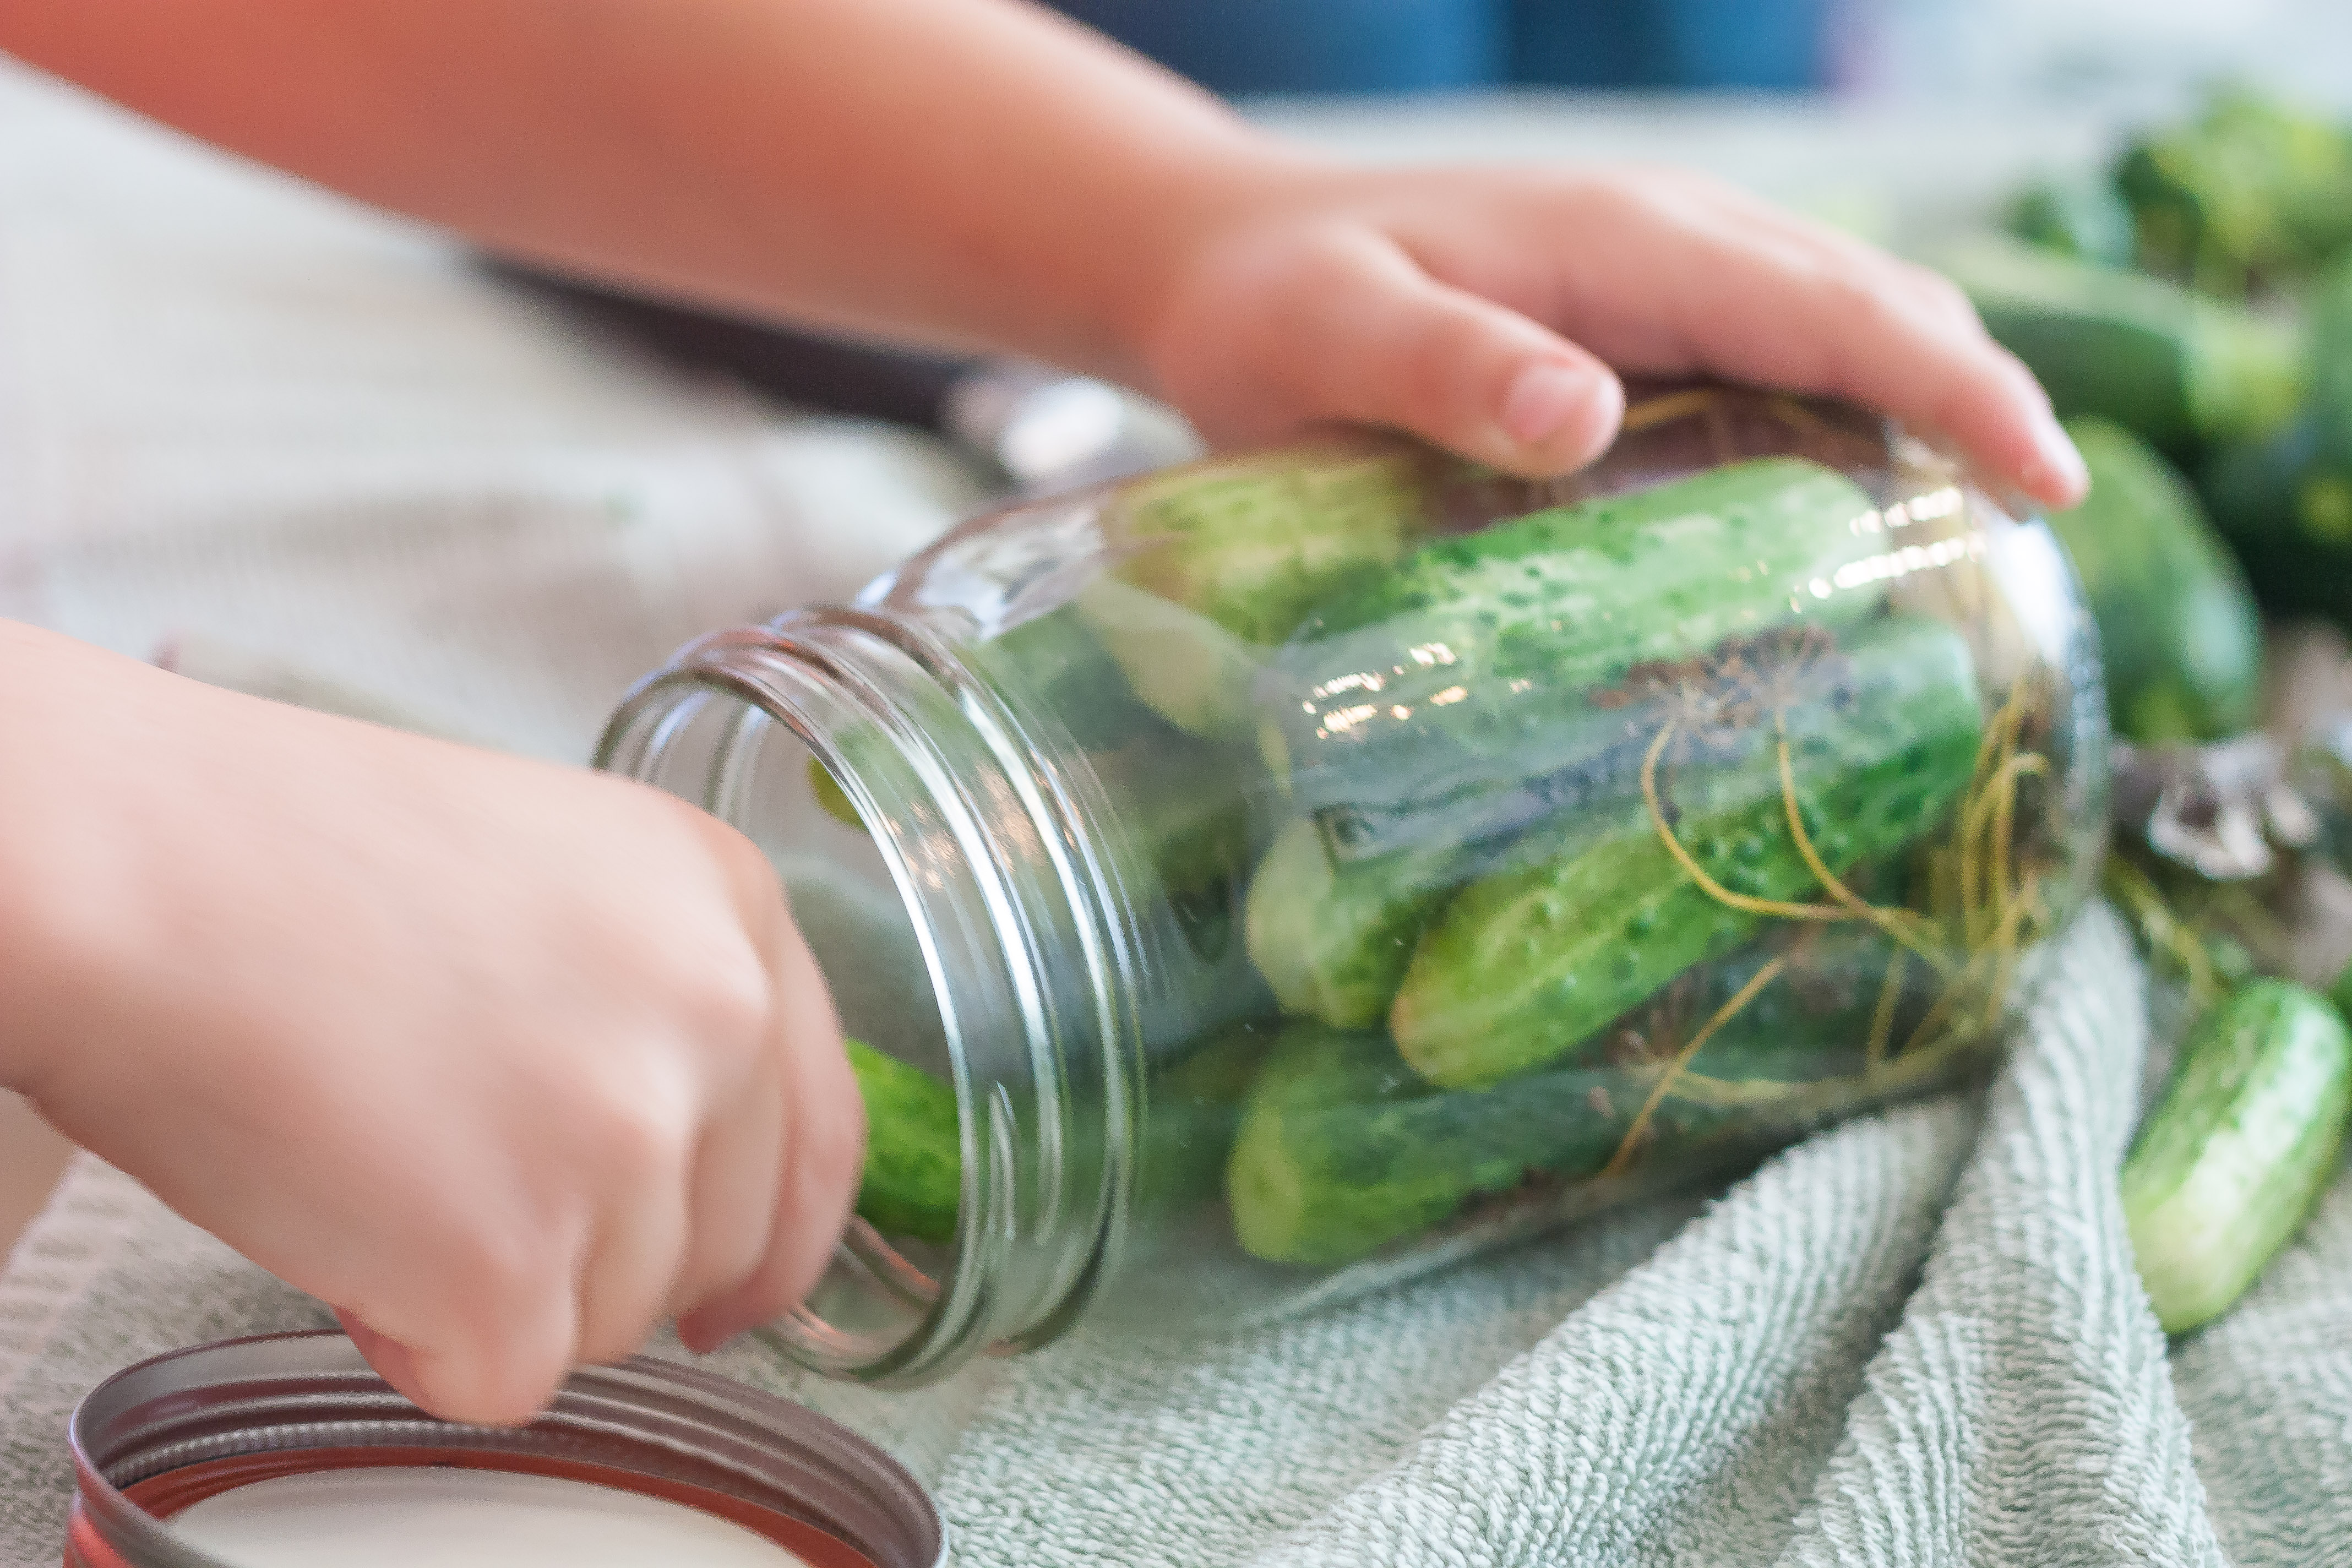
- Tightly pack rinsed cucumbers into jars with peppers, garlic, grape leaves, and dill.
- Wipe off rims of filled jars with a clean damp kitchen towel, then firmly screw on lids with screw bands.
- Place sealed jars in canner or pot and add enough hot water to cover by 2 inches. Bring to a boil, covered. Boil, covered for 10 minutes, then transfer jars with jar tongs to a towel-lined surface to cool. Jars will seal (you will hear pings, which indicate that the jars are sealed. You will notice that the lid is concave).
- After jars have cooled, for 24 hours, press center of each lid to check if it’s concave. If it goes back and forth, then the lid did not seal and the contents need to be refrigerated and eaten within a week.
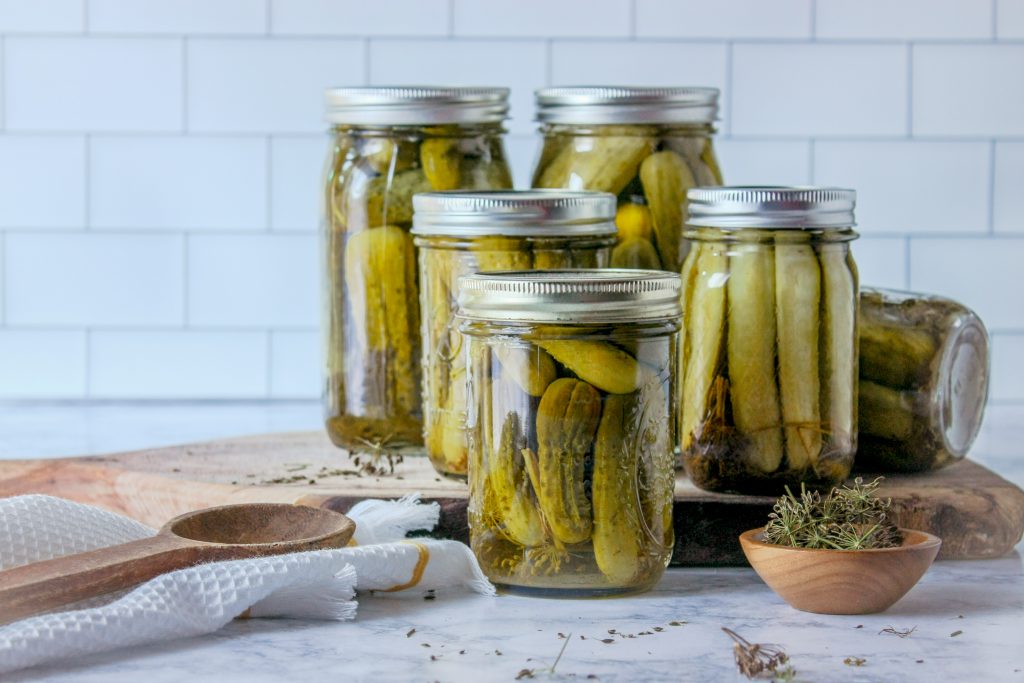
- Let dill pickles stand in jars at least 4 weeks before eating.
*Nutrition information is automatically calculated based on ingredient data and should be considered an estimate. When multiple ingredient options are provided, the first listed is used for calculation. Optional ingredients and garnishes are not included in the nutrition analysis.


Shana Kutac says
What type of grape leaves do you use for pickling?
Jennifer says
We typically pick wild grape leaves. If you don't have access to them, you can buy them online here: https://jennifercooks.com/freshgrapeleaves
Angela Baker says
After your brine, do you add peppers, and garlic to yout jars as well? Grape leaf?
Your recipe sounds a lot like my Mother's recipe. I loved her pickles and pickled okra.
Jennifer says
Hi Angela! Yes, you stuff the jars with the garlic, peppers, and grape leaves. Typically, we put this in the bottom of the jars and then the pickles.
Angela Baker says
Thank you, Jennifer.
I will try your recipe.
Jennifer says
Yay! Let me know what you think!
Cody lee says
Do you use fresh grape leaves or are they dried first?
Jennifer says
Hi Cody, my family always uses fresh grape leaves. I've not used dried so I don't know how they would affect the recipe. Also, there was a typo in the recipe. It should read "6 cups of vinegar".
Cody lee says
Alright thanks for the response!
Byron says
I am admittedly a canning novice. I am confused by the ratio of 9 cups water to 2 cups vinegar. With this balance, will the acidity of the brine support food preservation using a water bath?
Jennifer says
For a novice you have a keen eye! Yes that was a major typo! It should be 6 cups of vinegar. I have corrected the recipe post.
Vickie says
Can this recipe be used for pickle spears?
Jennifer says
Hi Vickie! Yes! This recipe can be used for pickle spears. Although, I find they can be less crisp as whole cucumbers, especially if they are a larger seeded cucumber variety. To do so, instead of using whole cucumbers, you can slice the cucumbers lengthwise into spears before packing them into the jars. The process of preparing the brine and canning remains the same, so you can follow the instructions provided. Just ensure that the cucumber spears are packed tightly in the jars, leaving enough room for the brine to fully cover the pickles, as described in the original recipe.
Popeye says
What is the best way to store grape leaves? I don't have any close to my house but I can harvest some where I work and would like to keep some on hand at home
Jennifer says
Hello! The key is to keep them fresh and flexible for when you're ready to use them. If you’re planning to use them soon, keeping them in the fridge with the stems on is a great option—they’ll stay fresh for about a week. But for longer storage, freezing is the way to go. Lay the leaves (with stems intact) between layers of paper towels in air-tight zip top plastic bags before refrigerating or freezing. This keeps them from sticking together and preserves their texture. You can store them like this for up to six months, even a year, and they'll be ready to use whenever you're ready.