

This pickled okra recipe makes crisp Southern-style okra pickles with whole okra pods, garlic, fresh dill, hot peppers, mustard seed, dill seed, and a tangy vinegar brine. It is a water-bath canning recipe for 6 pint jars, which means you get pantry jars ready for barbecue plates, sandwiches, snack boards, and straight-from-the-jar nibbling.
If okra's texture usually gives you pause, pickled okra is a good place to make peace with it. The pods stay whole, so they do not release as much of that famous okra slip, and the hot brine gives them a firm, bright, pickle-y bite.
What Is Pickled Okra?
Pickled okra is whole fresh okra packed into jars with garlic, peppers, dill, and pickling spices, covered with hot vinegar brine, and processed in a boiling-water canner. The result is tangy, crisp, lightly spicy okra that eats more like a pickle than a cooked vegetable.
Why You'll Love This Recipe
- It keeps the okra whole. Whole pods stay firmer and less slimy than sliced okra.
- The flavor is classic Southern pickle. Vinegar, garlic, dill, mustard seed, and pepper give each jar a bright, savory bite.
- You can control the heat. Use jalapenos for a milder jar or serranos when you want more kick.
- It is useful all year. Sealed jars keep in the pantry for quick sides, snack boards, and barbecue plates.
- It wins over skeptics. Pickled okra is usually the version that makes people reconsider okra. Funny how vinegar can negotiate a peace treaty.
Recipe At-a-Glance
- Flavor: tangy, salty, garlicky, dill-forward, and lightly spicy
- Texture: firm, crisp whole okra pods
- Difficulty: moderate beginner canning recipe
- Prep time: 25 minutes
- Cook time: 20 minutes
- Processing time: 10 minutes
- Yield: 6 pint jars
- Make-ahead: yes, this is a pantry preserving recipe
- Freezer-friendly: no
- Best season: summer okra season
Where This Recipe Comes From
Pickled okra belongs to the practical side of Southern summer cooking, where garden vegetables get put up before they get away from you. Okra grows fast in hot weather, and tender young pods are perfect for jars because they fit neatly, hold their shape, and take on brine beautifully.
Ingredients
Pickled okra uses simple canning ingredients, but each one matters for flavor, texture, or the finished brine.
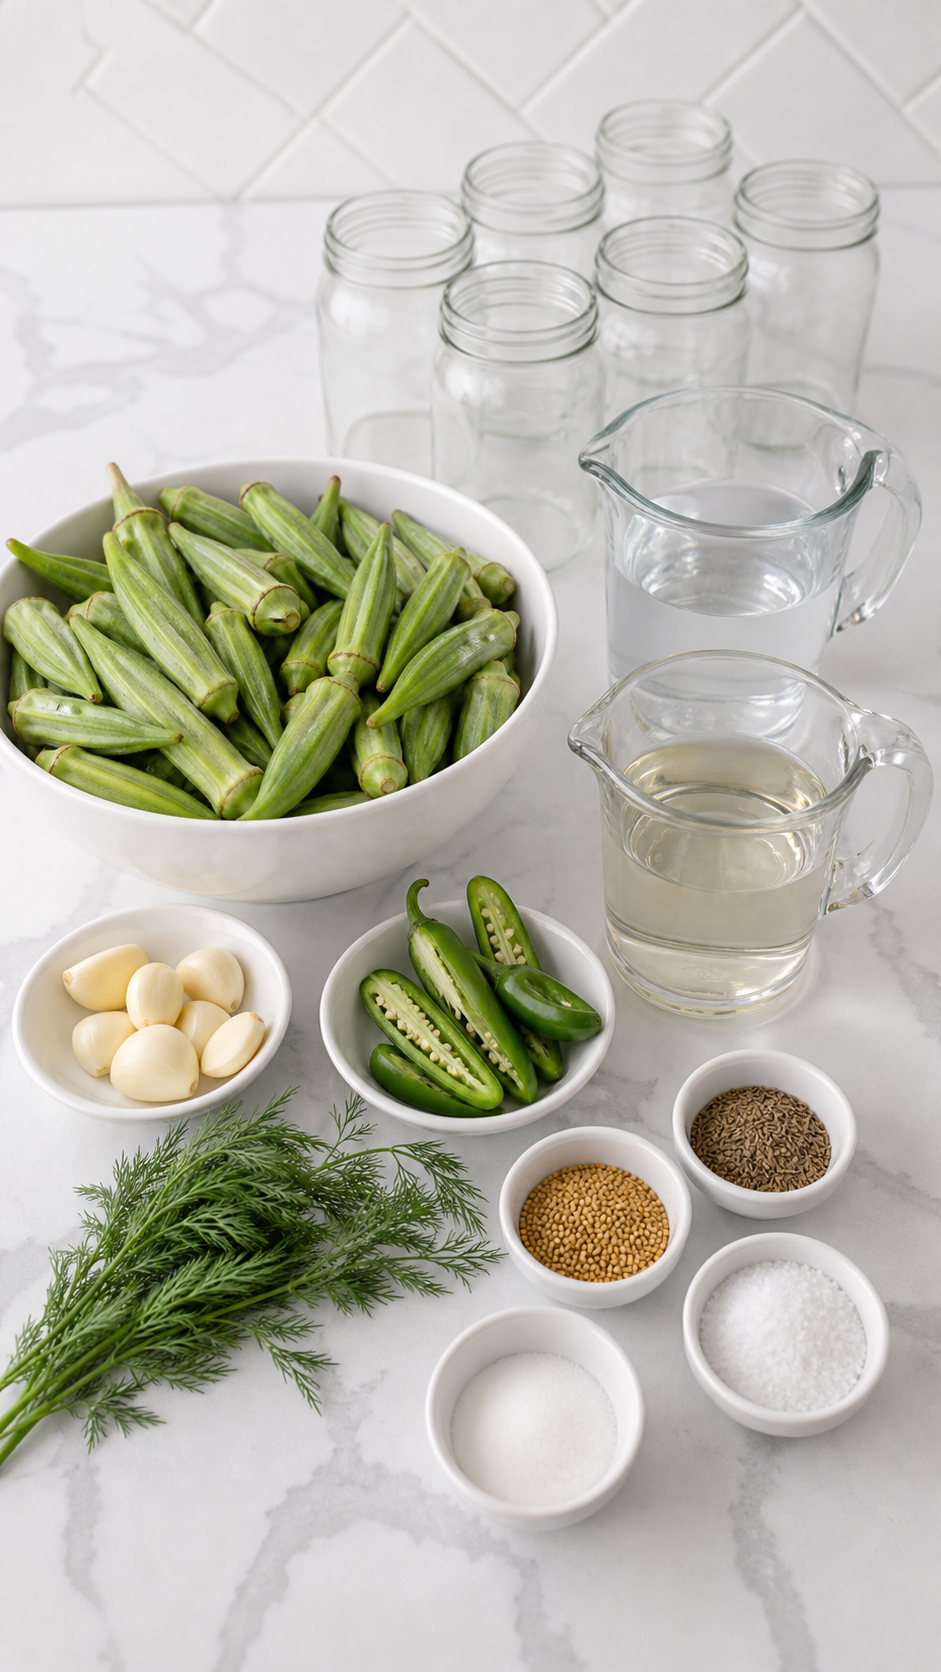
- Fresh whole okra: Use firm, bright green pods. Young pods around 3 to 4 inches are usually the most tender.
- Fresh jalapeno or serrano peppers: Jalapenos keep the heat gentler; serranos bring more bite.
- Garlic: Minced garlic seasons each jar with savory depth.
- White vinegar: The sharp backbone of the brine. Use standard canning-appropriate white vinegar.
- Water: Balances the vinegar so the finished pickle is tangy but not harsh.
- Pickling or kosher salt: Seasons the brine. Canning salt dissolves especially cleanly.
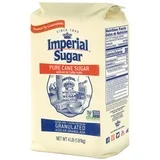
- Granulated sugar: Rounds out the vinegar without making the okra sweet.
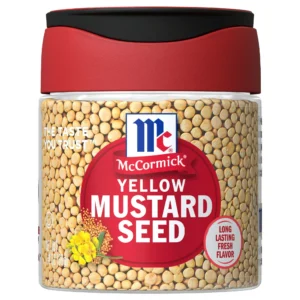
- Mustard seeds: Add classic pickle flavor and a little earthy pop.
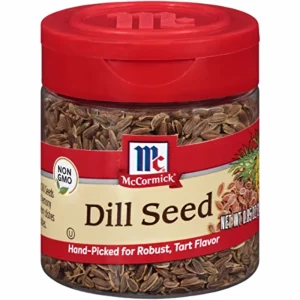
- Dill seeds: Give the brine concentrated dill flavor.
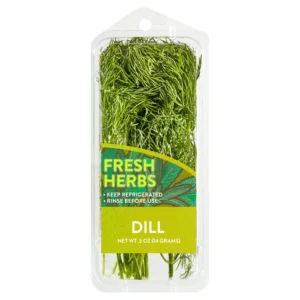
- Fresh dill sprigs: Add fresh herbal aroma to every jar.
 Buy Now →
  Buy Now →
  Buy Now →
  Buy Now →
  Buy Now →
  Buy Now →
  Buy Now →
  Buy Now →
  Buy Now →
Tools
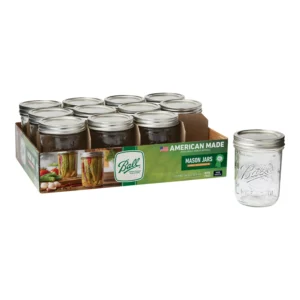
- Six clean pint-sized canning jars with lids and bands
- Medium saucepan for the brine
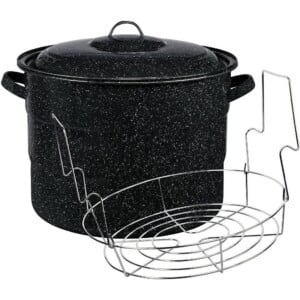
- Water Bath Canner or deep stockpot with a rack
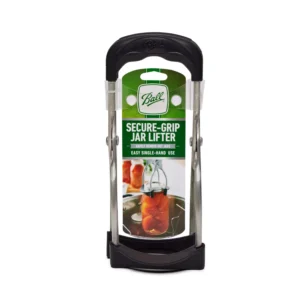
- Jar lifter
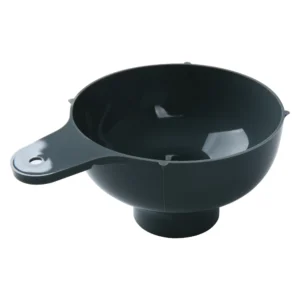
- Canning funnel
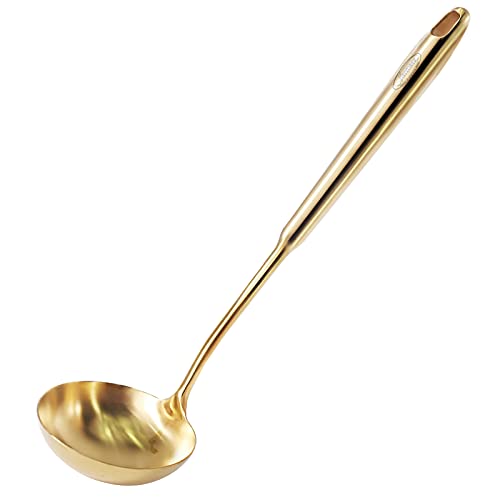
- Ladle
- Nonmetallic bubble remover or thin spatula
- Clean damp towel
- Towel-lined countertop for cooling jars
 Buy Now →
  Buy Now →
  Buy Now →
  Buy Now →
  Buy Now →
  Buy Now →
 How to Make Pickled Okra
To make pickled okra, pack whole okra pods upright in jars with garlic, peppers, and dill, cover them with boiling vinegar brine, remove air bubbles, process the jars in a boiling-water canner, and cool them undisturbed before checking the seals.
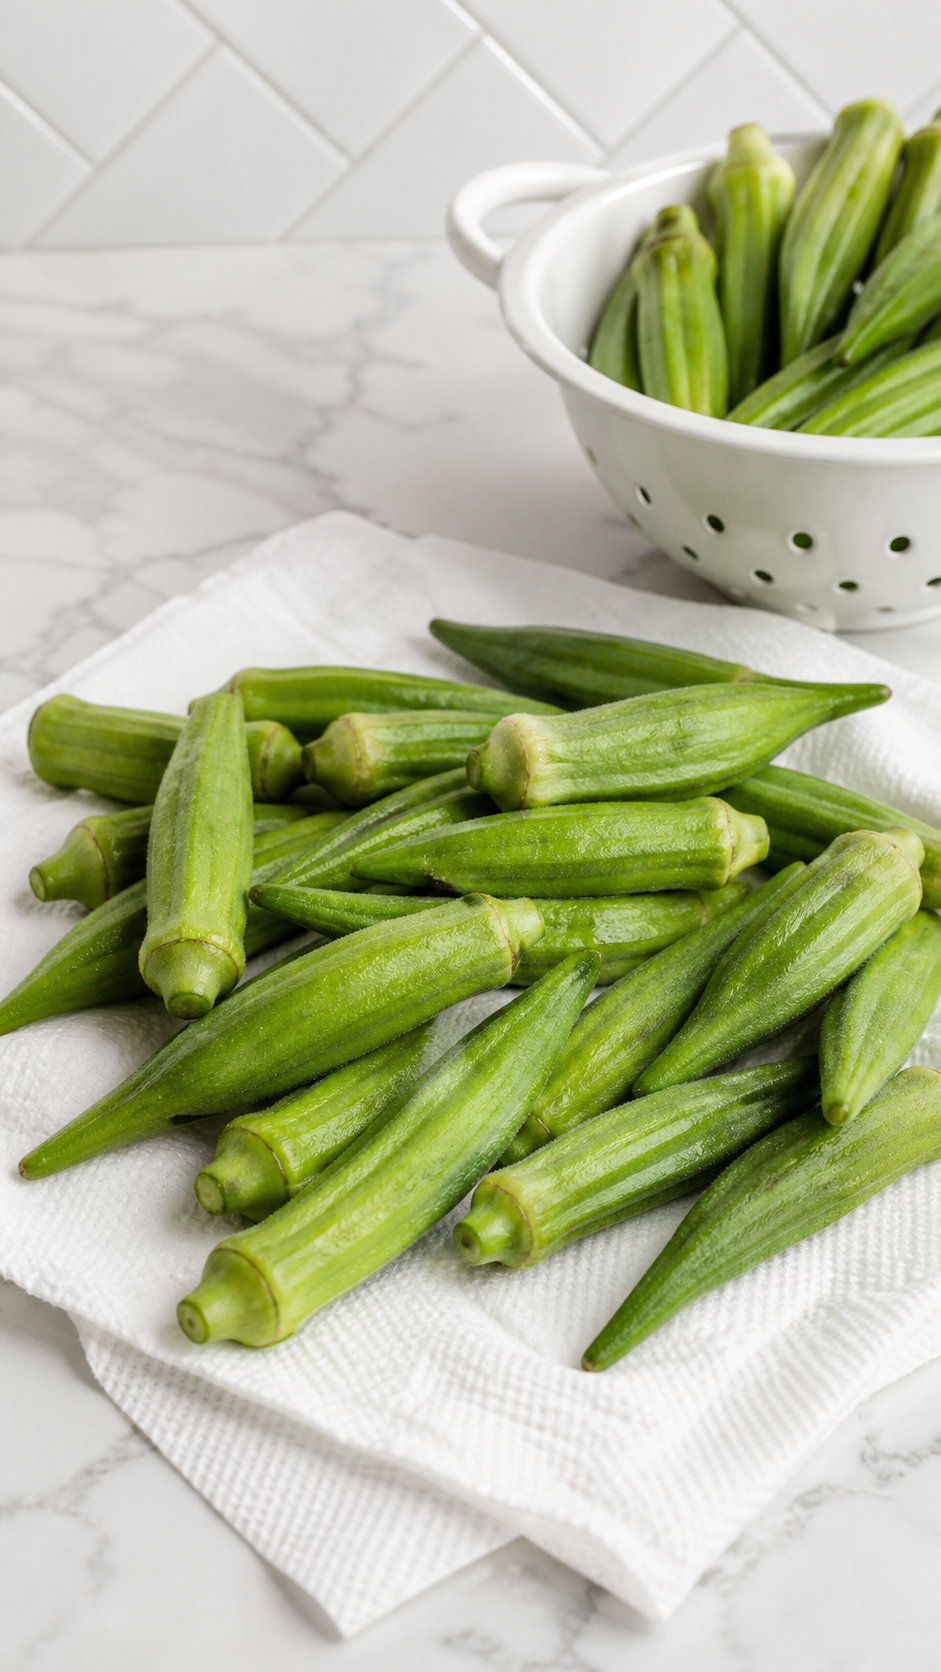
1. Prep the okra and jars. Wash the okra under cool running water and dry it well with paper towels. Inspect the pods and trim only if necessary, leaving the caps intact to help the pods stay firm. Prepare six clean pint jars, lids, and bands according to safe canning practices.
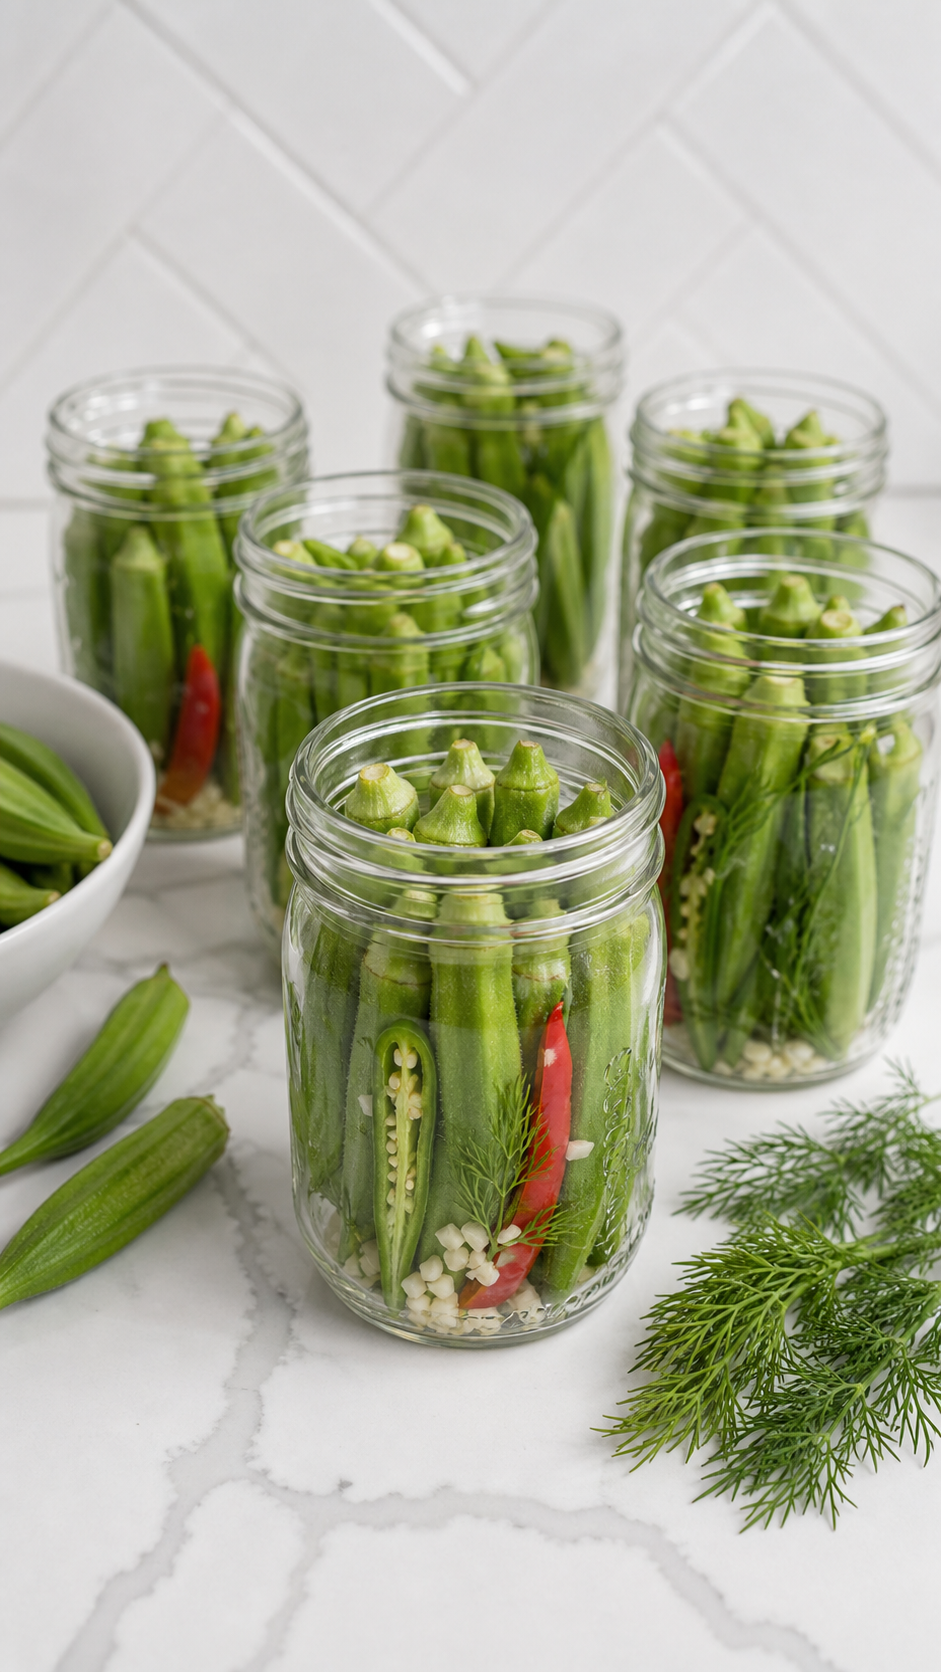
2. Pack the jars with flavor. Divide the minced garlic, pepper halves, and one fresh dill sprig evenly among the jars. Pack the whole okra upright into each jar, fitting the pods together snugly without crushing them.
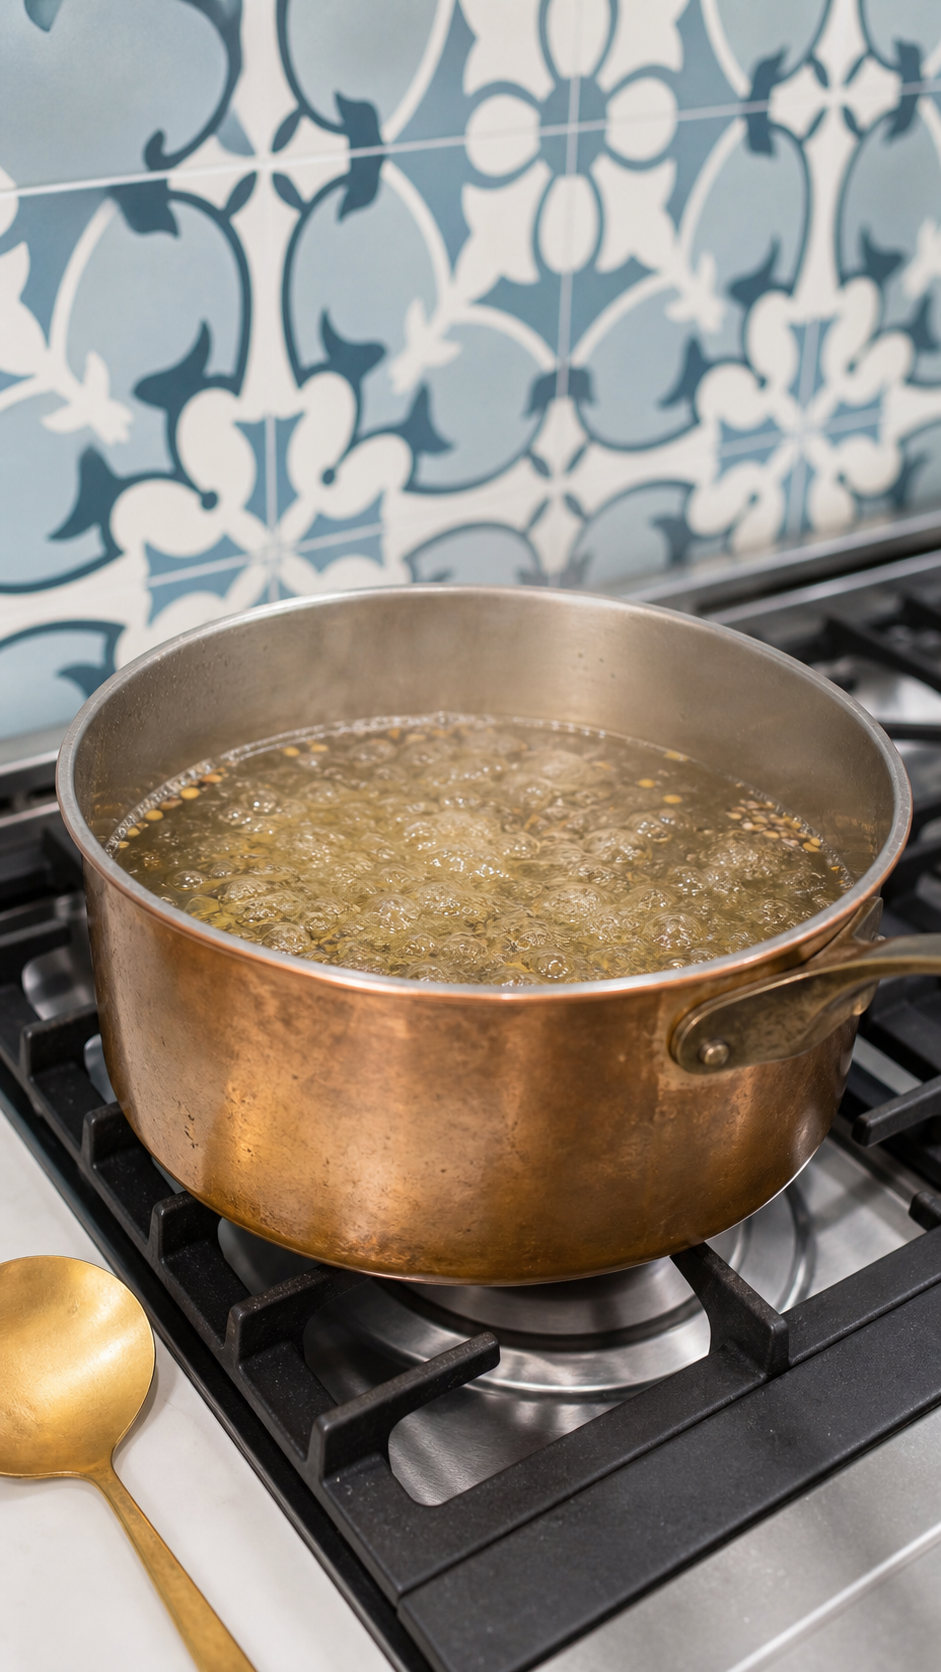
3. Boil the brine. Combine the white vinegar, water, salt, sugar, mustard seeds, and dill seeds in a large saucepan. Bring the brine to a full boil over medium-high heat, stirring until the salt and sugar dissolve completely.
4. Fill the jars. Carefully ladle the hot brine into each jar, covering the okra and leaving ¼ inch of headspace.
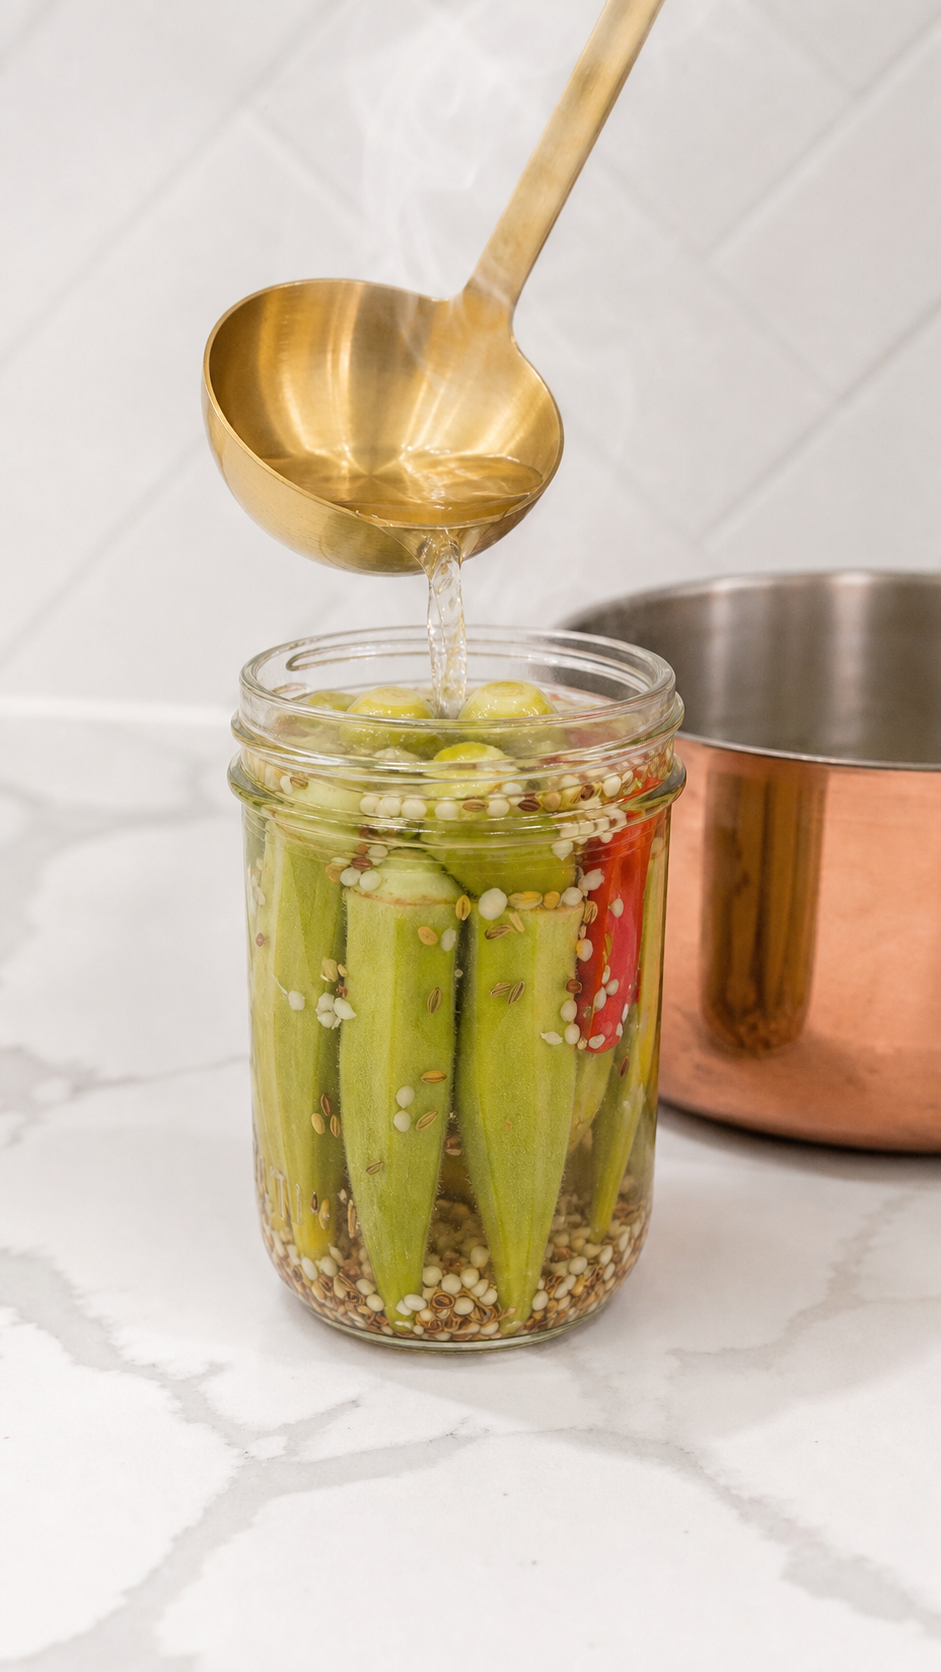
5. Remove bubbles and seal. Slide a nonmetallic utensil around the inside of each jar to release trapped air bubbles. Add more brine if needed to maintain the headspace, wipe the rims clean, place the lids on the jars, and screw on the bands until fingertip tight.
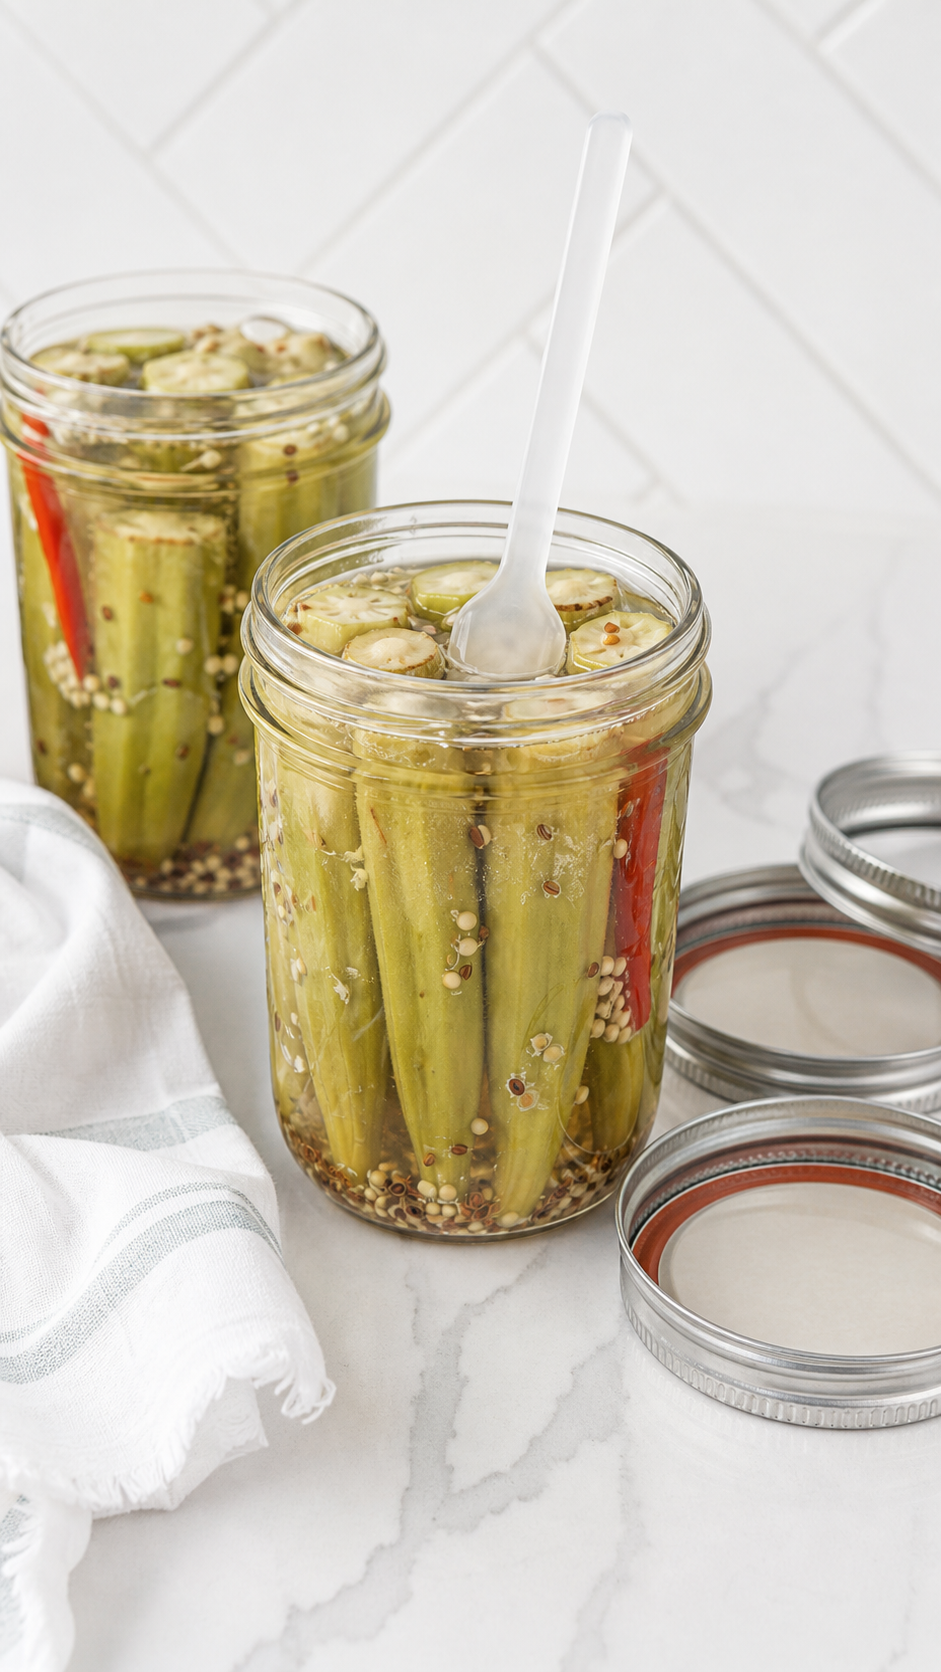
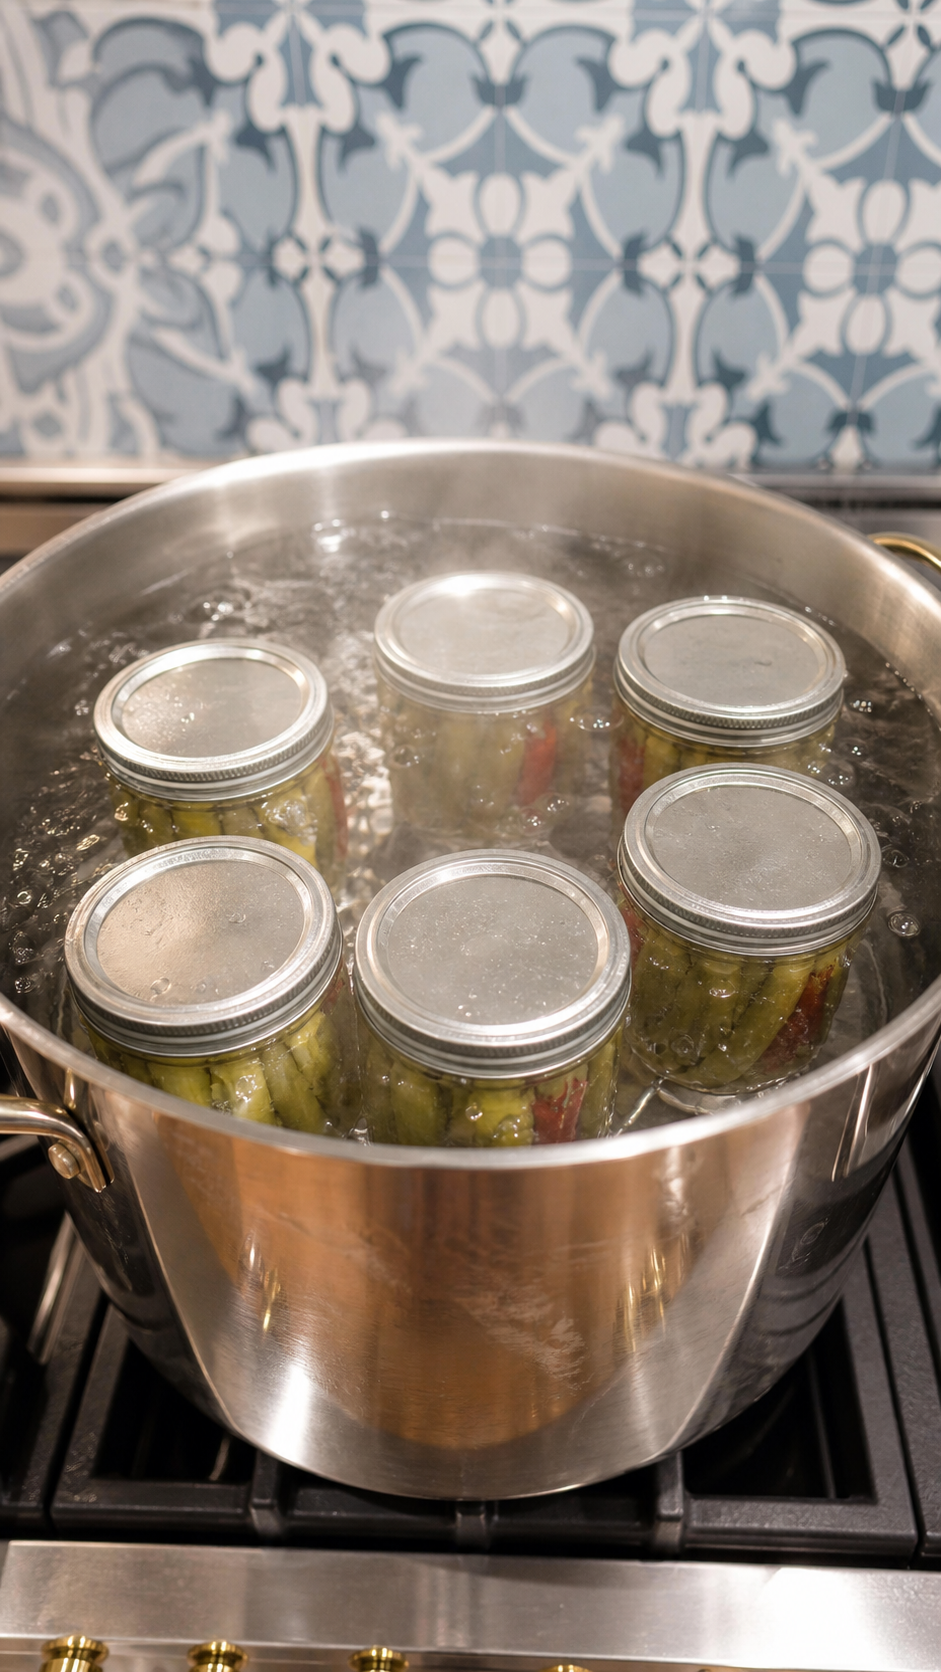
6. Process the jars. Arrange the filled jars on a rack in a boiling-water canner or deep stockpot. Add enough hot water to cover the jars by about 2 inches. Bring the water to a full rolling boil, cover the pot, and process the jars for 10 minutes.
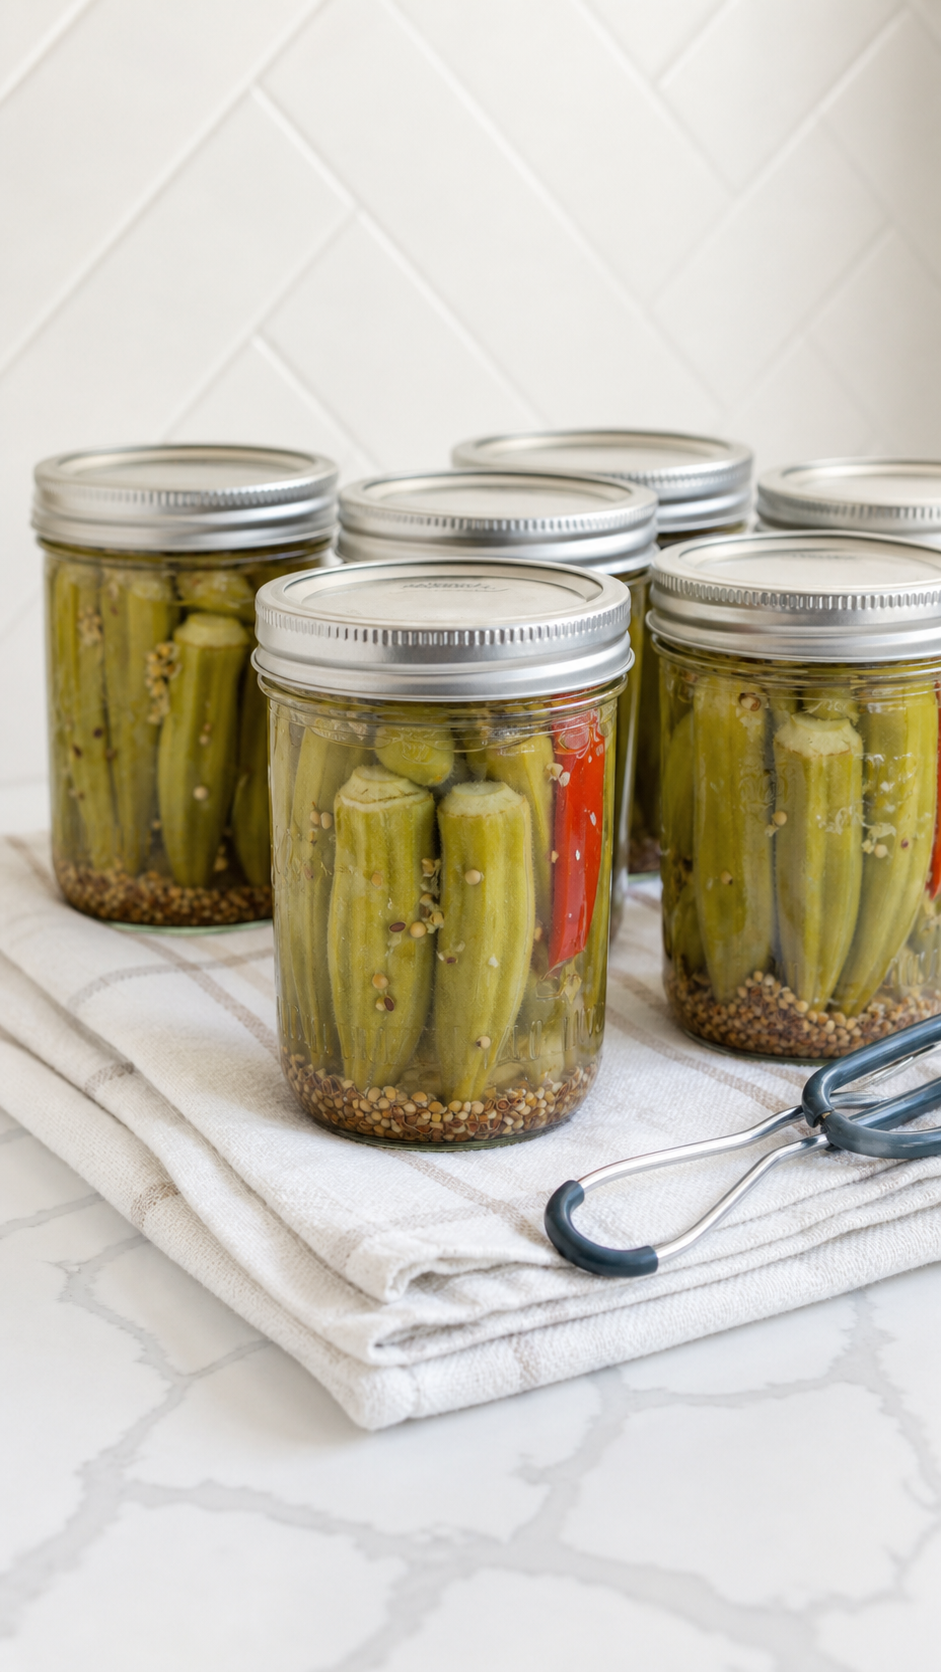
7. Cool and check the seals. Remove the jars with a jar lifter and place them on a towel-lined countertop. Let the jars cool undisturbed for 24 hours. After cooling, check each lid. A properly sealed lid will be slightly curved downward and should not flex when pressed in the center. Refrigerate any jar that does not seal.
Helpful Tips Before You Start
- Pick or buy okra while it is young and tender. Large mature pods can be tough and woody.
- Look for bright green pods with no black spots, soft spots, or limp texture.
- Do not wash okra until you are ready to use it. Extra moisture can encourage slime.
- Keep the okra whole when possible. The more okra is cut, the more slippery it becomes.
- Pack jars snugly, but do not smash the pods.
- Recheck headspace after removing air bubbles.
A Few Easy Mistakes to Avoid
- Using oversized okra: Save large, woody pods for the compost pile, not the canning jar.
- Cutting the pods too much: Keep the caps intact when you can. Cut okra releases more of its gel.
- Skipping the bubble check: Trapped air can lower the brine level after filling.
- Overtightening the bands: Fingertip tight is enough for processing.
- Ignoring a failed seal: Refrigerate that jar immediately and eat it within 1 week.
A Few Things That Make This Recipe Better
Whole pods are the texture trick in pickled okra. Keeping the okra intact limits how much of the interior gel reaches the brine, so the finished pickle eats firm and crisp instead of slippery.
The fresh dill sprig and dill seed work together here: the sprig gives the jar that fresh herbal aroma, while the seed gives the brine deeper pickle flavor. The mustard seeds add a classic little background note that makes the jars taste complete.
Keeping Leftovers Fresh
Store properly sealed jars of pickled okra in a cool, dark pantry for up to 1 year. Once a jar is opened, refrigerate it and use the okra within 3 to 4 weeks.
If any jar fails to seal after processing, refrigerate it immediately and eat it within 1 week.
Can You Make It Ahead?
Pickled okra is designed to be made ahead because sealed jars need time for the brine to season the pods. The flavor is better after the okra has had time to absorb the vinegar, garlic, dill, pepper, and spices.
What to Serve with Pickled Okra
- Barbecue, smoked brisket, fried chicken, burgers, and sandwiches
- Charcuterie boards with cheeses, cured meats, crackers, and other pickles
- Potato salad, pasta salad, tuna salad, and egg salad
- Bloody Marys, relish trays, snack plates, and picnic spreads
FAQs
Is pickled okra slimy?
No. Pickled okra is usually much less slimy than cooked sliced okra because the pods stay whole. Leaving the caps intact and avoiding unnecessary cutting helps the finished pickles stay firm.
How long do you process pickled okra?
Process pint jars of pickled okra for 10 minutes in a boiling-water canner, adjusting for altitude according to your local canning guidance if needed.
Can I use jalapenos instead of serranos?
Yes. Use jalapenos for a milder pickled okra or serranos for more heat. You can also mix them if you want the jars to land somewhere in the middle.
Can I slice the garlic instead of mincing it?
Yes. Fresh garlic can be sliced instead of minced if you prefer larger pieces in the jar and a slightly cleaner-looking brine.
Can I use dill heads instead of dill sprigs?
Yes. Fresh dill heads may be substituted for dill sprigs when they are available. They bring strong classic dill flavor to canned pickles.
How long does canned pickled okra last?
Properly sealed jars can be stored in a cool, dark pantry for up to 1 year. After opening, refrigerate the jar and use it within 3 to 4 weeks.
What should I do if a jar does not seal?
If a jar does not seal after processing and cooling, refrigerate it immediately and eat the pickled okra within 1 week.
Get More Recipes Like This
If old-fashioned recipes, Southern sides, and practical kitchen projects are your thing, join my email list here.
Tried It?
If you make this pickled okra, I would love to hear how your jars turned out. Leave a comment and rating so the next canner can benefit from your batch notes too.
More Preserve-the-Season Recipes
Old-Fashioned Grandma's Dill Pickles
A family-style old-fashioned dill pickle recipe made with pickling cucumbers, garlic, fresh dill, grape leaves, and a simple vinegar brine. Water-bath process the jars, let them cure for 4 weeks, and enjoy crisp homemade pickles all year.
How to Make Wild Mustang Grape Jelly
This Wild Mustang Grape Jelly is a small-batch Texas canning recipe made with Mustang grape juice, bottled lemon juice, powdered pectin, and sugar.
How to Can Tomatoes
Enjoy garden-fresh tomatoes all year long by canning! Follow this tried and true recipe for delish tomatoes at the ready anytime you need them! As the summer comes to an end your tomato plants may be yielding their last big harvest. This can be overwhelming at the end of the season, but don't worry, follow

Bitter Sweet Orange Marmalade
A Few weeks ago my Aunt Alicia brought me a large bag of Seville Bitter Oranges from her loaded orange tree. Since they're not an eating orange and are bitter, I decided to make orange marmalade. It was a lot of work, but well worth it! Thanks, Alicia...I loved making it and really enjoyed the
Pickled Okra
This pickled okra recipe delivers crisp, tangy pods with fresh dill, garlic, and a touch of heat. Easy to water-bath can, it's perfect for stocking the pantry.
- Prep Time: 20 minutes
- Cook Time: 25 minutes
- Total Time: 45 minutes
- Yield: 6 pint jars 1x
- Category: Appetizer, Snack
- Method: Pickling
- Cuisine: American, Southern
Ingredients
3 pounds fresh whole okra, washed and dried
6 fresh jalapeño or serrano peppers, halved lengthwise
6 garlic cloves, minced
1 quart white vinegar
1 ⅓ cups water
½ cup canning or kosher salt
3 tablespoons granulated sugar
1 tablespoon mustard seeds
1 ½ tablespoons dill seeds
6 fresh dill sprigs
Instructions
Prep
- Wash the okra thoroughly under cool running water and dry well with paper towels.
- Inspect the okra and trim only if necessary, leaving the caps intact to help keep the pods crisp.
- Wash and prepare six clean pint-sized canning jars, lids, and bands according to safe canning practices.
- Divide the minced garlic, pepper halves, and one fresh dill sprig evenly among the jars.
Cook
- In a large saucepan, combine the white vinegar, water, salt, sugar, mustard seeds, and dill seeds.
- Bring the brine to a full boil over medium-high heat, stirring until the salt and sugar dissolve completely.
Assemble
- Pack the whole okra upright into each prepared jar, fitting the pods together snugly without crushing them.
- Carefully ladle the hot brine into each jar, covering the vegetables and leaving ¼ inch of headspace at the top.
- Slide a nonmetallic utensil or butter knife around the inside of each jar to release trapped air bubbles. Add additional brine if needed to maintain the proper headspace.
- Wipe the rims with a clean, damp towel to remove any residue.
- Place the lids on the jars and screw on the bands until fingertip tight.
Process
- Arrange the filled jars on a rack in a boiling-water canner or a deep stockpot.
- Add enough hot water to cover the jars by about 2 inches.
- Bring the water to a full rolling boil, cover the pot, and process for 10 minutes.
- Remove the jars with a jar lifter and place them on a towel-lined countertop.
- Allow the jars to cool undisturbed for 24 hours.
- After cooling, check each lid. A properly sealed lid will be slightly curved downward and should not flex when pressed in the center.
- Any jar that does not seal should be refrigerated immediately.


Notes
Substitutions
- Use all jalapeños for a milder pickle or all serranos for additional heat.
- Omit all peppers for a no-spice pickled okra.
- Fresh garlic can be sliced instead of minced if preferred.
- Fresh dill heads may be substituted for dill sprigs when available.
Serving Suggestions and Pairings
- Serve alongside barbecue, smoked brisket, fried chicken, burgers, or sandwiches.
- Add to charcuterie boards with cheeses, cured meats, and crackers.
- Chop and stir into potato salad, pasta salad, or tuna salad for extra tang.
Storage
- Store sealed jars in a cool, dark pantry for up to 1 year.
- Once opened, refrigerate and use within 3 to 4 weeks.
••Any jar that fails to seal after processing should be refrigerated and eaten within 1 week.



Comments
No Comments