

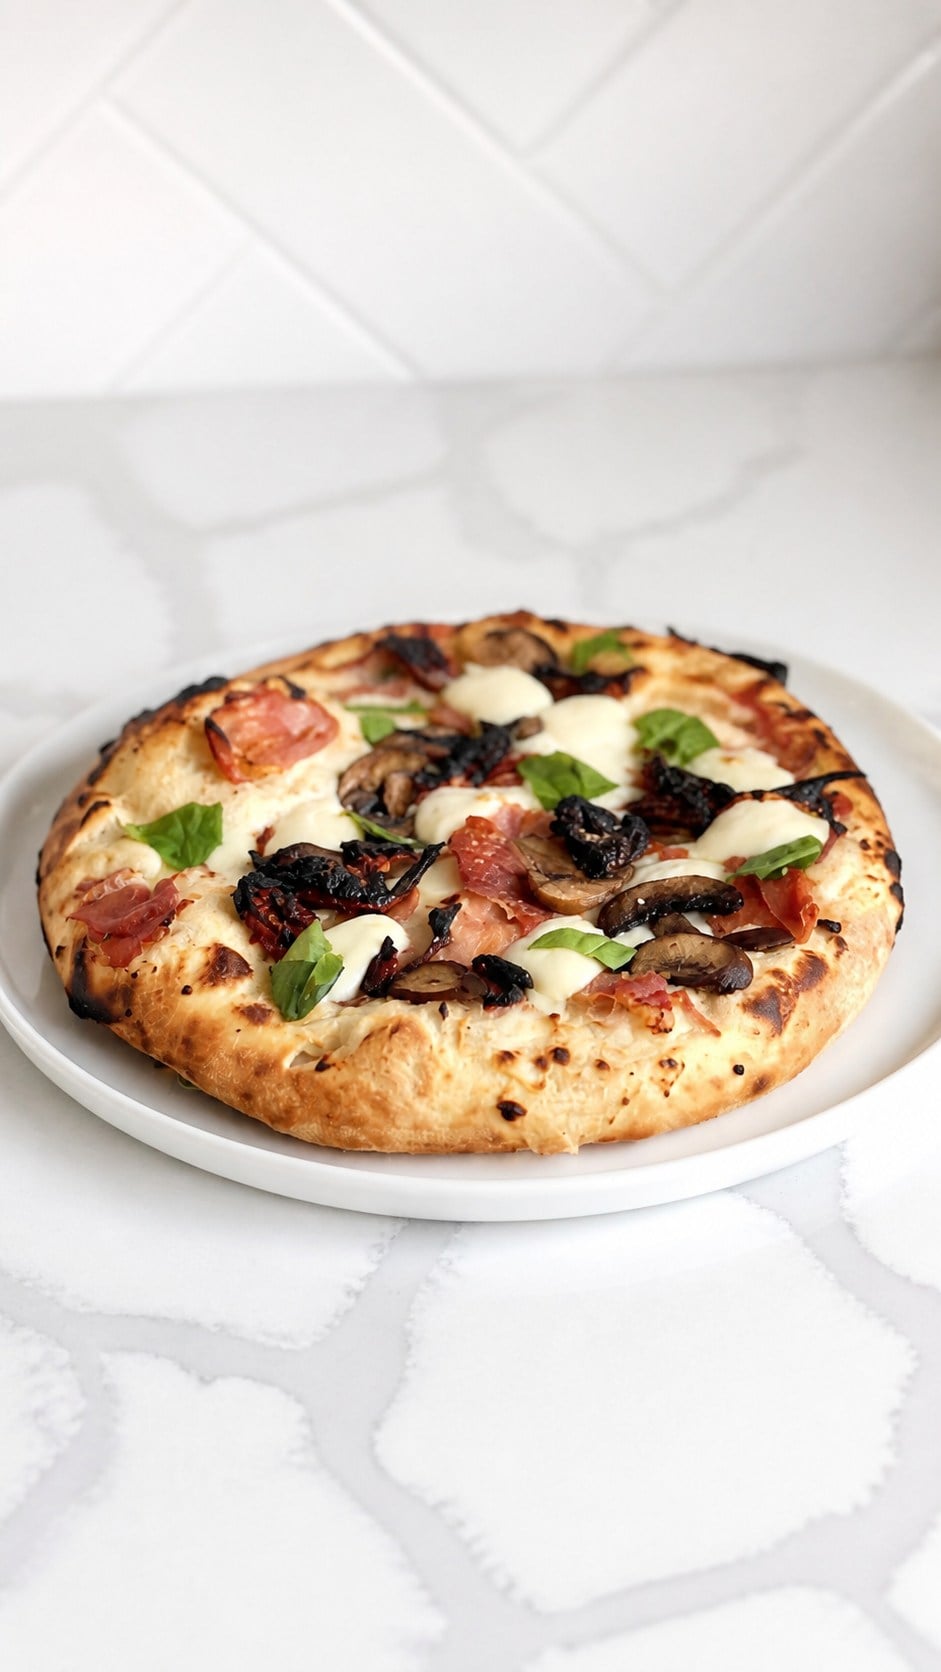
This wood-fired pizza dough recipe uses an overnight poolish, 00 flour, olive oil, and a long, steady proof to make an elastic crust with a puffy, blistered rim. It is a big-batch dough for pizza night, with both stand-mixer and hand-mixing directions and a baking-steel option when a pizza oven is not available.
What Is Wood-Fire Pizza Dough?
Wood-fire pizza dough is formulated to stretch thin, inflate around the rim, and bake quickly in intense heat. This version starts with a 100% hydration poolish-equal weights flour and water-then adds the final flour, water, salt, and olive oil for deeper flavor and a light, chewy crust.
Why You'll Love This Recipe
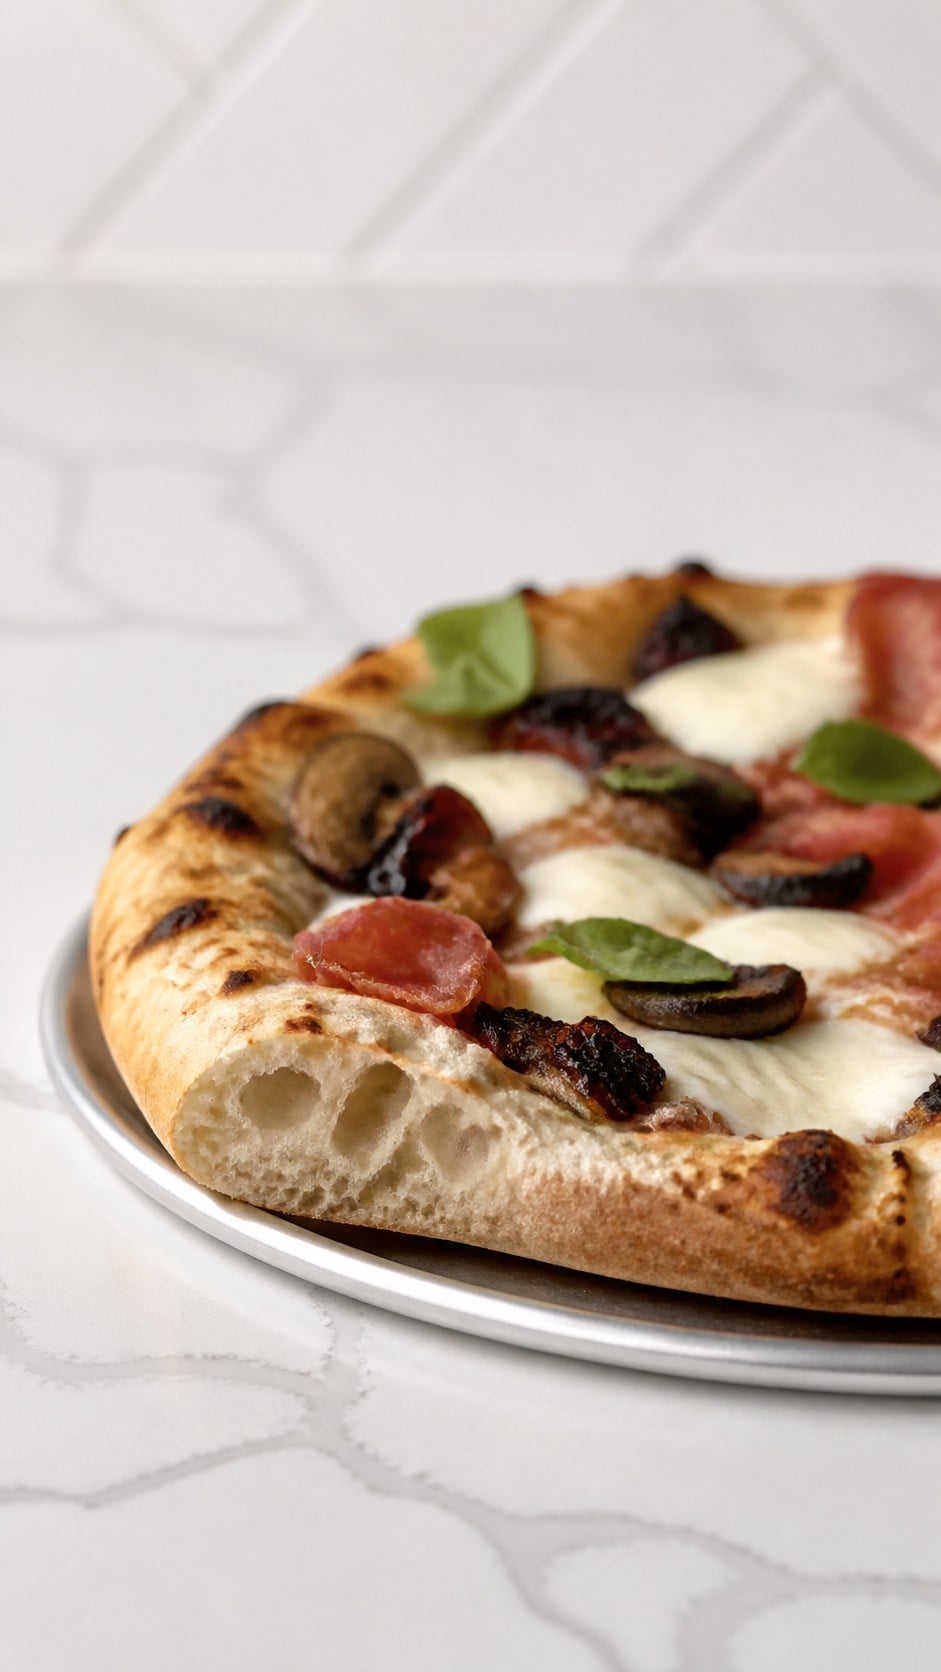
- The crust has character. Overnight fermentation builds flavor while the hot bake creates a puffy rim with natural blistering.
- It is made for a crowd. One batch makes 12 large dough balls for a full pizza night.
- You can choose your method. Use a stand mixer for the easiest kneading or mix and knead by hand.
- It fits your schedule. Bake after the room-temperature proof or refrigerate shaped balls for 24 to 72 hours.
Recipe At a Glance
- Flavor: lightly nutty and fermented, with a clean olive-oil finish
- Texture: elastic before baking; puffy, blistered, and chewy after baking
- Difficulty: intermediate
- Active prep: 45 minutes
- Rest: overnight plus 3 to 4 hours proofing
- Make-ahead: yes, up to 72 hours refrigerated after shaping
- Freezer-friendly: yes, up to 3 months
- Best occasion: backyard pizza night, parties, and weekend cooking
Where This Dough Gets Its Character
The high-heat, puffy-rim result is Neapolitan-inspired, while the poolish is a wet preferment associated with European bread baking and widely used by modern pizza makers. Because this tested dough includes honey and olive oil, it should be described as wood-fired or Neapolitan-style rather than strict traditional Neapolitan dough.
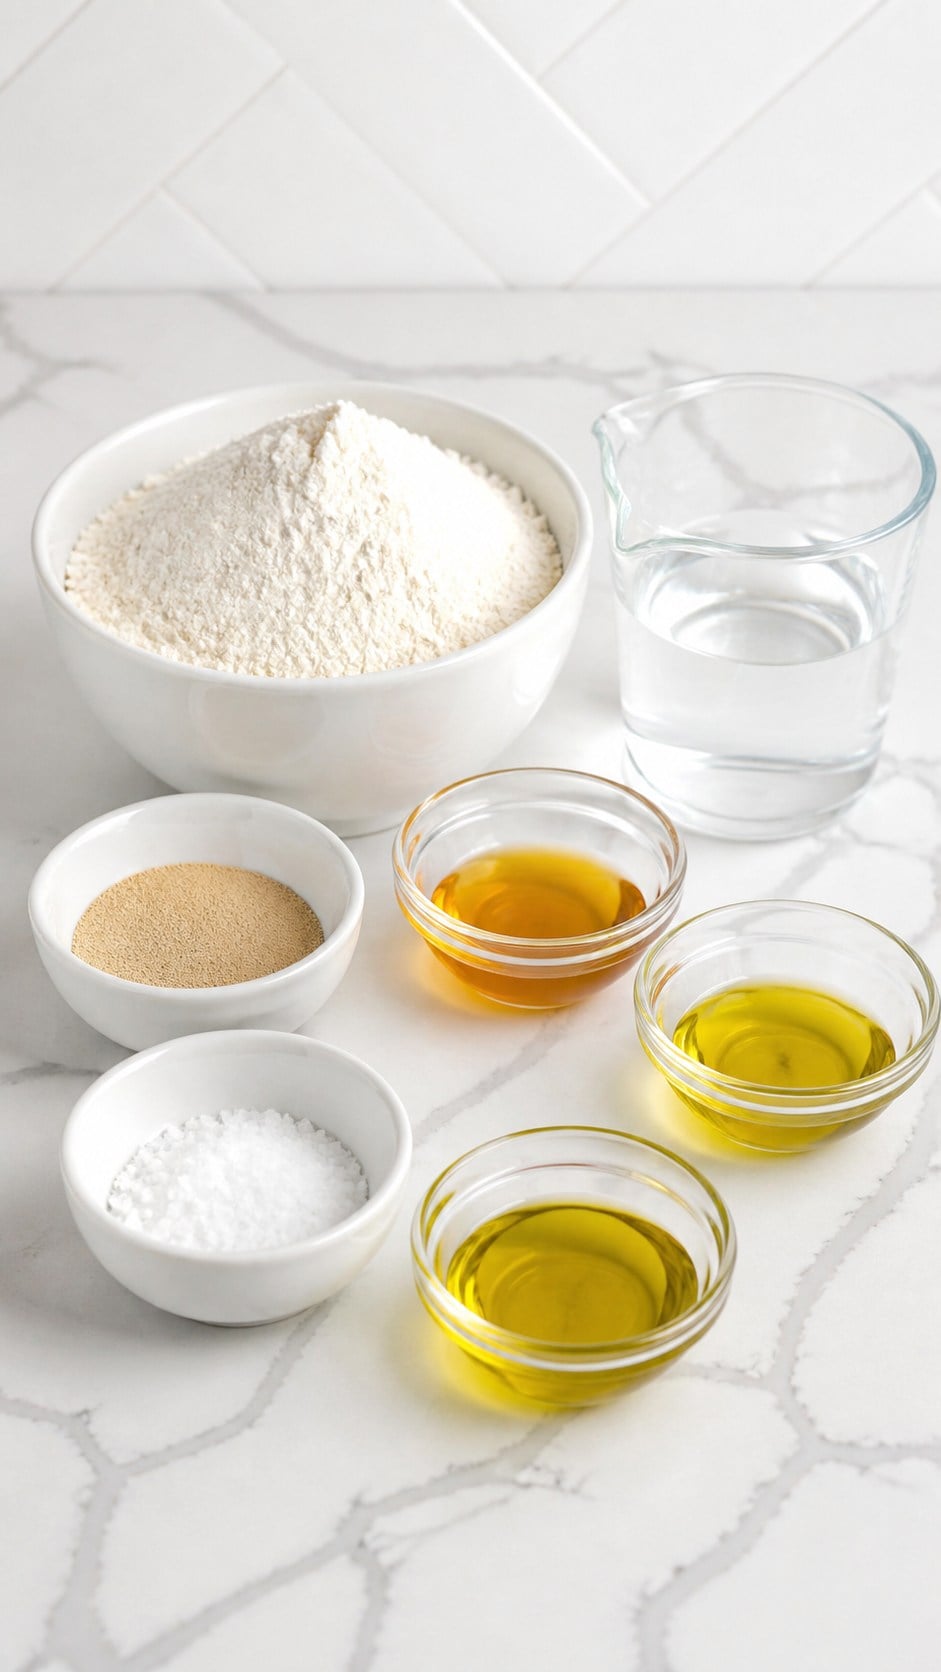
Ingredients You'll Need
- Water: use room-temperature water for the poolish and final dough.
- 00 pizza flour: the fine grind helps the dough stretch smoothly and bake into a tender, blistered crust.
- Instant yeast: dissolves quickly and drives both the poolish and final proof.
- Honey: feeds the poolish and adds a small amount of sweetness.
- Extra virgin olive oil: goes into the dough and helps with handling and proofing.
- Kosher salt: seasons the dough and helps control fermentation.
 Buy Now →
  Buy Now →
  Buy Now →
  Buy Now →
  Buy Now →
Ingredient Notes and Substitutions
Bread flour can replace 00 flour, but the crust will be a little chewier and less tender. Honey may be replaced with the same amount of granulated sugar. Active dry yeast can replace instant yeast; dissolve it in the recipe water before mixing.
Tools That Make It Easier
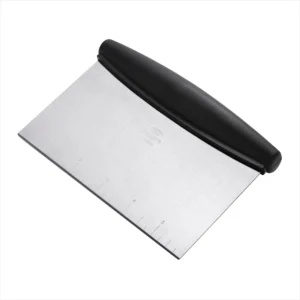
I use a digital scale, a stand mixer with a dough hook, a dough scraper, dough proofing boxes or lidded containers, and a pizza peel when I make this dough. A pizza oven gives the closest result to the photographs, but a fully preheated baking steel also works.
 Buy Now →
  Buy Now →
  Buy Now →
  Buy Now →
  Buy Now →
  Buy Now →
 How to Make Wood-Fired Pizza Dough
1. Mix the poolish
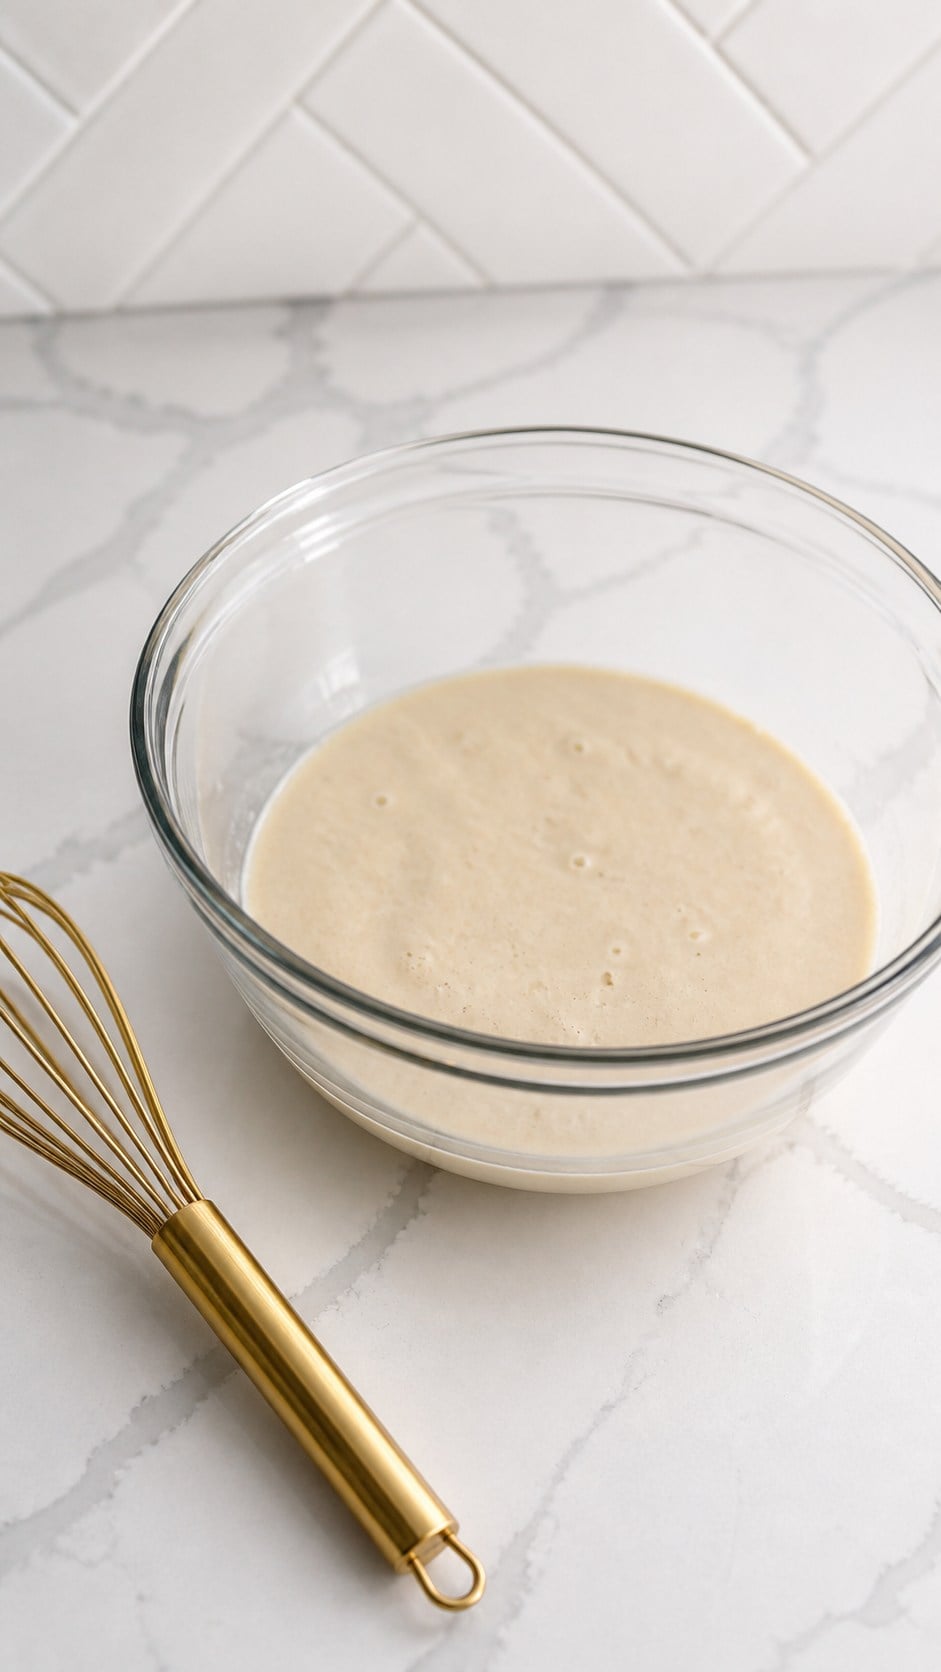
Whisk 360 grams water, the instant yeast, and honey until dissolved, then stir in 360 grams 00 flour until no dry spots remain. Cover, leave at room temperature for 1 hour, and refrigerate overnight.
2. Check the poolish
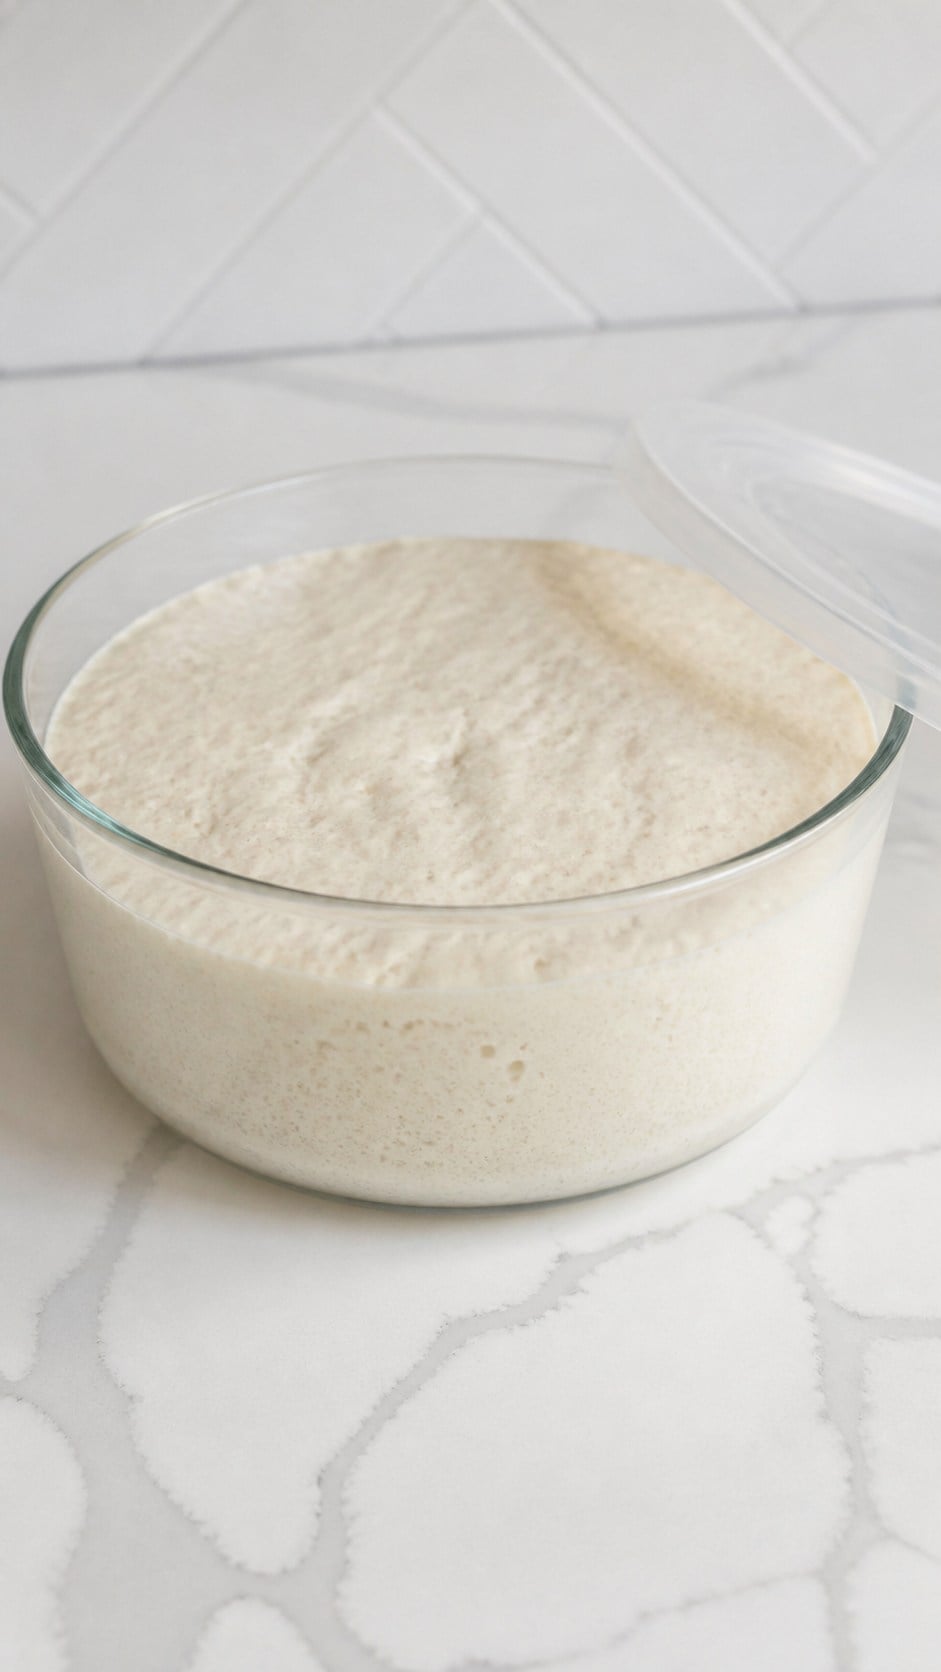
The refrigerated poolish should look wet, airy, and covered with fine bubbles. If it has completely collapsed or smells sharply alcoholic, it has likely fermented past its best point.
3. Start the final dough
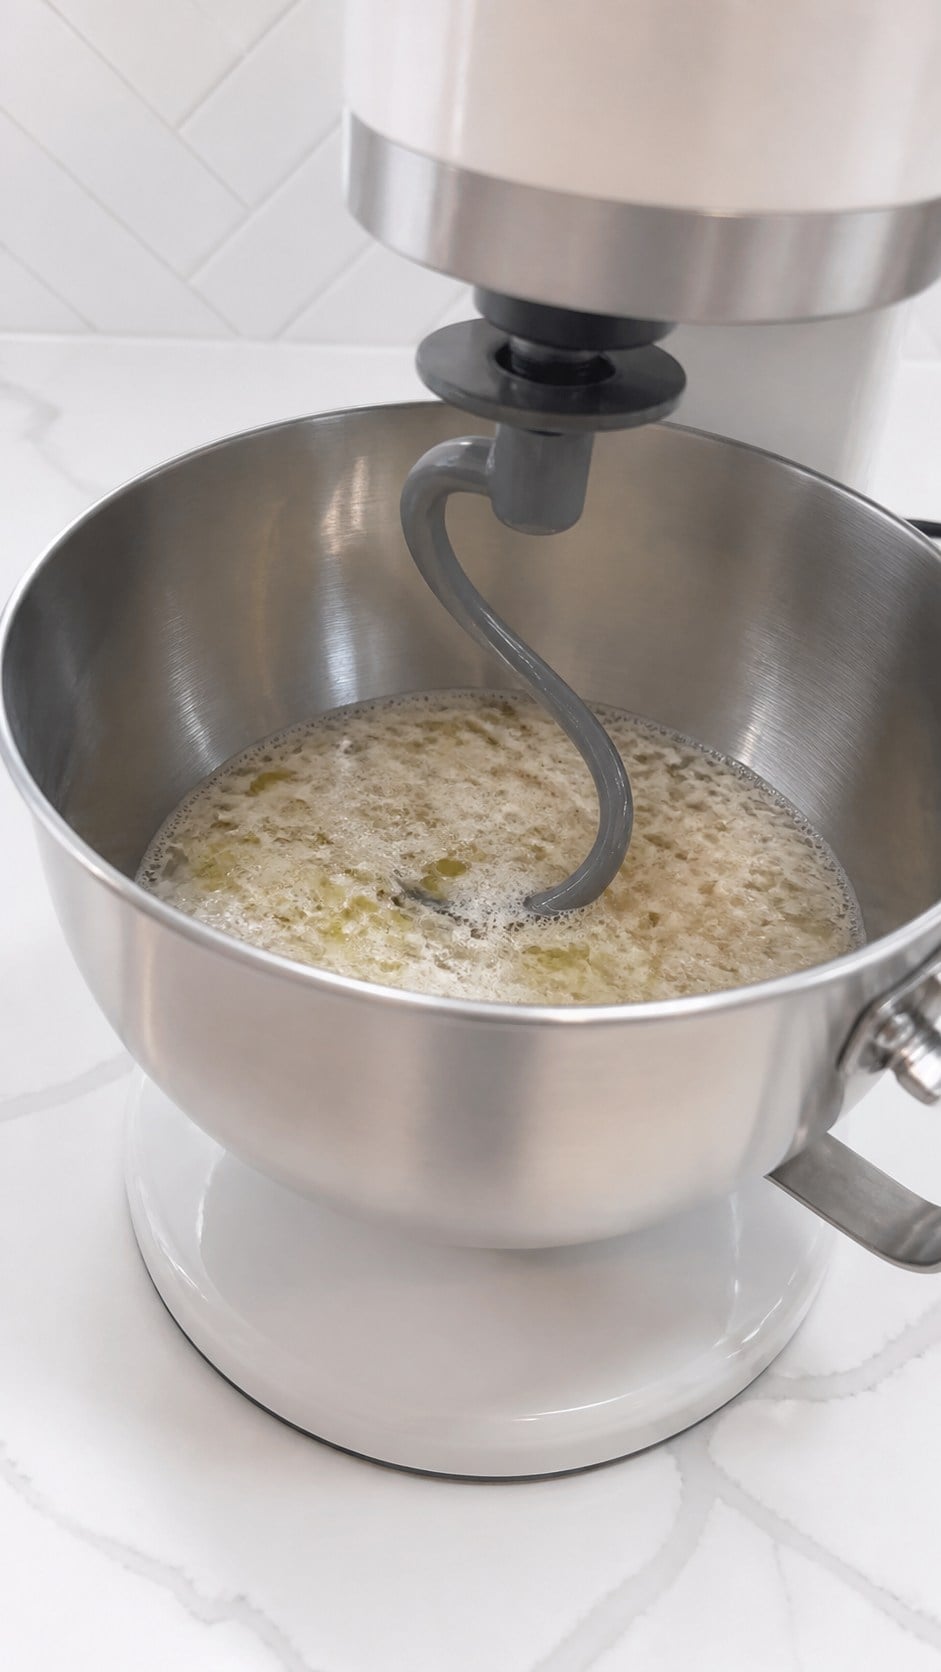
Add 840 grams water, 2 tablespoons olive oil, and all of the prepared poolish to a stand-mixer bowl fitted with the dough hook. Mix on low for about 1 minute, until the poolish breaks apart and disperses through the water.
4. Add the flour and salt
Add about 750 grams of the remaining flour and mix on low until no dry flour remains. Add the salt, mix for 2 minutes, then gradually add the remaining 750 grams flour.
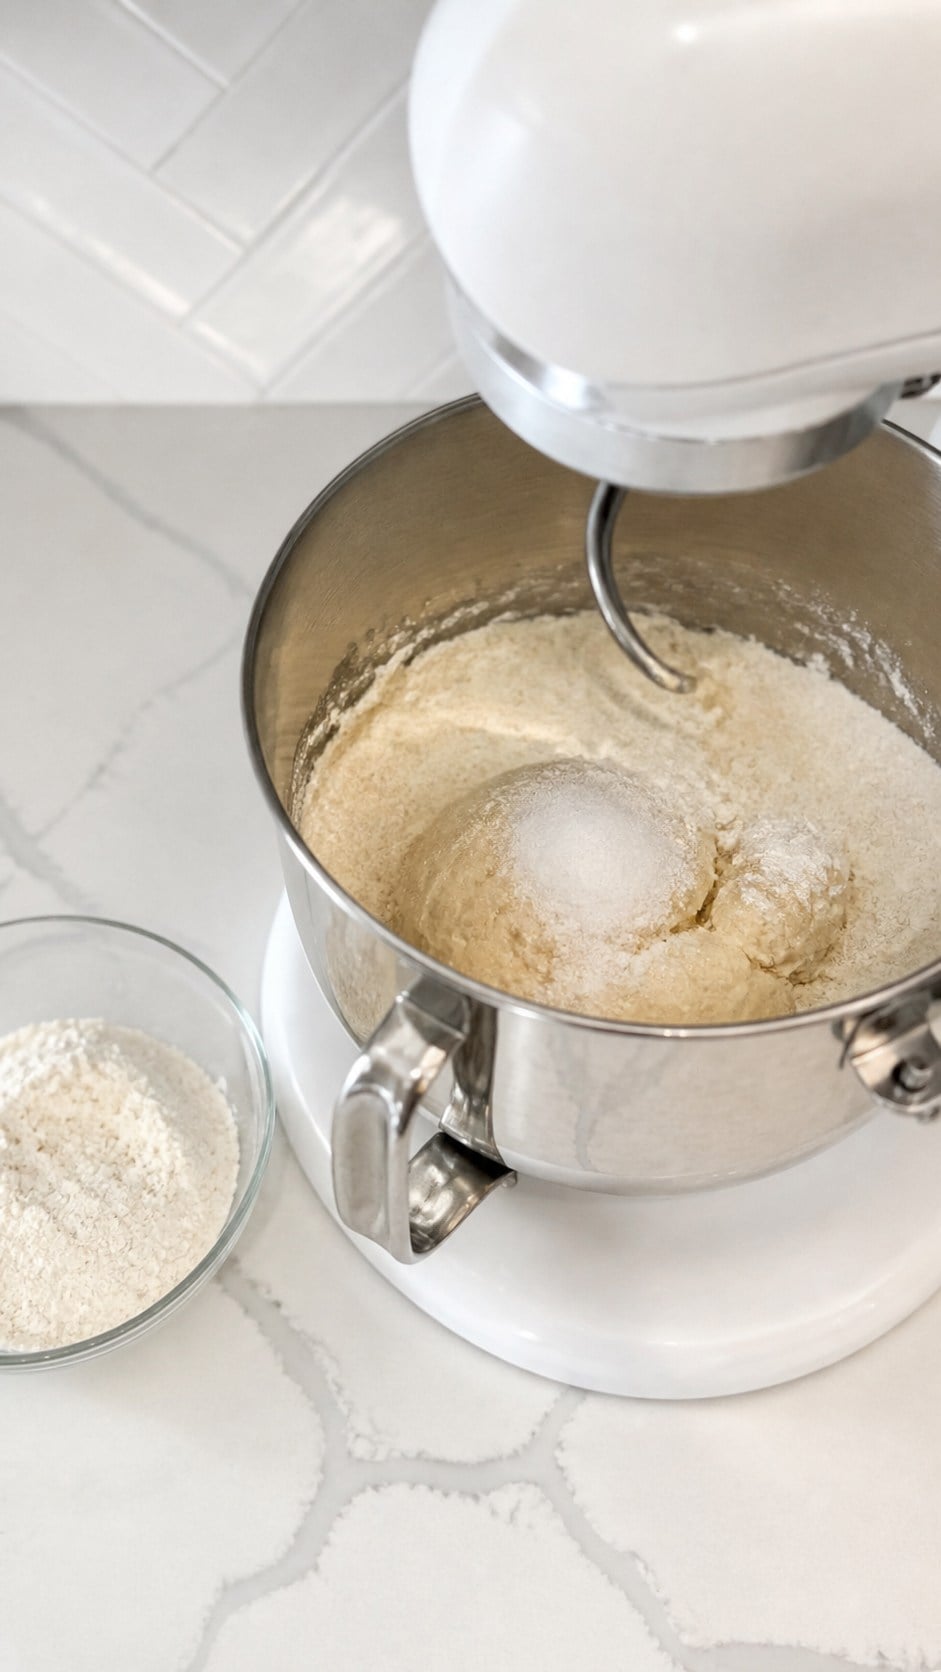
5. Knead until elastic
Increase the mixer to medium-low and knead for 8 to 10 minutes, scraping the bowl when needed. The dough should become smooth, elastic, and slightly tacky; correct an excessively wet dough with flour 1 tablespoon at a time or a dry dough with water 1 teaspoon at a time.
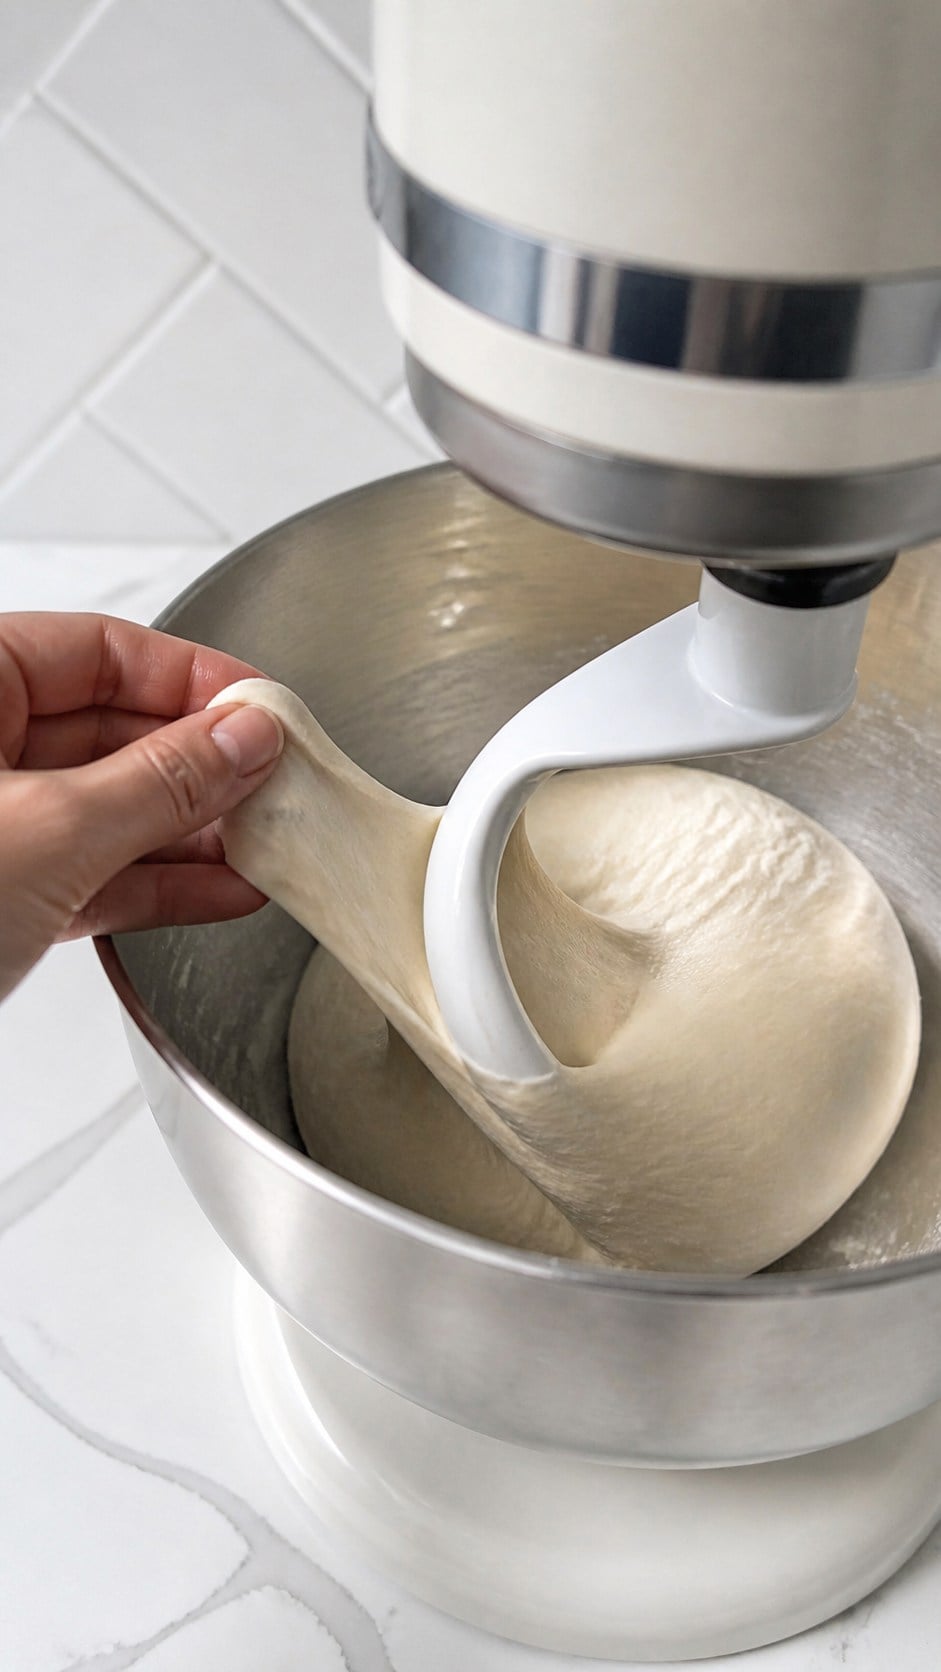
6. Let the dough rise
Transfer the dough to a lightly oiled bowl, cover it, and let it rest at room temperature for 30 minutes to 1 hour. It should look relaxed and slightly fuller rather than necessarily doubled.
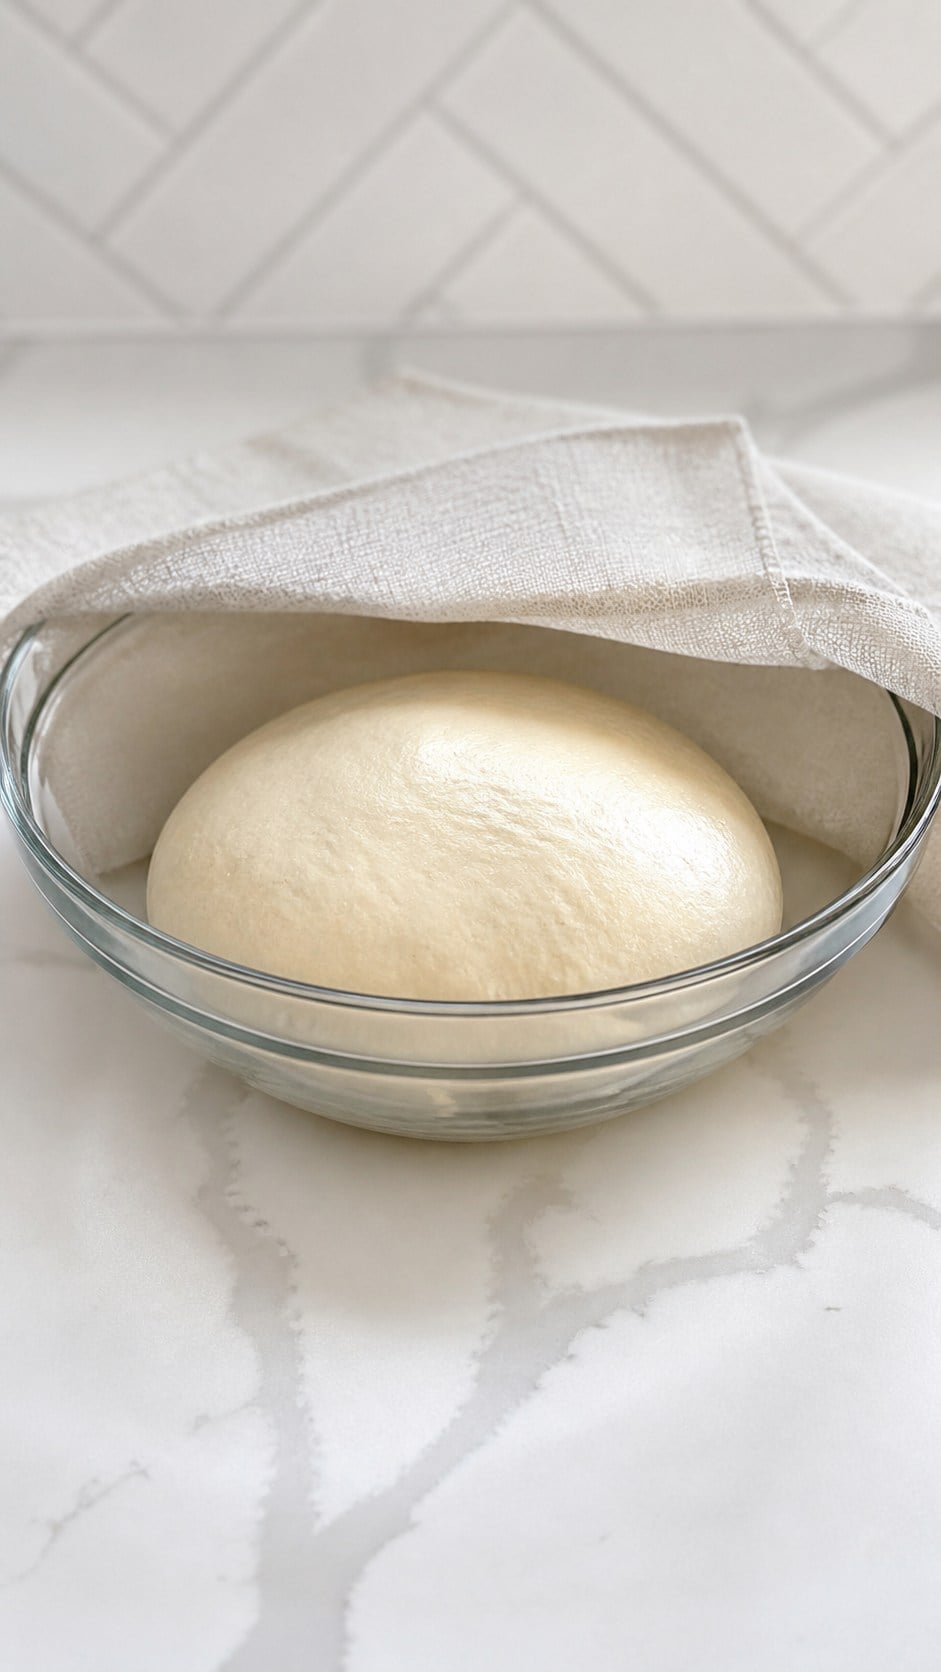
7. Divide, shape, and proof
Turn the dough onto a lightly oiled surface, divide it into 12 equal portions, and pull each portion's edges underneath to form a tight ball. Place the balls in lightly oiled proofing boxes with room between them, cover, and proof at room temperature for about 2 hours.
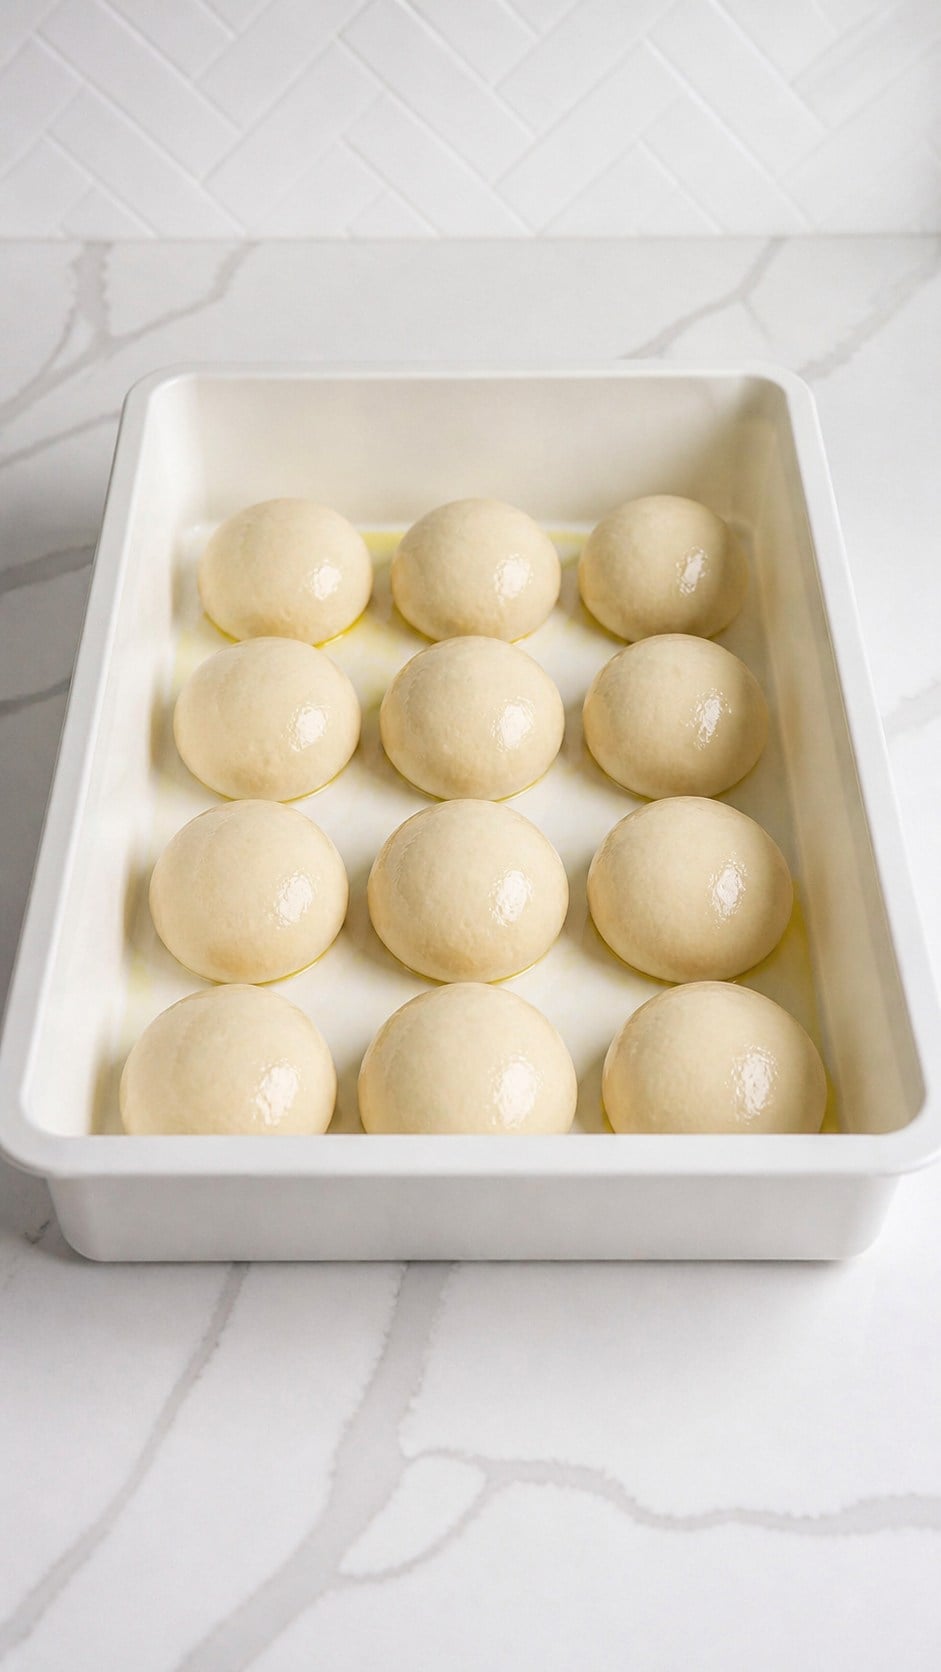
8. Stretch and bake
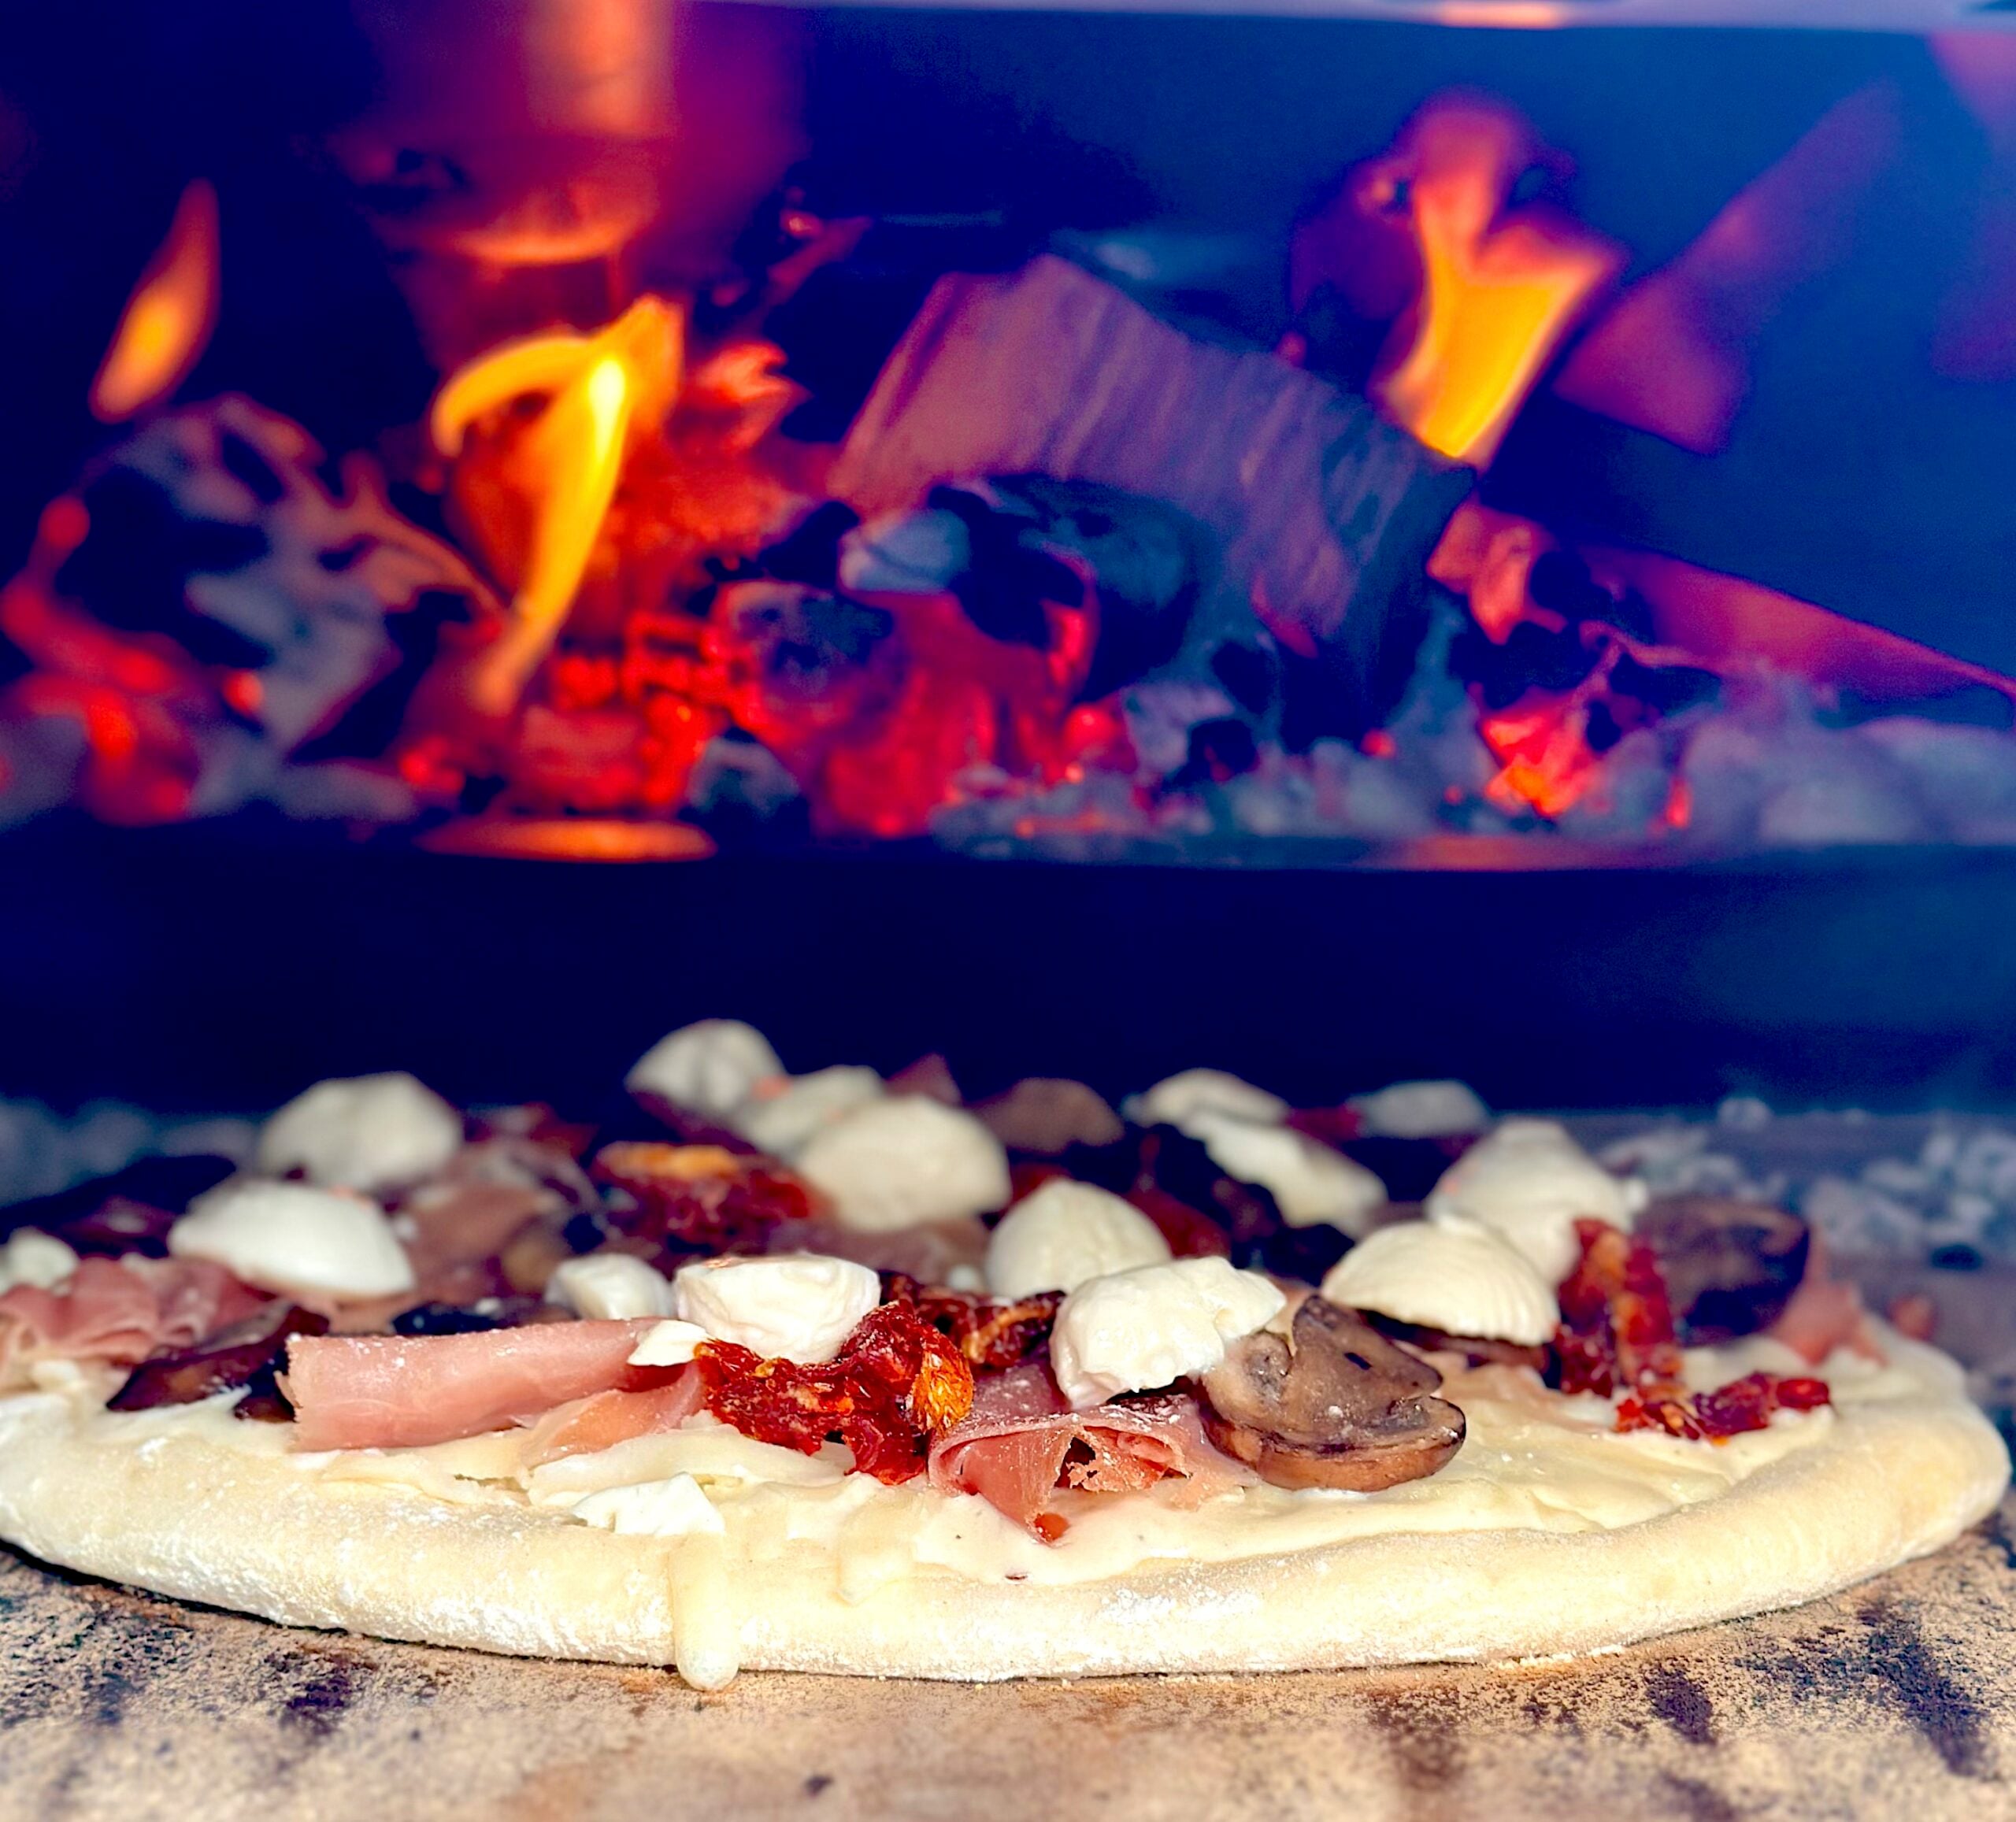
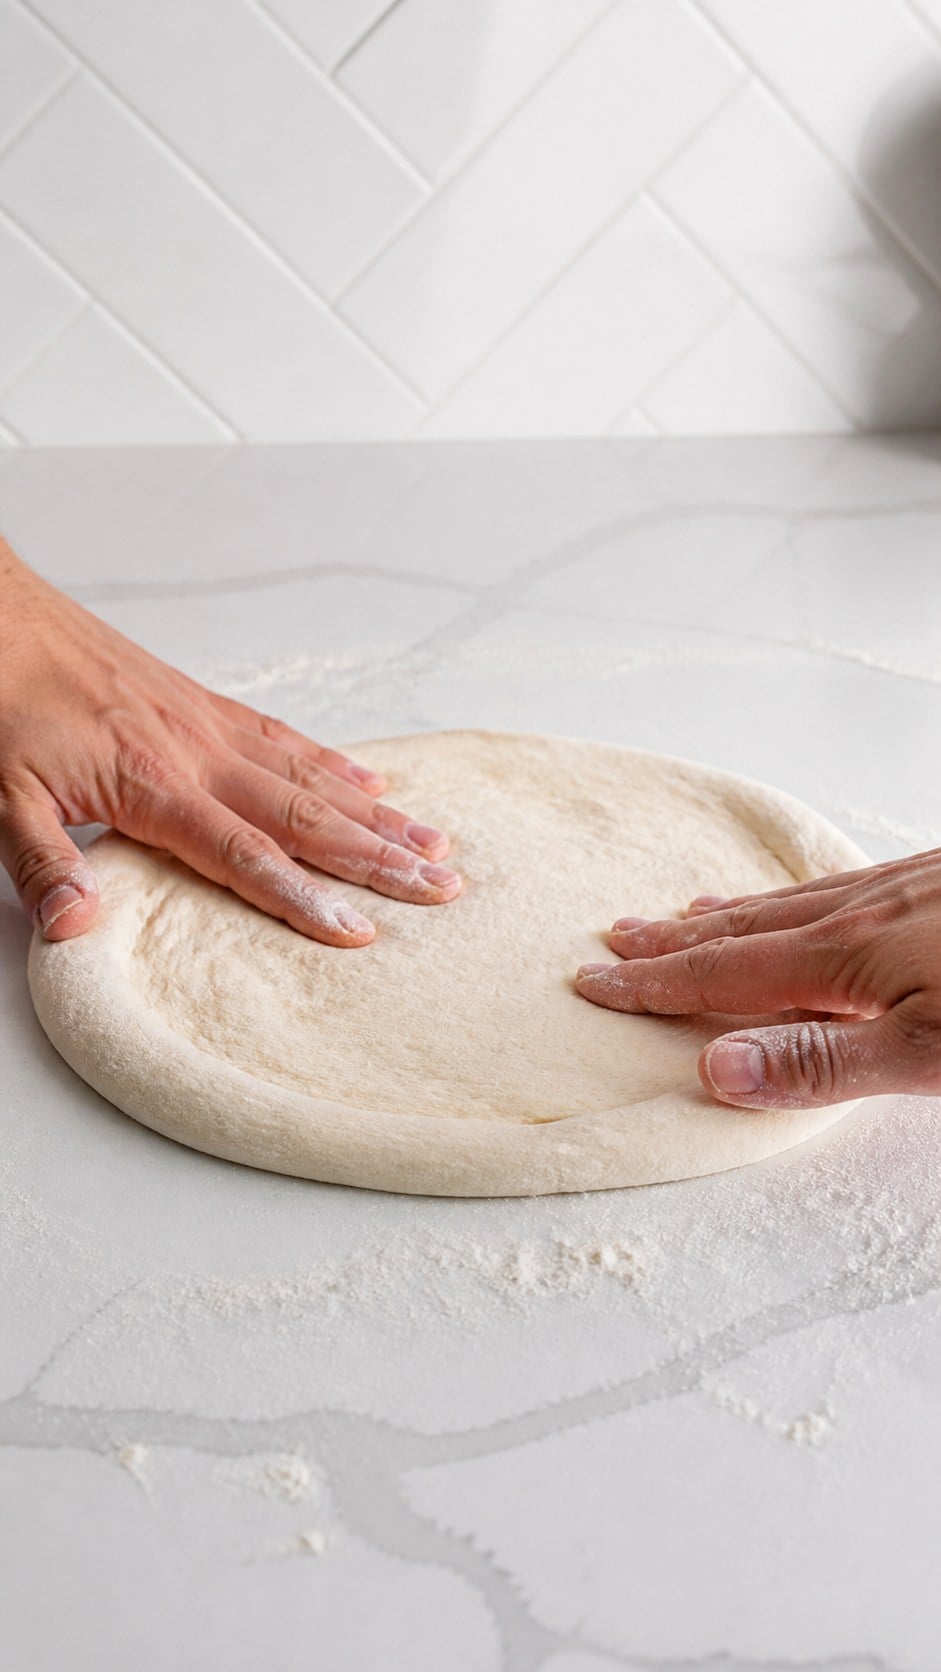
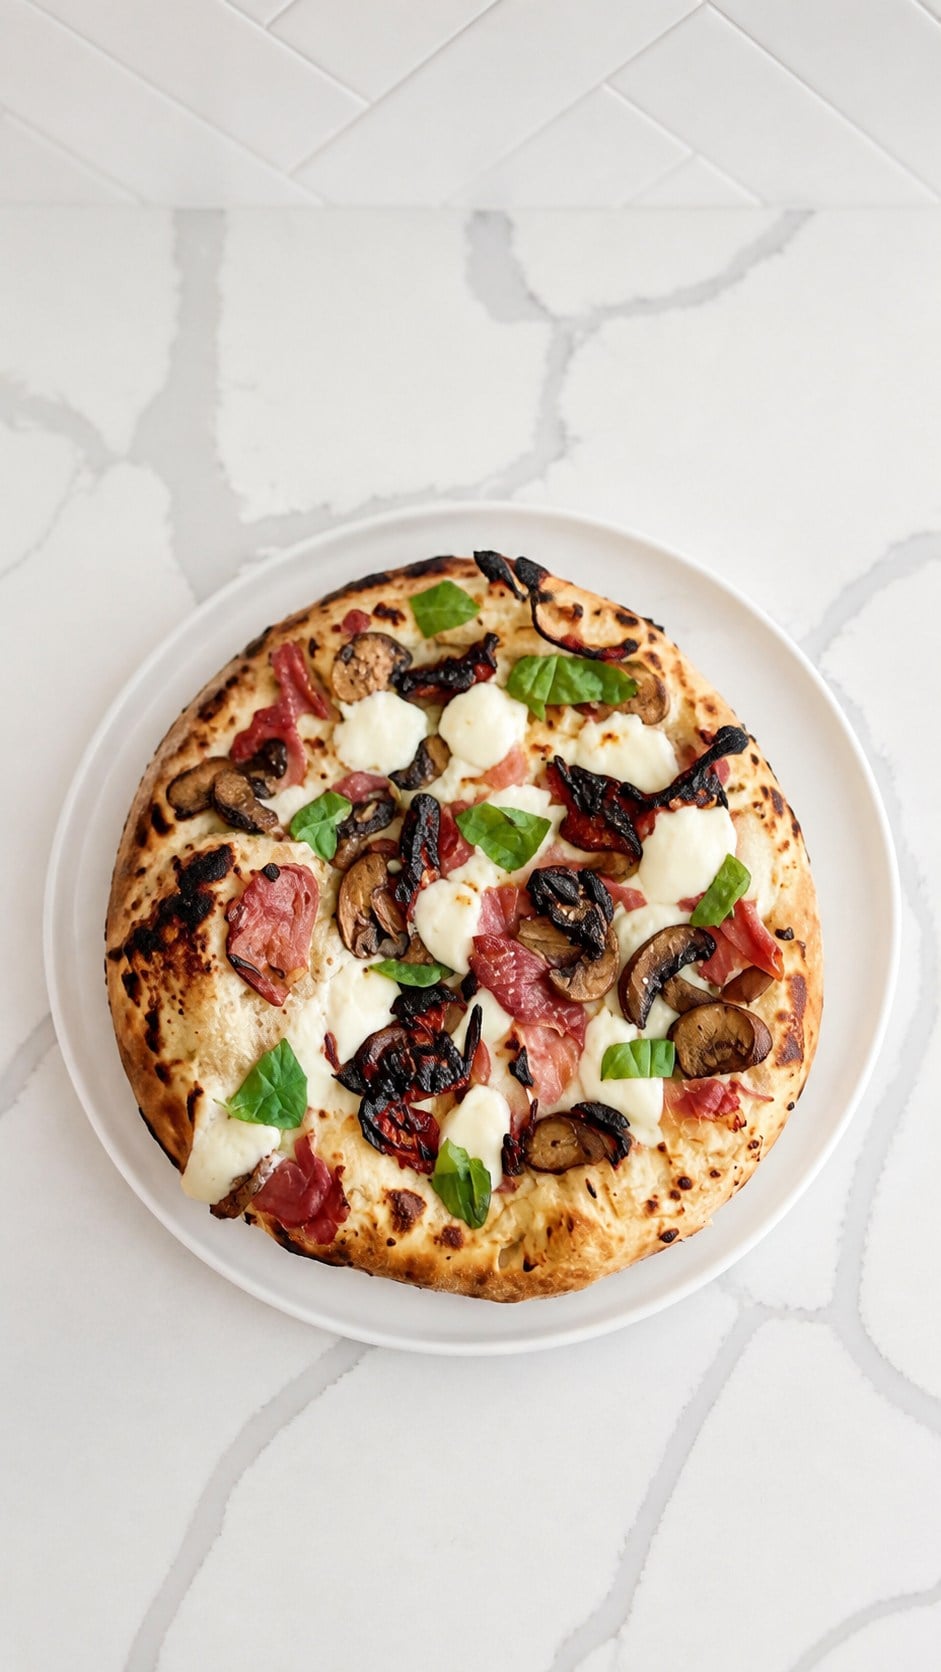
Press each dough ball from the center outward, leaving a thicker rim, then gently stretch it into a round. Add sauce, cheese, and toppings as desired and bake in a fully preheated pizza oven or on a baking steel at the highest available temperature until the rim is puffed, blistered, and browned.
Helpful Tips Before You Start
- Use the scale. Weight is the reliable way to keep a large dough batch consistent.
- Watch the dough, not only the clock. A cool kitchen slows proofing; a warm kitchen speeds it up.
- Keep the center thin. Press gas toward the rim instead of flattening the whole ball.
- Top lightly. A heavy layer of sauce or wet toppings makes launching and baking harder.
- Give a baking steel time. Preheat it fully at your oven's highest setting before the first pizza.
A Few Easy Mistakes to Avoid
The dough sticks heavily to your hands: it may need more kneading before it needs more flour. Give the mixer several minutes to build structure, then adjust in small amounts.
The dough snaps back while stretching: it is too cold or tight. Cover it and wait 15 to 20 minutes before trying again.
The pizza will not slide off the peel: build it quickly, avoid wet toppings, and give the peel a small shake before launching.
A Few Things That Make This Dough Better
For deeper flavor and a more relaxed dough, refrigerate the shaped balls for 24 to 72 hours. Bring them out 2 to 3 hours before baking so the dough can lose its chill and finish proofing. If you mix by hand, use the same ingredient order, knead on a lightly oiled surface, and take a 15-minute rest whenever the dough starts fighting back.
Keeping Dough Balls Fresh
Store dough balls in covered containers in the refrigerator for up to 3 days. Leave enough room for expansion and remove the dough 1 to 3 hours before baking, depending on how cold and firm it feels.
Can You Make It Ahead?
Yes. Shape and refrigerate the dough balls for 24 to 72 hours, or lightly oil and wrap individual balls for freezing up to 3 months. Thaw frozen dough overnight in the refrigerator, then bring it to room temperature before stretching.
What to Serve with Pizza
Keep pizza night simple with an Italian Side Salad or Classic Homemade Caesar Salad. For more pizza inspiration, try Grilled Balsamic Steak Pizza with Blue Cheese or Bruschetta Pizza.
FAQs
How do you know when poolish is ready?
Ripe poolish looks wet and spongy with many fine bubbles across the surface. It should smell pleasantly fermented, not harsh, and should not be fully collapsed.
Can I use bread flour instead of 00 flour?
Yes. Bread flour makes a workable dough, though the baked crust will usually be chewier and less tender than a crust made with 00 pizza flour.
Why is my pizza dough so sticky?
Freshly mixed dough can feel sticky before the gluten develops. Knead for several minutes first; if it still clings heavily, add flour 1 tablespoon at a time rather than dumping in a large amount.
Can I make this dough by hand?
Yes. Mix the ingredients in the same order in a large bowl, transfer the rough dough to a lightly oiled surface, and knead until smooth and elastic. Rest it for 15 minutes whenever it becomes difficult to handle.
Can I bake this dough in a home oven?
Yes. Preheat a baking steel at the oven's highest temperature until thoroughly hot, then bake until the crust is puffed and browned. The timing will be longer than in a pizza oven and varies by oven temperature.
How long can pizza dough balls stay refrigerated?
The shaped dough balls can remain covered in the refrigerator for up to 3 days. Bring them toward room temperature before stretching so they feel relaxed rather than tight.
Get More Recipes Like This
If you loved this recipe, make sure you join my email list. I send out my best weeknight dinners, holiday favorites, and reader-requested recipes straight to your inbox.
I'll also send you My 5 Chef Secrets that instantly elevate your cooking-the exact techniques I use in my own kitchen.
Wood-Fire Pizza Dough

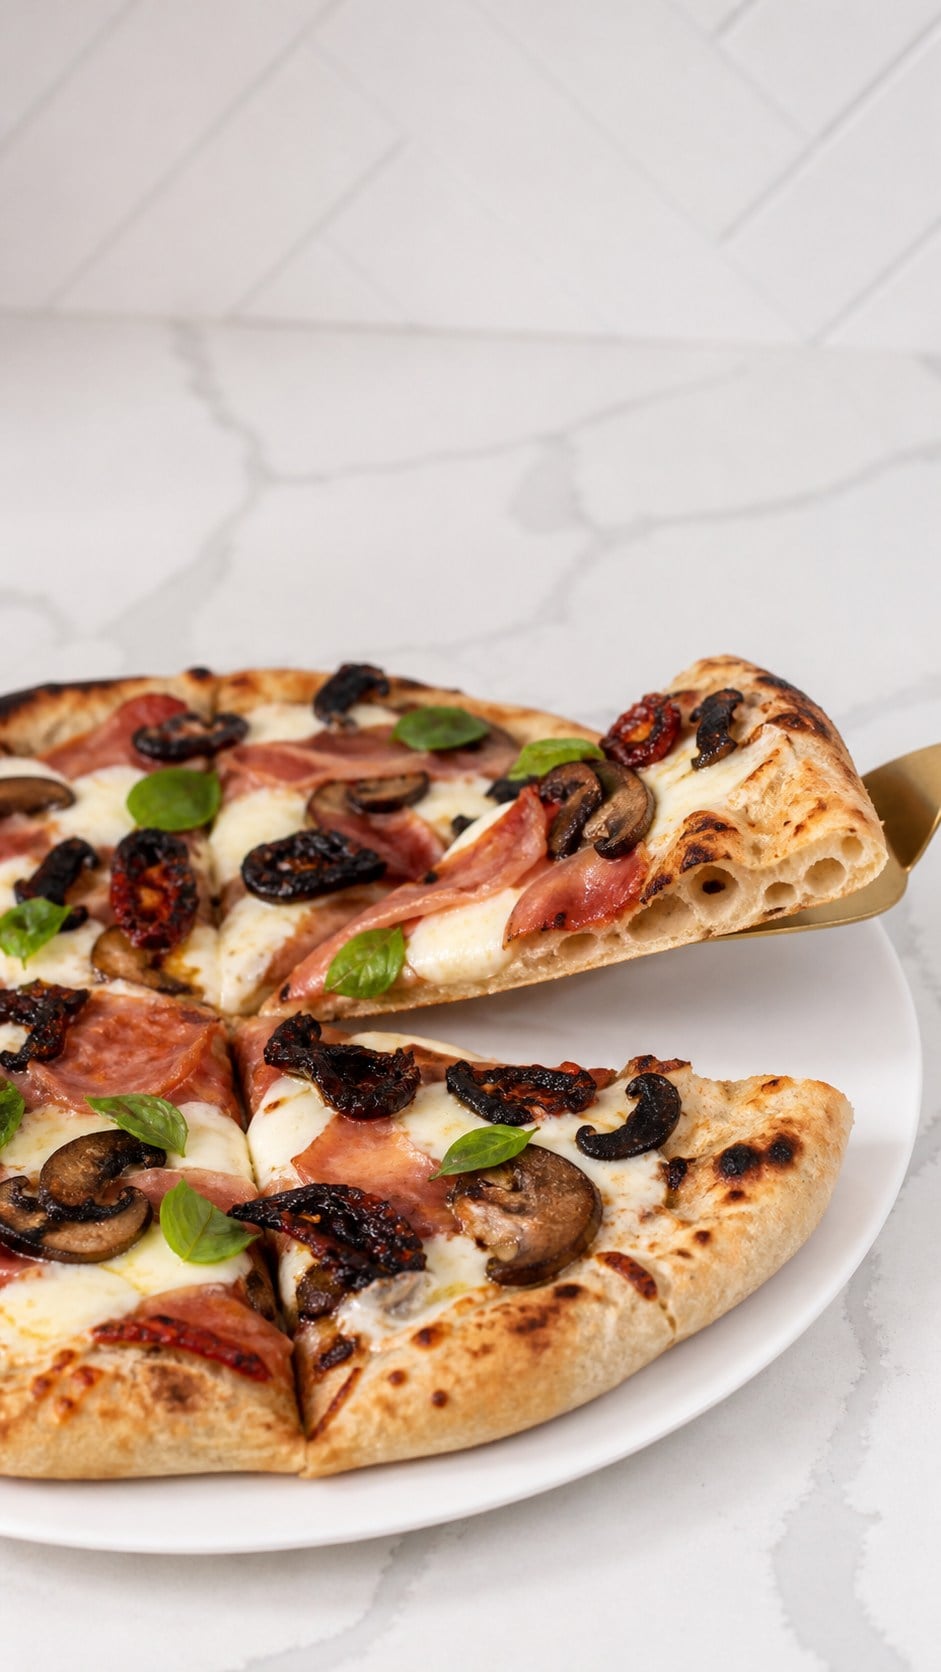
An overnight poolish and 00 flour make this wood-fired pizza dough elastic and flavorful, with a puffy, blistered rim and a light, chewy center.
- Prep Time: 45 minutes
- Total Time: 45 minutes
- Yield: 12 large pizza dough balls 1x
Ingredients
Poolish
- 12.7 ounces water (360 g)
- 12.7 ounces 00 pizza flour (360 g)
- 2 teaspoons instant yeast (6 g)
- 1 teaspoon honey (6 g)
Final Dough
- 29.6 ounces water (840 g)
- 2 tablespoons extra virgin olive oil (27 g)
- 52.9 ounces 00 pizza flour (1,500 g)
- 1.7 ounces kosher salt (48 g)
- olive oil (as needed for handling and proofing)
Instructions
- Mix the Poolish Whisk 360 g water, yeast, and honey until dissolved. Stir in 360 g 00 flour until smooth. Cover, rest at room temperature for 1 hour, and refrigerate overnight.
- Begin the Final Dough Add 840 g water, olive oil, and the prepared poolish to a stand mixer fitted with the dough hook. Mix on low for about 1 minute until dispersed.
- Add Flour and Salt Add about 750 g of the remaining flour and mix on low until no dry flour remains. Add the salt, mix for 2 minutes, then gradually add the remaining 750 g flour.
- Knead Increase to medium-low and knead for 8 to 10 minutes until smooth, elastic, and slightly tacky. If excessively wet, add flour 1 tablespoon at a time; if dry, add water 1 teaspoon at a time.
- Bulk Ferment Transfer to a lightly oiled bowl, cover, and rest at room temperature for 30 minutes to 1 hour.
- Divide and Shape Turn onto a lightly oiled work surface, divide into 12 equal portions, and shape each into a smooth, tight dough ball.
- Final Proof Place in lightly oiled proofing containers with room between them. Cover and proof at room temperature for about 2 hours.
- Optional Extended Fermentation For deeper flavor, refrigerate shaped dough balls for 24 to 72 hours. Remove them 2 to 3 hours before baking.
- Mix by Hand Mix the poolish as directed and refrigerate overnight. Mix the remaining water with the poolish, add about half the flour, add the salt, then add the remaining flour. Knead on a lightly oiled surface until smooth and elastic, resting 15 minutes if needed. Rise, divide, shape, and proof as directed.
- Stretch and Bake Stretch each ball into a round with a slightly thicker rim. Add toppings and bake in a fully preheated pizza oven or on a baking steel at the highest available temperature until puffed, blistered, and browned.
Notes
Substitutions: Bread flour may replace 00 flour, honey may be replaced with an equal amount of sugar, and active dry yeast may replace instant yeast.
Storage: Refrigerate covered dough balls for up to 3 days. Lightly oil and wrap individual balls to freeze for up to 3 months; thaw overnight in the refrigerator and bring to room temperature before stretching.
Manual accuracy review: The full formula weighs about 3,147 g, or about 262 g per ball when divided into 12. The supplied 230-235 g ball-weight note does not reconcile with the ingredient totals and should be confirmed before publication.
Tell Me How It Turned Out
⭐⭐⭐⭐⭐
One of my favorite parts of sharing recipes is hearing how they turn out in other kitchens. Leave a comment below and tell me what worked, what you changed, or who you made it for. If you loved the recipe, please take a second to leave a 5-star rating.
More Recipes You Might Like
Sourdough Pizza Crust
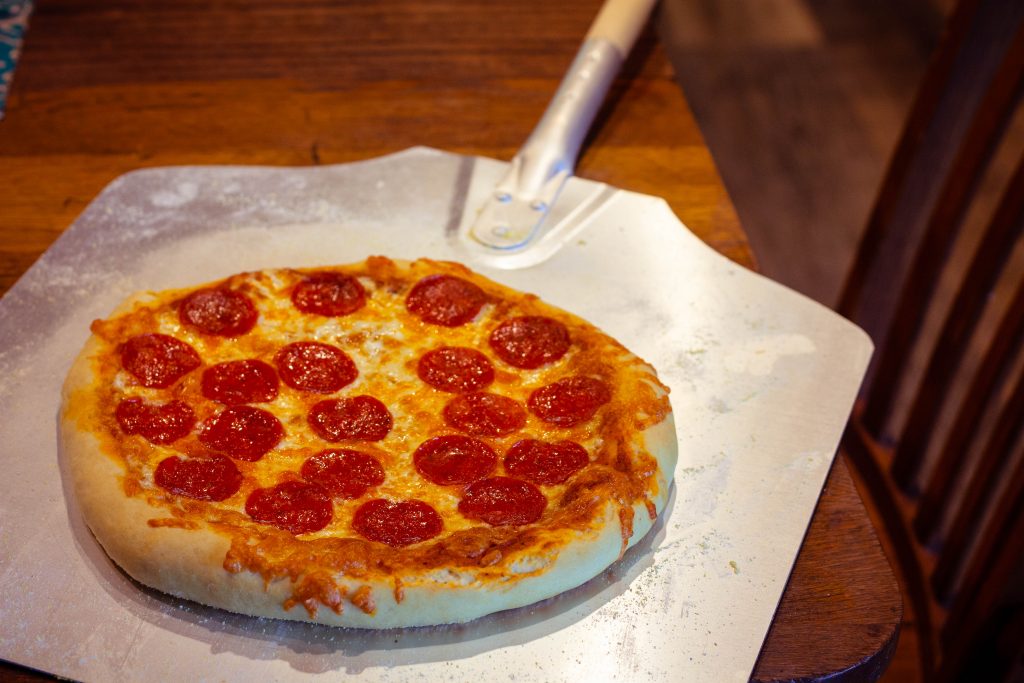
Friday nights in our home are usually game night, movie night, karaoke night or whatever at home family fun we can muster. I really like to make homemade pizzas when I have time, and the family likes it too! If you've made my Homemade Sourdough Starter, this is a great way to use up some

Homemade Garlic Bread
Buttery, crisp, and full of garlicky goodness, this easy homemade garlic bread is a family favorite-perfect with pasta, soup, or just eaten warm straight from the pan!
Bruschetta Pizza
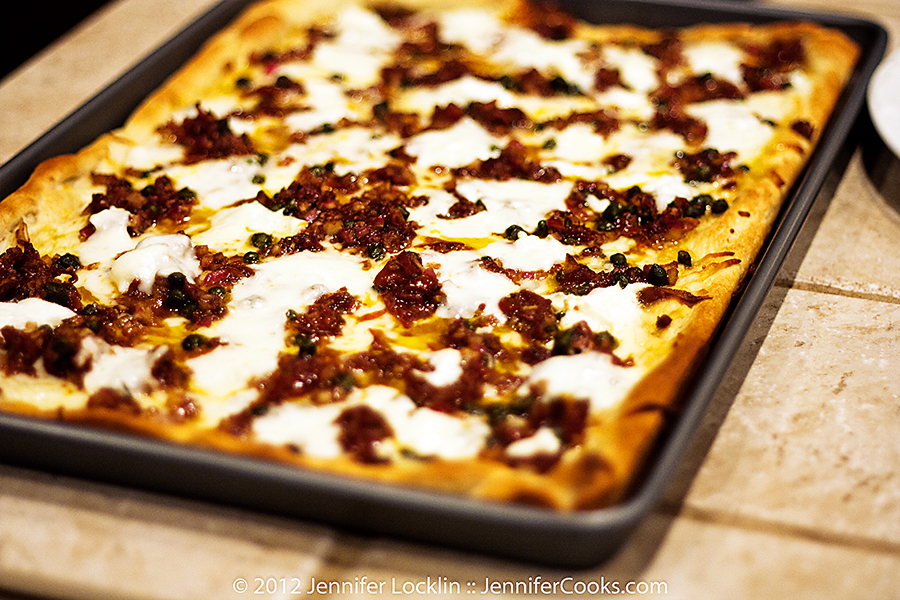
This recipe is a twist on my favorite fresh bruschetta recipe. I was visiting my sister in Colorado over the Christmas holidays and we visited a local cheese importer and picked up a variety of delicious cheeses that included some fresh mozzarella and fresh sun dried tomatoes. With a family to feed, we decided to

Italian Side Salad
Crisp, fresh, and bursting with flavor, this simple Italian side salad is the perfect balance of zesty, briny, and savory. Quick to make and endlessly versatile, it's a must for any meal!
Wood-Fire Pizza Dough

Homemade Neapolitan pizza dough creates a crisp, airy crust with a chewy interior using simple ingredients for authentic pizzeria-style pizza at home.
- Prep Time: 45 minutes
- Proofing Time: 4 hours
- Cook Time: 5 minutes
- Total Time: 50 minutes
- Category: Appetizer, Main Dish
- Cuisine: Italian
Ingredients
Poolish
12.7 ounces water (360 g)
12.7 ounces 00 pizza flour (360 g)
2 teaspoons instant yeast (6 g)
1 teaspoon honey (6 g)
Final Dough
29.6 ounces water (840 g)
2 tablespoons extra virgin olive oil (27 g)
52.9 ounces 00 pizza flour (1,500 g)
1.7 ounces kosher salt (48 g)
Olive oil, as needed for handling and proofing
Instructions
Prep
Stand Mixer Instructions
Mix the Poolish
- In a medium container, whisk together 360 grams water, yeast, and honey until dissolved.
- Add 360 grams 00 pizza flour and stir until fully combined.
- Cover and leave at room temperature for 1 hour.
- Refrigerate overnight.
Mix the Final Dough
- Add 840 grams water, olive oil, and the prepared poolish to the bowl of a stand mixer fitted with the dough hook.
- Mix on low speed for about 1 minute until the poolish is broken up and dispersed throughout the water.
- Add approximately 750 grams of the remaining flour and mix on low speed until no dry flour remains.
- Add the salt and continue mixing for 2 minutes.
- Add the remaining 750 grams flour gradually while mixing on low speed.
Knead the Dough
- Increase the mixer to medium-low speed.
- Knead for 8 to 10 minutes, stopping occasionally to scrape down the bowl if needed.
- The dough should become smooth, elastic, and slightly tacky but not sticky enough to cling heavily to your hands.
- If the dough appears excessively wet after several minutes of mixing, add additional flour 1 tablespoon at a time. If too dry, add water 1 teaspoon at a time.
Bulk Fermentation
- Transfer the dough to a lightly oiled bowl.
- Cover and let rest at room temperature for 30 minutes to 1 hour.
Divide and Shape
- Turn the dough onto a lightly oiled work surface.
- Divide into 12 portions, about 230-235 grams each.
- Form each piece into a smooth, tight ball by pulling the edges underneath and rotating against the work surface.
Final Proof
- Place the dough balls in proofing boxes or lightly oiled containers with space between them.
- Cover and let rise at room temperature for approximately 2 hours before stretching and baking.
Optional Extended Fermentation
For deeper flavor and improved texture:
- After shaping the dough balls, refrigerate them for 24 to 72 hours.
Remove from the refrigerator 2 to 3 hours before baking to allow them to come to room temperature and finish proofing.
Mix by Hand Method:
Make the Poolish
- Combine the water, yeast, and honey in a large container until dissolved.
- Add the flour and stir until a smooth batter forms with no dry spots.
- Cover loosely and leave at room temperature for 1 hour.
- Refrigerate overnight.
Mix the Dough
- Pour the remaining water into the bowl of a stand mixer or large mixing bowl.
- Add the poolish and mix until evenly dispersed.
- Add approximately half of the remaining flour and mix until incorporated.
- Add the salt and continue mixing for several minutes.
- Add the remaining flour and mix until a rough dough forms.
Knead the Dough
- Transfer the dough to a lightly oiled work surface.
- Knead until smooth and elastic.
- If the dough becomes difficult to work with, allow it to rest for 15 minutes before continuing.
First Rise
- Lightly oil your hands and form the dough into a large ball.
- Place it in a lightly oiled bowl and cover.
- Let rise for 30 minutes to 1 hour.
Divide and Shape
- Turn the dough onto a work surface.
- Divide into 12 equal portions, approximately 230-235 grams each.
- Shape each portion into a smooth, tight dough ball.
Final Proof
- Place the dough balls into proofing containers or lightly oiled trays.
- Cover and allow them to rise at room temperature for about 2 hours before stretching.
Bake
- Stretch each dough ball into a pizza round, leaving a slightly thicker rim around the edge.
- Add sauce, cheese, and toppings as desired.
- Bake in a fully preheated pizza oven or on a baking steel at the highest temperature available until the crust is puffed, blistered, and browned.
Notes
Practical Substitutions
- Authentic Neapolitan-style dough is best made with 00 pizza flour. If necessary, bread flour can be substituted, though the texture will be slightly different.
- Honey may be replaced with an equal amount of granulated sugar.
- Active dry yeast may be used in place of instant yeast.
Serving Suggestions and Pairings
- Ideal for Margherita pizza, pepperoni pizza, white pizza, or simple olive oil and garlic pizzas.
- Pairs well with fresh mozzarella, San Marzano tomato sauce, basil, prosciutto, sausage, roasted vegetables, or arugula.
Storage
- Store dough balls in covered containers in the refrigerator for up to 3 days.
- Remove from the refrigerator 1 to 2 hours before baking.
Freezing
- Lightly oil each dough ball and wrap individually.
- Freeze for up to 3 months.
- Thaw overnight in the refrigerator and bring to room temperature before stretching.




12